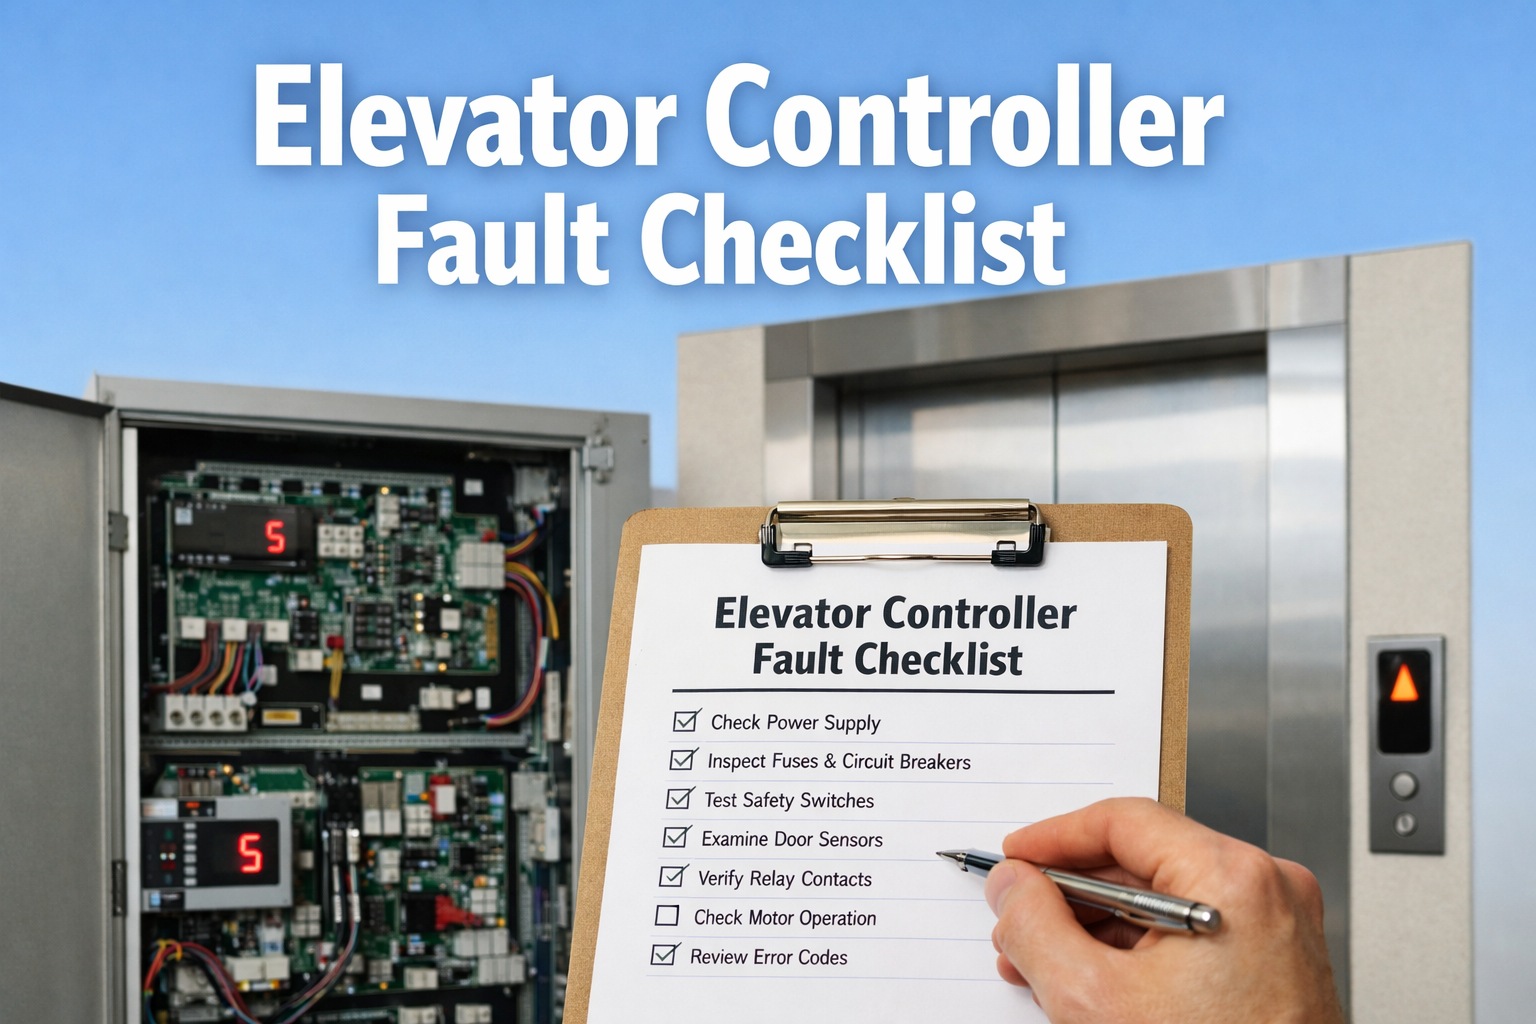
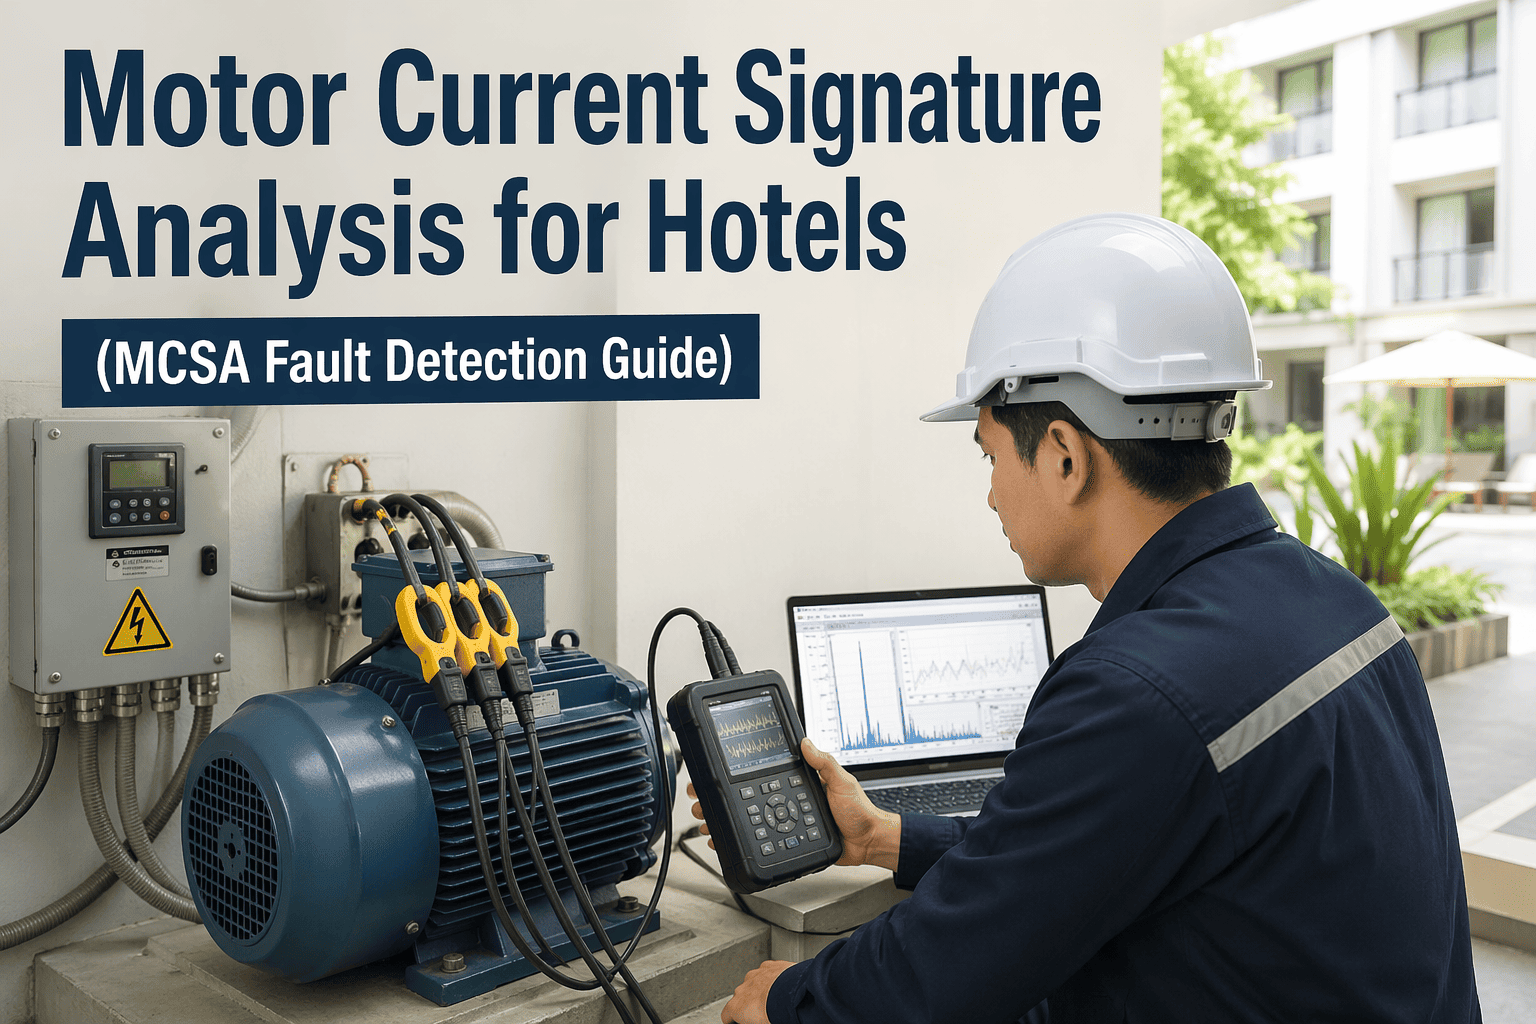
A tenant calls at 3 AM—the elevator is stuck between floors with passengers inside. Your on-call technician arrivesopens the controller cabinet, and starts swapping boards at random. Three hours and $8,000 in replacement parts later, the real culprit was a $12 corroded door lock contact. With 900,000 elevators operating across the U.S. making 18 billion trips annuallycontroller faults are inevitable—but misdiagnosis doesn't have to be. Buildings that follow systematic diagnostic protocols resolve faults in hours, not days, and spend 25–35% less on total maintenance. This checklist gives your team the structured approach to isolate controller faults accurately—schedule a demo to see how OXmaint automates every diagnostic step with AI-powered monitoring.
Elevator controller faults range from complete system shutdowns to subtle performance degradation that worsens over time. The difference between a technician who fixes controllers and one who replaces parts randomly is a systematic checklist—measuring voltages, testing communications, and verifying safety circuits in sequence. Properties that track elevator diagnostics digitally catch faults before failures occur and cut emergency callouts by up to 60%.
Pre-Diagnostic Safety & Initial Assessment
Lockout / Tag-Out Protocol
Confirm car is empty—check cab camera or intercom
Place elevator on maintenance mode / independent service
Apply LOTO on main disconnect per OSHA 1910.147
Verify zero-energy state before touching controller
Wear ESD wrist strap when handling circuit boards
Initial Status Assessment
Read and record all active fault codes from controller display
Note car position—at floor, between floors, or in hoistway
Check controller display—active, blank, frozen, or flashing
Observe indicator LEDs on CPU, I/O, and drive boards
Document symptoms with photos before making any changes
Critical Rule:
Never bypass safety circuits to "test" operation. 30 elevator deaths and 17,000+ injuries occur annually in the U.S.—safety circuits exist for a reason.
Power Supply & CPU Board Diagnostics
Power Supply Verification
Measure incoming line voltage (expect ±5% of nominal)
Test DC rails at CPU board: 5V, 12V, 24V (±5% tolerance)
Measure ripple voltage on DC rails with oscilloscope (<100mV p-p)
Check battery backup voltage: 3.0–3.6V lithium (CMOS/NVRAM)
Inspect power supply capacitors for bulging or leaking
CPU & Memory Health
Check CPU board temperature with thermal camera (<60°C)
Verify watchdog timer circuit resets every 2–5 seconds
Test EPROM/Flash memory with programmer (0 read errors)
Run RAM diagnostic test pattern (must be 100% pass)
Inspect all board connectors for corrosion or looseness
Field Insight:
Power supply degradation causes more intermittent faults than any other component—a drifting 5V rail can corrupt memory without triggering obvious alarms
Safety Circuit & Door System Checks
Safety Circuit Continuity
Verify safety string continuity end-to-end (expect <2Ω)
Test each door interlock contact individually at every floor
Check governor switch, buffer switch, and final limit switches
Verify pit switch and car-top inspection station operation
Measure voltage across each safety device (should be near 0V when closed)
Door System Diagnostics
Test door open/close cycle timing (per manufacturer spec)
Measure door motor current draw (compare to baseline)
Check door operator encoder/sensor signals for consistency
Verify nudging operation and obstruction detection sensitivity
Inspect door tracks, rollers, and gibs for wear and debris
Key Fact:
The door system is the most vulnerable and most failure-prone component of the entire elevator—always check door interlocks before replacing controller boards
Drive System & Communication Faults
Drive & Motor Testing
Read drive fault codes and error history log
Measure motor winding resistance (all phases within 5%)
Test insulation resistance with megohmmeter (>1MΩ at 500V)
Check encoder/resolver alignment and signal integrity
Verify DC bus voltage on drive (within ±10% of nominal)
Communication & I/O
Check CAN bus / RS-485 wiring for shield integrity and termination
Monitor communication error counters (should be near zero)
Test hall call and car call button I/O response at each floor
Verify floor position sensor / encoder readings match actual position
Check group dispatching communication (multi-car systems)
Pro Tip:
Record baseline measurements when systems are healthy. Intermittent faults reveal themselves through trending data that shows degradation over time.
Automate Every Elevator Diagnostic With AI-Powered Monitoring
OXmaint integrates IoT sensors to monitor elevator controllers 24/7—detecting voltage drift, safety circuit anomalies, and drive faults before failures occur. Auto-schedule inspections, track fault history per unit, and eliminate diagnostic guesswork.
Common Controller Fault Symptoms & Root Causes
Blown main fuse or tripped breaker
Power supply failure—no DC output to CPU board
Open safety circuit (door interlock, governor, final limit)
CPU board failure—corrupted firmware or dead processor
Severed traveling cable causing total communication loss
Loose connector or corroded terminal on safety circuit
Degrading power supply with marginal DC rail voltage
Overheating CPU board (thermal shutdown and restart)
Intermittent door lock contact failing under vibration
CAN bus communication errors from damaged shielding
Encoder / resolver misalignment or signal degradation
Floor selector vane or sensor out of adjustment
Brake not releasing fully—dragging during leveling
Drive parameter drift affecting deceleration profile
Worn sheave or rope stretch altering stopping distance
Door operator motor drawing excessive current (worn brushes)
Obstruction sensor misfiring—phantom obstructions
Door clutch not engaging at floor (misaligned vanes)
Hoistway door interlock oxidized or spring tension lost
Traveling cable chafing causing intermittent door signals
Diagnostic Tools & Inspection Frequency
| Diagnostic Area |
Frequency |
Required Tools |
Compliance Standard |
| Safety Circuit Continuity |
Monthly |
Multimeter, continuity tester |
ASME A17.1 / CSA B44 |
| Door Interlock Testing |
Monthly |
Multimeter, feeler gauge |
ASME A17.1 Section 2.12 |
| Power Supply Voltage |
Quarterly |
True RMS multimeter, oscilloscope |
Manufacturer specification |
| CPU Board Temperature |
Quarterly |
Thermal imaging camera |
<60°C ambient |
| Motor Insulation Resistance |
Semi-annually |
Megohmmeter (500V) |
>1MΩ minimum |
| Drive Fault Log Review |
Monthly |
Diagnostic software, laptop |
Manufacturer protocol |
| Encoder / Resolver Alignment |
Semi-annually |
Oscilloscope, alignment tools |
Manufacturer specification |
| Communication Bus Health |
Quarterly |
Protocol analyzer, multimeter |
CAN / RS-485 standards |
| Full Comprehensive Test |
Annually |
All above + load test equipment |
ASME A17.1 full inspection |
| 5-Year Load & Safety Test |
Every 5 years |
Certified test weights, full rig |
ASME A17.1 Category 5 |
Expert Perspective: What Separates Great Elevator Technicians
"I've seen technicians replace entire controller boards for $8,000 when the real problem was a corroded door lock contact worth $12. The difference is systematic diagnosis. When you measure voltages, test communications, and verify safety circuits in sequence, you find root causes—not symptoms. 60% of what gets called a 'controller failure' is actually an open safety circuit. Always start there. This checklist prevents costly misdiagnosis and gets elevators back in service faster."
— Master Elevator Technician, 28 Years Field Experience
Start with Safety Circuits
Verify safety string continuity before diving into complex board-level diagnostics. A single open door interlock mimics total controller failure.
Trust Calibrated Instruments
Controllers don't lie—your meter does if it's not calibrated. Verify test equipment annually against known standards for reliable results.
Document Baseline Readings
Record measurements when systems are healthy. Intermittent faults reveal themselves through trending data showing gradual degradation over time.
Team Roles for Elevator Controller Maintenance
Lead Elevator Technician
Licensed / Certified Specialist
Performs controller-level diagnostics and board repair
Interprets fault codes and drive error logs
Manages vendor relationships for OEM parts
Maintenance Technician
Building Engineering Staff
Completes monthly safety circuit checks via mobile app
Records fault codes and symptoms before escalating
Performs door track cleaning and basic adjustments
Building Manager
Property Operations Leadership
Reviews elevator uptime dashboard and fault trends
Manages service contracts and response SLAs
Ensures ASME A17.1 compliance documentation
Third-Party Inspector
Licensed AHJ Inspector
Conducts annual and 5-year Category tests
Verifies safety device operation and documentation
Issues compliance certificates or violation notices
Stop Guessing. Start Diagnosing Systematically.
OXmaint automates elevator controller diagnostics—scheduling inspections, tracking fault codes per unit, enforcing photo verification, and alerting your team to anomalies before they become failures. Reduce emergency callouts by 40–60% and cut misdiagnosis costs to zero.
Frequently Asked Questions
How often should elevator controllers receive preventive diagnostics
Perform complete controller diagnostics quarterly for commercial elevators and semi-annually for residential systems. High-traffic installations like hospitals, airports, and high-rises benefit from monthly quick checks of critical parameters: power quality, safety circuit integrity, drive temperatures, and communication health. Annual comprehensive testing should cover every item on this checklist with full documentation for insurance and ASME A17.1 code compliance. Buildings with predictive IoT monitoring can adjust intervals based on real-time sensor data but still require annual hands-on verification.
What are the most common elevator controller faults
The top controller fault categories are: open safety circuits from corroded door interlocks (accounting for roughly 60% of apparent controller failures), power supply degradation causing intermittent CPU resets, drive faults from overheating or parameter drift, communication errors on CAN bus or RS-485 networks, and encoder/resolver signal loss causing misleveling. Door system faults are the single most common failure point across all elevator types, making door interlock testing the highest-priority diagnostic step.
What essential test equipment is needed for elevator controller diagnostics
Core tools include: a true RMS digital multimeter (Fluke 87V or equivalent), an oscilloscope with minimum 100MHz bandwidth for encoder and communication signals, a clamp-on ammeter, a megohmmeter for insulation testing, a thermal imaging camera for hot-spot detection, and manufacturer-specific diagnostic software with interface cables. For advanced work, add protocol analyzers for CAN/RS-485 troubleshooting. All test equipment should be calibrated annually with certification traceable to NIST standards.
What ROI does predictive elevator maintenance deliver
Buildings implementing predictive maintenance typically see 40–60% fewer emergency service calls, 25–35% lower total maintenance costs, and 50–70% fewer unplanned outages. For a typical commercial building with 4–6 elevators, this translates to $15,000–$40,000 in annual savings through avoided emergency repairs, extended component life, and prevented tenant disruptions. IoT sensor installations typically pay back within 12–24 months, with high-rise buildings achieving ROI even faster when factoring in reduced insurance premiums.
Are there legal compliance requirements for elevator controller testing
Yes. ASME A17.1 (U.S.) and CSA B44 (Canada) require periodic testing of safety circuits, emergency operations, and performance parameters. Most jurisdictions mandate annual inspections by licensed inspectors with documented results. Some localities require 5-year comprehensive load tests. Maintenance companies must retain test records for a minimum of 5 years. Property owners are legally liable for elevator safety—inadequate maintenance documentation can result in fines, shutdown orders, or liability exposure in injury cases.