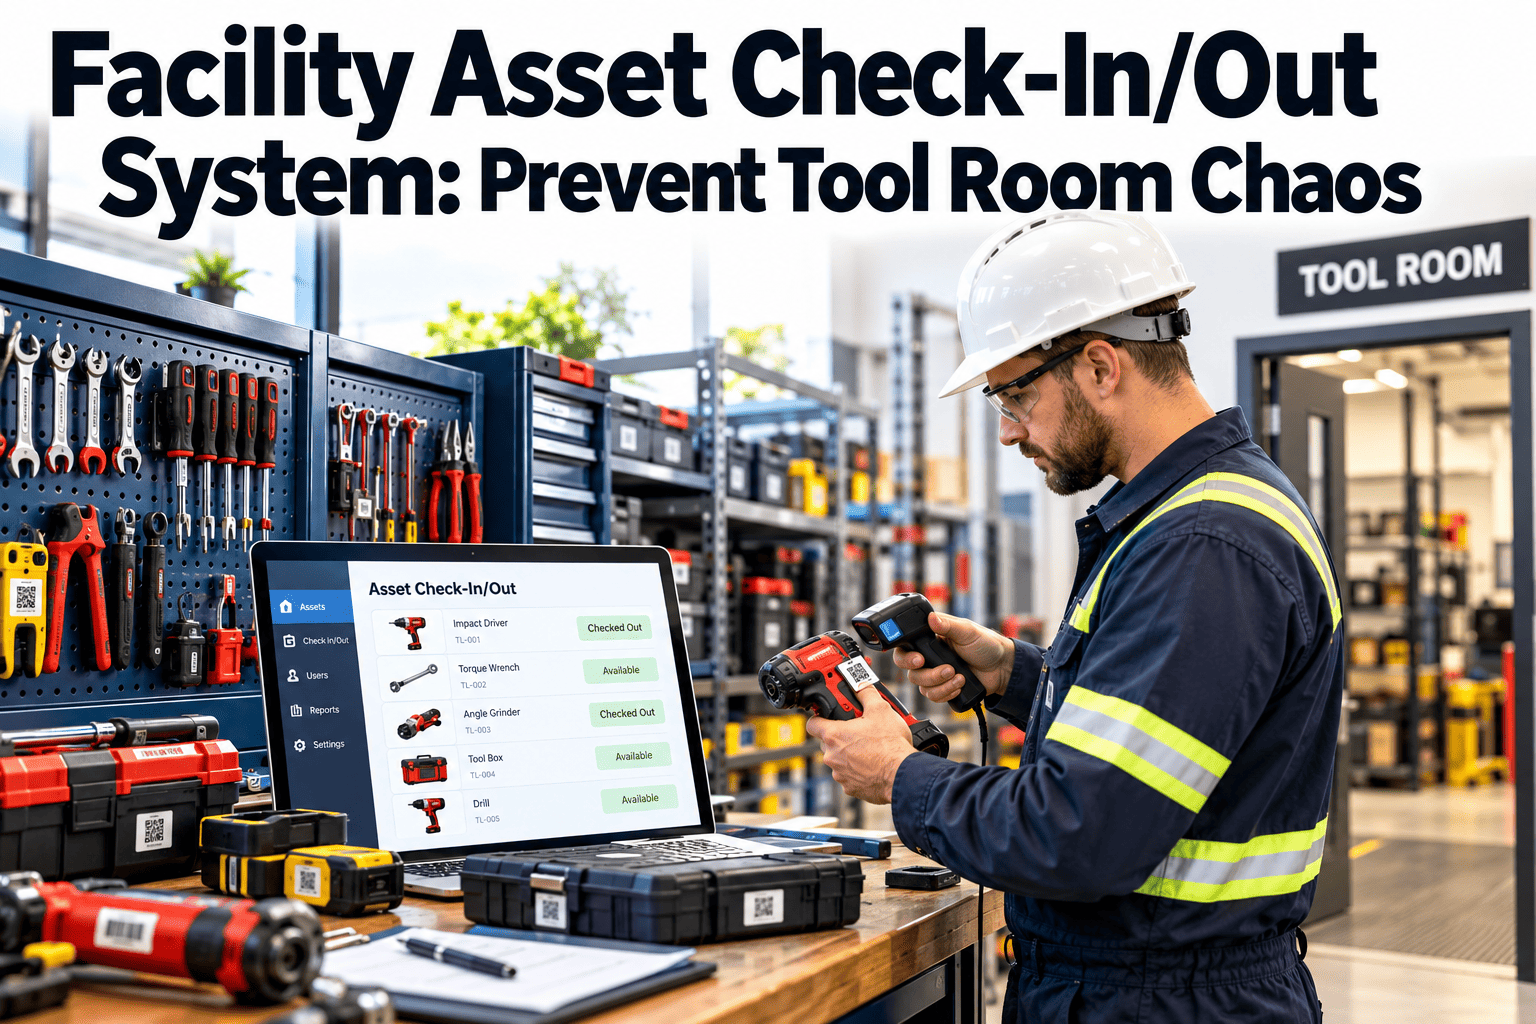
Every facility team has a tool room story: the torque wrench nobody can find, the thermal camera that left with a contractor, the duplicate purchase order for a meter you already own. A facility tool check in out system replaces memory and sign-out clipboards with a record of who holds what, where it went, and when it is due back. Below is a practical model for tool room control, from kiosk and barcode workflows to calibration and loss prevention, plus how a CMMS with asset tracking ties tool custody to work orders.
Facility Asset Check-In/Out: End Tool Room Chaos
Commercial facility tool tracking only works when every checkout is fast enough that technicians actually use it. Barcode scans, a kiosk at the crib door, and work order linkage make custody automatic instead of optional.
What an Unmanaged Tool Room Actually Costs
- Replacement spend on tools that were lost, not worn out.
- Technician time spent searching, borrowing, or driving to buy a substitute.
- Jobs delayed because the specialty tool is on a different site or in a truck.
- Out-of-calibration instruments used on safety or compliance readings.
- No evidence trail when a tool is damaged or goes missing.
Where tools disappear
Before and After: Paper Log vs Scanned Custody
Before
- Handwritten initials, often skipped when busy
- Tool condition unknown at return
- Calibration dates tracked in a separate sheet
- Annual stocktake finds the gaps too late
After
- Two scans, a few seconds per checkout
- Condition noted at return, damage flagged
- Calibration due dates block overdue instruments
- Live view of who holds every tool
Designing the Check-In/Out Workflow
Classify the tool inventory
Separate consumables, hand tools, power tools, and calibrated instruments. Each class needs a different level of control.
Tag every tracked item
Use durable barcode or QR labels on the tool body or case. Calibrated instruments and high-value tools go first.
Choose the checkout point
A kiosk or scan station at the crib door works for shared rooms. Mobile scanning suits vans and remote sites.
Set rules by tool class
Define maximum checkout duration, approval needs, and which tools require a linked work order.
Report and review
Review overdue returns, repeat losses, and idle tools monthly, then adjust stock levels.
See Your Tool Room as a Live Record
Start tracking tool custody against real work orders and see where your inventory actually sits.
Kiosk, Handheld or Mobile: Choosing the Scan Method
| Method | Best for | Watch out for |
|---|---|---|
| Crib kiosk | Central tool rooms with steady traffic | Queues at shift start |
| Handheld scanner | Attended cribs and bulk returns | Battery and dock discipline |
| Phone scanning | Vans, satellite sites, contractors | Needs offline-tolerant workflow |
| Locked cabinets | High-value or restricted tools | Higher setup cost |
Labeling tips that save rework
- Place the label where it survives grip, heat, and cleaning solvents.
- Tag the case and the tool when they are separated often.
- Keep tag IDs consistent with the asset register, not a separate numbering scheme.
Calibrated Instruments and Compliance Records
Multimeters, torque tools, gauges, and thermal cameras feed decisions about safety and compliance, so their status matters more than their price.
- Link instrument readings on work orders to the specific tool used.
- Keep certificates with the asset so audits do not depend on someone's inbox.
- Follow your own program's rules for intervals; the system enforces them but does not set them.
Connecting the Tool Room to Maintenance Work
Work orders
Tool requirements on a preventive maintenance task can be checked out together before the technician leaves the shop.
Asset management
Tools sit in the same register as equipment, with location, owner, and history in one place.
Inventory
Consumables and spare parts at the crib draw down from the same stock records as tracked tools.
Reporting
Dashboards show overdue returns, most-borrowed tools, and items nobody uses.
Tool Room KPIs Worth Tracking
Why Tool Control Fails in Practice
Most tool rooms do not fail because of bad intentions. They fail because the process is slower than the job, so people work around it.
The sign-out sheet problem
A clipboard depends on someone remembering to write a name, a tool, and a date. During an urgent call-out, none of those happen. The sheet then shows tools as returned that never were, and the crib supervisor stops trusting it.
Nobody owns the shared tool
When a specialty tool is shared across trades, each technician assumes someone else will return it. Without a named holder, a tool drifts between vans, lockers, and contractor trucks until it simply cannot be found.
Reorders hide the real loss
Purchasing quietly replaces missing tools, so the loss never appears as a pattern. Managers see a normal supply spend instead of repeated losses of the same items, the same shifts, or the same contractors.
Choosing What to Track and How Tightly
Tracking every screwdriver is a waste of effort. Match the control level to the value, risk, and calibration needs of each tool class.
| Tool class | Examples | Control level | Checkout rule |
|---|---|---|---|
| Consumables | Fasteners, tape, gloves | Stock count only | Issued against inventory, no return |
| Basic hand tools | Wrenches, pliers, drivers | Kit or toolbox level | Track the kit, check contents at return |
| Power tools | Drills, saws, grinders | Individual tracking | Scan out, scan in, note condition |
| Specialty tools | Pipe threaders, lifts, testers | Individual with due-back date | Linked to a work order |
| Calibrated instruments | Meters, torque tools, gauges | Strict, with calibration status | Blocked or warned when overdue |
| Safety and rigging | Harnesses, ladders, lockout kits | Inspection-linked | Inspection record required before issue |
Tracking kits instead of pieces
For basic hand tools, one tag on the toolbox is often enough. A short contents checklist at return catches missing pieces without forcing a scan for each wrench.
Setting Up the Kiosk or Scan Station
- Put the station at the point where tools actually leave the room, not in an office down the hall.
- Give each technician a badge or PIN so identification takes one second.
- Keep the screen to three actions: check out, check in, report a problem.
- Show the due-back date and any calibration warning before the user confirms.
- Make a fallback available for network outages, such as an offline scan that syncs later.
- Post a one-page instruction at the station so contractors can use it without training.
Speed is the real control
If checkout takes longer than reaching in and grabbing the tool, the system will be bypassed. Aim for a checkout that costs a few seconds, and measure it during the pilot.
Access rules that stay reasonable
Restrict only what needs restricting: high-value tools, safety equipment, and calibrated instruments. Open shelves for low-value items keep the room moving and keep goodwill with the trades.
Loss Prevention Without Slowing Technicians
Make custody visible
When everyone can see who holds a tool, returns improve without policing. A simple overdue list shared with supervisors is usually enough.
Use due-back dates
A default checkout length by tool class creates a natural reminder. Extensions are one tap, but the record stays accurate.
Reconcile on a schedule
Walk the crib and vans on a set cycle and compare the shelves to the record. Differences point to process gaps.
Review the repeat patterns
Look for tools, shifts, or contractors that appear again and again in loss reports, then fix the cause.
Handling Exceptions: Overdue, Damaged and Missing
Fair, not punitive
Treat reporting a problem as expected behavior. If technicians fear blame for a damaged tool, they hide it, and the next person finds out on the job.
Multi-Site Portfolios and Vehicle Stock
Portfolios with several buildings often buy the same specialty tool several times because nobody knows another site already owns one.
- Keep one tool register across sites, with the current location on every record.
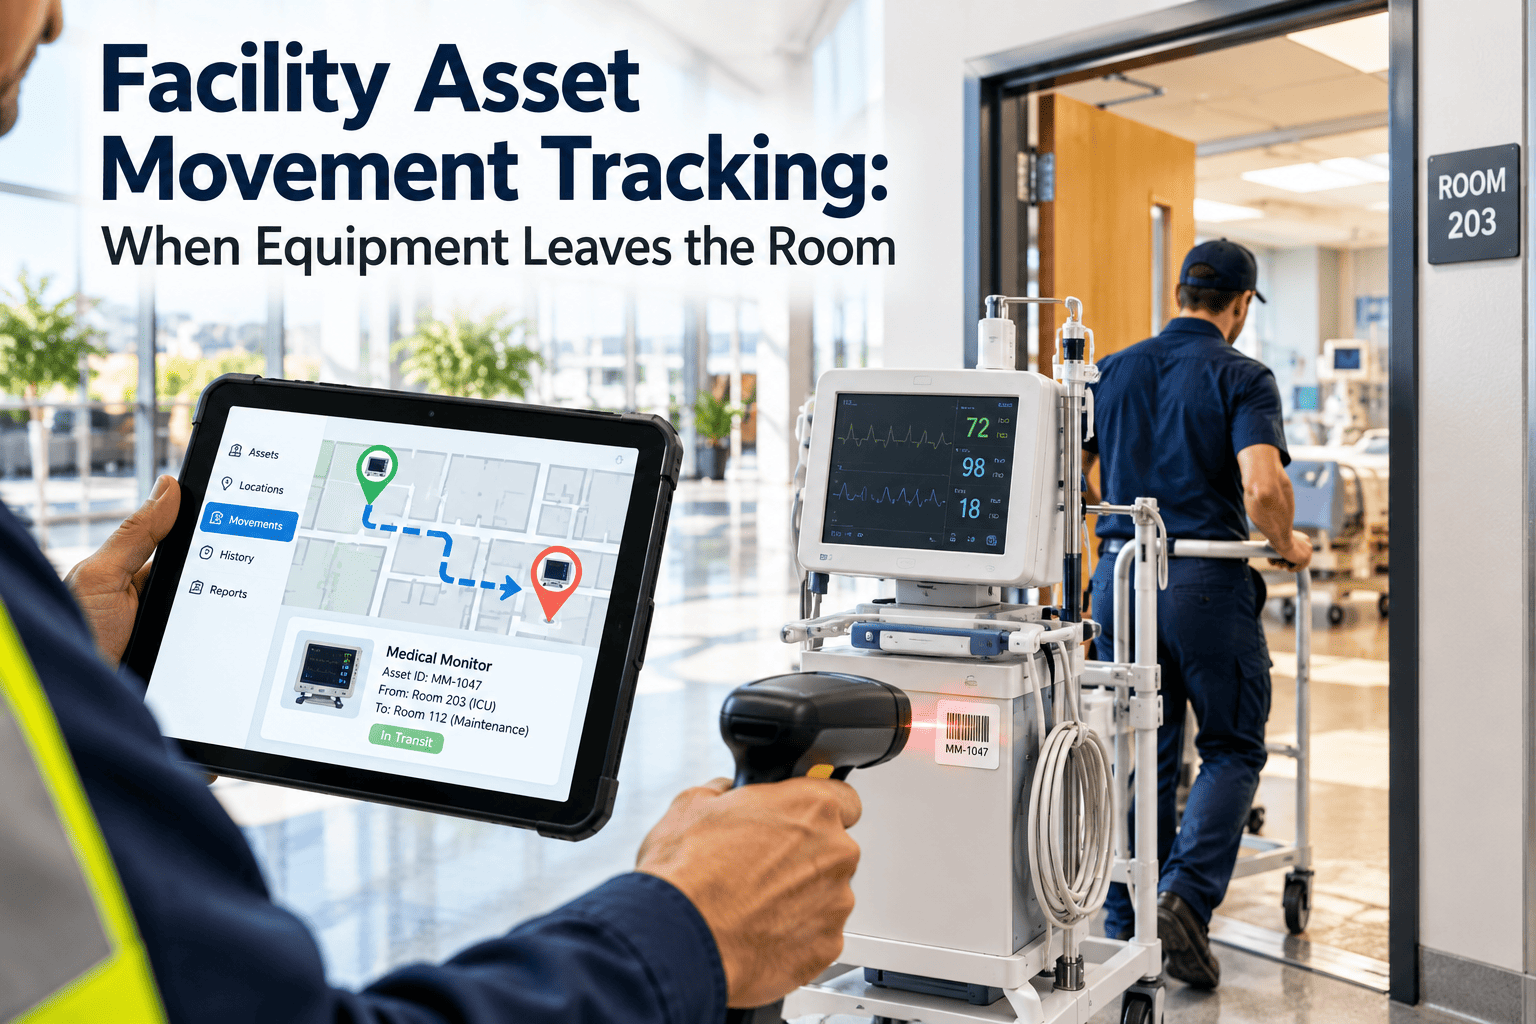
- Allow inter-site transfers as a tracked action, with sender, receiver, and date.
- Treat vans as mini cribs with a standard kit list and a periodic scan audit.
- Share low-use, high-cost tools across sites and see availability before buying.
- Give regional supervisors a single view of overdue and out-of-calibration items.
Contractors on your premises
Issue temporary profiles that expire with the contract. Record what they borrow and require return before the close-out sign-off.
A 90-Day Rollout Plan
Common mistakes to avoid
- Tagging everything on day one and overwhelming the team.
- Skipping the cleanup of duplicate or unknown tool records.
- Putting the station far from the crib door.
- Ignoring calibration status until an audit finds it.
- Failing to review reports, so the data never changes behavior.
How Tool Data Improves Maintenance Planning
Once custody is recorded, the tool room becomes a source of planning data rather than a cost center.
- Utilization shows which tools sit idle and which are always out, guiding purchases.
- Repair frequency exposes tools or brands that fail early.
- Work order links show which jobs need specialty tools, so planners can reserve them ahead of time.
- Calibration history supports audits of safety and compliance readings.
Preventive maintenance with the right tools ready
Planned work runs smoother when the tool list is part of the task. Technicians collect the job's tools in one trip, and missing items are flagged before the shift begins.
Safety, Training and Compliance in the Tool Crib
A tool room is also a safety control point. The record of who borrowed what can show that equipment was inspected and that the user was qualified.
- Link restricted tools, such as lifts, saws, and electrical testers, to a training or authorization record.
- Require a pre-use inspection note for ladders, harnesses, and lifting equipment before issue.
- Remove damaged or expired safety equipment from circulation immediately and record the reason.
- Keep insulated and electrical tools on a test schedule, and block issue when the test date has passed.
- Store calibration certificates and inspection results against the tool, so audits do not depend on paper files.
Evidence when an incident is reviewed
If a tool is involved in an incident, the record shows who held it, when it was last inspected, and what condition it was in at return. That context speeds up the review and supports fair outcomes.
Respecting how teams really work
Involve technicians in setting the rules. They know which tools are needed at night, which kits travel together, and where a process will cause delays. Rules they helped design are rules they follow.
Reading the Reports: What the Data Is Telling You
Idle tools
Items that never leave the crib may be surplus, unsuitable, or hard to find. Review them before buying more.
Always-out tools
If a tool is never on the shelf, demand exceeds supply. A second unit may pay for itself in saved delays.
Long checkouts
Tools held for weeks may be effectively assigned. Convert them to personal custody with periodic checks.
Frequent damage
Repeated damage points to the wrong tool for the job, missing training, or a poor quality brand.
Frequently Asked Questions
Do we need a kiosk to run a tool crib?
No. A scan station or phone scanning works; a kiosk helps when traffic is high and the room is unattended.
Which tools should be tracked first?
Start with calibrated instruments and high-value or frequently lost tools, then expand.
Can contractors use the same process?
Yes, with a temporary profile and due-back date. You can book a demo to see how.
How does this connect to maintenance work orders?
Checkouts can reference the work order, so custody and job history stay together.
Where do we start?
Load your tool list and tag a pilot group; you can sign up and test it on one crib.
Put Every Tool Back on the Record
Run a pilot on one tool room and measure what comes back, what goes missing, and what sits idle.



.jpeg)
.jpeg)
