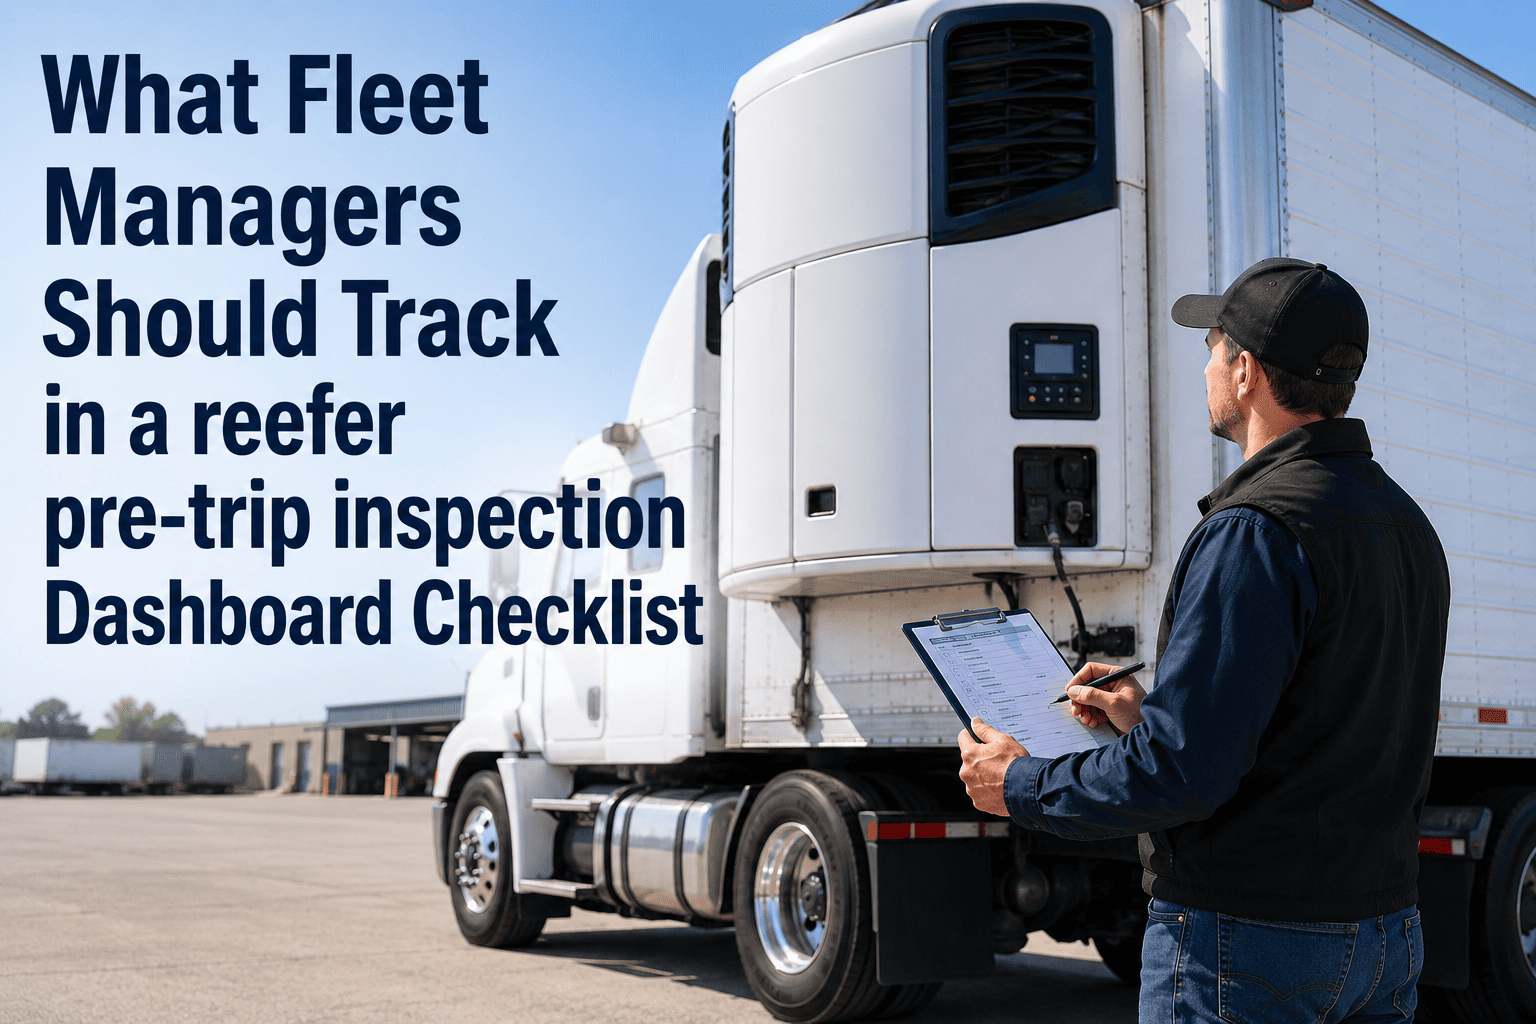
A pre-trip inspection is the last chance to catch a defect before it becomes a roadside violation, a breakdown, or a crash. The drivers who do it well know what to look for, in what order, and what to do when they find something. This checklist gives commercial fleets a walk-around route, defect severity rules, and a reporting workflow that turns each inspection into a usable maintenance record inside fleet inspection software.
Fleet Inspections and Compliance
Pre-Trip Fleet Inspection Checklist for Commercial Vehicles
A repeatable walk-around for tractors, trailers, and straight trucks that helps drivers find brake, tire, lighting, and coupling defects before dispatch and helps maintenance act on them fast.
Walk-around route
1 Cab entry
2 Engine bay
3 Front axle
4 Driver side
5 Coupling
6 Trailer
7 Rear
8 Passenger side
What the Regulations Expect From the Driver
49 CFR 392.7The driver must be satisfied that key parts are in good working order before driving, including service and parking brakes, steering, lighting and reflectors, tires, horn, wipers, mirrors, coupling devices, wheels and rims, and emergency equipment.
49 CFR 396.13Before driving, the driver must be satisfied the vehicle is in safe operating condition, review the last driver vehicle inspection report, and sign it if defects were noted and certified as repaired or not needing repair.
49 CFR 396.11Drivers report defects they find on a written inspection report. A report is not required when no defect is found, and carriers must keep reports for the required retention period.
49 CFR 393.75Tire tread minimums apply: 4/32 inch on steering axle tires and 2/32 inch on other tires, plus conditions such as exposed cord or sidewall damage that remove a tire from service.
Confirm current text and your state or provincial rules before updating internal procedures. Requirements for hazardous materials, passenger carriers, and some intrastate operations differ.
The Pre-Trip Walk-Around, Stop by Stop
1
Cab entry and in-cab checks
- Previous inspection report reviewed and open defects confirmed repaired
- Seat belt, seat adjustment, and mirrors in working condition
- Horn, wipers, washers, defroster, and heater operate
- Dash warning lights complete a normal bulb check and clear after start
- Fire extinguisher charged and secured; warning triangles present
- Registration, insurance, and required permits in the cab
2
Engine bay
- Engine oil, coolant, power steering, and washer fluid at correct levels
- Belts firm with no cracking, fraying, or excessive slack
- Hoses free of leaks, bulges, and chafing
- No fluid pooled under the vehicle or on engine surfaces
- Battery boxes secure, terminals clean and tight
- Air compressor lines and fittings dry and secure
3
Front axle, steering, and brakes
- Steering wheel play within limits and steering linkage secure
- Tires inflated, matched, and free of cuts, bulges, or exposed cord
- Steer tire tread at or above 4/32 inch
- Wheel seals dry; no oil or grease streaks on the wheel
- Brake hoses and chambers secure, no cracks or rubbing
- Springs, shocks, and mounting hardware intact
4
Driver side, fuel, and drive axles
- Fuel tank secure, cap sealed, no leaks or damaged straps
- Exhaust system secure and free from leaks near the cab
- Drive tires matched on duals, no touching, no sidewall damage
- Lug nuts present, no rust trails or loose indicators
- Slack adjusters and brake chambers intact with safe stroke
- Mudflaps, steps, and handholds secure
5
Coupling area
- Fifth wheel plate free of cracks and lubricated, mounting secure
- Locking jaws closed around the kingpin; release handle fully seated
- No visible gap between trailer apron and fifth wheel plate
- Air lines and electrical cable routed with enough slack for turns
- Glad hand seals in good condition, lines connected correctly
- Landing gear fully raised, crank handle secured
6
Trailer sides and undercarriage
- Trailer body free of structural damage, hanging parts, or loose panels
- Reflective tape clean, complete, and visible
- Tires, wheels, and lug nuts checked on every axle
- Slider pins fully engaged and axle position correct for the load
- Brake chambers and slack adjusters intact on each wheel end
- Annual inspection decal current
7
Rear of trailer
- Rear impact guard straight, secure, and undamaged
- Tail, stop, turn, and clearance lights work and lenses are intact
- Doors close, latch, and seal; seals not torn
- Cargo secured against shifting; weight distribution reviewed
- License plate attached, legible, and illuminated
8
Passenger side and final system tests
- Mirror, tires, and brake components checked on the passenger side
- Air brake system built to governed pressure with no unexpected leaks
- Low-air warning and parking brake valve test completed
- Service brake tested with a gentle forward tug and a stop check
- All lights confirmed using a second person or a reflective surface
- Inspection signed and any defect reported before the unit moves
Defect Severity: Stop, Schedule, or Watch
Do not dispatch
- Cracked or separated brake chamber, or brake stroke past the limit
- Air leak that the compressor cannot keep up with
- Missing or loose lug nuts, or a wheel seal leaking onto the brake
- Tire with exposed cord, bulge, or sidewall cut
- Kingpin not fully locked, or visible gap at the fifth wheel
- Steering looseness or a broken spring leaf
- Required lamps inoperative for the operation
Report and schedule repair
- Slow fluid weep with no loss of function
- Cracked lens with the light still working
- Worn wiper blades before wet weather
- Tire approaching wear limits on a non-steer position
- Peeling reflective tape in a small area
- Minor mudflap or step damage
Monitor on next inspection
- Cosmetic body damage with no structural effect
- Light surface rust on non-critical brackets
- Seat or trim wear with no safety function
- Minor paint or decal fading
Carriers should set their own dispatch rules to be at least as strict as CVSA North American Standard Out-of-Service Criteria for the equipment they run.
Make Every Pre-Trip Inspection a Maintenance Record
Give drivers a mobile checklist, route defects straight to work orders, and keep inspection history attached to every vehicle.
Air Brake System Tests Drivers Should Not Skip
| Test | How it is done | What to look for |
|---|---|---|
| Air pressure build | Start the engine and watch the gauges rise | Pressure builds to governed cut-out; the cut-out range is commonly around 100 to 125 psi, confirm for your equipment |
| Static leak test | Engine off, brakes released, hold for about a minute | Loss within the limits in your state CDL manual, commonly 2 psi for a single vehicle and 3 psi for a combination |
| Applied leak test | Apply the service brake firmly and hold for a minute | Loss within limits, commonly 3 psi single and 4 psi combination, with no audible leaks |
| Low air warning | Fan the brake pedal to bleed pressure down | Warning device activates before pressure falls below 55 psi |
| Spring brake pop-out | Continue lowering pressure | Parking and supply valves release in the expected pressure range |
| Parking brake hold | Set brakes and gently attempt to pull forward | Vehicle does not move |
| Service brake stop | Move slowly and apply brakes | Straight stop with no pull to one side and no delay |
Test limits vary by vehicle and jurisdiction. Use your state commercial driver manual and manufacturer specifications as the controlling references.
From Inspection to Repair: The Defect Workflow
- Driver finds the defectPhoto, location on the vehicle, and severity are recorded on the mobile inspection.
- Severity routes the responseDo-not-dispatch items alert the maintenance lead and dispatch immediately.
- Work order is createdThe defect becomes a corrective work order linked to the unit and the inspection record.
- Parts and labor assignedThe technician checks inventory, reserves parts, and schedules bay time.
- Repair certifiedThe technician documents the repair and signs it off in the vehicle history.
- Next driver sees it clearedThe following pre-trip shows the defect as closed, supporting the review of the previous report.
Defects Drivers Commonly Miss
| Often missed | Why it gets missed | Better habit |
|---|---|---|
| Inner dual tire damage | Hidden from the outside of the wheel position | Look and tap between duals; check pressure with a gauge |
| Brake stroke creep | No dashboard warning | Measure at the chamber on a set schedule and log the numbers |
| Intermittent lighting faults | Light works until the connector moves | Wiggle test the cable while a second person watches |
| Wheel seal weeping | Dirt covers the early streak | Check the hub cap and inner wheel face for fresh oil |
| Air line chafing | Only visible on the underside | Look at clamp points and routing near frame edges |
| Fifth wheel wear and cracks | Covered with grease | Wipe and inspect the plate and mounting brackets |
| Cargo securement drift | Looks fine until the first stop | Recheck within the first few miles and at each break |
Paper Inspection Forms Versus a Digital Workflow
Paper forms
- Handwriting is hard to read and defects get lost
- Reports reach the shop at the end of the shift or later
- No proof of when the inspection was completed
- History is hard to search during audits
- Repeat defects are not obvious
Digital inspections
- Required fields and guided steps reduce skipped items
- Defects reach maintenance when they are reported
- Timestamps and driver identity are recorded
- Records are searchable by vehicle, date, and defect type
- Patterns across units are visible in reports
Driver and Shop Readiness Checklist
For driver training
- Every driver knows the walk-around order and uses it each time
- Drivers can perform and explain the air brake tests
- Defect severity rules are posted and reviewed
- Drivers know how to take photos and report on mobile
- New hires ride along for a supervised inspection
For the maintenance shop
- Do-not-dispatch defects trigger an immediate alert
- Work orders are linked to inspection reports
- Commonly needed wear parts are stocked for quick turnaround
- Repair sign-offs are recorded before the unit returns
- Repeat defects reviewed weekly for root cause
Adjusting the Checklist by Vehicle Type
| Vehicle type | Extra items to add | Common failure points |
|---|---|---|
| Combination tractor-trailer | Coupling check, glad hands, trailer lights, slider pins, landing gear | Air line chafing, lighting circuit faults, fifth wheel wear |
| Straight truck | Lift gate operation, cargo area, body mounts, rear door latches | Frequent-stop brake wear, lift gate hydraulics, tire damage from curbs |
| Refrigerated unit | Refrigeration unit start, fuel level, temperature set point, door seals | Unit alarms, seal damage, drain blockage |
| Tanker | Valve and hatch seals, vapor recovery fittings, placards, spill kit | Valve leaks, hatch gaskets, hose condition |
| Flatbed | Straps, chains, binders, tarps, edge protection, dunnage | Worn or damaged tie-downs, bent stake pockets |
| Service or utility vehicle | Tool and equipment mounts, outriggers, power take-off, auxiliary lighting | Hydraulic leaks, unsecured equipment, battery drain |
Conditions That Call for Extra Attention
Cold weather and winter routes
- Air system moisture drained and dryer operating as expected
- Battery condition and charging output confirmed
- Fuel quality and filters suitable for low temperatures
- Lights, mirrors, and windshield free of ice and snow
- Tire chains or traction devices carried where required
Hot weather and long hauls
- Coolant level and radiator airflow clear of debris
- Tire pressures checked cold, before the day heats up
- Hub and drum temperatures checked after the first few miles
- Belts and hoses checked for heat cracking
- Drinking water and driver heat precautions in place
- Newly repaired units deserve a closer look. After a brake, wheel, or coupling repair, drivers should confirm the work and watch for early signs of a problem during the first miles.
- Units returning from a long idle period need extra checks on tires, batteries, fluids, and brakes, because corrosion and seepage often develop while stationary.
- Trailers picked up from a customer lot or drop yard should receive a full inspection, since the driver did not see how they were used or stored.
How a Maintenance Platform Supports Pre-Trip Inspections
- Inspection templates can be built by vehicle type, so a driver walking a tractor and a driver walking a reefer each see the right steps in the right order.
- Photo capture and notes attach evidence to a defect at the moment it is found, which saves the technician a trip to ask what the driver saw.
- Work orders open from the inspection and stay linked to it, so the repair history shows what was reported, what was done, and when it was cleared.
- Preventive maintenance schedules draw on inspection findings, such as worn brakes or tires approaching limits, to plan work before it becomes urgent.
- Inventory records show whether common wear parts are on hand, which shortens the time a vehicle sits waiting.
- Compliance reports pull inspection records for a vehicle or a date range in minutes, which supports audits and internal reviews.
Inspection Metrics Worth Tracking
| Metric | Why it matters |
|---|---|
| Inspection completion rate | Shows whether every dispatched unit was inspected |
| Defects reported per 100 inspections | A very low rate may signal rushed inspections, not clean vehicles |
| Time from defect report to work order | Measures how fast information reaches maintenance |
| Time to repair by severity | Confirms critical defects are handled first |
| Repeat defects by unit | Points to root causes and failing components |
| Roadside inspection outcomes | Tests whether pre-trips predict real inspection results |
Pre-Trip Inspection Questions
How long should a pre-trip inspection take?
It depends on the unit and the driver's familiarity, but rushing causes missed defects. Build a guided route and allow enough time.
Do drivers need to file a report if nothing is wrong?
Federal rules do not require a written report when no defect is found, though many fleets keep a record anyway for proof. A digital checklist makes that simple.
Can a driver move a unit with an open defect?
Only if the defect is minor, documented, and does not affect safe operation. Do-not-dispatch items must be repaired first.
How do we stop drivers from skipping steps?
Use required fields, photo evidence, and timestamps, and review patterns with supervisors regularly.
Can we customize the checklist by vehicle type?
Yes. Tractors, trailers, and straight trucks need different items. Book a demo to see templates by asset class.
Start Every Trip With a Clear Record
Replace paper forms with guided mobile inspections that feed work orders, vehicle history, and compliance reports.