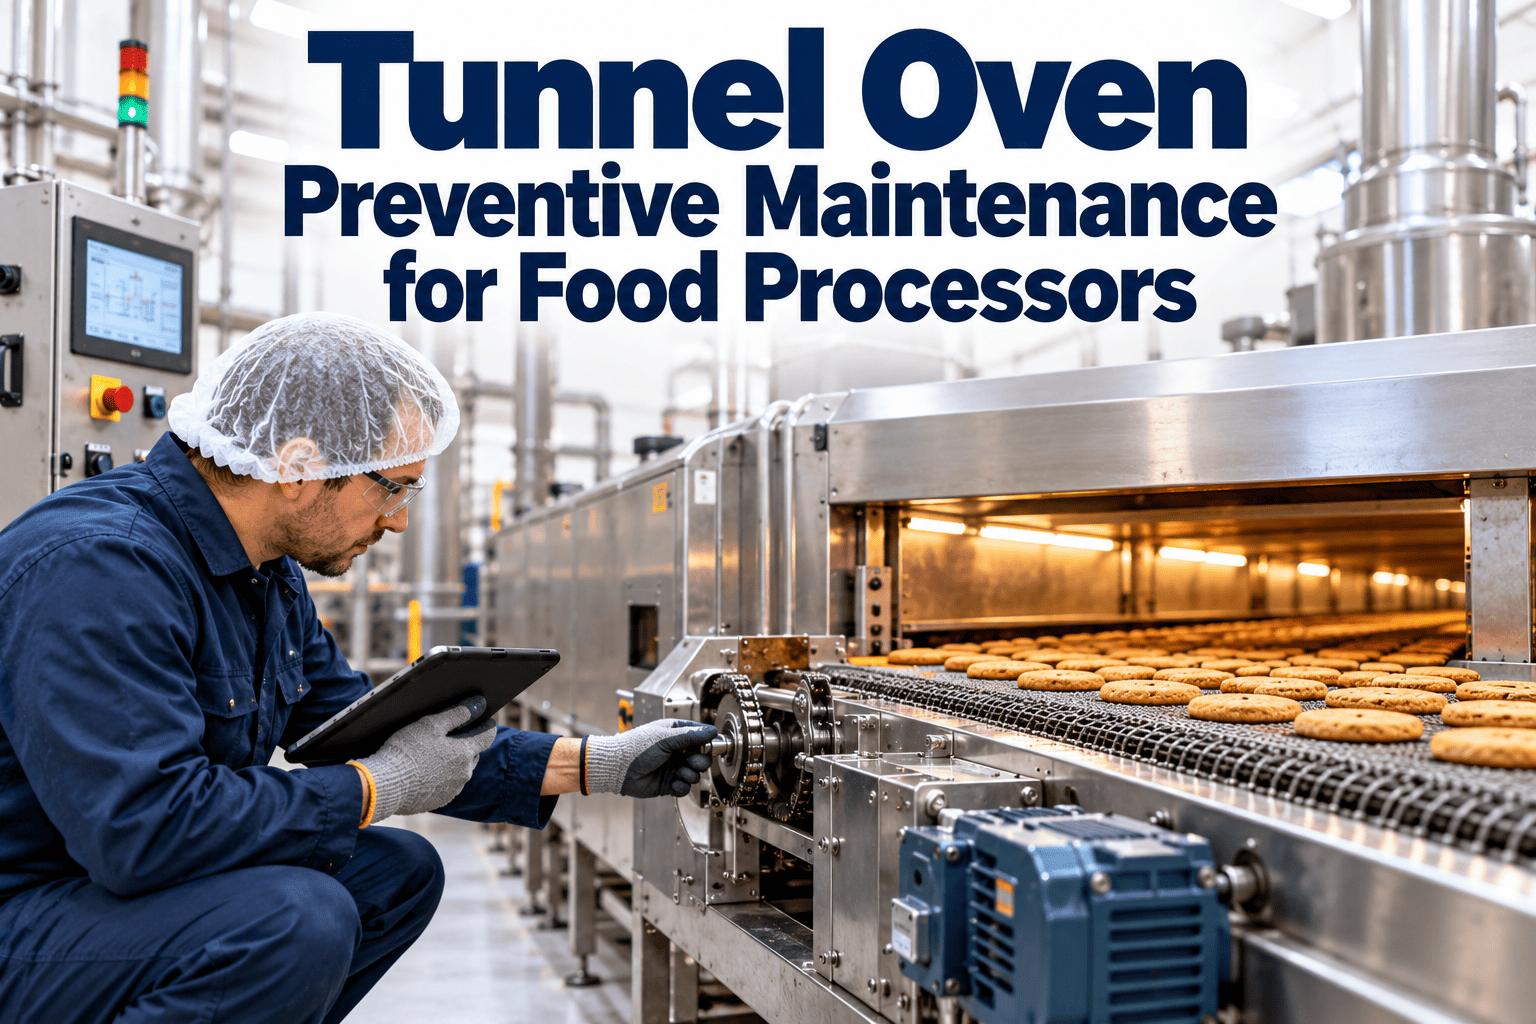
A tunnel oven is usually the longest, most valuable and least forgiving asset on a baking or food processing line. When it stops, product already inside is at risk, upstream stages back up and downstream packing sits idle, and restarting means bringing every zone back to temperature and validating it. Most oven stoppages trace to burners, conveyors, circulation fans and controls that gave warning for weeks. This guide explains how to maintain each system, and how preventive maintenance software schedules the work around production.
Tunnel Oven Preventive Maintenance for Food Processors
Maintain conveyors, burners, fans and controls on tunnel ovens to protect production schedules, product quality and food safety, one zone at a time.
Why oven downtime costs more than the repair
An oven failure rarely has a simple price. The visible cost is the repair, but the larger costs sit around it, and they grow the longer the line waits.
Product in process
Dough, batter or product inside the tunnel when it stops can be over-baked, under-baked or scrapped.
Upstream and downstream
Mixers, depositors and proofers fill up while packing lines wait, so one oven stop becomes a line stop.
Restart and validation
Heating a long oven back to specification and confirming zone temperatures takes time before saleable product runs.
Customer commitments
Late or short orders hurt service levels, especially for retail and private label contracts with fixed delivery windows.
Six systems to maintain as separate assets
Treating the whole oven as a single asset hides problems. Register each system or zone separately so tasks, readings and failures attach to the right component.
| System | Key components | Typical failure signs | Why it matters |
|---|---|---|---|
| Heating | Burners, gas train, ignition, flame sensors, or electric elements | Uneven flame, repeated ignition faults, zone cannot hold temperature | Heat delivery drives color, moisture and bake time |
| Air circulation | Recirculation fans, motors, bearings, belts, dampers | Vibration, noise, rising motor current, uneven bake across the belt | Convection balances heat across the width and length |
| Conveying | Belt or band, drive, rollers, tracking, tensioning, chains and sprockets | Drifting belt, edge wear, speed variation, elongation | A belt failure stops the whole oven |
| Exhaust | Hoods, flues, fans, dampers, draft controls | Changing draft, residue buildup, zone temperature drift | Exhaust balance affects combustion air and temperature |
| Controls and safety | Thermocouples, controllers, safety interlocks, purge and flame safeguards | Setpoint versus actual gaps, nuisance trips, failed tests | Protects people, equipment and process control |
| Enclosure | Insulation, doors, seals, panels, access hatches | Hot spots, heat leaks, damaged seals | Affects efficiency, safety and temperature stability |
Tunnel oven tasks by interval
Intervals below are practical starting points. Always follow the manufacturer manual and applicable safety standards, and adjust with your own failure data.
- Compare set and actual temperatures for every zone and record deviations.
- Check belt tracking and look for edge fray or damage.
- Observe flame appearance and listen for unusual fan or drive noise.
- Check for debris, spilled product and residue on the belt and in the entry and exit.
- Inspect burners for ignition quality and carbon buildup.
- Check belt tension, splices and seam condition.
- Inspect circulation fan guards, belts and bearing temperature.
- Check door seals and visible insulation for damage.
- Clean burner orifices and flame sensors per the manual.
- Lubricate drive chains, bearings and sprockets with food-grade lubricant.
- Inspect rollers for groove wear and free rotation.
- Check exhaust dampers and draft readings against baseline.
- Calibrate thermocouples and controllers against a reference.
- Test safety interlocks and flame safeguards with qualified technicians.
- Measure belt elongation and plan replacement before limits are reached.
- Review ductwork, flues and fan wheels for buildup and imbalance.
Condition signals that appear before a stop
Many oven failures give notice through slow changes in readings. Capturing those readings turns a surprise breakdown into a planned repair.
Zone setpoint gap widening
A zone that needs more time or fuel to reach the same temperature suggests burner fouling, airflow loss or insulation damage.
Drive motor current creeping up
Rising amp draw on the belt drive often points to drag from tracking problems, roller wear or failing bearings.
Fan vibration and noise
Changing sound or vibration on circulation fans typically precedes bearing failure or imbalance from product buildup.
Color or moisture drift
Variation across the belt or between batches may be the first visible result of an airflow or burner issue.
Tracking drift
A belt that needs repeated correction is already wearing its edges and may be heading toward a stop.
The conveyor deserves its own maintenance plan
Because a belt failure stops the entire oven and replacement belts can take a long time to arrive, belt condition is one of the most valuable things to track closely.
Tracking and tension
Thermal cycling gradually stretches belts and shifts alignment. Record tension and tracking position at fixed intervals so slow drift becomes visible before edges fray or product rides off the belt.
Cleanliness and wear
Carbonized product and grease on the belt or rollers change friction and can push the belt off line. Clean on a defined schedule and inspect for broken or deformed mesh, damaged links and seam wear.
Drive and rollers
Check roller surfaces for groove wear, confirm bearings turn freely and lubricate chains and sprockets with food-grade lubricant. Watch drive motor current for upward trends that signal drag.
Keeping heat and convection balanced
Product quality depends on both how much heat a zone produces and how evenly the air carries it across the belt. Neglecting either leads to the same visible result: inconsistent bakes.
Burner and heating checks
- Observe flame shape, color and stability at every zone.
- Clean orifices, igniters and flame sensors as the manual directs.
- Check gas pressure against the setpoint and record it.
- For electric ovens, inspect elements for hot spots and damage.
- Compare zone fuel or power use against a baseline to catch fouling.
Fans, ducts and exhaust
- Inspect fan wheels for product or oil buildup that causes imbalance.
- Check bearing temperature, vibration and belt tension on drives.
- Confirm dampers move freely and sit in the recorded positions.
- Clean ductwork and hoods where flour, oil or crumbs collect.
- Trend draft readings, since exhaust imbalance can change combustion air.
A shutdown routine for oven maintenance
Maintenance inside or around a hot, fuel-fired oven is hazardous. A repeatable routine protects people and prevents quality surprises at restart.
Plan
Confirm the work order, parts, tools and shutdown window.
Cool and isolate
Allow cooling, then apply lockout for fuel, power and drives.
Work
Follow the manual, record readings and track tools and parts.
Verify
Clear lockout, test safeguards and confirm belt movement is clear.
Restart and record
Bring zones to temperature, confirm values and close the work order.
How to tell whether the oven program is paying off
Choose indicators that connect maintenance activity to production results and review them each month.
| Indicator | What it shows | Good direction |
|---|---|---|
| Unplanned oven downtime | Hours lost to unexpected oven stops, split by system | Falling over time |
| Zone temperature variance | Gap between setpoint and actual by zone | Stable and within spec |
| Preventive task completion | Share of scheduled tasks finished on time | High and consistent |
| Repeat failures | Same component failing more than once | Rare, with causes resolved |
| Scrap linked to oven faults | Product lost to over- or under-baking | Falling over time |
| Energy per unit baked | Fuel or power used for the same output | Stable or improving |
A practical first ninety days
You do not need a perfect program on day one. Build the foundation first, then add detail as data accumulates.
Month one
- Register the oven, zones, conveyor and exhaust as assets.
- Load manufacturer tasks and intervals.
- Start shift checks with simple mobile forms.
Month two
- Add readings such as belt tension, motor current and draft.
- Link spare parts and critical lead times.
- Review every oven work order with operators.
Month three
- Adjust intervals using failure history.
- Set alerts for out-of-range readings.
- Report downtime and repeat failures to management.
What operators can check without opening the oven
Operators see the oven all shift. Giving them a short, safe checklist turns that presence into early detection.
- Zone temperatures against setpoints, noted at the start and middle of each shift.
- Belt position at entry and exit, and any new rubbing or squeal.
- Color and moisture differences from side to side or batch to batch.
- Unusual smells, smoke or visible flame changes.
- Product or debris on the belt, in the entry or at the discharge.
- Alarms, trips or restarts since the last shift.
- Door seals and covers that look displaced or damaged.
- Anything that sounds or feels different, reported immediately as a request.
Schedule oven work around production, not around breakdowns
Set zone-level tasks, capture readings on mobile and plan repairs in the right shutdown window.
From symptom to cause to action
Use this table to turn operator observations into maintenance tasks, so a symptom reported on the floor leads to the right inspection.
| Symptom | Possible causes | First checks | Typical follow-up |
|---|---|---|---|
| Uneven browning across the belt | Airflow imbalance, blocked nozzles, fan wear | Fan condition, damper positions, nozzle cleanliness | Clean, rebalance, repair or replace fan parts |
| Zone cannot reach setpoint | Burner fouling, gas supply issue, failed thermocouple | Flame pattern, gas pressure, sensor reading | Burner service, sensor replacement, calibration |
| Belt moving to one side | Roller wear, uneven tension, buildup on rollers | Tension, roller surfaces, product residue | Adjust tracking, replace rollers, schedule belt inspection |
| Frequent flame failure trips | Dirty flame sensor, ignition parts, draft change | Sensor condition, ignition components, exhaust draft | Clean or replace parts, test safeguards |
| High energy use for same output | Insulation damage, seal leaks, poor combustion | Hot spots, door seals, combustion settings | Repair enclosure, tune burners |
| Smoke or odor from the oven | Product or oil buildup in ducts or on surfaces | Ductwork, hoods, belt residue | Cleaning, fire risk assessment, adjusted cleaning interval |
Documenting the work auditors and insurers ask about
Ovens combine fuel, heat and moving equipment, so safety tests and maintenance records matter as much as bake quality.
Safety standards
- Ovens are generally governed by recognized standards such as NFPA 86 in North America and EN 746 in Europe, so confirm which apply to your site.
- Combustion safeguards, purge cycles, interlocks and relief devices need periodic testing by qualified people.
- Keep test dates, results and technician names with the asset.
Food safety expectations
- Certification schemes expect documented preventive maintenance for equipment that can affect product safety and quality.
- Fouled burners, damaged insulation and blocked exhaust are both efficiency and contamination concerns.
- Temperature records for critical control points should be retrievable by zone and date.
Keep the parts that decide how long a stop lasts
Repair time is often set by parts, not labor. Rank spares by how likely they are to fail and how long they take to arrive.
Hold on site
- Flame sensors, igniters and thermocouples.
- Fan belts, bearings and drive chain links.
- Door seals and common fasteners.
Hold with a supplier agreement
- Motors, gearboxes and gas valves.
- Controllers and safety relays.
- Roller assemblies and tensioners.
Plan well ahead
- Complete belts and bands, which may have long lead times.
- Large fan wheels and shafts.
- Major insulation or panel sections.
How the oven program runs in the system
The steps below show how a plant can move from calendar reminders to a connected oven maintenance workflow.
Register
Create the oven, zones, conveyor and exhaust as linked assets with manuals and spare parts.
Schedule
Set preventive tasks by time or running hours for each system and zone.
Inspect
Operators and technicians log readings and observations on mobile checklists.
Act
Out-of-range readings create work orders with the right parts and shutdown window.
Improve
Dashboards show repeat failures, downtime and overdue tasks by system.
Tunnel oven maintenance FAQs
How often should a tunnel oven belt be inspected?
Check tracking every shift, tension and splices weekly, and measure elongation periodically. Use the manufacturer limits and your own wear history.
Should each oven zone be a separate asset?
Yes. Zone-level assets let you attach burner, fan and sensor tasks to the right place and see which zone causes repeat problems.
When is the best time to do oven maintenance?
During planned stops such as changeovers, weekends or cooling periods. Oxmaint can schedule tasks into those windows.
Can operators help with oven maintenance?
Operators can do shift checks and record readings. Burner, gas and safety work should be done by qualified technicians following the manual.
How do I start with limited data?
Begin with the manufacturer schedule and refine it as readings accumulate. A demo can show a simple starting setup.
Keep every zone hot, every belt true and every shift running
Bring oven inspections, repairs, parts and records into one maintenance system built for production schedules.


