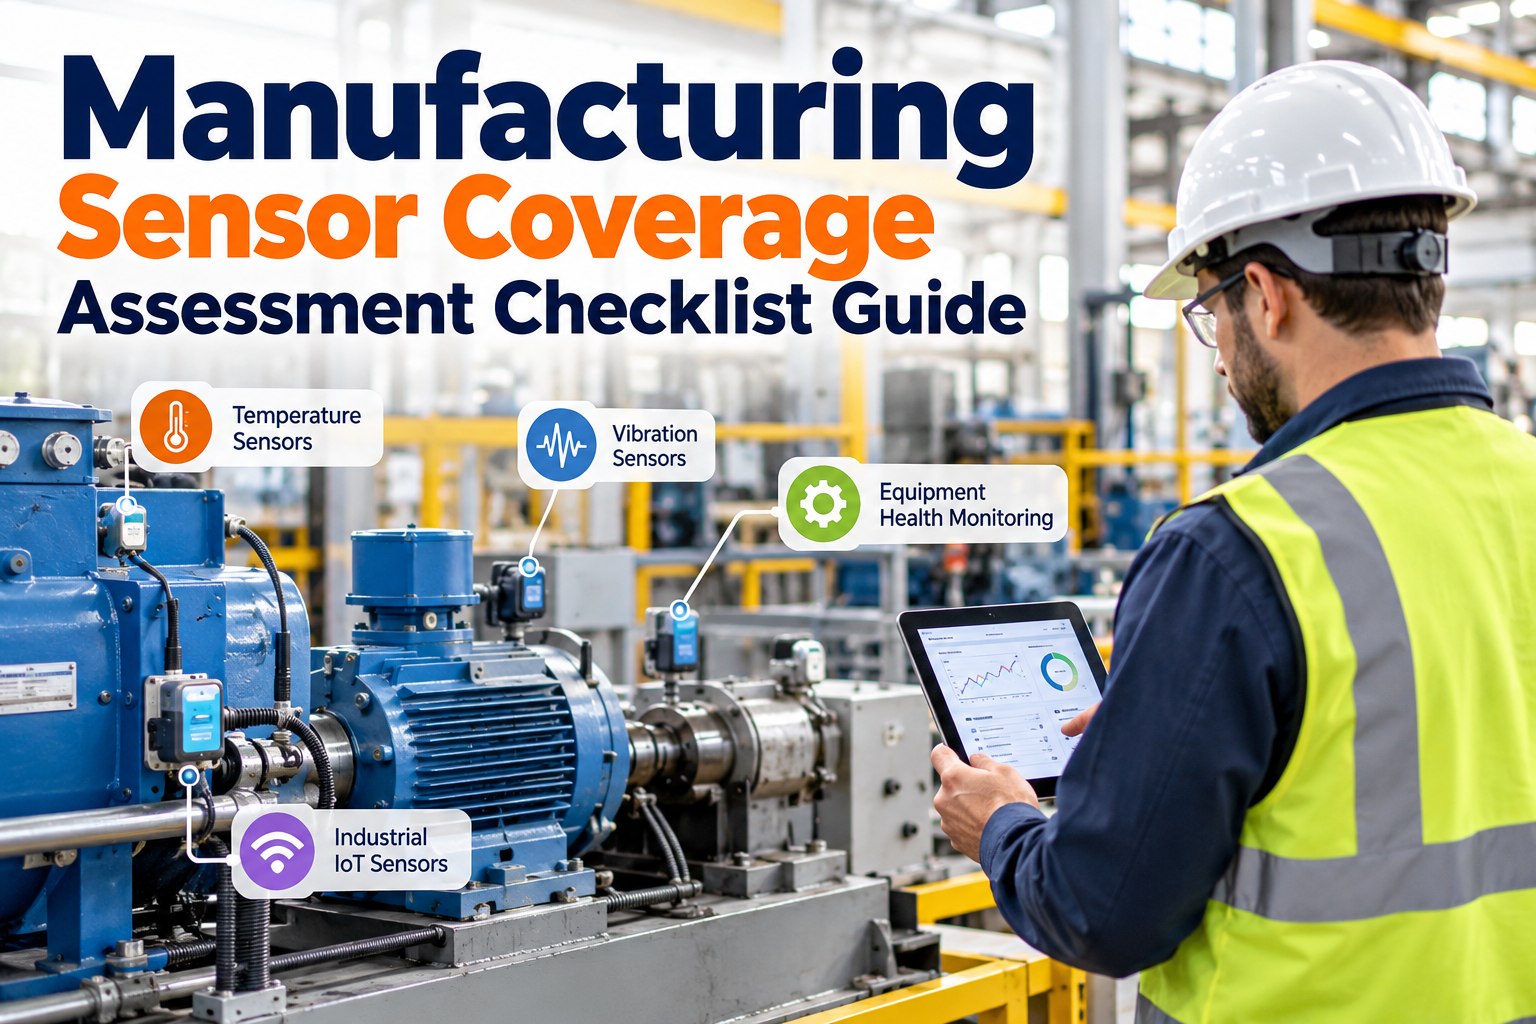
Predictive quality deployment fails for a predictable reason — teams validate the model and skip the release plumbing around it. Sensor fit is assumed instead of confirmed, label quality is checked once and never revisited, model thresholds are left at default sensitivity, and the alert has nowhere defined to go once it fires. A control chart that flags an out-of-control point with no routed response is just a number on a screen. This checklist walks through the release checks that determine whether a predictive-quality tool actually changes defect outcomes once it reaches the floor. Sign Up Free to see how Oxmaint connects statistical process control directly to work order generation, so a quality signal becomes a routed task instead of an unread chart. If your deployment plan still treats sensor data, labeling, thresholds, and alert routing as four separate workstreams, Book a Demo before the next release window to see how a closed-loop model holds together in production.
1. Sensor Fit & Data Source Validation
A predictive-quality model is only as reliable as the measurement feeding it. Confirm sensor placement, sampling rate, and data source match what the model was trained against before release.
2. Label Quality & Specification Limits
A model trained on inconsistent labels or outdated spec limits will misjudge process capability from day one. Confirm labeling logic and specification data are current before the tool is trusted for live decisions.
3. Model Thresholding & Control Limit Tuning
Default sensitivity settings rarely match real process variation. Confirm control limits and alert thresholds are tuned to the actual process before the tool generates its first live alert.
4. Response Routing & Closed-Loop Action
A detected defect with no defined next step does not reduce defects — it just gets logged. Confirm every alert type has an owner, a routing path, and a corrective action before the tool goes live.