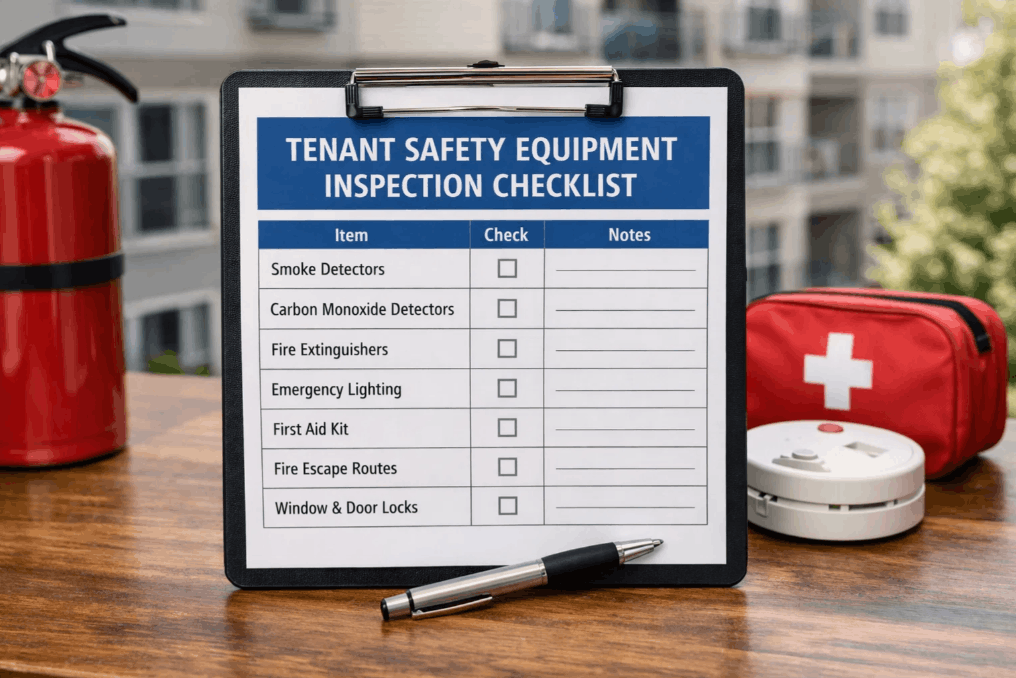
A properly maintained set of safety equipment is one of the most critical obligations in any rental property — residential or commercial. For property managers, facilities teams, and compliance officers, a structured tenant safety equipment inspection checklist eliminates the guesswork from routine audits and ensures that smoke detectors, carbon monoxide detectors, fire extinguishers, emergency lighting, and exit signage meet both regulatory standards and tenant protection requirements. This checklist walks through every major life safety system category, from detector placement and test procedures to extinguisher tags and emergency signage legibility — structured to match the sequence a trained inspector follows during a scheduled or unannounced compliance walkthrough.
1. Smoke Detector Inspection Checklist
Smoke detectors are the first line of defense in any fire emergency. Inspections must verify not just that a detector is physically present, but that it is correctly positioned, fully functional, and compliant with current placement codes for the occupancy type. A detector that beeps low-battery warnings or fails a test button activation is a documented safety gap that must be corrected before sign-off.
Verify Detector Placement Against Code Requirements
Confirm that smoke detectors are installed on every level of the property, inside each sleeping room, and outside each separate sleeping area. Cross-reference actual placement against the applicable residential or commercial fire code for the jurisdiction. Missing or misplaced detectors must be flagged and corrected as a priority-one finding before any other checklist items are completed.
Perform Test Button Activation on Every Unit
Press and hold the test button on each detector until the audible alarm sounds. A detector that does not produce a loud, clear alarm signal within 3–5 seconds of button activation must be replaced immediately. Document the test result — pass or fail — for each detector by unit identifier or room location. Do not rely on visual indicator lights alone as proof of operational status.
Check Battery Condition and Hardwire Backup Status
For battery-powered detectors, verify battery installation, check the manufacture date on the battery, and replace any battery older than 12 months regardless of apparent charge. For hardwired detectors, confirm the backup battery is present and functional. Detectors without operational backup power are non-compliant in most jurisdictions and must be corrected before the inspection is closed.
Inspect for Physical Damage, Obstruction, and Expiration
Examine each detector for cracks, discoloration from heat exposure, paint overspray, or accumulation of dust and debris that could impair sensor sensitivity. Check the manufacture date on the detector housing — smoke detectors have a functional lifespan of 8–10 years and must be replaced when that window has elapsed. Record the manufacture date and calculated replacement deadline in the inspection log.
Confirm Interconnected Alarm System Triggers All Units
For properties with interconnected smoke detector systems, trigger one detector and verify that all other connected detectors in the zone or building activate simultaneously. An interconnected alarm failure at one node requires investigation of the wiring, control module, or wireless communication channel before the system can be certified as compliant. Document which detector was triggered and confirm all activation points responded.
2. Carbon Monoxide Detector Inspection Checklist
Carbon monoxide is odorless and invisible, making detector functionality the only reliable protection against CO exposure for building occupants. Inspections must confirm that detectors are present in every required location, operating correctly, and within their rated service life. CO detector requirements vary by jurisdiction and occupancy type, but the inspection standard must reflect the most stringent applicable regulation.
Confirm CO Detector Presence Near All Fuel-Burning Appliances
Verify that CO detectors are installed on every floor level of the property and within the required distance of any fuel-burning appliance, attached garage entrance, or mechanical room containing combustion equipment. Properties with gas furnaces, water heaters, fireplaces, or attached garages must have detectors positioned to intercept CO migration pathways before CO can accumulate in sleeping areas.
Test Alarm Functionality Using the Manufacturer Test Procedure
Activate the test function on each CO detector per the manufacturer's prescribed method — typically a button hold sequence that simulates CO sensor activation, not just a circuit test. A detector producing only a brief chirp rather than a sustained alarm pattern may indicate a degraded sensor module. Record the test result and detector model for each location inspected.
Verify CO Detector Service Life Has Not Expired
Carbon monoxide detectors have a shorter functional lifespan than smoke detectors — typically 5–7 years from manufacture date depending on the sensor technology. Locate the manufacture date label on the detector housing or battery compartment and confirm the unit is within its rated service life. CO detectors that have exceeded their service life must be replaced immediately, regardless of passing a functional test.
Inspect Mounting Position for Correct Height and Clearance
Confirm that CO detectors are mounted at the height specified by the manufacturer — some models are optimized for wall installation at breathing height while others are designed for plug-in socket positions. Detectors installed in dead-air zones, directly above or below air supply vents, or in rooms where the door is habitually closed may not detect CO accurately. Incorrect mounting position must be corrected and documented.
3. Fire Extinguisher Inspection Checklist
Fire extinguishers must be properly charged, unobstructed, correctly classified for the hazards present, and within their annual service certification period. An extinguisher that passes a visual check but has not been professionally serviced within the required interval is a compliance violation regardless of pressure gauge appearance. Track fire extinguisher service records with OxMaint.
Confirm Extinguisher Location, Accessibility, and Mounting Height
Verify that extinguishers are mounted in clearly visible, unobstructed locations and accessible without moving equipment, furniture, or stored materials. Check that the mounting height places the handle no higher than 3.5 feet from the floor for extinguishers weighing more than 40 pounds, and no higher than 5 feet for lighter units. Extinguishers concealed behind furniture, locked behind doors, or stored on the floor fail accessibility requirements.
Check Pressure Gauge Reading and Tamper Seal Integrity
Inspect the pressure gauge on each extinguisher — the needle must fall within the green operating zone. A needle in the red under-pressure or over-pressure zone requires immediate service. Confirm that the tamper seal and pull pin are intact and undamaged. A missing or broken tamper seal indicates the extinguisher may have been partially discharged and must be taken out of service for professional inspection and recharge.
Review Annual Service Tag and Hydrostatic Test Date
Examine the service tag attached to each extinguisher for the date of last professional inspection. Annual inspection by a certified technician is required under NFPA 10. Confirm that the tag is current, legible, and signed by a qualified service provider. Additionally, check the date of the last hydrostatic pressure test — most dry chemical extinguishers require hydrostatic testing every 12 years — and flag units approaching or past that deadline.
Verify Correct Extinguisher Classification for Hazard Type
Confirm that each extinguisher is rated for the specific hazard class present in its installation area — Class A for ordinary combustibles, Class B for flammable liquids, Class C for energized electrical equipment, and Class K for commercial cooking areas. A Class A water extinguisher installed in an area with energized electrical hazards is a safety liability, not a safety asset. Misclassified units must be replaced with correctly rated equipment.
Inspect Cylinder, Hose, Nozzle, and Label for Physical Condition
Examine the cylinder body for corrosion, dents, weld damage, or chemical residue indicating prior discharge. Check the hose and nozzle for cracks, blockages, or deteriorated fittings that would prevent effective discharge. Verify that the operating label is legible and includes clear use instructions. Extinguishers with damaged components, illegible labels, or evidence of prior use must be removed from service immediately.
4. Emergency Lighting Inspection Checklist
Emergency lighting must activate automatically upon loss of primary power and provide adequate illumination along all egress paths for the duration required by code — typically 90 minutes minimum. An emergency light that fails to activate during a power interruption leaves occupants in darkness during the highest-risk evacuation scenario. Inspections must go beyond visual confirmation of indicator lights to include functional testing under simulated power failure conditions.
Conduct 30-Second Functional Test by Interrupting Power
Depress the test button or temporarily disconnect the unit from its power source to simulate a power failure and verify that the emergency light activates immediately and illuminates at full brightness. The lamp must remain lit for the duration of the test. A unit that flickers, activates with a delay, or illuminates at reduced brightness indicates a degraded battery or lamp that must be serviced before the unit can be returned to compliant status.
Perform Annual 90-Minute Duration Test and Document Results
Conduct the annual full-duration battery test by disconnecting each emergency light unit from its power source and running the battery to the end of the 90-minute test period. Any unit that dims below the minimum required illumination level or extinguishes before 90 minutes elapses has a battery that must be replaced. Document the test start time, end time, and pass/fail outcome for each unit tested.
Verify Coverage of All Required Egress Path Segments
Walk every egress route from each occupied area to the building exit during simulated power failure conditions and confirm that emergency lights provide continuous illumination along the entire path without dark gaps. Stairwells, corridor intersections, door threshold areas, and level changes require particular attention. Any egress path segment that falls below minimum footcandle requirements must have additional lighting installed before the inspection can be closed.
Inspect Fixtures for Physical Damage and Lamp Condition
Examine each emergency light fixture for cracked lenses, damaged housing, missing lamp guards, or physical obstructions that would redirect light away from the egress path. Check that lamp heads are correctly aimed at the intended illumination zone and have not been rotated out of position during cleaning or maintenance activities. Fixtures with damaged lenses or misaligned lamp heads must be repaired before sign-off.
5. Exit Sign Inspection Checklist
Exit signs must be continuously illuminated, correctly positioned to direct occupants toward the nearest available exit, and clearly readable from the required viewing distance under both normal and emergency lighting conditions. Exit signs that are blocked, non-illuminated, or missing directional arrows in multi-corridor layouts create exactly the confusion that impedes evacuation. Manage exit sign compliance records with OxMaint.
Confirm All Exit Signs Are Continuously and Uniformly Illuminated
Verify that every exit sign is illuminated at full brightness and that the lettering is clearly visible from the required viewing distance — typically a minimum of 100 feet under normal lighting conditions. Check for burned-out lamps, degraded LED modules, or cracked face panels that reduce luminance. Any exit sign that is dim, partially illuminated, or extinguished must be repaired or replaced immediately and removed from service until the repair is completed.
Verify Directional Arrows Point Toward the Correct Egress Route
For each exit sign with a directional arrow, physically walk in the direction indicated and confirm it leads to an unobstructed, code-compliant egress route terminating at an exterior exit or protected stairwell. Signs with arrows pointing toward routes blocked by locked doors, stored materials, or renovation barriers must be corrected. Confirm that chevron or directional arrow indicators are present at every corridor junction where the exit path changes direction.
Test Battery Backup Activation on Power Interruption
For internally illuminated exit signs with battery backup, test the backup system by disconnecting the unit from its primary power source and verifying that the sign remains fully illuminated on battery power without flickering or dimming. Signs that fail to maintain illumination under battery power have a degraded battery module that must be replaced. Document the test result, unit location, and battery replacement date in the inspection record.
Check Sign Visibility for Obstructions and Mounting Compliance
Inspect the line of sight to each exit sign from the approach direction occupants would travel during an evacuation. Signs blocked by suspended ceiling tiles, hanging decorations, signage, shelving, or equipment that has been repositioned since the last inspection must be made visible through obstruction removal or sign relocation. Confirm mounting height and position comply with the applicable fire code and are not obstructed by door swings or architectural features.
6. Safety Equipment Documentation and Compliance Sign-Off Checklist
Safety equipment inspections are only as defensible as the records that document them. A verbal confirmation or informal walkthrough that produces no written record provides zero protection in a regulatory inspection, insurance claim, or liability proceeding. All inspection findings, corrective actions, retest results, and sign-off authorizations must be generated in real time and retained according to the applicable record retention schedule.
Compile a Complete Inspection Record for Every Safety Device
Assemble a full inspection log that includes each device's location identifier, device type and model, manufacture date, last service date, test result, any deficiencies identified, corrective action taken, and retest outcome. Every entry must be linked to the specific property address, inspection date, and the name of the inspector who performed the test. Incomplete records that omit device-level detail are the most common documentation deficiency identified during regulatory audits.
Log All Corrective Actions with Completion Timestamps
For every deficiency identified during the inspection — failed detector test, expired extinguisher service tag, non-illuminated exit sign, or degraded emergency light battery — record the corrective action taken, the date and time it was completed, and the name of the technician who performed the repair or replacement. Open corrective actions that have not been resolved must carry a target completion date and an assigned responsible party before the inspection package can be filed.
Obtain Qualified Inspector Sign-Off Before Closing the Inspection
The final inspection sign-off must be completed by a qualified inspector or designated compliance authority — not by the maintenance technician who performed the repairs. The sign-off confirms that all tested devices meet compliance standards, all identified deficiencies have been resolved or are under documented corrective action with assigned accountability, and the property's life safety systems are approved for continued occupancy. Unsigned or self-certified inspection records are a regulatory liability.
Retain Inspection Records for the Required Statutory Period
Store completed safety equipment inspection packages — including all test results, corrective action records, service tags, and sign-off documentation — in the designated record management system for a minimum of three years or the applicable local statutory retention period, whichever is longer. Records must be retrievable within minutes during an unannounced inspection by fire marshals, building code officials, or insurance auditors. Records stored in formats that are not rapidly searchable by property and date carry the same exposure as records that were never created.
Schedule the Next Inspection Cycle Before Filing This Record
Before closing and filing the completed inspection record, confirm the next scheduled inspection date is entered into the maintenance management system with assigned responsible personnel. Smoke detector testing should be scheduled annually at minimum; fire extinguisher visual checks quarterly; emergency light duration tests annually; and CO detector replacement intervals tracked against manufacture dates. Properties that complete inspections without scheduling the next cycle develop compliance gaps that compound over time and frequently result in lapsed certification at the worst possible moment.
Frequently Asked Questions
Common questions from property managers and compliance teams about tenant safety equipment inspection requirements, testing intervals, and documentation standards.
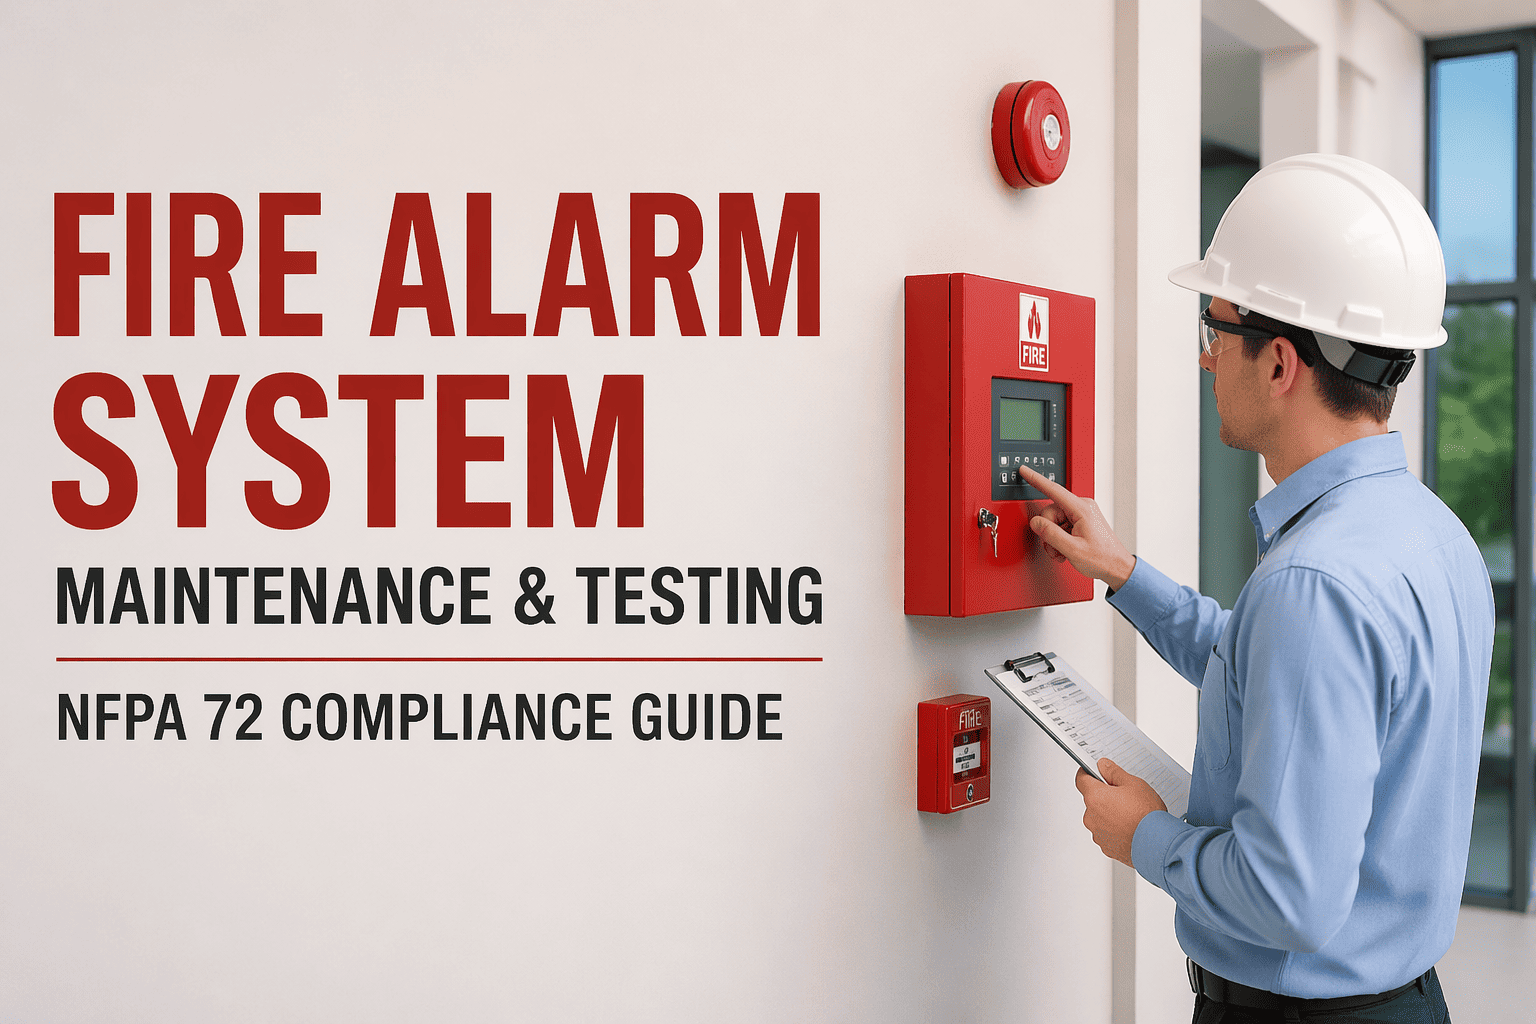
Minimum testing frequency for smoke and CO detectors in rental properties is governed by a combination of applicable fire codes, local ordinances, and lease agreement obligations — but the industry-standard baseline is annual functional testing at minimum, with battery replacement at every annual inspection. Many jurisdictions mandate landlord testing at each tenant turnover in addition to the annual schedule. Properties subject to NFPA 72 commercial fire alarm requirements may have more frequent testing obligations depending on the system category. Always confirm requirements against the jurisdiction-specific code applicable to your property type and occupancy classification.
NFPA 10 Standard for Portable Fire Extinguishers requires a visual inspection of every extinguisher at monthly intervals, an annual professional inspection and certification by a qualified fire protection technician, and hydrostatic pressure testing on a periodic cycle that varies by extinguisher type — typically every 6 to 12 years. Monthly visual checks can be performed by trained in-house personnel and should confirm that the extinguisher is in its designated location, unobstructed, pressure gauge is in the green zone, tamper seal is intact, and there is no visible physical damage. The annual inspection must be performed by a certified technician who signs and dates the service tag.
Emergency lighting units that fail the 90-minute annual duration test require battery replacement at minimum — and unit replacement if battery replacement does not restore the required illumination duration. Units with physically damaged housings, cracked lenses that alter light distribution patterns, or fixture failures that prevent correct lamp head positioning typically require full unit replacement rather than component-level repair. The decision between repair and replacement should be documented in the inspection record with the technician's justification. Any unit that cannot be restored to full compliance through repair must be replaced before the inspection can be closed without an open corrective action.
The allocation of safety equipment maintenance responsibility between landlords and tenants is governed by state and local landlord-tenant statutes, which vary significantly. In most US jurisdictions, landlords bear the legal obligation to install, test, and certify smoke detectors and CO detectors at the start of each tenancy and to maintain the systems in working order throughout the lease period. Tenants are typically obligated to report non-functioning equipment promptly and must not remove, disable, or tamper with installed safety devices. Regardless of lease language allocating maintenance to the tenant, the property owner retains ultimate legal liability for code compliance in most jurisdictions — making landlord-initiated annual inspections a non-negotiable risk management requirement.
A CMMS platform like OxMaint automates the scheduling of recurring safety equipment inspections tied to device-specific intervals, enforces digital sign-off sequences that prevent inspection closure before all test results are recorded, stores device-level inspection history with photo documentation and technician attribution, generates compliance trend reports that identify properties or device categories with recurring failures, and produces audit-ready documentation packages on demand — eliminating the paper log gaps, missed inspection cycles, and unsigned records that generate corrective actions during fire marshal inspections, insurance audits, and tenant-initiated regulatory complaints.