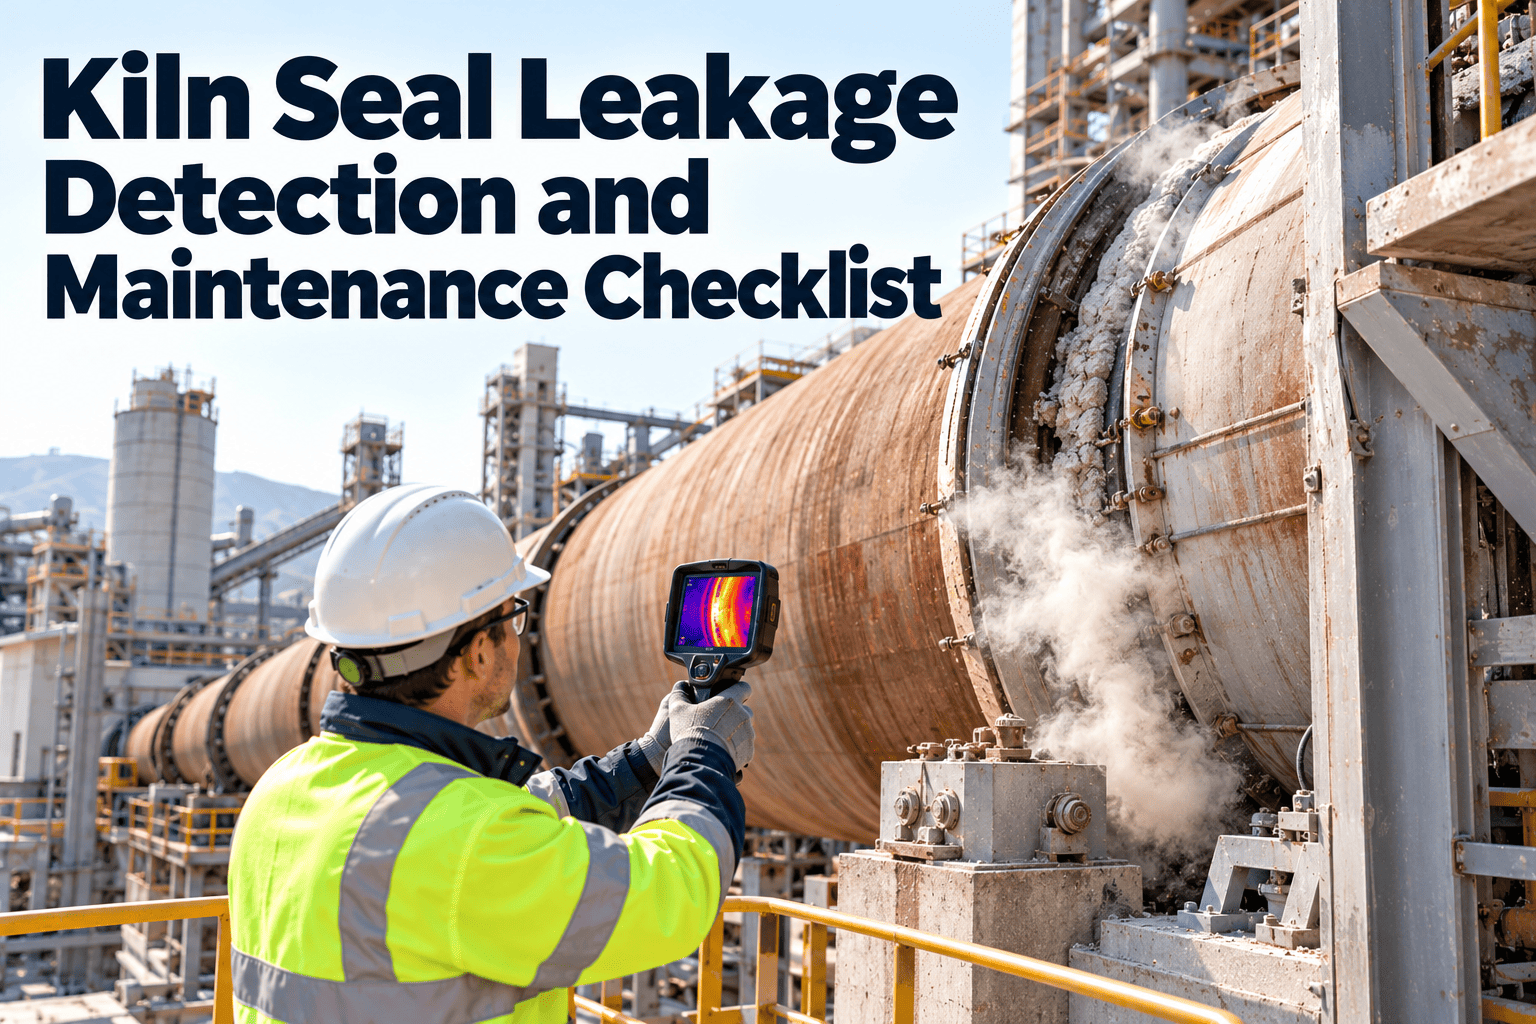
Every kiln seal is a moving joint between a rotating shell and a stationary housing, and every one of them wears. Once it stops sealing, cold false air is drawn in or hot gas and dust escape, and fuel use, draft stability, and housekeeping all suffer. This checklist gives maintenance and process teams a structured way to find leakage early, grade it, and act before it spreads. Teams can run these checks as scheduled tasks in Oxmaint maintenance management software.
Kiln Seal Leakage Detection and Maintenance Checklist
A field-ready routine for cement plants fighting false air and heat loss at kiln inlet and outlet seals, with condition indicators, maintenance actions, and escalation criteria.
Kiln Seal Inspection Checklist
Tick each item during the round, record the grade, and raise a work order for any Grade B or higher finding.
Kiln inlet seal
Kiln outlet seal and firing hood
Process indicators
Planned shutdown survey and repair
Inspection sign-off
What a Leaking Kiln Seal Actually Costs
Seal in good condition
- Stable draft and oxygen readings at the kiln inlet
- Predictable fuel consumption per tonne of clinker
- Clean floor around the seal housing
- Fewer unplanned stops for build-up cleaning
Seal leaking
- Uncontrolled false air lowers gas temperature and adds load to the ID fan
- Extra fuel is burned to reheat air that did no useful work
- Oxygen and CO readings swing without a process cause
- Dust build-up and spillage create housekeeping and safety work
Why false air matters to the heat balance
False air is air that enters the kiln system without passing through the cooler or the primary air path. It carries no useful heat, yet it must be heated and moved by the fan.
- It dilutes kiln gas, lowering inlet gas temperature.
- It pushes oxygen readings up, which can mislead combustion control.
- It raises the volume the ID fan must handle, which can limit production.
- It can disturb the flame and the burning zone when it enters near the outlet.
Where Leakage Starts: Seal Zones to Inspect
Kiln inlet seal
Sits between the rotating shell and the smoke chamber. It runs in dusty, hot conditions and is the most common false air entry point on many kilns.
Kiln outlet seal
Sits between the shell and the firing hood. Leakage here affects secondary air, flame shape, and the hood area environment.
Hood and housing joints
Expansion joints, access doors, burner pipe openings, and inspection ports often leak even when the main seal is fine.
Feed chute and smoke chamber
Chute flanges, poke holes, and refractory cracks admit air and are easy to miss because they are not part of the seal itself.
Symptoms, Likely Causes, and First Checks
| Observed symptom | Likely cause | First field check |
|---|---|---|
| Dust trail or glow around seal | Worn or broken sealing elements | Look for gaps, missing segments, and burn marks |
| Whistling or hissing near the housing | Air passing through a gap under suction | Check at different kiln speeds and with a listening aid |
| Rising inlet oxygen without a process change | New false air entry | Compare readings with recent baseline and inspect seal zones |
| Hot spots on seal housing | Hot gas escaping or lost insulation | Scan with an infrared thermometer or thermal camera |
| Seal contact surface scored or uneven | Shell ovality, misalignment, or contamination | Measure gap around the circumference during a stop |
| Spillage collecting below the seal | Seal no longer retaining material | Check scrapers, chutes, and housing drains |
How to Detect Leakage: A Five-Step Escalating Routine
- 1
Walk-by observation
Operators note dust trails, glow, spillage, and noise on every round. This takes minutes and catches obvious damage.
- 2
Process trend review
Compare inlet oxygen, draft, and gas temperature against a stable reference period.
- 3
Surface temperature scan
Use thermography or a spot thermometer to find hot housing areas that show gas escape.
- 4
Close inspection of seal elements
Where access is safe, check segment wear, spring or counterweight action, and contact surface condition.
- 5
Measured gap survey at shutdown
Record the actual clearance around the circumference and compare with the OEM drawing.
Turn Seal Checks Into a Scheduled Routine
Put shift rounds, weekly scans, and shutdown surveys into recurring inspection tasks, and keep every finding tied to the asset.
Condition Grading and Escalation Criteria
Rules worth writing into the procedure
Root Causes Behind Repeat Seal Failures
Shell movement
Kiln shells grow with temperature, shift axially on the supports, and can develop ovality. A seal that was set correctly cold may not follow that movement when hot.
Abrasive dust and clinker spillage
Fine, hot, abrasive material works into the sliding surface and wears both the sealing elements and the contact track.
Heat exposure
Elements near the outlet see radiant heat from the burning zone. Overheating softens springs, weakens fasteners, and warps thin plates.
Deferred adjustment
Springs, counterweights, and clamps lose tension over time. When nobody owns the adjustment task, small gaps grow into large ones.
Build-up near the seal
Ring formation or material build-up at the inlet or outlet pushes against the seal and can tear segments away.
Incomplete repairs
Replacing only the visibly broken piece leaves worn neighbours in place, so the same area fails again within a few months.
Operational Impact Beyond Fuel Use
- Process control: False air shifts oxygen and draft readings, so operators and automatic control may respond to a signal that is not real.
- Fan capacity: Extra volume loads the ID fan, which can cap kiln feed when the fan is already near its limit.
- Emissions and housekeeping: Escaping dust lands on platforms, motors, and cables, and adds cleaning labor every shift.
- Equipment life: Hot gas leaking onto the shell, bearings, or hood steelwork can accelerate wear on nearby components.
- Safety: Hot dust, glow, and hot surfaces around the seals increase burn and exposure risk for anyone doing rounds.
Common Inspection Mistakes to Avoid
| Mistake | Why it hurts | Better practice |
|---|---|---|
| Inspecting only at shutdown | Leakage grows unnoticed for months | Add shift observation and weekly scans |
| Cleaning the area and calling it fixed | The cause remains while the evidence disappears | Photograph before cleaning and re-grade after |
| Free-text notes only | Findings cannot be compared or trended | Use a fixed grade scale and location tags |
| Ignoring small oxygen drift | Early warning is lost | Review the trend against a recorded baseline |
| No spare parts planned | Repair is postponed to the next stop | Link findings to parts needs before the shutdown |
Choosing and Reviewing Seal Designs
Questions to ask before a design change
Keep the history in one place
Seal replacement decisions are stronger when the plant can show how long each design lasted, what failed, and what it cost in stops and repairs. A maintenance system that holds that history turns an opinion into a comparison.
Shutdown Repair Sequence
Metrics That Show Whether the Seal Program Works
| Metric | What it tells you | Review rhythm |
|---|---|---|
| Inlet oxygen against baseline | Early sign of new false air entry | Daily trend, weekly review |
| Open seal findings by grade | Backlog and risk exposure | Weekly |
| Days from finding to repair | Speed of response | Monthly |
| Seal-related stops | Cost of failures to production | Monthly |
| Measured gap versus OEM limit | Wear progression between shutdowns | Each shutdown |
| Inspection completion rate | Whether the routine is actually done | Weekly |
Trends in Seal Condition Monitoring
Thermal imaging as routine
Handheld thermal cameras are now affordable, so scanning seal housings can become a weekly task rather than a special event.
Trend-based alerts
Teams increasingly watch drift in oxygen and draft instead of waiting for visible damage.
Better seal designs
Plants compare options such as leaf, lamella, and graphite-based designs, and match the choice to kiln movement and dust load.
How Oxmaint Supports Kiln Seal Maintenance
- Create recurring inspection tasks for shift rounds, weekly scans, and shutdown surveys.
- Record findings, photos, and grades against the specific seal asset.
- Convert a Grade B or C finding into a work order with assigned owner and due date.
- Track spare segments, springs, and fasteners in inventory so repairs are not delayed.
- Use mobile workflows so operators log observations at the seal, not at the end of the shift.
- Review dashboards for overdue inspections, open findings, and repeat failures.
Safety and Permit Points for Seal Inspection
Before approaching the seal
- Check the local permit status and any restricted-zone rules
- Wear heat-resistant gloves, face protection, and respiratory protection suited to kiln dust
- Confirm the kiln is stopped and isolated for any hands-on work
- Agree a communication method with the control room
While recording findings
- Use thermal imaging or distance tools instead of close contact where possible
- Record the exact location, such as clock position around the shell
- Stop and report any condition that looks like a fire or structural failure
- Do not clear dust build-up without the proper procedure
What Good Records Look Like
- 1
Identify the asset
Tie every record to a named seal, such as the kiln inlet seal, so history does not scatter across generic equipment entries.
- 2
Capture evidence
Attach a photo, a surface temperature reading, and the grade assigned at the time of inspection.
- 3
Link the action
Connect the finding to the work order, the parts used, and the person who closed the job.
- 4
Check the result
Record the oxygen and draft trend after repair, so the team can see whether the repair removed the leak.
Questions for the monthly reliability meeting
Frequently Asked Questions
How often should kiln seals be inspected?
Observe them every shift, scan them weekly, and survey them at each planned shutdown. Adjust the interval to your kiln history.
Can I detect false air from process data alone?
A rising oxygen trend with no process change is a strong hint, but confirm it by inspection. Log both in one system for easier comparison.
Is a hot seal housing always an emergency?
Not always, but it signals gas escape or lost insulation. Grade it, record it, and escalate if it grows or spreads.
What should be recorded at each shutdown?
Gap measurements, wear on contact surfaces, parts replaced, and photos before and after repair.
Can this checklist be used in a CMMS?
Yes. Each item becomes a recurring task with a grade and an escalation path. Book a demo to see the workflow.
Stop Losing Heat Through Worn Seals
Give your crews a clear checklist, a grading scale, and a record of every repair, all in one maintenance system.