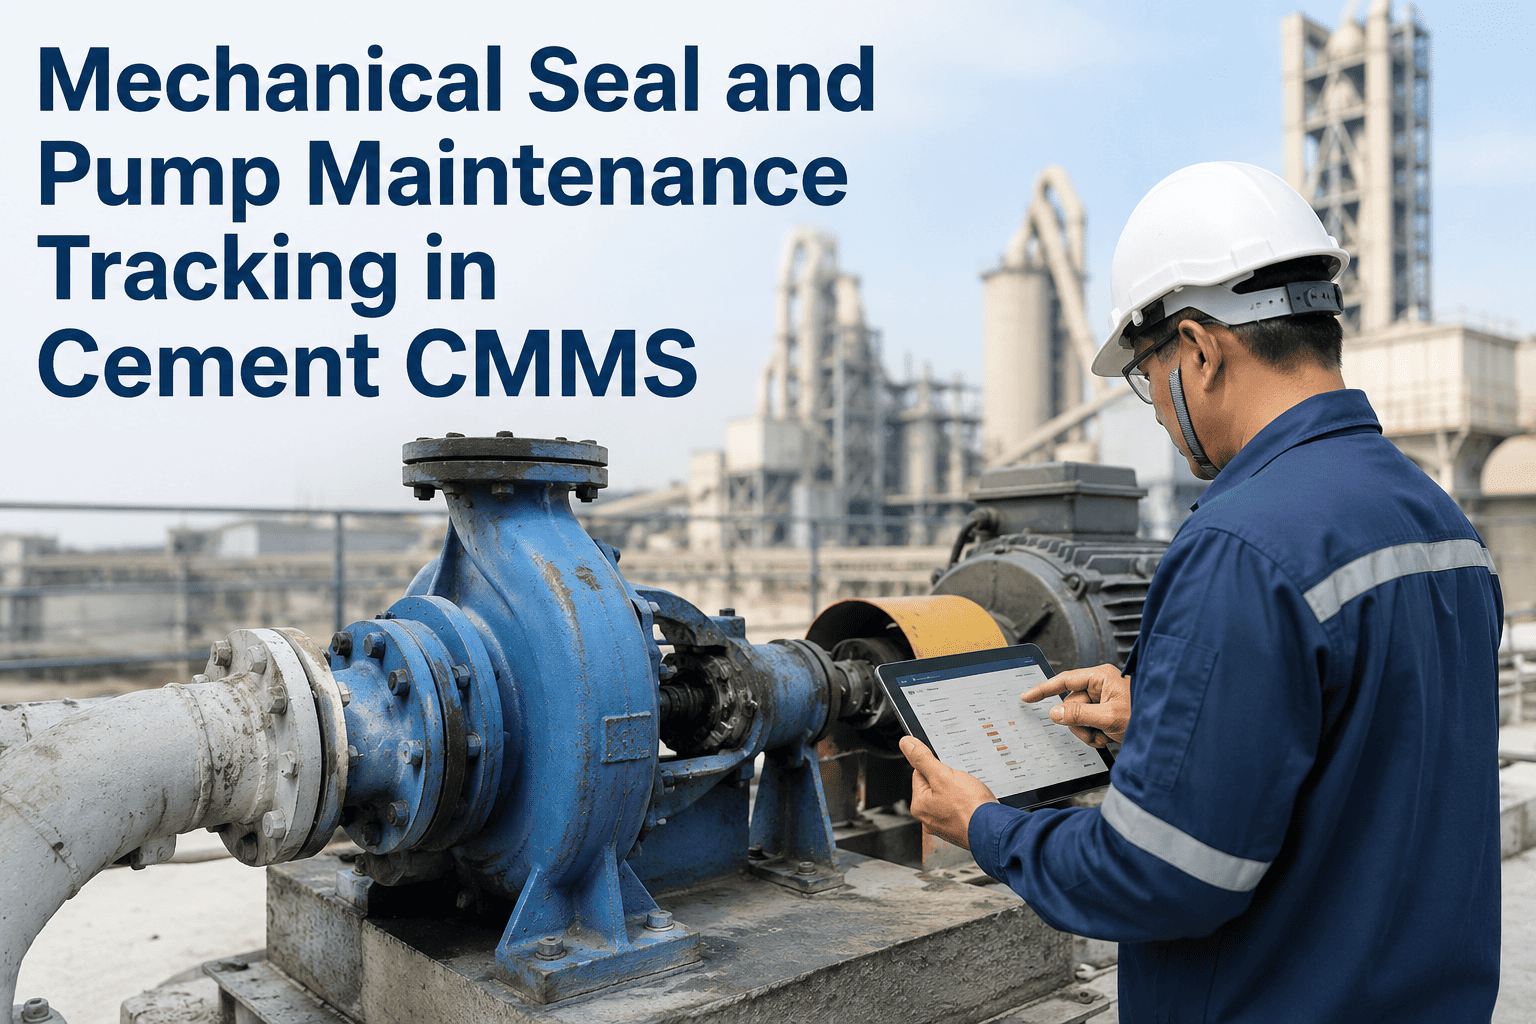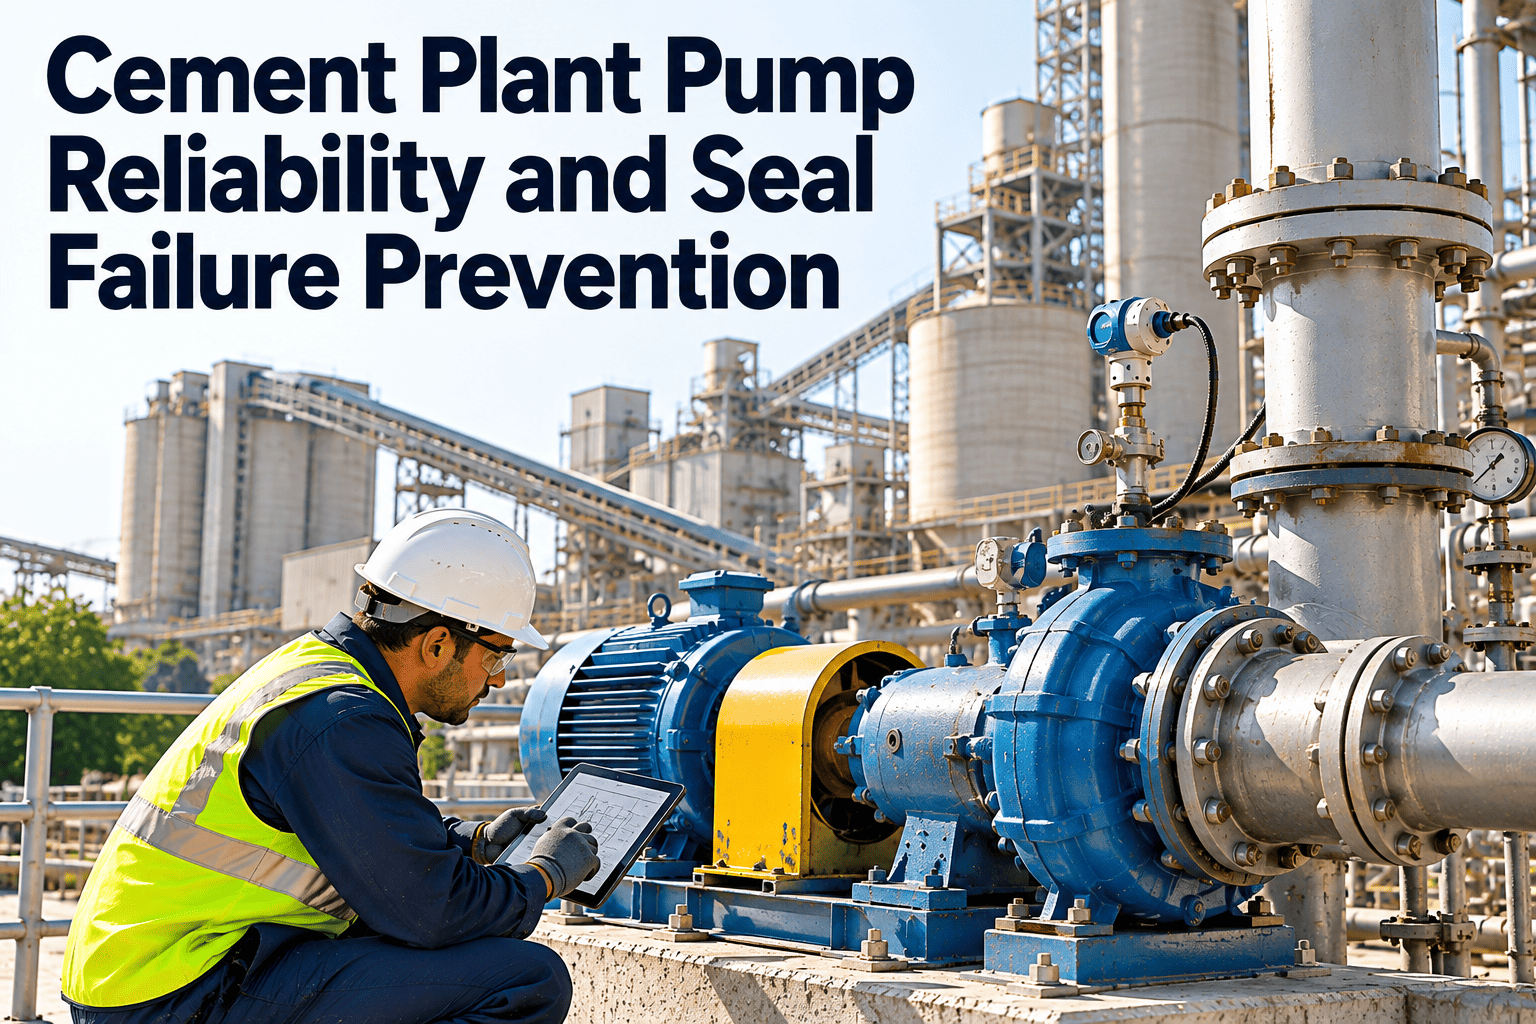
Pumps rarely get the attention that kilns and mills do, yet a failed cooling water, lube oil, or slurry pump can force a production line down just as quickly. In most cement plant pumps, the mechanical seal is the first component to fail, and abrasive dust, heat, and poor flush conditions make it worse. This guide walks through the common seal failure modes, the inspection routines that catch them early, and how a cement plant maintenance system keeps pump work organized.
Cement Plant Pump Reliability and Seal Failure Prevention
Find why seals fail, stop the repeat causes, and move pump maintenance from emergency replacement to planned, tracked work.
Where Pumps Matter in a Cement Plant
Why Seals Fail Early in Cement Conditions
- Fine, abrasive dust enters flush lines, quench areas, and seal faces.
- Heat from nearby process equipment stresses elastomers and raises fluid temperatures.
- Pumps run dry during start-up, tank drawdown, or blocked suction.
- Misalignment and pipe strain load the shaft, and the seal takes the damage.
- Seal flush plans are removed, blocked, or never set up correctly after a repair.
The cost of a small leak
- Leaking fluid can wash out bearing grease and contaminate bearing housings.
- Repeated seal replacements consume labor and spares without solving the cause.
- An unplanned stop on a cooling or lube pump can trip a critical machine.
Symptom to Cause Guide for Seal Failures
Read the failed seal before replacing it. The condition of the faces and elastomers points to the cause.
| What You See | Likely Cause | Corrective Direction |
|---|---|---|
| Scored, grooved seal faces | Abrasive particles reaching the faces | Improve flush filtration, review seal design for solids |
| Blistered or cracked carbon face | Dry running or loss of lubricating film | Fix suction conditions, add dry-run protection |
| Hardened or cracked O-rings | Overheating or incompatible fluid | Check cooling, choose suitable elastomer |
| Uneven face wear pattern | Shaft misalignment or pipe strain | Realign, correct piping supports |
| Product hung up at the faces | Solids packing around the seal | Review flush arrangement and quench |
| Frequent seal changes with vibration | Cavitation or worn bearings | Check suction head, inspect bearings |
Root Cause Path: From Leak to Lasting Fix
Flush and Support Systems Worth Checking
Seal support arrangements are often described by standard flush plans. Confirm the plan on each critical pump and keep its documentation with the asset.
| Arrangement | Purpose | Routine Check |
|---|---|---|
| Product recirculation flush | Cools and lubricates the seal using pumped fluid | Line free of blockage, orifice not plugged |
| Clean external flush | Supplies clean fluid where the product carries solids | Flow rate, supply pressure, filter condition |
| Quench arrangement | Prevents buildup on the atmospheric side | Supply present, drain clear |
| Barrier or buffer fluid system | Isolates the process from the atmosphere for tougher duties | Reservoir level, temperature, pressure |
Stop Replacing Seals and Start Removing Causes
Record every pump failure with its cause, schedule inspection rounds, and keep flush and alignment checks on a plan your team can track.
Pump Risk Matrix
Rank pumps by consequence and condition so effort goes to those that can stop production or create safety and environmental exposure.
| Consequence of Failure | Good Condition | Early Wear Signs | Active Leak or Vibration |
|---|---|---|---|
| Trips a critical machine | Routine round | Plan swap to standby | Act now, switch to standby |
| Reduces output | Routine round | Increase checks | Plan repair window |
| Standby installed | Routine round | Monitor | Swap and repair |
| Environmental exposure | Routine round | Inspect within days | Immediate response |
Preventive Maintenance Plan for Cement Pumps
- Check for seal leakage and drip rate
- Listen for cavitation or bearing noise
- Confirm flush and quench flow
- Note discharge pressure and motor current
- Clean or replace flush strainers
- Check bearing temperature and lubrication
- Inspect coupling guards and fasteners
- Review vibration readings where available
- Verify alignment and pipe strain
- Inspect shaft sleeve and impeller wear
- Replace seals with the correct specification
- Record findings and update history
Seal Installation and Start-Up Checklist
Many early seal failures trace back to installation and start-up, not to the seal itself.
- Confirm the seal model and materials match the fluid and temperature
- Check shaft and sleeve for damage and runout before fitting
- Keep seal faces clean and unmarked during handling
- Set the seal compression to the manufacturer instructions
- Vent the seal chamber before start-up
- Open flush and quench lines before starting the pump
- Confirm suction is flooded and valves are correctly positioned
- Observe the first hours of running and record the results
Condition Signals Worth Tracking
Keep it practical
- Start with operator rounds. A leak count recorded on a mobile checklist is a useful trend.
- Add sensors only for critical pumps where the failure mode justifies it.
How Oxmaint Supports Pump Reliability
Oxmaint maintenance management software gives pump work a structure: each pump has a history, each failure has a recorded cause, and each routine is scheduled.
Before and After: Managing Seal Failures
- Seal replaced when it leaks heavily
- Cause not recorded
- Spares ordered after failure
- Same pump fails again within weeks
- Leak trends trigger inspection work orders
- Failure cause coded and reviewed
- Critical seal kits stocked
- Repeat causes removed at the source
KPIs for Pump Reliability
- Mean time between seal failures by pump and by duty type
- Repeat failure rate within a defined number of months
- Percentage of pump work that is planned
- Preventive maintenance completion on critical pumps
- Emergency seal replacements per quarter
Frequently Asked Questions
Give Every Pump a Plan and a History
Schedule inspections, record failure causes, and stock the right seal kits so pump problems are handled before they stop the plant.