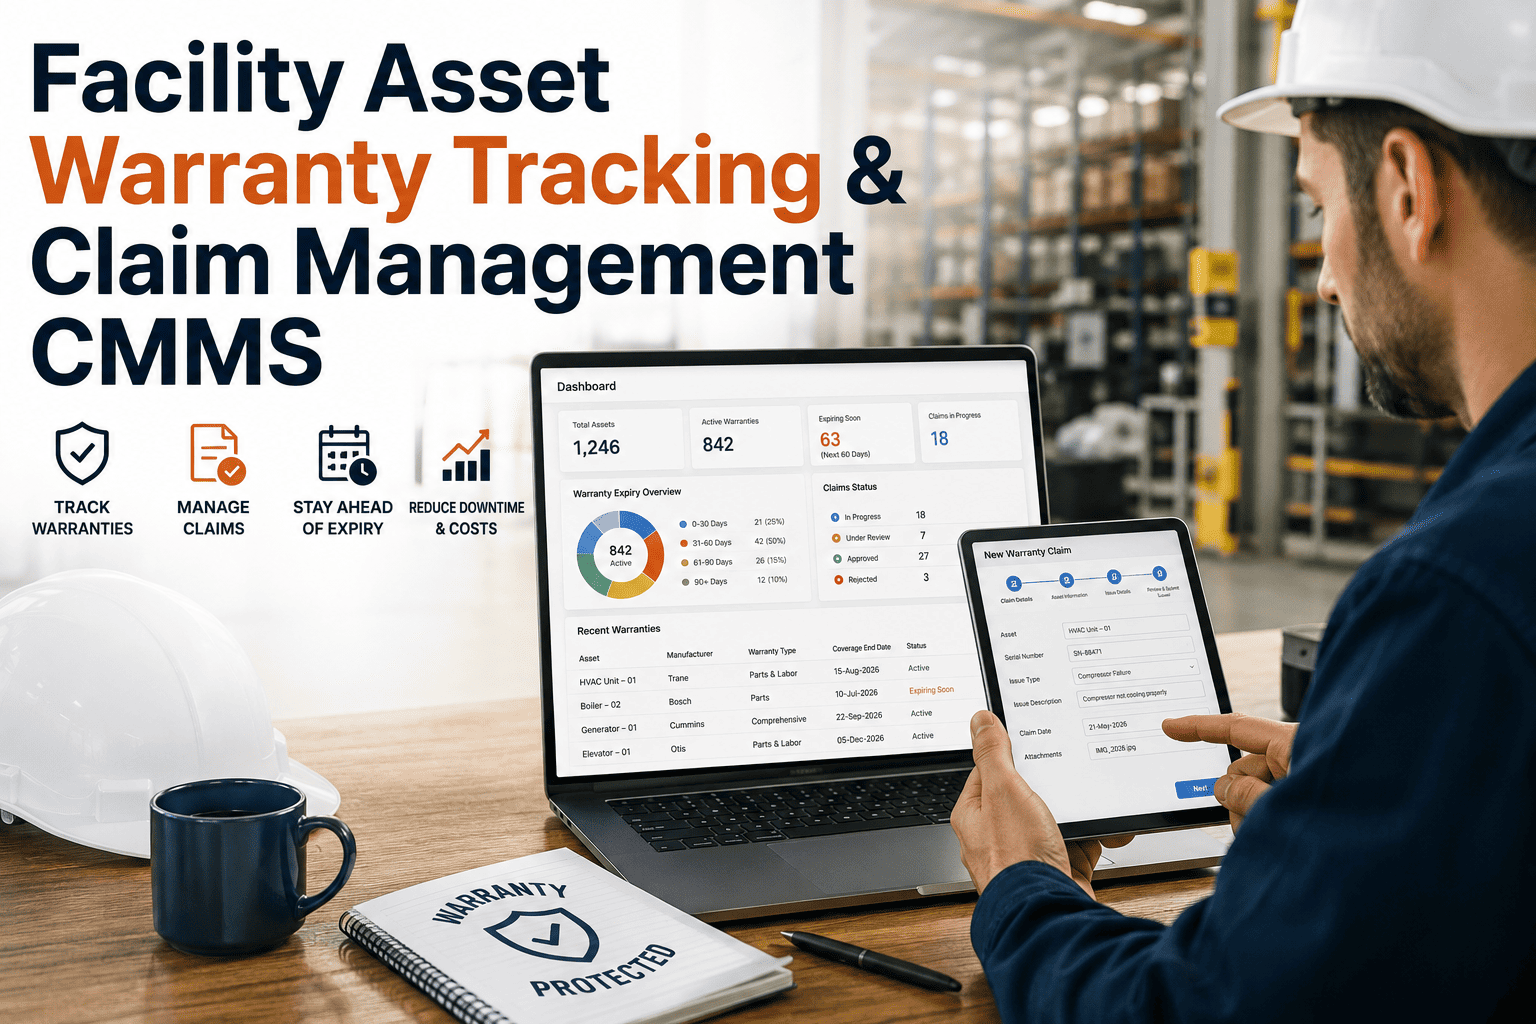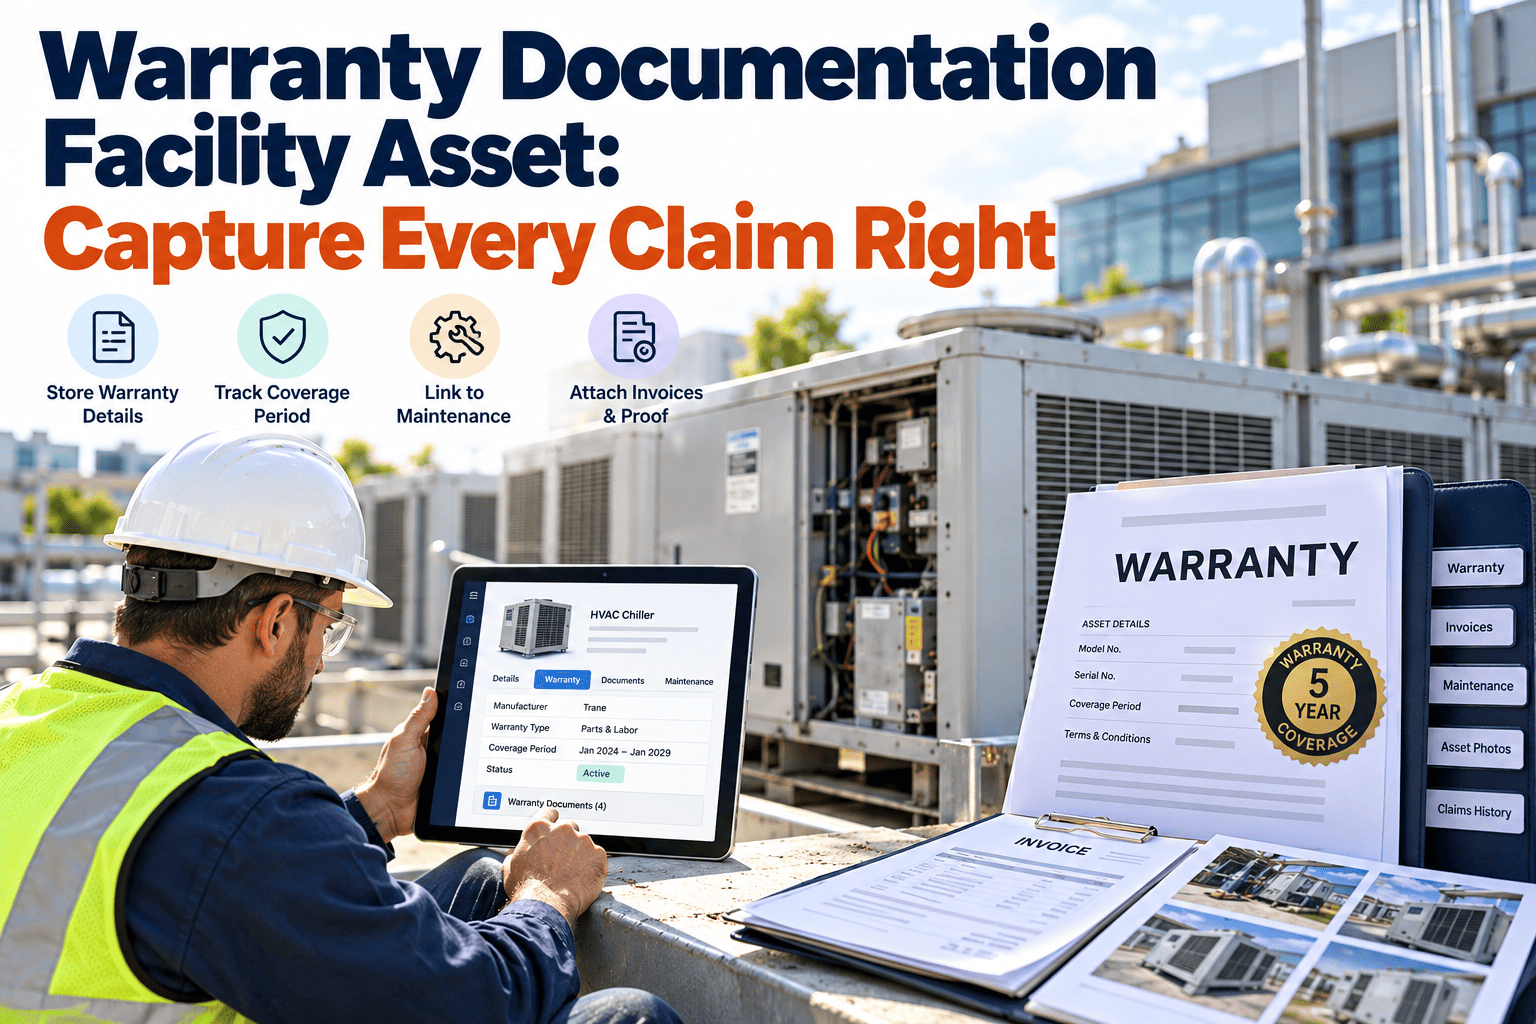
A warranty is only worth the paper trail behind it. Facility teams routinely buy chillers, roofs, generators, and elevators with multi-year coverage, then lose the install date, the registration confirmation, or the service history needed to prove a failure was covered. The result is denied claims, repair bills that belonged to the manufacturer, and capital budgets that quietly absorb avoidable loss. This guide covers the fields to record, the proof to capture, and how to attach everything to the asset so each claim is filed right the first time. You can build these records in Oxmaint maintenance management software as you follow along.
Warranty Documentation for Facility Assets: Capture Every Claim Right
Claims are rarely lost because the equipment was not covered. They are lost because the start date, registration, service proof, or failure evidence was missing when the vendor asked for it.
Why Warranty Claims Fail on Paper, Not on the Equipment
Most denial letters cite one of six documentation gaps. Each one is preventable at the asset record level.
The Required Fields for Every Warranty Asset
A usable warranty record is a structured set of fields, not a scanned PDF in a shared folder.
| Field | What to record | Why a claim depends on it |
|---|---|---|
| Asset identifier and location | Unique ID, building, floor, room or plant area | Ties the claim to the exact unit and site |
| Manufacturer, model, serial number | Copied from the nameplate, with a photo | Vendors validate coverage by serial number |
| Warranty provider | Manufacturer, installer, or extended coverage company | Shows who receives the claim |
| Coverage type | Parts only, parts and labor, workmanship, performance | Defines what the vendor will pay for |
| Start date and basis | Date plus the trigger: delivery, completion, or start-up | Decides whether the asset is covered today |
| Expiry date and term | Calendar end date, run-hour limits where they apply | Drives review alerts before coverage ends |
| Registration proof | Confirmation number, date, and submitted form | Proves conditions of coverage were met |
| Maintenance conditions | Required tasks, intervals, and who may perform them | Links coverage to the preventive maintenance plan |
| Exclusions and limits | Misuse, water damage, consumables, labor caps | Prevents filing claims that are certain to fail |
| Claim contact and process | Phone, portal, notice period, authorization steps | Saves time during a failure |
| Contract and document links | Warranty certificate, purchase order, commissioning report | Provides the originals on request |
| Claim history | Dates, work order numbers, outcome, amount recovered | Supports vendor performance reviews |
Warranty Types Facilities Actually Hold
One asset often carries two or three overlapping warranties. Record each separately.
| Type | Typical coverage | Proof usually requested | Common trap |
|---|---|---|---|
| Manufacturer warranty | Defective parts, sometimes labor, for a stated term | Serial number, registration, service records | Component terms differ from whole-unit terms |
| Installer or contractor workmanship | Faulty installation, leaks, poor connections | Contract, completion certificate, defect photos | Coverage ends at a date set in the contract, not the equipment term |
| Extended or service agreement | Longer parts or labor cover, often for major components | Agreement number, proof of required inspections | Exclusions for deferred maintenance |
| Performance warranty | Capacity, efficiency, or output guarantees | Baseline test data and operating logs | No baseline readings captured at start-up |
Proof Capture: What to Collect at Each Stage
Evidence is easiest to collect when work happens, not when a claim is being assembled.
At commissioning
- Nameplate photo with serial number visible
- Start-up report signed by the commissioning party
- Baseline readings: pressures, temperatures, amperage
- Registration confirmation and warranty certificate
During service life
- Completed preventive maintenance work orders
- Technician name, qualification, and date
- Parts used, with part numbers
- Inspection results, including passed items
At failure
- Time-stamped photos and video of the fault
- Fault codes, alarm screens, and readings
- Operating conditions at the time
- Failed part tagged and held, not discarded
At submission
- Claim form with the correct start date
- Maintenance history for the full warranty term
- Vendor correspondence and authorization numbers
- Repair invoice and corrective work order
Stop Searching Folders When a Warranty Claim Is Due
Attach warranty terms, service proof, and failure evidence to each asset so your team can file in minutes, not days.
The Warranty Clock: Dates That Decide Coverage
Check the contract wording to see which event starts the clock, then store that exact date.
Purchase order and delivery
Some manufacturer terms start on shipment or delivery, even though the unit sits in storage for months.
Substantial completion
Construction contracts commonly start contractor workmanship coverage here, which can predate occupancy.
Commissioning and start-up
Many equipment warranties begin on the signed start-up date. Capture the report the same day.
Registration deadline
Registration windows can be shorter than the warranty itself. Record the deadline and the confirmation.
Review window before expiry
Set reminders at 90, 60, and 30 days so a final inspection can find defects while the vendor still owes the repair.
Failure-Day Evidence Checklist
The first hour after a failure shapes the outcome of the claim.
Do before any repair
- Open a corrective work order and flag it as warranty-related
- Photograph the nameplate, the fault, and the surroundings
- Record alarms, codes, and meter readings
- Notify the warranty provider within the notice period
- Request a claim or authorization number in writing
Avoid until the vendor responds
- Letting an unapproved contractor open the unit
- Replacing parts without keeping the failed component
- Resetting controls that erase fault history
- Modifying settings outside the manual
- Authorizing repairs without vendor sign-off
Emergencies that threaten safety or critical operations may require immediate action. Document everything you do, and tell the vendor why.
Attaching Warranty Records in a CMMS
A computerized maintenance management system keeps the warranty with the asset it protects, so the record follows the equipment.
Without a central record
- Certificates in email, drawers, and project folders
- Start dates remembered by one person
- Technicians unaware an asset is still covered
- Expiry discovered after the repair bill arrives
With warranty data on the asset
- Terms, dates, and documents in one asset record
- Work orders showing coverage status at creation
- Preventive maintenance tied to warranty conditions
- Expiry reminders sent before coverage ends
How Oxmaint supports the warranty workflow
- Asset records hold serial numbers, warranty terms, expiry dates, and linked documents.
- Preventive maintenance schedules generate the service work orders that warranty conditions require.
- Mobile work orders let technicians attach time-stamped photos and notes at the equipment.
- Inspection checklists record readings and pass or fail results as evidence.
- Corrective work orders capture failure details and link to the parts used.
- Reports show assets nearing expiry and the maintenance history behind each claim.
Audit and Compliance: What Finance and Reviewers Ask
Warranty records support financial reporting, vendor contracts, and internal audits.
Which assets are still covered?
A filtered list by expiry date shows coverage at any point in time.
Were conditions of coverage met?
Completed maintenance records show that required service was performed on schedule.
What did we recover?
Claim history links each recovery to a work order and invoice.
Who approved the repair?
Authorization numbers and correspondence stay attached to the claim.
Measuring the Warranty Program
Track a short set of measures. Each one points to a specific documentation habit.
Where to Start: A Risk Matrix for Warranty Assets
Document the highest-value, soonest-expiring assets first, then work down the grid.
Do now
High replacement cost, expiring within 12 months. Examples: chillers, generators, roofing systems.
Schedule next
High cost, long remaining term. Confirm registration and set maintenance conditions.
Check quickly
Moderate cost, expiring soon. Run a pre-expiry inspection.
Batch later
Low cost, long term. Capture basic fields during routine rounds.
A Five-Step Rollout Plan
- List covered assets. Pull purchase orders, closeout packages, and service contracts to find equipment with active warranties.
- Verify the facts. Confirm serial numbers, start dates, and coverage with each vendor.
- Enter the fields. Add the required data and upload documents to each asset record.
- Link maintenance. Build preventive tasks that satisfy each warranty condition.
- Set alerts and review. Add expiry reminders and hold a monthly review of upcoming expirations.
Warranty Documentation Priorities by Asset Class
Different equipment fails in different ways, so the evidence you need changes with the asset.
| Asset class | What vendors tend to examine | Documentation to keep ready |
|---|---|---|
| Chillers and compressors | Water treatment, refrigerant handling, operating logs | Service reports, refrigerant records, start-up readings |
| Air handling units and fans | Filter changes, belt and bearing service | Preventive work orders and vibration or amperage readings |
| Roofing and envelope | Penetrations, repairs by unapproved parties, drainage upkeep | Installer certificate, inspection reports, repair authorizations |
| Generators and transfer switches | Load testing, fuel quality, battery service | Test logs, fuel records, service intervals |
| Elevators and lifts | Contracted service visits and inspections | Service agreement and certified inspection records |
| Fire and life-safety systems | Code-required testing and impairment handling | Test reports, impairment logs, contractor credentials |
Three Illustrative Claim Scenarios
These examples show how documentation decides the result. They are illustrations, not case studies.
Compressor trips late in the term
The unit fails near the end of an extended parts warranty. The team files with a full service history and fault readings, and the vendor has little reason to question coverage.
Roof leak after a contractor repair
A leak appears after an unapproved party patched the membrane. The installer cites the repair, and without authorization records the claim is weak.
Generator fails a load test
Test logs show the unit ran correctly at every earlier test. Photos and readings from the failed test support a parts and labor claim.
Expired by two weeks
A defect surfaces just after expiry. A pre-expiry inspection would have caught it while the vendor still owed the repair.
What to Include in the Claim Submission
A complete package reduces back-and-forth and shortens the time to approval.
- Asset identifier, model, serial number, and installed location
- Warranty start date, coverage type, and the contract or certificate reference
- Clear description of the failure, with the date and time it was found
- Supporting photos, readings, fault codes, and operating conditions
- Maintenance history covering the warranty term, including technician and date
- Prior related work orders and any earlier vendor contact
- Requested remedy: repair, replacement, or labor reimbursement
Handling Disputes and Partial Denials
A denial is not always final. Read the reason, then respond with the record.
Check the stated reason
- Does the denial cite a clause you can read in the contract?
- Is the stated start date the same as your record?
- Was the missing maintenance actually performed?
Respond with evidence
- Provide completed work orders and inspection records
- Ask for a written explanation of the exclusion applied
- Escalate through the contract contact if the dispute stands
Building a Warranty Habit Across the Team
Good records depend on small, repeatable actions by everyone who touches the asset.
Project and construction teams
Hand over warranty certificates, start-up reports, and contractor contacts as part of closeout, not months later.
Technicians
Check coverage status before starting a repair, and attach photos and readings to every work order.
Maintenance planners
Align preventive schedules with warranty conditions and review expiring coverage every month.
Finance and procurement
Track recovered costs and use claim history when choosing vendors and extended coverage.
Warranty Documentation FAQs
What is the most important warranty field to record?
The start date and its basis. Without it, you cannot prove the asset was covered when it failed.
Can missed maintenance void a warranty?
Yes, if the terms require it. Keep completed preventive work orders to show conditions were met, or see a demo.
Should I keep failed parts?
Yes. Vendors often ask to inspect the part, so tag it and store it until the claim closes.
How early should expiry reminders be set?
Many teams use 90, 60, and 30 days to leave time for inspection and repair claims.
Can warranty records live with the asset in a CMMS?
Yes. You can start in Oxmaint and attach terms, dates, and documents to each asset.
Make Every Warranty Claim Easy to Prove
Bring warranty terms, maintenance proof, and failure evidence into one asset record and recover repair costs you are already owed.