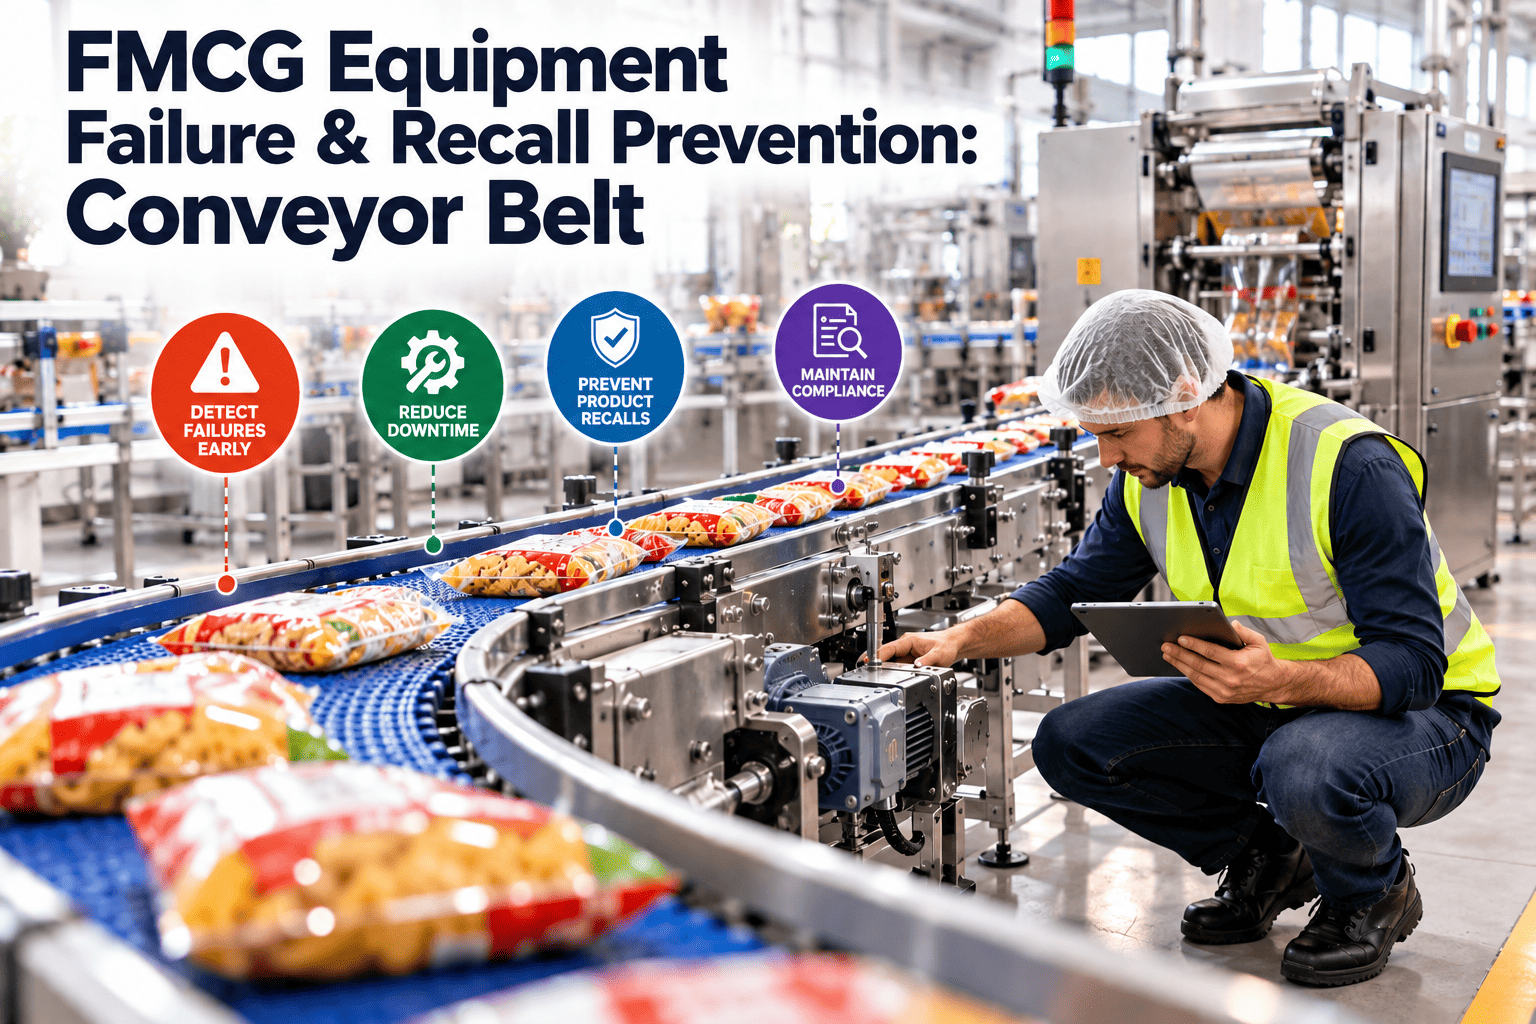
A conveyor belt carries every product on the line, which makes it one of the few machines that touches nearly everything you sell. When a splice fractures or a belt edge frays, the damage is not only a stoppage. Fragments can end up in product, and the cost moves from maintenance into quality holds, customer complaints and, in the worst cases, recalls. This guide explains how FMCG plants can reduce that risk through splice inspection, contamination monitoring and condition-based triggers, using workflows in Oxmaint maintenance management software.
Conveyor Belt Failure Is a Recall Pathway, Not Just a Downtime Event
Detect splice wear, edge damage and fragment risk early, and document every inspection, so a belt problem never becomes a product problem.
Why Conveyors Deserve a Place in Your Recall Risk Assessment
Food safety plans focus heavily on ingredients and process steps. Equipment-borne hazards, such as belt fragments, are real but can sit lower on the maintenance priority list than they should.
- Direct contact with open product on many lines
- Continuous flexing, tension and abrasion
- Exposure to heat, moisture, oils and cleaning chemicals
- Splices and edges that wear first and are often hard to see
- Failure is gradual until a sudden break
- Inspections happen during production, not when belts are stopped
- Minor fraying is treated as cosmetic
- Detection equipment is assumed to catch whatever sheds
Detection is a last line of defence, not a substitute
Metal detectors, X-ray and vision systems help, but they do not detect every material. Many belt materials are not metal and some fragments are small or low density. Prevention at the belt remains the stronger control.
How Conveyor Belts Fail: Know the Modes
Different belt types fail differently. Your inspection plan should follow the construction of the belt in use.
| Belt type | Typical failure mode | Early warning signs | Contamination risk |
|---|---|---|---|
| Fabric-reinforced flat belt | Splice separation, edge fraying, ply delamination | Lifting splice edges, loose threads, edge tracking issues | Fibre and fragment shed |
| Solid thermoplastic belt | Surface cuts, splice fatigue, edge wear | Cracks near fastener or weld, surface roughness | Polymer fragments |
| Modular plastic belt | Hinge pin wear, module breakage, rod migration | Pitch elongation, missing pins, broken tabs | Plastic pieces and pins |
| Metal wire or mesh belt | Link fatigue, weld failure, wire breakage | Sagging, distorted links, broken wires | Metal fragments |
| Mechanically fastened belt | Fastener fatigue, lacing wire pull-out | Exposed or bent fasteners, hinge wear | Metal and belt fragments |
The Splice: Where Most Problems Begin
A splice is a joint in a continuously flexing component. It carries concentrated stress, which makes it the first place to examine.
What to record at each splice inspection
- Belt ID, location in the line and splice position
- Photographs from the same angle each time
- Condition grade using a defined scale, not free-form comments
- Measurements where relevant, such as edge wear or elongation
- Inspector name, date, and line status during inspection
Building a Layered Conveyor Inspection Plan
One inspection type cannot catch everything. A layered plan combines frequent, simple checks with deeper periodic ones.
Condition Triggers: Act Before the Failure Date
Fixed replacement intervals are easy to schedule but ignore actual condition. Combine intervals with triggers based on what inspections find.
Responding When a Belt Fails in Production
Even good programmes face failures. The response in the first hour decides whether the event is contained or grows.
Prevention With Oxmaint Maintenance Workflows
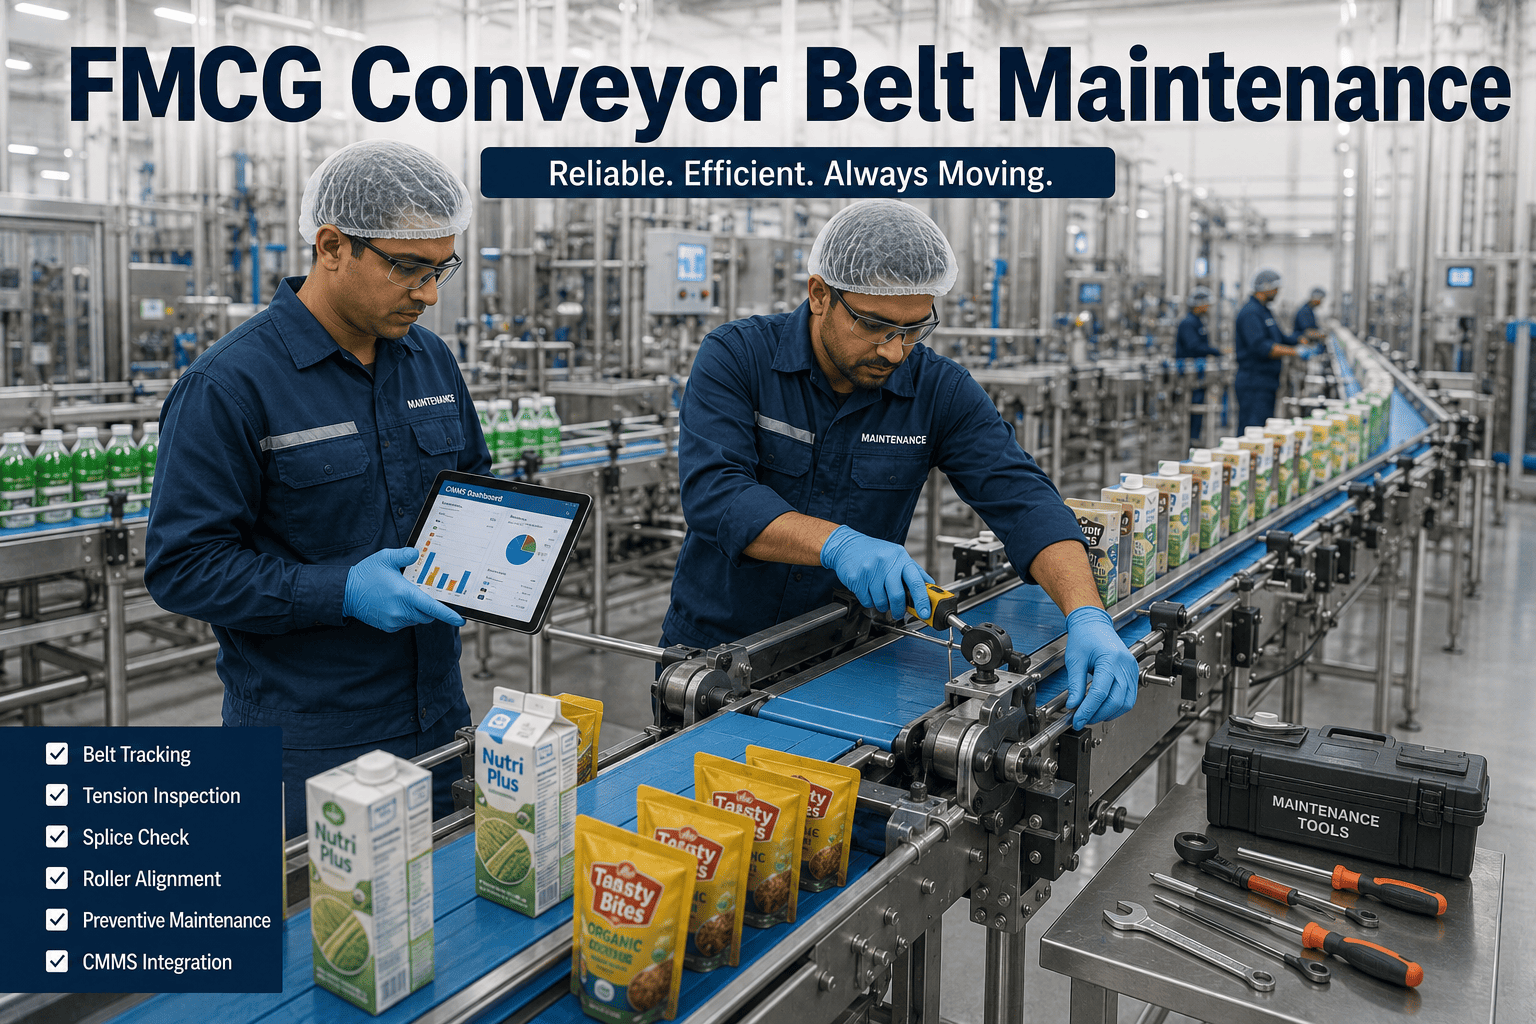
Oxmaint helps teams schedule belt inspections, use graded checklists, attach photos, raise corrective work orders and keep belt history against each asset. Set up conveyor inspection checklists and track every splice from installation to replacement.
Selecting and Specifying Belts to Reduce Risk
Prevention starts at purchase. A belt that suits the product, the cleaning method and the splice process fails later and more predictably.
| Selection factor | Questions to ask | Why it affects recall risk |
|---|---|---|
| Material and food contact approval | Is it approved for the product type and cleaning chemicals? | Incompatible material degrades and sheds |
| Detectability | Can fragments be found by your inspection equipment? | Detectable materials improve downstream control |
| Splice method | Is the splice suited to the pulley diameter and load? | Poor splice choice shortens life sharply |
| Edge construction | Are edges sealed against moisture and fraying? | Open edges wick moisture and shed fibres |
| Cleanability | Does the surface and structure allow thorough cleaning? | Residue buildup accelerates wear and hygiene problems |
Training Splice Inspectors for Consistent Grading
A grading scale only works if different people grade the same way. Calibrate inspectors, just as you calibrate instruments.
- Build a photo reference of each grade using real belts from your own lines
- Have new inspectors grade a set of samples and compare against experienced staff
- Repeat the comparison after procedure changes or belt type changes
- Give inspectors clear authority to stop a line when a splice reaches the stop grade
- Review grading disagreements in a short monthly meeting and update the reference
Tools and Foreign Material Control During Belt Work
Belt repair introduces its own risks: cut offcuts, blades, fasteners and fibres. Control them as carefully as the belt itself.
Learning From Near Misses
Fragments found on a belt before they reach product are a gift. They show a failure mode while consequences are still small.
- Record every fragment, thread or damaged piece found, with location and time
- Treat each find as a work order with a root cause, not a cleaning note
- Trend near misses by belt, line and cause to see where inspection should tighten
- Share findings with operators so they know what to report and why it matters
Spares and Readiness for Belt Failures
When a belt fails, the length of the stop depends on what is on the shelf. A ready kit shortens the outage and reduces the temptation for a rushed, unapproved repair.
| Item to hold | Reason | Control |
|---|---|---|
| Spare belt or pre-spliced length | Fastest route back to production on critical lines | Store flat or as the manufacturer advises, with age and condition recorded |
| Splice kits and approved adhesives | Avoid improvised repair materials | Check expiry dates and storage conditions |
| Modules, pins and hinge parts | Replace broken sections without delay | Match part numbers to the installed belt |
| Scrapers, guides and wear strips | Remove common causes of edge and surface damage | Link to the asset in the parts list |
| Controlled cutting tools | Support safe, accountable repairs | Issue and return through a tool control record |
Linking Belt Data to Quality and Complaints
Complaint data and belt data rarely meet, yet together they show whether controls are working.
- Compare foreign material complaints with the belt on the line where the product was made
- Check whether the affected lots were produced near a splice repair or belt change
- Include belt condition grades in the review of any foreign material investigation
- Use trends to adjust inspection frequency and belt replacement thresholds
Questions to Ask at Your Next Line Walk
A short walk with the right questions often reveals more than a report. Use these on each conveyor you pass.
- Can I see the splice, and when was it last graded?
- Are the edges clean and intact, with no loose fibres or lifting layers?
- Are there scrapers, guides or frames showing signs of rubbing?
- Is there any debris, sticky residue or product buildup at the belt edges?
- Would a fragment from this belt be found before it left the building?
Catch Belt Wear Before It Reaches the Product
Schedule graded inspections, trigger work on condition and keep a clear record of every belt on every line.
Risk Scoring: Which Conveyors Come First
Not every belt carries the same consequence. Rank conveyors so inspection effort follows risk.
| Factor | Low score | Medium score | High score |
|---|---|---|---|
| Product exposure | Fully packed product | Primary packed, open at times | Open, ready-to-eat product |
| Downstream detection | Reliable detection after belt | Detection with limits | No detection after belt |
| Belt condition history | No findings | Occasional edge wear | Repeated splice or fraying issues |
| Operating conditions | Dry and ambient | Washdown or moderate heat | High heat, oils or aggressive chemicals |
| Ease of inspection | Open, accessible | Partially enclosed | Enclosed, hard to see splice |
Using the score
- High-scoring belts receive shorter inspection cycles and photographic baselines
- Spare belts and splice kits are held for belts where downtime would be longest
- Enclosed belts are given planned access inspections, not only visual checks
Cleaning, Chemistry and Mechanical Causes Behind Belt Damage
Many belt failures are driven by something else in the system. Fixing the belt without fixing the cause repeats the problem.
Before and After: Reactive Versus Controlled Belt Management
The shift from reactive to controlled management shows up in how belts are inspected, recorded and replaced.
- Belts replaced after they fail
- Inspection notes are brief and unstructured
- Splice history is unknown
- Investigations start from a blank page
- Belts replaced on condition and risk
- Graded inspections with photos
- Every splice dated and tracked
- Investigations start from full history
Documentation That Supports Recall Readiness
If a recall or hold does occur, records decide how quickly you can scope it and how credible your response is.
- Belt installation date, material, supplier and splice type
- Inspection records with grades, photographs and inspector names
- Repair and replacement history, including splice remakes
- Records of fragments found and how they were accounted for
- Clearance sign-off after every belt repair
- Detection device verification records for the same line
- Corrective actions with root cause and follow-up results
Indicators to Review Monthly
These measures show whether the programme is working before an incident tests it.
Frequently Asked Questions
Keep Conveyor Failures Out of Your Product and Your Headlines
Bring belt inspections, condition triggers and clearance records into one maintenance system.

.png)
.png)
