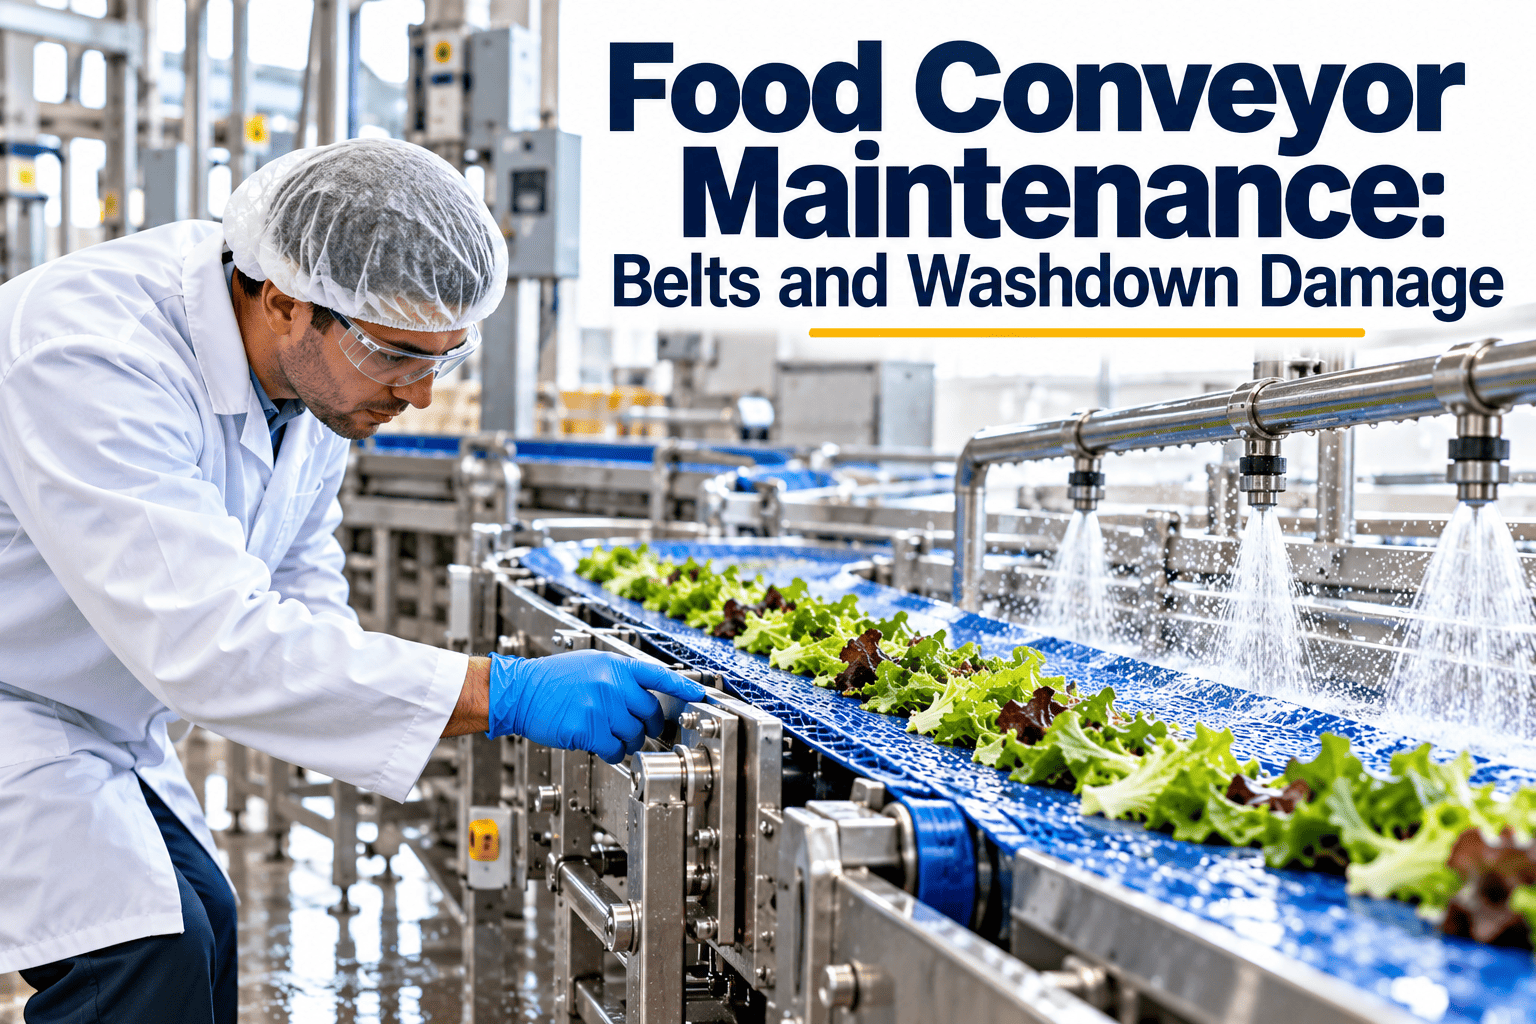
Food conveyors live in the harshest corner of the plant: hot water, caustic or acid cleaners, product residue and daily sanitation. Belts fray, bearings lose their grease, and frames corrode in places the washdown crew cannot see. The worst failures are often found when a belt tears or a bearing seizes in the middle of production. A structured inspection routine, scheduled and recorded in Oxmaint, lets maintenance replace worn parts during planned downtime instead of emergency stops.
Washdown Wear
Food Conveyor Maintenance: Belts and Washdown Damage
Inspect belts, bearings and frames exposed to washdown, and replace parts before they fail on the line.
How washdown damages conveyors
| Component | Washdown damage | Early warning sign |
|---|---|---|
| Belt surface | Cracks, delamination and edge fraying | Loose fibers, rough texture, residue in cracks |
| Belt splice or modular links | Lifted splice, broken hinge pins | Mistracking, noise at the joint |
| Bearings | Water ingress and grease washout | Heat, noise and rust at the housing |
| Gearmotors and seals | Seal failure and oil leaks | Oil film, moisture in the gearbox |
| Frames and fasteners | Corrosion and loose hardware | Rust streaks, harborage points for debris |
| Guards and sensors | Cracked covers, water in connectors | False trips, intermittent stops |
A wear lifecycle you can plan around
New
Record the install date and baseline condition.
Wearing
Inspect on schedule and photograph changes.
Watch
Shorten inspection intervals and stage the spare.
Replace
Swap during planned downtime, not after failure.
Inspection checklist by frequency
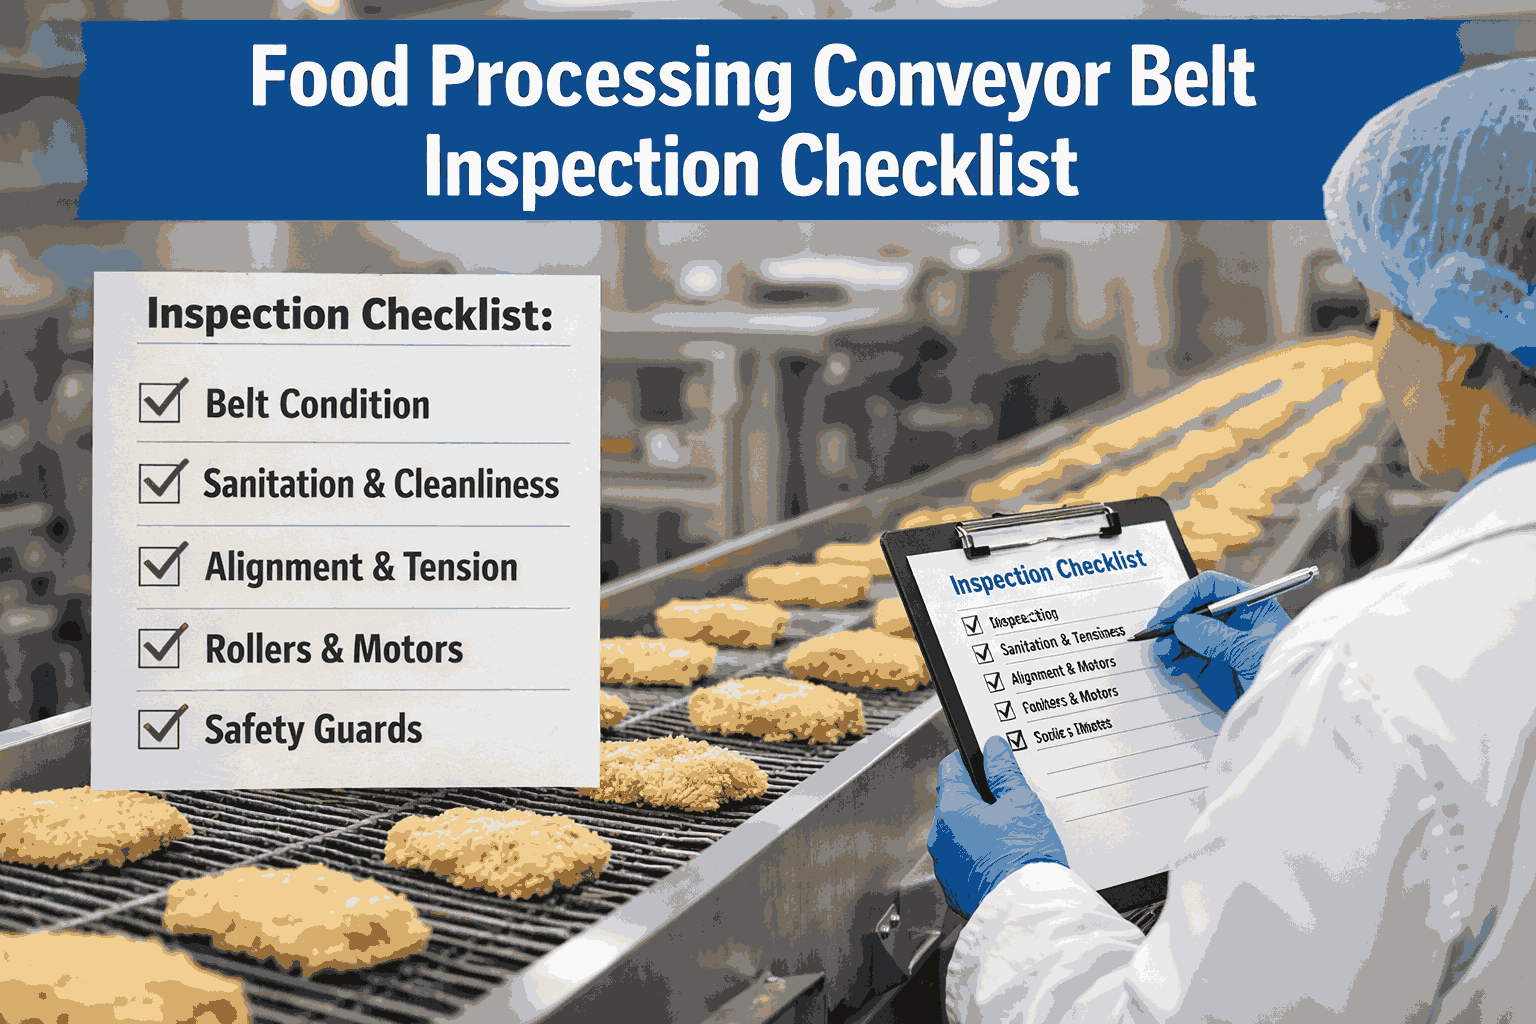
Daily operator check
- Belt tracking and visible damage
- Unusual noise or heat
- Loose guards or covers
Weekly technician check
- Belt tension and edge condition
- Bearing temperature and grease
- Gearbox oil level and leaks
Monthly or planned
- Frame corrosion and fasteners
- Sprocket and wear strip wear
- Sensor and wiring condition
Replace the belt on your schedule, not the belt's
Schedule conveyor inspections, record condition and plan replacements around production.
Practical tips for washdown environments
- 1Use food-grade grease and re-lube bearings after washdown, following the manufacturer guidance.
- 2Choose sealed or stainless bearings and hygienic housings for wet areas.
- 3Check chemical compatibility of belts and seals with your sanitizers.
- 4Keep water pressure and temperature within equipment guidance.
- 5Lock out before inspecting, and record findings with photos.
Food safety angle: worn parts can contaminate
- Frayed belt fibers and broken plastic links can enter product.
- Damaged belts hide residue that sanitation cannot reach.
- Fragment risks belong in the food safety plan.
- Record belt and part replacements so missing fragments can be traced.
Measures to review monthly
- Unplanned conveyor stops per line
- Mean time between bearing failures
- Planned versus emergency replacements
- Repeat failures by location
Why washdown is harder on conveyors than ordinary production
Water and pressure
High-pressure water can force moisture past seals and into bearings, gearboxes and electrical enclosures. Misdirected spray also washes grease from points that need it.
Temperature changes
Hot water followed by cooling air creates thermal cycling that can crack plastics, stress welds and pull moisture into housings.
Chemical exposure
Alkaline, acidic and chlorinated cleaners attack some belt materials, elastomer seals and unprotected metal. Residual chemicals can also collect in crevices.
Product residue
Sugar, fat, protein and fine powders collect in joints and under belts, increasing wear and creating hygiene concerns.
Belt types and what to look for
Flat fabric or PVC and PU belts
- Edge fraying or cuts
- Surface cracking or hardening
- Splice lifting or separation
- Mistracking and uneven wear
- Stretch that requires repeated tension adjustment
Modular plastic belts
- Broken or cracked modules
- Worn hinge pins or rods
- Pin retention failure
- Sprocket wear and tooth damage
- Bits of plastic missing from the belt or catch trays
Stainless wire mesh belts
- Link wear and elongation
- Broken wires or sharp edges
- Corrosion at weld points
- Tracking drift at the drive and tail
Inspection tip
Photograph worn areas at each inspection and attach the photos to the asset record. Trends are easier to judge from images than memory.
Bearings, motors and seals
Bearing care
Use sealed or stainless washdown-rated bearings in wet zones, with housings designed to shed water. Grease at intervals based on environment, not only on running hours, and use food-grade grease where product contact is possible.
Warning signs
- Heat above normal for the same bearing
- Noise or vibration changes
- Grease leaking or missing at seals
- Rust staining around housings
- Shaft play or wobble
Gearmotors
Check oil level, breathers and seals. Water in oil often looks milky, and it should trigger immediate service. Consider whether washdown-duty motors and sealed gear units suit the area.
Electrical protection
Inspect enclosure seals, conduit fittings, junction boxes and cord grips for water ingress. A small crack in a cover can cause repeated sensor faults.
Frames, fasteners and hygienic design
Corrosion control
Look for pitting, flaking coatings and rust streaks on frames and fasteners. Treat early or replace the part. Corroded surfaces can harbor debris and make sanitation harder.
Fasteners
Loose or missing hardware can fall into product. Use proper fasteners, tighten to specification and record any missing hardware as an event.
Hygienic design points
- Open frames that allow cleaning access
- Sloped surfaces that drain water
- Continuous welds without crevices
- Easy-release belts and guards for sanitation access
- Avoiding hollow tubes that can trap water
Building a predictive routine without special equipment
You do not need an advanced sensor program to begin catching wear early. A consistent routine with recorded condition already improves planning.
Use simple measurements
Record belt thickness at fixed points, tension readings, bearing temperature with a handheld tool and remaining sprocket wear.
Trend the data
Plot replacement intervals by line. If one conveyor needs bearings far more often than the others, look at spray angle, guarding and grease practice.
Add condition tools later
Handheld vibration and thermal tools can supplement inspections where failures are costly. Link findings to work orders so follow-up actually happens.
Stage the spare
When a belt or bearing reaches the watch stage, confirm a spare is available and schedule replacement for the next planned stop.
Coordinating maintenance with sanitation
Shared schedule
Maintenance inspections work best right after sanitation when equipment is accessible, and before production when time still exists to fix a problem. Coordinate with the sanitation team on lockout and access.
Lockout and tagout
Always isolate energy before inspecting guards, belts or drive components. Record the lockout in the work order.
Post-repair release
After maintenance work, confirm that tools, fasteners and fragments are accounted for and that the area is cleaned and inspected before production starts.
Documentation
- Work order with photo evidence
- Parts replaced and old parts disposed of
- Clearance sign-off from the responsible person
- Notes for any unusual wear or sanitation concern
Using Oxmaint for conveyor reliability
Asset records for every conveyor
Group each line, belt, motor and gearbox as assets with their own history, so repeated failures are visible.
Preventive schedules
Create daily, weekly and monthly checklists for operators and technicians, with required photos and measurements.
Mobile work orders
Technicians can report damage from the line, attach a photo and request a part without leaving the area.
Reports to review
- Failures by conveyor and component
- Time between replacements
- Overdue inspections
- Parts used per line
- Emergency versus planned repairs
Typical failure patterns and what causes them
Belt tracking problems
Mistracking can come from uneven tension, worn rollers, a misaligned frame or product buildup. Correct the cause instead of repeatedly adjusting the belt edge.
Premature belt wear
Look for rough sprockets, sharp edges on the frame, harsh cleaners or heavy impact at the infeed. Premature wear points to a root cause.
Bearing seizure
Water ingress, over-greasing, under-greasing and misalignment are common causes. Check the washdown practice as well as the bearing.
Gearbox leaks
Failing seals, blocked breathers and overfilled oil can cause leaks. Check mounting and alignment too.
Sensor and control faults
Water in connectors, damaged cables and loose mounts cause nuisance stops that waste production time.
Choosing a replacement strategy
Run to failure
Suitable only for low-cost, non-critical parts where failure has no safety, quality or downtime impact. It is rarely appropriate for critical food line conveyors.
Time-based replacement
Replace at fixed intervals, such as a set number of operating months. It is simple, but it may replace good parts or miss early failures.
Condition-based replacement
Replace when measurements, inspection or monitoring show wear beyond a set limit. It requires records, but it often gives the best balance of cost and risk.
Choosing by criticality
- Critical lines: condition-based with spares on hand
- Moderate lines: time-based with inspection backup
- Low-risk lines: run to failure only where safe and documented
Hygienic design upgrades worth considering
Washdown-rated components
Sealed bearings, washdown gearmotors and protected electrical enclosures can reduce failures where water exposure is heavy.
Easy-clean frames
Open frames, quick-release belts and tool-free access panels make sanitation faster and inspection easier.
Material choices
Stainless steel and suitable polymers reduce corrosion. Check chemical compatibility before changing materials.
Reduce harborage points
- Eliminate flat ledges where water collects
- Replace rough or cracked surfaces
- Seal gaps in guards and covers
- Use food-safe sealants where gaps cannot be avoided
Safety and food safety controls during conveyor work
Lockout and tagout
Use a documented procedure for every inspection, adjustment and repair. Record it in the work order.
Foreign material control
Control tools, spare parts and replaced components. Count and return small parts, and inspect the area after work.
Metal detection verification
After belt or frame repairs, confirm that detectors and rejection systems are working properly before production restarts.
Allergen and cleaning considerations
Follow cleaning and changeover steps after maintenance, especially when work disturbs residue or opens guarded areas.
Record keeping
- Who performed the work and when
- Parts removed and installed
- Photos before and after
- Sign-off from supervisor or quality if required
KPIs for conveyor maintenance
Reliability measures
- Unplanned stops per conveyor per month
- Mean time between failures for belts and bearings
- Mean time to repair
- Percentage of planned versus emergency work
Cost measures
- Maintenance cost per conveyor
- Parts cost by component
- Downtime hours and estimated lost production
Process measures
- Inspection completion rate
- Overdue work orders
- Number of repeat failures
- Number of foreign material incidents linked to conveyors
Using the numbers
A conveyor with repeated bearing failures may need a design fix. One with frequent belt damage may need better guarding or a change in product handling.
Starting a conveyor program in your plant
Step 1: Inventory
List every conveyor, belt type, drive, bearing and gearbox. Note location, washdown exposure and criticality.
Step 2: Baseline
Inspect each unit, record condition and photograph worn areas.
Step 3: Schedule
Set daily, weekly and monthly checks based on risk and washdown frequency.
Step 4: Stock
Identify the spares that would cause the longest downtime and stock them.
Step 5: Review
Look at failure history monthly and adjust the plan. Use Oxmaint to keep records, schedules and parts together.
Training operators to spot early conveyor problems
What operators can see first
Operators watch the line all shift, so they notice changes in sound, belt movement and product flow before a technician does. A simple prompt card helps them report what they see.
A short reporting list
- Belt drifting toward one side
- New noise from a bearing or gearbox
- Visible fraying, cracks or missing modules
- Water or oil around a drive
- Frequent nuisance stops from a sensor
Make reporting easy
If reporting a problem takes a long form, people skip it. Use a quick mobile request with a photo so maintenance gets the detail without a long conversation.
Close the loop
Tell the reporting operator what was found and fixed. People keep reporting when they see action.
Questions to ask after every repeat failure
The review list
- Was the part installed correctly and aligned?
- Was the correct grease or material used?
- Is washdown spray hitting the component directly?
- Did a recent change in product or cleaning chemical affect wear?
- Is the part suitable for the environment or only for the original duty?
Document the answer
Record the finding in the work order. Over time, these notes reveal patterns that a single repair never shows.
Decide on a permanent fix
Choose between more frequent inspection, a different component, a guard to deflect spray or a design change. Record the decision and review it after a few months.
Conveyor maintenance questions
How often should belts be inspected?
Daily visually and in detail weekly or monthly, adjusted to washdown intensity and wear history.
Why do bearings fail so often?
Water and cleaners wash grease out and let moisture in.
Can we plan belt replacement?
Yes, using recorded wear data in Oxmaint.
Who should inspect during sanitation?
Maintenance, after lockout and with sanitation coordination.
Can we see a sample checklist?
Yes, book a demo for a walkthrough.
Keep conveyors running through every washdown
Catch wear early and schedule the fix before the line stops.