A beverage blending facility in Texas ran four 5,000-litre planetary mixers around the clock producing protein supplement powder. During a quarterly audit, engineers discovered that one mixer's gearbox had been running 18°C above its normal operating temperature for over six weeks — visible in the oil discoloration but never logged or flagged. The gearbox failed catastrophically on a Tuesday afternoon, seizing the agitator shaft mid-batch and contaminating 2,200kg of product that had to be destroyed. Total cost including downtime, product loss, emergency repair, and cleaning verification exceeded $310,000. A post-incident review found zero documented lubrication checks, no vibration baseline on record, and no motor current trending data for the asset. After implementing a structured industrial mixer preventive maintenance checklist inside Oxmaint's CMMS, the same facility now catches thermal and vibration anomalies within days — not weeks. Sign up for Oxmaint to digitize your mixer PM program and protect your processing assets from the failures that cost the most.
Processing Equipment / Preventive Maintenance
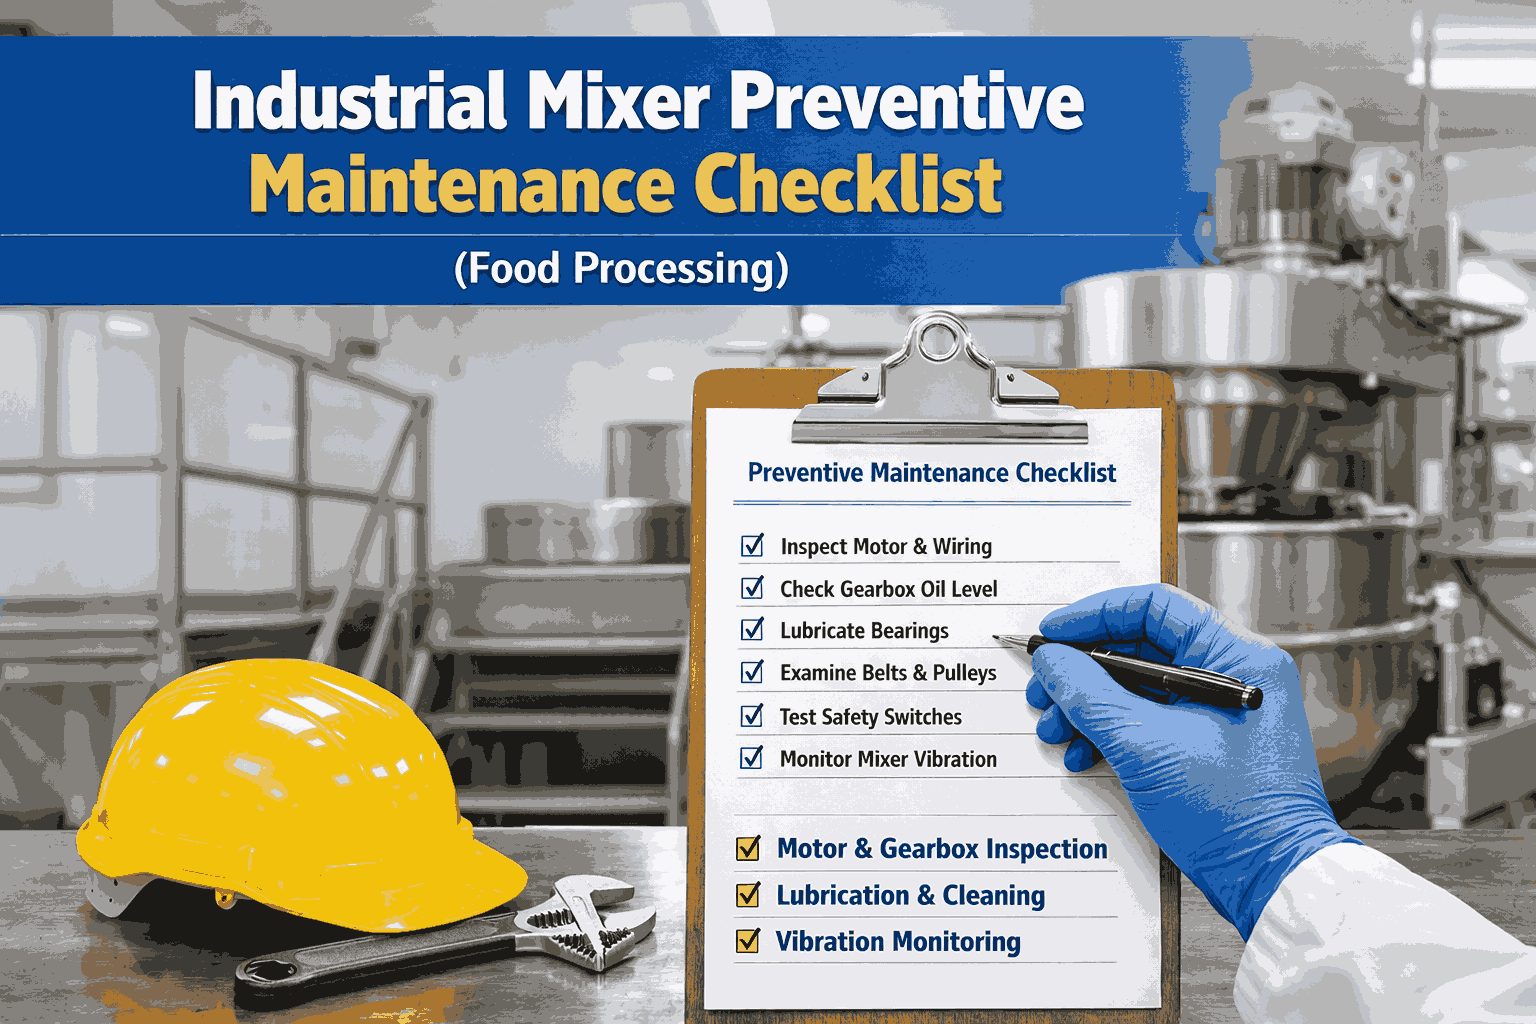
Industrial Mixer Preventive Maintenance Checklist for Food Processing
Industrial mixers in food processing facilities carry some of the highest failure consequence of any rotating equipment on the floor. A seized agitator mid-batch means contaminated product, regulatory scrutiny, and unplanned downtime that cascades through your entire production schedule. This checklist covers every critical component — motor, gearbox, impeller, seals, bearings, and controls — across daily, weekly, monthly, and quarterly intervals to keep your mixers running reliably and your audits clean.
40%
of food processors cite mixing equipment as their top source of unplanned downtime
6–12mo
Typical seal and bearing service life — shortened significantly without structured PM
3x
Longer gearbox life with documented lubrication and inspection programs
$310K
Real-world cost of a single unchecked gearbox failure in food processing
Why Mixers Fail
The Components That Fail First — And Why
Industrial mixers in food processing operate under conditions that accelerate wear faster than most equipment in the plant. High-torque loading, variable viscosities across batches, aggressive CIP cleaning chemistry, temperature cycling between cold ingredients and hot sanitization, and continuous duty cycles combine to stress every mechanical system simultaneously. The failure modes are well-understood and almost entirely predictable — which means they are also preventable with the right inspection program.
The challenge in most facilities is not knowledge of what to check — it is consistency and documentation. A lubrication check that happens twice a month instead of weekly is not a minor gap; it is the difference between catching oil contamination before it destroys a gearbox and discovering it after the bearing seizes. CMMS-enforced checklists eliminate that inconsistency entirely.
Seal and bearing wear
88%
Most common failure. Often detectable 4–8 weeks before failure through noise and vibration changes.
Gearbox lubrication failure
76%
Oil contamination, incorrect viscosity grade, or missed change intervals cause overheating and gear wear.
Impeller damage and imbalance
67%
Chipped blades, weld cracks, and product buildup create imbalance that accelerates bearing and shaft wear.
Shaft misalignment
59%
Misalignment generates excess vibration, cascading into bearing failure and eventual shaft fatigue fracture.
Motor overheating / electrical fault
44%
Clogged cooling vents, incorrect amperage draw, and VFD faults cause motor failures during peak production.
Week 1 — Lubrication check missed
Gearbox oil level not verified. Oil contamination from seal seepage begins undetected.
Week 3 — Temperature elevation unnoticed
Gearbox running 18°C above baseline. Oil discoloration visible but not logged — no thermal baseline exists.
Week 6 — Vibration increases
Bearing wear produces new harmonic signature. Without trending data, operators attribute noise to normal operation.
Week 7 — Catastrophic seizure
Gearbox fails mid-batch. Agitator locks. 2,200kg product contaminated. 38 hours downtime. $310K total cost.
Every step in this chain is preventable with a weekly CMMS-enforced inspection checklist.
Start Catching Failures Before They Cost You
Oxmaint's CMMS assigns, tracks, and closes every mixer PM task — with thermal trending, lubrication logs, and auto-generated work orders when readings go out of range.
The Complete Checklist
Industrial Mixer PM Checklist by Frequency
Every task below addresses a specific failure mode documented in food processing maintenance literature and industry guidelines. None are optional in a facility operating under HACCP, FDA FSMA, BRC, or SQF requirements.
Daily / Pre-Batch
Operational Readiness Checks
Complete before each production batch or at shift start. Takes less than 10 minutes per mixer.
Visual & Mechanical
Exterior visual inspection — Inspect housing, frame, and mounting bolts for visible damage, corrosion, cracks, or loose fasteners. Confirm the mixer sits level and stable on its mounting surface.
Impeller and agitator visual check — Inspect blades for chips, cracks, weld fatigue, or product buildup that could cause imbalance or introduce metal fragments into the batch.
Shaft seal inspection — Check the agitator shaft seal for visible leakage, weeping, or product residue around the seal housing. Any leakage before production starts must be reported immediately.
Mixing bowl and vessel condition — Inspect bowl walls, bottom, and transfer ports for scratches, pitting, or cracks that could harbor bacteria or contaminate product.
Operational Checks
No-load startup observation — Run mixer at low speed before loading product. Listen for grinding, knocking, or squealing. Any abnormal sound during startup must be investigated before production begins.
Vibration baseline check — Place hand on motor housing and gearbox during no-load startup to detect unusual vibration patterns. Log any change from previous baseline.
Safety guard and interlock verification — Confirm all guards are in place and all safety interlocks function correctly before loading product. Test emergency stop response.
CIP/sanitation completion confirmation — Verify that the previous sanitation cycle was completed and signed off. Check for any residual cleaning agent or moisture before loading ingredients.
Weekly
Mechanical & Lubrication Inspection
Schedule during a planned production pause or shift change. Assign to a dedicated maintenance technician.
Gearbox
Gearbox oil level check — Verify oil level through sight glass or dipstick. Low level indicates leakage that must be traced and corrected. Do not simply top up without identifying the source.
Oil appearance assessment — Collect a small oil sample and inspect color and clarity. Milky discoloration signals water contamination; metallic sheen indicates internal wear particles. Either condition requires immediate investigation.
Gearbox temperature check — Record gearbox housing temperature using an infrared thermometer. Any reading more than 15°C above the established baseline is a critical warning sign requiring investigation before the next production run.
Breather condition — Inspect gearbox breather for clogging. A blocked breather creates internal pressure that forces oil past seals, accelerating contamination and seal failure.
Motor & Drive
Motor current draw log — Record motor amperage at rated load and compare against baseline. Elevated current indicates mechanical binding, product viscosity change, or early motor winding degradation.
Cooling vent and fan inspection — Check that motor cooling vents are clear of flour dust, sugar powder, or other fine material accumulation common in food processing environments. Clogged vents cause thermal runaway.
Drive belt or coupling condition — Inspect belt tension, check for fraying or glazing, and verify coupling alignment. A drive belt that has stretched beyond adjustment is days from failure under full production load.
Bearings & Seals
Bearing temperature check — Use infrared thermometer on all accessible bearing housings. Readings more than 20°C above ambient indicate lubrication failure or accelerated wear.
Seal leak survey — Inspect all shaft seals and mechanical seals for weeping or active leakage. In food processing, any product escaping through a seal is a contamination event that must be documented and corrected.
Monthly
Alignment, Lubrication & Structural Assessment
Requires a scheduled maintenance window. Document all readings and compare against previous month's baseline.
Alignment & Vibration
Agitator shaft alignment verification — Check for unusual or excessive vibration or deflection during operation, which indicates shaft bending or coupling misalignment. Even minor misalignment generates excessive bearing load and accelerates seal wear.
Vibration measurement and trending — Collect vibration readings at the motor housing, gearbox, and bearing housings. Record values and plot against historical trend. A rising trend over consecutive months is an early warning that requires corrective action before failure.
Impeller balance assessment — Check for product buildup on blades that could create rotational imbalance. Clean and rebalance if accumulation is detected. Even a 50-gram imbalance at operating speed generates significant bearing load.
Lubrication Program
Bearing lubrication — Apply food-grade grease (NSF H1 rated for product-contact risk zones) to all greased bearing points per manufacturer intervals. Log lubricant type, quantity, and date for compliance traceability.
Gearbox oil change or top-off assessment — Compare current oil sample appearance against new oil reference. If contamination is present or operating hours exceed the manufacturer's change interval, schedule an oil change. Do not extend intervals without oil analysis data.
Structural & Electrical
Frame and mounting bolt torque check — Verify all mounting bolts are torqued to specification. Vibration loosens fasteners over time, and a loose mounting frame introduces additional dynamic loads that accelerate bearing failure.
Control panel and wiring inspection — Inspect motor control panel for loose terminals, discoloration from heat, moisture ingress, or dust contamination. Check VFD parameter logs for fault codes that were cleared without investigation.
Quarterly / Semi-Annual
Comprehensive Overhaul & Compliance Review
Full assessment requiring planned downtime. Generates the compliance documentation required for GMP, HACCP, and third-party audit records.
Gearbox & Drive
Gearbox oil change and flush — Drain, flush, and refill gearbox with the correct ISO viscosity grade per manufacturer specification. Send an oil sample for laboratory analysis to detect wear metals, water, and contamination before problems are visible externally.
Internal gear and bearing inspection — Where access permits, inspect gear tooth condition for pitting, scoring, or spalling. Check bearing radial play. Replace any components showing wear beyond manufacturer tolerances — do not defer on rotating components.
Coupling alignment laser check — Use laser alignment tool to verify shaft coupling alignment to within manufacturer tolerance. Correct any angular or parallel misalignment found. Document pre- and post-correction readings.
Seals & Impeller
Mechanical seal replacement assessment — Inspect mechanical seal face condition, springs, and O-rings. Replace preventively if operating hours approach the manufacturer's recommended service interval, especially in CIP-intensive environments where seal chemistry exposure accelerates wear.
Scraper blade and impeller weld inspection — Inspect all weld joints on impellers and scraper blades using visual and dye-penetrant methods if blade design permits. Fatigue cracking at welds is a foreign object contamination risk that must be caught before it progresses to fracture.
Compliance Documentation
PM completion audit trail — Generate a full maintenance history report for the asset covering the quarter. Verify that all scheduled tasks were completed with no gaps. Audit-facing documentation must include technician sign-off, dates, readings, and any corrective actions taken.
Spare parts inventory audit — Verify critical spares are on hand: shaft seals, motor bearings, gearbox oil, impeller blades, coupling elements, and VFD fuses. Calculate lead times for any item not in stock and determine if production risk justifies holding buffer stock.
Turn Every Checklist Into a Living Maintenance Record
Oxmaint enforces completion, captures readings, generates work orders on flagged conditions, and builds your audit-ready compliance history automatically — zero paper required.
System Map
8 Critical Inspection Zones on Every Industrial Mixer
Each zone has distinct failure modes, inspection methods, and consequences. A complete PM program covers all eight — not just the ones easiest to access.
01
Impeller / Agitator
Blade chips · Weld cracks · Product buildup · Rotational imbalance · Scraper wear
Foreign object contamination, batch quality loss, bearing overload
02
Agitator Shaft
Bending/deflection · Alignment · Runout · Surface finish in seal zone
Seal failure, vibration cascade, shaft fatigue fracture
03
Mechanical Seals
Face wear · Leakage · Spring condition · O-ring integrity · CIP chemical compatibility
Product contamination, regulatory violation, gearbox oil loss
04
Bearings
Temperature · Noise · Vibration signature · Lubrication condition · Radial play
Shaft seizure, gearbox damage, catastrophic failure
05
Gearbox
Oil level/color · Temperature · Gear tooth condition · Breather · Housing leaks
Most expensive single-point failure — $50K–$150K to replace
06
Motor & VFD
Current draw · Cooling vents · Insulation resistance · VFD fault log · Winding temp
Motor burnout, production halt, fire risk from clogged vents
07
Frame & Mounting
Bolt torque · Weld fatigue · Level and plumb · Vibration isolation pads
Dynamic load amplification, accelerated bearing wear
08
Safety Systems
Emergency stop · Guard interlocks · Overload relay · LOTO compliance · Warning labels
Operator injury, regulatory violation, insurance liability
Paper vs. Digital
Manual PM Records vs. CMMS-Managed Mixer Maintenance
The method you use to track PM completion determines whether your program prevents failures — or just documents them after the fact. Sign up for Oxmaint to move from reactive to proactive.
Paper / Spreadsheet Tracking
PM task completion enforcementNo enforcement mechanism
Thermal and vibration trendingManual, rarely maintained
Missed task escalationNot detected until audit
Lubrication interval trackingCalendar-based, easily missed
Corrective action follow-throughNo automatic reminder
Audit documentation readinessHours of manual preparation
Oxmaint CMMS Program
PM task completion enforcementRequired — cannot close without sign-off
Thermal and vibration trendingAutomatic across all readings
Missed task escalationInstant supervisor alert
Lubrication interval trackingHours-based, never missed
Corrective action follow-throughAuto work order to closure
Audit documentation readinessOne-click timestamped report
Early Warning Signs
6 Warning Signs Your Industrial Mixer Needs Immediate Attention
01
Gearbox temperature rising above historical baseline
Any gearbox running more than 15°C above its documented normal operating temperature is showing early lubrication or bearing failure. This is a 2–4 week warning before catastrophic seizure. Document and investigate immediately — do not wait for the next scheduled check.
02
New vibration harmonic not present in previous readings
Each mechanical fault in a rotating system generates a characteristic vibration frequency. A new frequency that appears in consecutive readings is not random — it is a specific fault developing. Without a trending baseline, there is no way to detect it. With one, it becomes an early-stage repair instead of an emergency.
03
Motor drawing elevated current at steady state
A motor pulling more current than its documented baseline at the same load and speed is working harder than it should. The cause could be mechanical binding, increased product viscosity, bearing drag, or early winding degradation. Any upward trend over two consecutive weekly readings requires investigation.
04
Oil discoloration or metallic particles in gearbox oil
Clean gearbox oil is amber and clear. Milky oil contains water — likely from a seal breach or CIP leakage. Dark grey or shimmery oil contains metal wear particles from gear or bearing degradation. Either condition requires oil analysis and inspection before the next production run.
05
Unusual noise at startup that diminishes after warm-up
A grinding or rattling sound during the first few minutes of operation that disappears as the mixer warms up is a classic lubrication-starved bearing signature. The bearing is getting just enough oil to quiet down once it heats up — but it is wearing at an accelerated rate every time this happens.
06
Shaft seal weeping increasing between cleanings
A small amount of product residue around a shaft seal after a batch is common. An increasing amount between consecutive batches means the seal is degrading. In food processing this is both a contamination risk and a maintenance signal — log the progression and plan a replacement before the seal fails completely.
Frequently Asked Questions
How often should industrial mixers be serviced in food processing?
Daily pre-batch visual checks should be performed on every mixer before each production run. Weekly inspections cover gearbox oil level and temperature, motor current, bearing temperatures, and seal condition. Monthly tasks address alignment, vibration trending, lubrication, and structural integrity. Quarterly or semi-annual comprehensive overhauls cover oil changes, seal replacement assessments, and coupling alignment. High-use mixers running continuous duty cycles in demanding product environments require more frequent attention than mixers running intermittent batches.
Sign up for Oxmaint to build a frequency-based schedule matched to your actual operating hours.
What gearbox oil should be used in food-grade mixer applications?
For any mixer where incidental food contact is possible — including splash zones, drip points, and areas above open product — you must use NSF H1 registered food-grade gear oil. The ISO viscosity grade should match the manufacturer's specification for your operating temperature range. Do not substitute with H2 lubricants in product-contact risk zones even if the equipment is not directly in the product stream. Document lubricant type, brand, lot number, quantity, and application date for compliance traceability.
Book Demo to see how Oxmaint tracks lubricant application records.
What are the most common causes of industrial mixer gearbox failure?
The most common causes, in order of frequency, are lubricant contamination (water ingress through failed seals or CIP leakage), incorrect lubricant viscosity grade, missed oil change intervals, overloading from product viscosity above design specifications, and misalignment between the motor and gearbox output shaft. All five are entirely preventable with a structured PM program. Oil contamination and missed intervals are CMMS problems — they disappear when inspections are digitally scheduled and enforced. Misalignment is a technician skills problem that regular laser alignment checks resolve.
How does vibration monitoring help prevent mixer failures?
Each mechanical fault in a rotating mixer system — bearing wear, gear tooth degradation, shaft imbalance, coupling misalignment — generates a characteristic vibration frequency signature. By recording vibration readings at the same measurement points under the same operating conditions at regular intervals, you build a baseline trend. A rising trend indicates a developing fault. Without a baseline, you cannot distinguish normal from abnormal. With trending data collected through a CMMS, most mixer bearing failures can be detected 4–8 weeks before they progress to seizure, giving you time to schedule a planned repair during a maintenance window rather than responding to an emergency shutdown.
What documentation is required for mixer PM under HACCP and BRC?
Under HACCP, equipment maintenance that prevents contamination is a prerequisite program requiring documented evidence. Your records must show what was inspected, by whom, at what date and time, what readings or observations were recorded, and what corrective actions were taken for any findings. BRC Global Standard Clause 4.6.1 specifically requires a planned maintenance program for processing equipment with documented evidence of completion. SQF Module 11 requires similar records. Paper logs satisfy the letter of these requirements but fail in practice — digital CMMS records with timestamped completion and photo evidence give auditors the verifiable trail they need and give your facility protection if a contamination event is ever traced back to equipment maintenance history.
Can a CMMS integrate with VFD and motor controller data from industrial mixers?
Yes. Oxmaint can receive data from VFDs, motor controllers, and process instrumentation including current draw, operating speed, fault codes, and runtime hours. This data automatically updates maintenance records, triggers work orders when parameters exceed defined thresholds, and feeds into the asset's maintenance history. The practical result is that a motor drawing 8% above its baseline current at rated load automatically generates a work order for investigation — without requiring a technician to notice and escalate it manually.
Sign up for Oxmaint to explore integration options for your mixer assets.
Your Mixer Will Tell You It's Failing. Will Anyone Be Listening?
Oxmaint ensures every thermal reading, vibration log, and lubrication record is captured, trended, and acted on — so the signals your equipment sends never go unheard again.