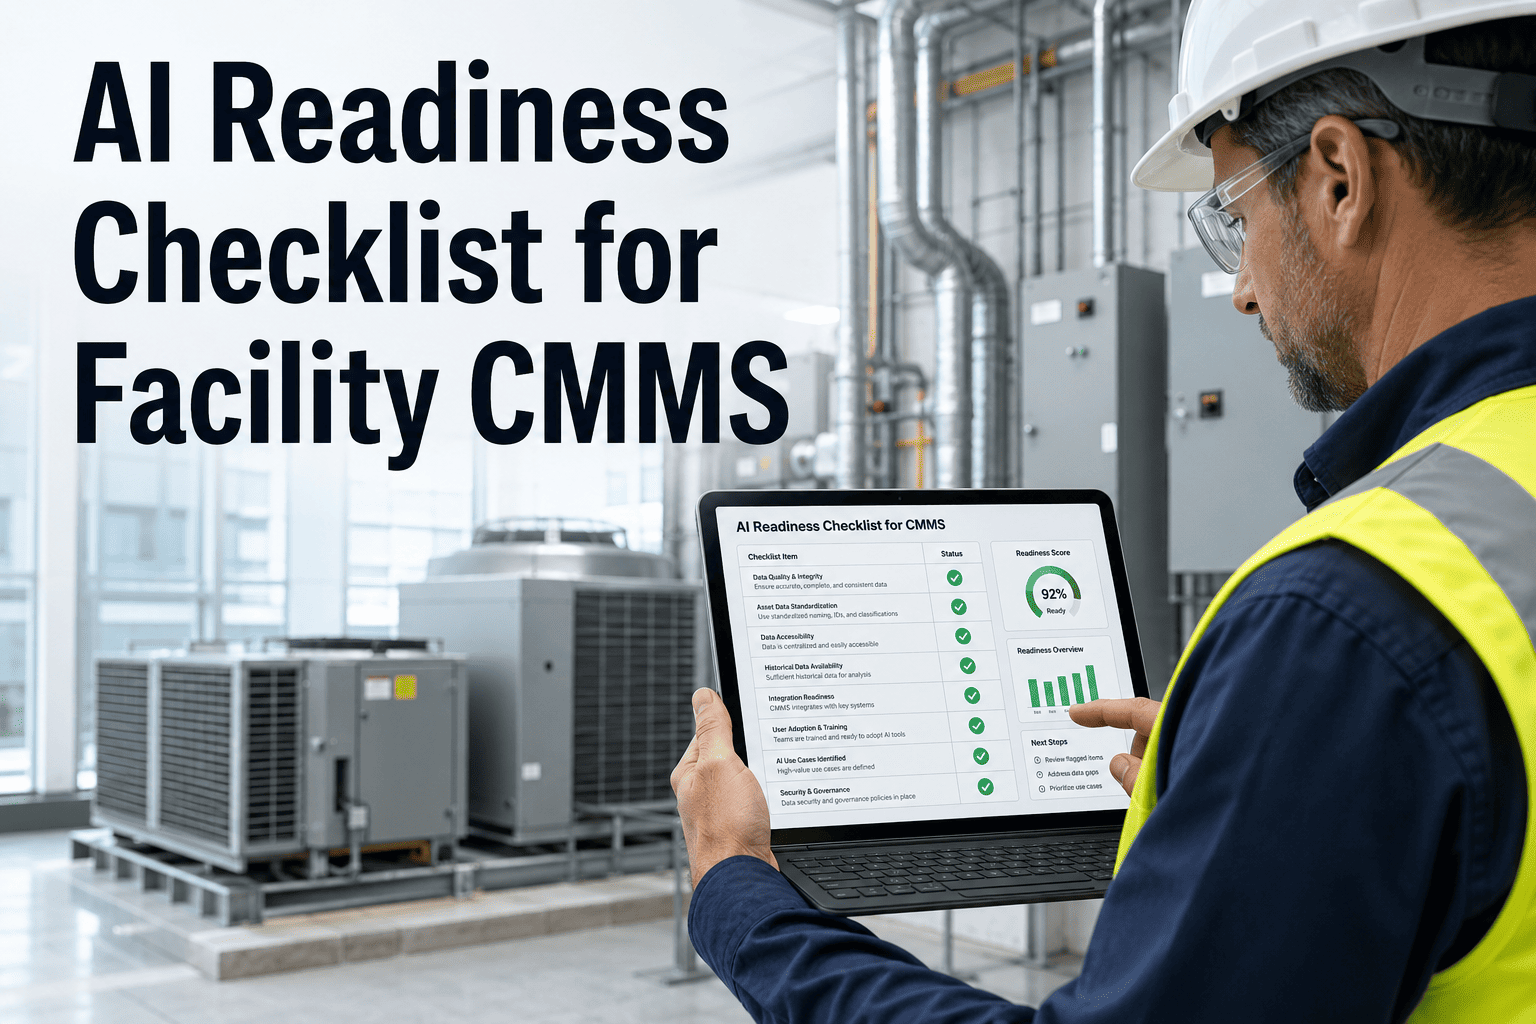
Most CMMS implementations don't fail because of bad software — they fail because teams go live before they are actually ready. Data is incomplete, workflows are unmapped, technicians aren't trained, and go-live becomes a fire drill. This checklist gives you a phase-by-phase readiness framework used by OxMaint implementation teams across 300+ deployments. Work through each section before you launch, and your CMMS will deliver ROI in weeks, not months.
Checklist — CMMS & Software
Cloud CMMS Platform
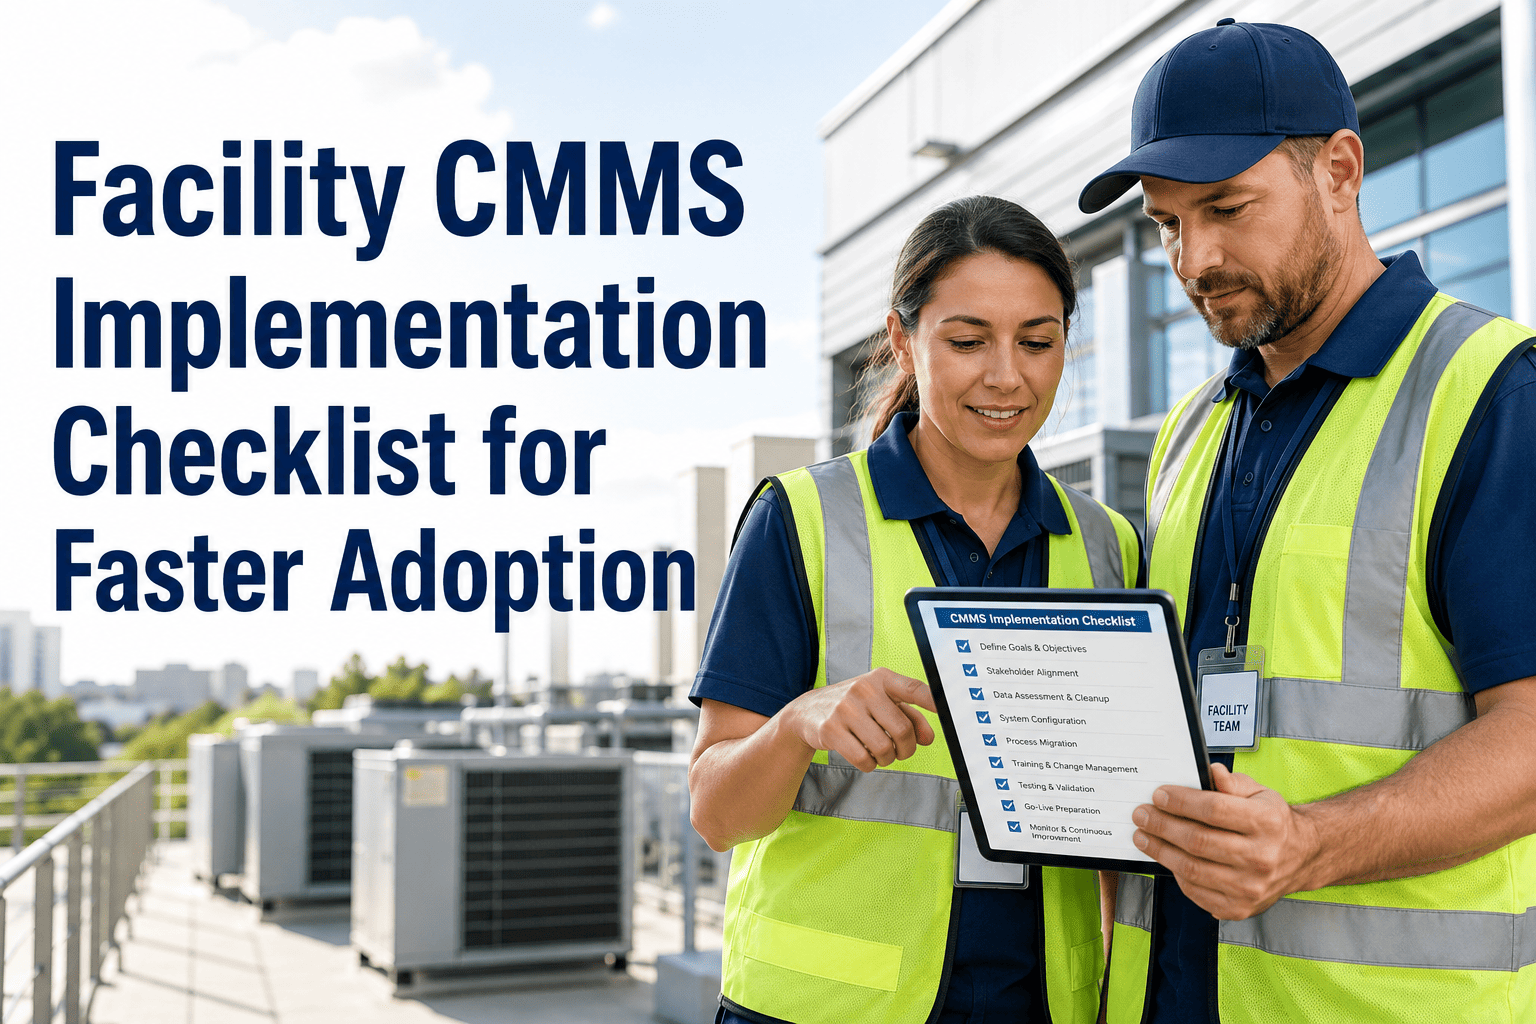
CMMS Implementation Readiness Checklist
5 phases. 40 action items. Everything your team needs to verify before go-live — from data preparation and asset inventory to team training, process mapping, and launch verification.
72%
Of maintenance managers rely on CMMS to centralize operations data
53%
Higher work order completion rate after structured CMMS deployment
32%
Reduction in unplanned downtime reported post-implementation
Why This Matters
The Real Reasons CMMS Projects Fail
68%
Software Regret Rate
Of organizations that purchased CMMS software experienced post-purchase regret — largely due to poor readiness planning, not software quality. (Gartner, 2024)
41%
Competitive Impact
Said a wrong CMMS choice or poor implementation made them less competitive — delaying the shift from reactive to preventive maintenance by 12 to 18 months.
1
Root Cause
The single biggest reason implementations fail is poor user adoption — not bad technology. Teams that involve technicians from day one see 3x higher adoption rates.
Phase 01
Planning & Scoping Weeks 1–2
Get this phase wrong and every phase after it becomes harder. Clear goals, the right people, and a realistic timeline are the three inputs that determine whether your CMMS implementation succeeds.
Define measurable objectives
Set specific targets: reduce unplanned downtime by X%, improve PM compliance to 85%+, cut emergency repair spend by Y%. Vague goals produce vague results.
Assign an implementation owner
Name one person accountable for the rollout — not a committee. This person owns the timeline, resolves blockers, and escalates to leadership when needed.
Build your implementation team
Include maintenance manager, lead technician, IT contact, and a finance or operations stakeholder. All four perspectives are needed for successful configuration.
Secure executive sponsorship
A CMMS project without leadership visibility will stall. Tie your goals to business outcomes — cost reduction, compliance, uptime — so leadership stays engaged.
Define scope: which assets and sites first
Don't try to deploy everything at once. Identify the highest-priority asset classes and one or two pilot locations. Expand after the first 30-day review.
Set your go-live target date
Work backward from go-live. Allocate 1–2 weeks for planning, 2–4 weeks for data and setup, 1 week for training, and 1 week for pilot testing before full launch.
Identify integration requirements
List every system the CMMS must connect to: ERP, BMS, SCADA, accounting software, procurement. Define which integrations are required at go-live vs. phase two.
Document current maintenance pain points
Run a 1-hour workshop with your maintenance team. Ask: where do work orders fall through the cracks? What's never tracked? What takes the most manual time?
Phase 02
Data Preparation & Asset Inventory Weeks 2–4
This is where most implementations stall. Garbage in, garbage out — every duplicate asset record, inconsistent naming convention, and missing maintenance history you carry into the CMMS becomes a problem you manage for years. Clean data before you migrate it.
Complete physical asset inventory
Walk the floor. Count every maintainable asset — equipment, HVAC units, electrical panels, vehicles, infrastructure. Don't rely on outdated spreadsheets alone.
Assign unique asset IDs and standardize naming
Use consistent naming: "AHU-01" not "Air Handler 1" or "AHU1". Inconsistent naming is the most common data quality failure found in CMMS audits.
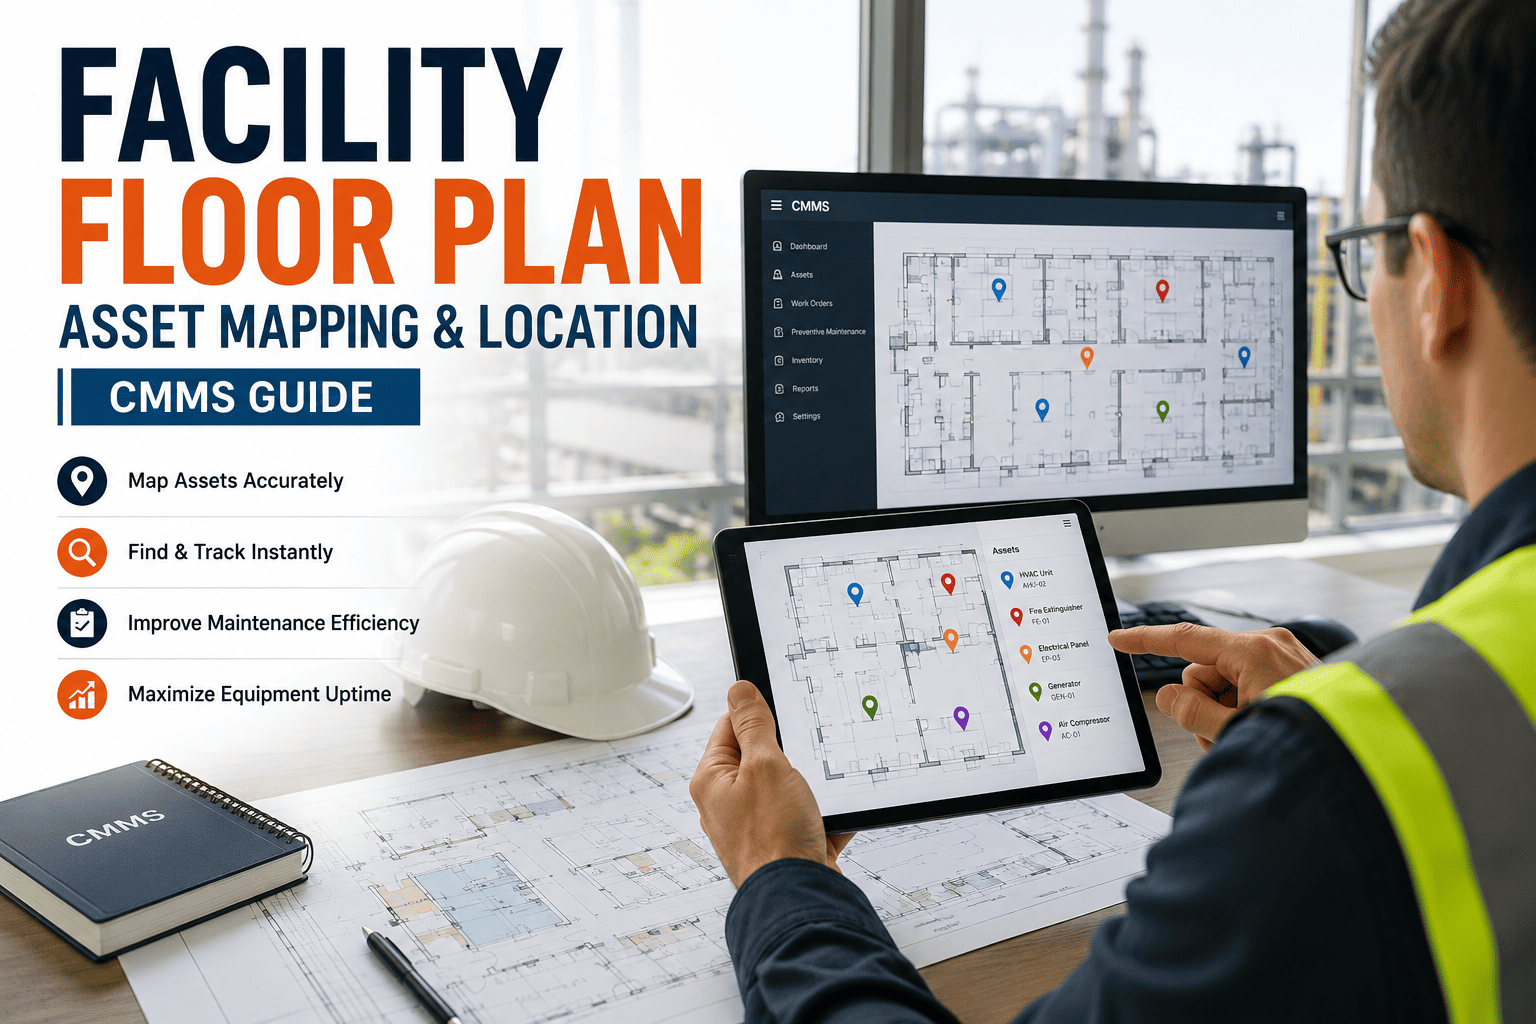
Document asset hierarchy and location
Organize assets by site > building > floor > area > equipment. A clear hierarchy enables filtered reporting and location-based work order dispatch from day one.
Capture critical asset data fields
For each asset: manufacturer, model, serial number, purchase date, warranty expiry, criticality rating, and assigned department or cost center. Missing fields create reporting gaps later.
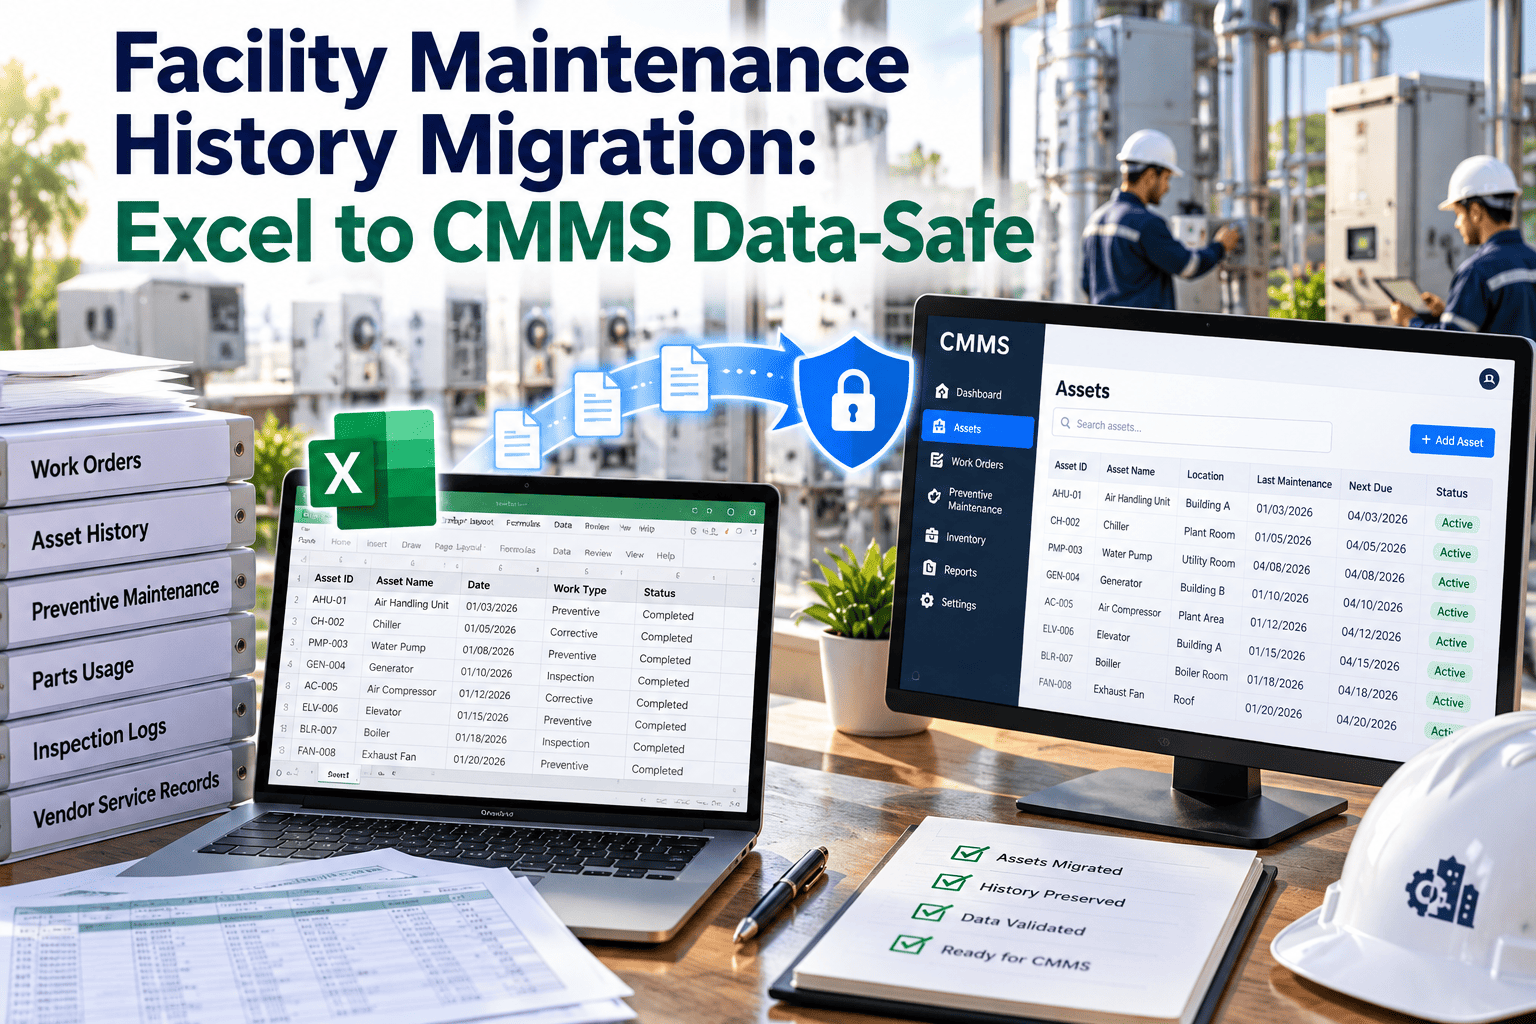
Collect maintenance history from all sources
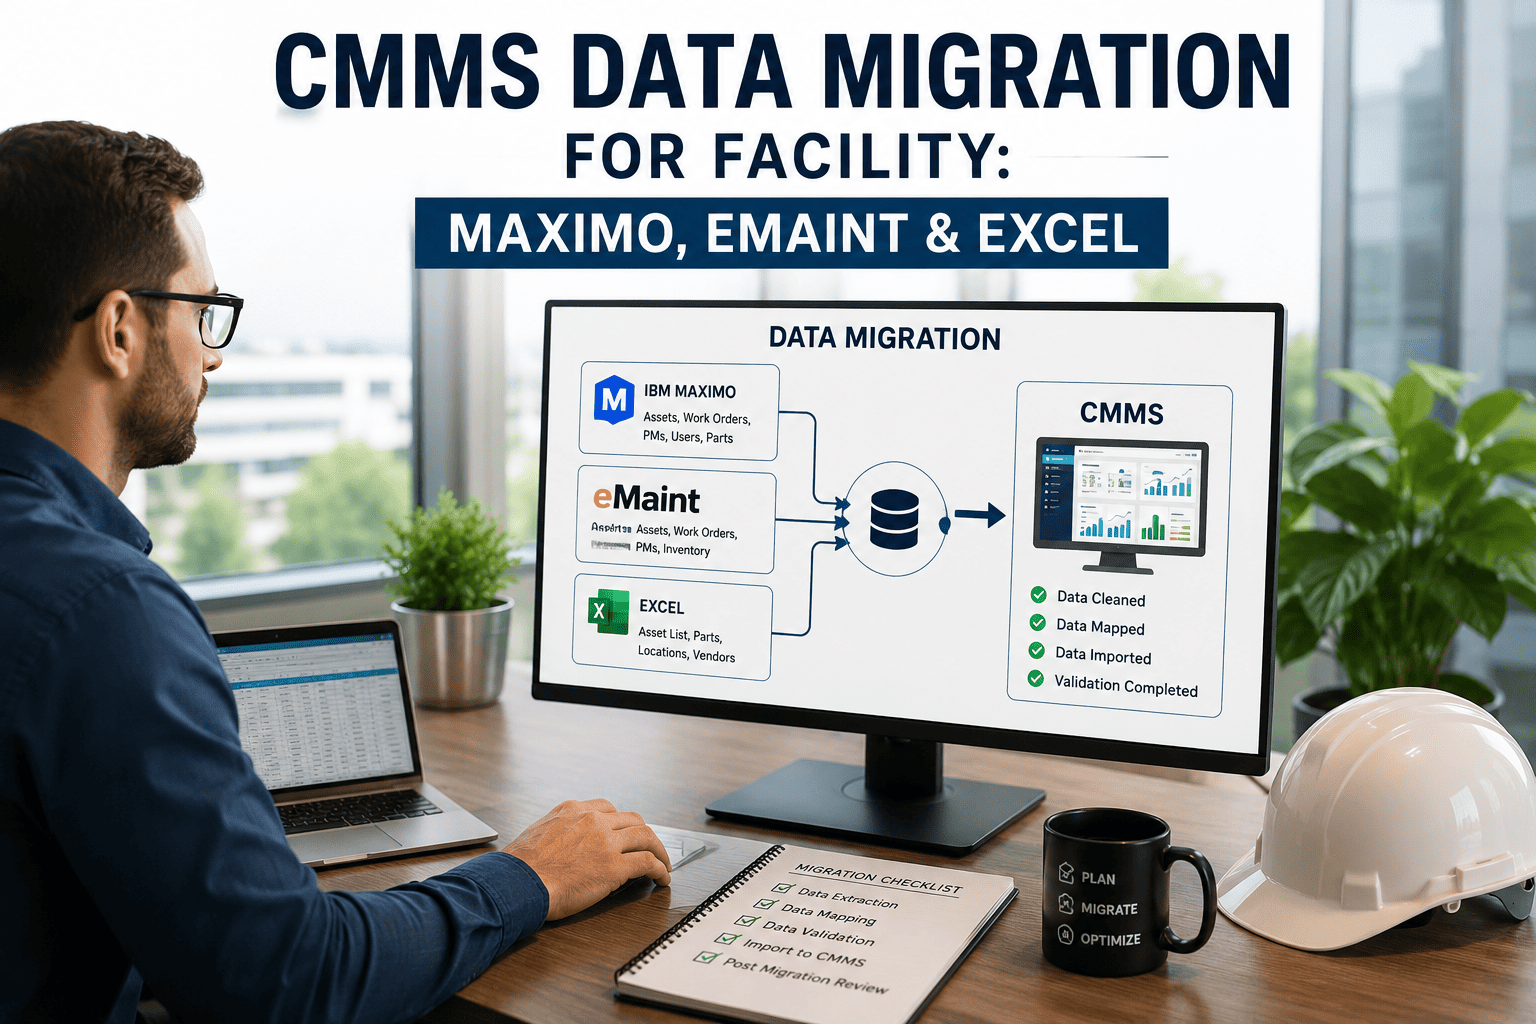
Pull records from spreadsheets, paper logs, legacy CMMS exports, vendor invoices, and technician notebooks. Catalog where each data type lives before migrating anything.
Remove duplicates and correct inconsistencies
De-duplicate asset records. Standardize date formats, status values, and cost field formats. This step alone prevents the most common post-go-live data complaints.
Build spare parts and inventory list
Document every spare part by part number, description, unit of measure, current quantity on hand, reorder point, and preferred supplier. This enables inventory automation from day one.
Rate asset criticality for each item
Assign a criticality score (1–3 or Low/Medium/High) to every asset. Criticality determines PM frequency, response time targets, and spare parts stocking levels in the CMMS.
Validate data against physical inspection
Spot-check 10–15% of asset records against actual equipment tags. Catch discrepancies before migration, not after. Physical validation takes a day and saves weeks of corrections.
Format data to CMMS import template
Map your cleaned fields to the CMMS import format. For OxMaint, the AI-powered import engine auto-maps common field variations and flags any unmapped columns before upload.
!
Teams with clean, organized data before migration go live 2–3 weeks faster and report 60% fewer post-launch data correction requests. Invest the time here — it pays back immediately.
Phase 03
System Configuration & Process Mapping Weeks 3–5
Configuration is where your CMMS learns how your operation actually works. The biggest mistake at this stage is building the system around how you think maintenance should work instead of how it works today. Start with real workflows and improve them incrementally.
Map your work order lifecycle
Document every step from request to completion: who submits, who approves, who assigns, who completes, who closes. Configure the CMMS workflow to match this exactly.
Set up user roles and permissions
Define role-based access: technician (field access), supervisor (approval rights), manager (reporting access), admin (full configuration). Over-permissioning creates compliance risks.
Configure PM schedules for critical assets
Start with your top 20% most critical assets. Set time-based and meter-based PM triggers. Validate intervals against manufacturer specifications and your existing maintenance history.
Build work order templates and checklists
Create standardized task checklists for recurring maintenance activities. Templates reduce variability, speed up technician completion, and produce consistent data for future analysis.
Configure notification and escalation rules
Set automated alerts for: overdue work orders, high-priority asset failures, PM compliance below threshold, and inventory below reorder point. Every alert needs a defined recipient.
Set up cost centers and budget codes
Map work orders to department cost centers or budget categories from the start. This enables the maintenance cost reporting your finance team will ask for within 60 days of go-live.
Define KPIs and configure dashboard views
Identify 5–7 core KPIs: MTTR, MTBF, PM completion rate, work order backlog, cost per asset. Build role-specific dashboards so every user sees the data relevant to their function.
Test integrations with connected systems
Validate bidirectional data flow with any connected ERP, BMS, procurement, or accounting system. Test edge cases: what happens when a PO is rejected? When a sensor fires an alert?
Configure mobile access and offline mode
Verify that technicians can access, update, and close work orders from mobile devices — including offline mode for areas without reliable connectivity (basements, remote sites).
Run end-to-end workflow test with sample data
Create 10 test work orders covering all asset types, priority levels, and approval paths. Walk each through the full lifecycle. Identify and fix any configuration gaps before training begins.
Phase 04
Team Training & Pilot Testing Weeks 5–6
Training is the most frequently underinvested phase and the primary cause of poor adoption. One generic 3-hour session for all users doesn't work. Technicians and managers have completely different workflows and need separate, hands-on training tailored to how they'll actually use the system every day.
Deliver role-specific training sessions
Run separate sessions: technicians learn mobile work order access and checklist completion; supervisors learn assignment and approval workflows; managers learn reporting and KPI dashboards.
Train on mobile device in the field, not a classroom
Technician training is most effective on the shop floor or in the facility, using real assets. Lab-based training produces 40–50% lower retention rates for field-facing users.
Identify and train super-users per department
Super-users become the internal go-to resource after go-live. They handle peer questions, reducing support tickets and sustaining adoption momentum beyond the first 30 days.
Run pilot on one site or asset class for 1–2 weeks
Go live on a limited scope before full rollout. A pilot surfaces configuration issues, usability friction, and missing workflow steps at low risk — when they're still easy to fix.
Collect pilot feedback and resolve issues
Run a structured debrief after week one of the pilot. Ask: what's missing, what's confusing, what would you change? Address every usability issue before the full rollout date.
Confirm PM schedule accuracy with lead technician
Have your most experienced technician review every PM schedule in the system against their practical knowledge. They'll catch interval errors and missing safety steps that no data migration will find.
OxMaint provides dedicated onboarding support for every deployment — including role-based training sessions, data import assistance, and a 30-day post-launch review.
Book a Free Demo
Start Free Today
Phase 05
Go-Live Verification & Post-Launch Weeks 6–8+
Go-live is not the finish line — it's the starting gun. The teams that get the most from their CMMS are those that establish weekly KPI reviews, collect ongoing user feedback, and optimize the system continuously in the first 90 days.
Validate all data migrated correctly
Compare record counts between source and CMMS. Verify asset locations, PM schedule assignments, and work order histories transferred correctly. Run automated validation report.
Confirm all user accounts are active and accessible
Every user should log in, verify their role and dashboard view, and complete one test action before go-live day. Catch access errors in advance, not during the first shift.
Verify notification and alert delivery
Trigger a test work order across all priority levels. Confirm that email, SMS, and in-app alerts fire correctly and reach the right recipients within the defined response window.
Shut down the old system or process formally
Set a hard cutover date. Running the CMMS and the old spreadsheet in parallel beyond two weeks creates data conflicts and splits team attention. Commit to the new system fully.
Establish weekly KPI review cadence for first 90 days
Review MTTR, PM completion rate, work order backlog, and open emergency repairs weekly. The 90-day data set reveals the first optimization opportunities and proves ROI to leadership.
Schedule 30-day and 90-day post-launch reviews
Block time with your OxMaint implementation contact at 30 and 90 days. Review system usage data, identify underused features, and plan phase two scope expansions based on real outcomes.
Implementation Timeline
Typical Deployment Timeline by Organization Size
| Organization Type |
Assets Managed |
Typical Timeline |
Key Complexity Factor |
| Single-site SME |
50–200 assets |
2–3 weeks |
Data readiness |
| Mid-size facility (1–3 sites) |
200–800 assets |
4–6 weeks |
Integration complexity |
| Large enterprise (4–10 sites) |
800–3,000 assets |
6–10 weeks |
Multi-site configuration |
| Portfolio / multi-site REIT |
3,000+ assets |
10–18 weeks |
ERP integration + phased rollout |
Expert Perspective
What Implementation Experts Say
"Data quality is the single most underestimated factor in CMMS implementations. Organizations that invest two to three weeks in data cleaning before migration go live faster, adopt faster, and see ROI two to three times sooner than those that migrate dirty data and clean it after the fact."
MR
Marcus Reid
CMMS Implementation Director, Plant Engineering Institute
"The biggest CMMS failure mode isn't the technology — it's treating implementation as an IT project. When maintenance managers and technicians are involved from day one in workflow design and training, adoption rates exceed 85%. When they're handed a finished system to learn, adoption often stalls below 50% at the six-month mark."
TP
Theresa Patel
Senior Analyst, Maintenance Operations, BOMA International
Common Mistakes
5 Mistakes That Derail CMMS Implementations
01
Migrating Dirty Data
Skipping data cleaning to hit an arbitrary launch date. Every duplicate record and inconsistent name becomes a permanent problem in your new system.
02
One-Size Training
Running one generic training session for technicians and managers together. These users have entirely different workflows and learn at different paces in different environments.
03
No Executive Sponsor
Treating CMMS as a maintenance-only project. Without a leadership champion who ties goals to business outcomes, the project loses priority the moment competing demands arrive.
04
Parallel System Limbo
Running the old spreadsheet and the new CMMS simultaneously past two weeks. Split attention creates data conflicts and signals to the team that the old system is still acceptable.
05
Go-Live as the Finish Line
No KPI reviews, no feedback loops, no optimization after launch. The organizations that get the most from CMMS are the ones still actively improving it 90 days after go-live.
FAQs
Frequently Asked Questions
How long does a typical CMMS implementation take with OxMaint?
For most mid-size organizations managing 200 to 800 assets at one to three sites, OxMaint goes live in 4 to 8 weeks from data connection to active work order management. Teams with clean, organized data before migration often compress this to 2 to 3 weeks. Enterprise deployments across multiple sites typically run 10 to 18 weeks with a phased rollout approach.
Book a free consultation to receive a customized implementation timeline based on your specific asset count, site count, and integration requirements.
Do we need to replace our existing ERP or BMS to implement OxMaint?
No. OxMaint connects to SAP PM, Maximo, Infor EAM, and existing BMS or SCADA systems via OPC-UA, BACnet, Modbus TCP, and REST API. The CMMS sits alongside your existing enterprise systems — not as a replacement. Work orders, asset data, and parts transactions sync bidirectionally so your finance and operations teams continue working in the systems they know.
Start free and connect your first integration in the same session.
What data do we need before we can start the OxMaint implementation?
At minimum: an asset list with names, locations, and basic specifications; a list of current maintenance activities or PM schedules; and your technician and supervisor roster. OxMaint's AI-powered import engine handles most data cleaning and mapping automatically — cleaning and standardizing formats, flagging duplicates, and identifying missing critical fields before migration. Even teams starting from spreadsheets and paper logs successfully go live within 4 to 6 weeks.
Book a demo and we'll assess your data readiness in the first session.
What support does OxMaint provide during and after implementation?
Every OxMaint deployment includes a dedicated implementation contact who manages data migration, configuration, and role-based training. Post-go-live support includes a structured 30-day review, a 90-day optimization session, and ongoing access to OxMaint's support team. Most common post-launch questions are resolved within one business day. OxMaint's knowledge base and in-app guided workflows also enable technicians to self-serve answers without waiting for support tickets.
Sign up free and access the full onboarding flow immediately.
Ready to Go Live Without the Surprises?
OxMaint's implementation team has guided 300+ deployments across manufacturing, facilities, retail, and utilities. Start with your free account and connect your first assets today — or book a 30-minute implementation planning session with our team.