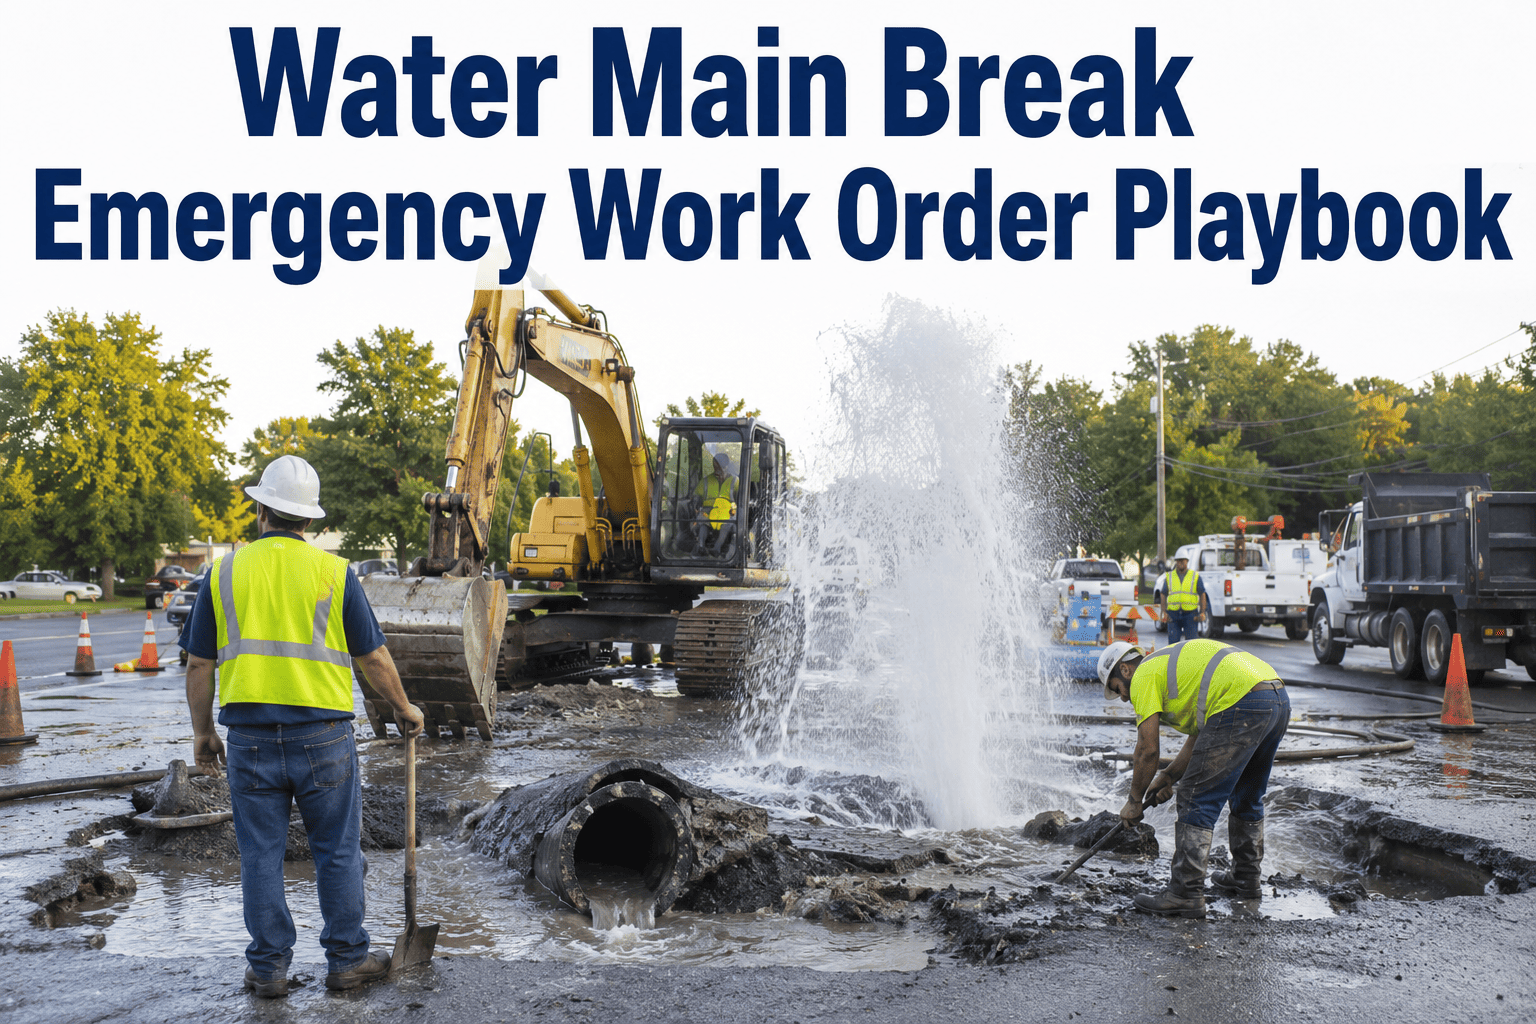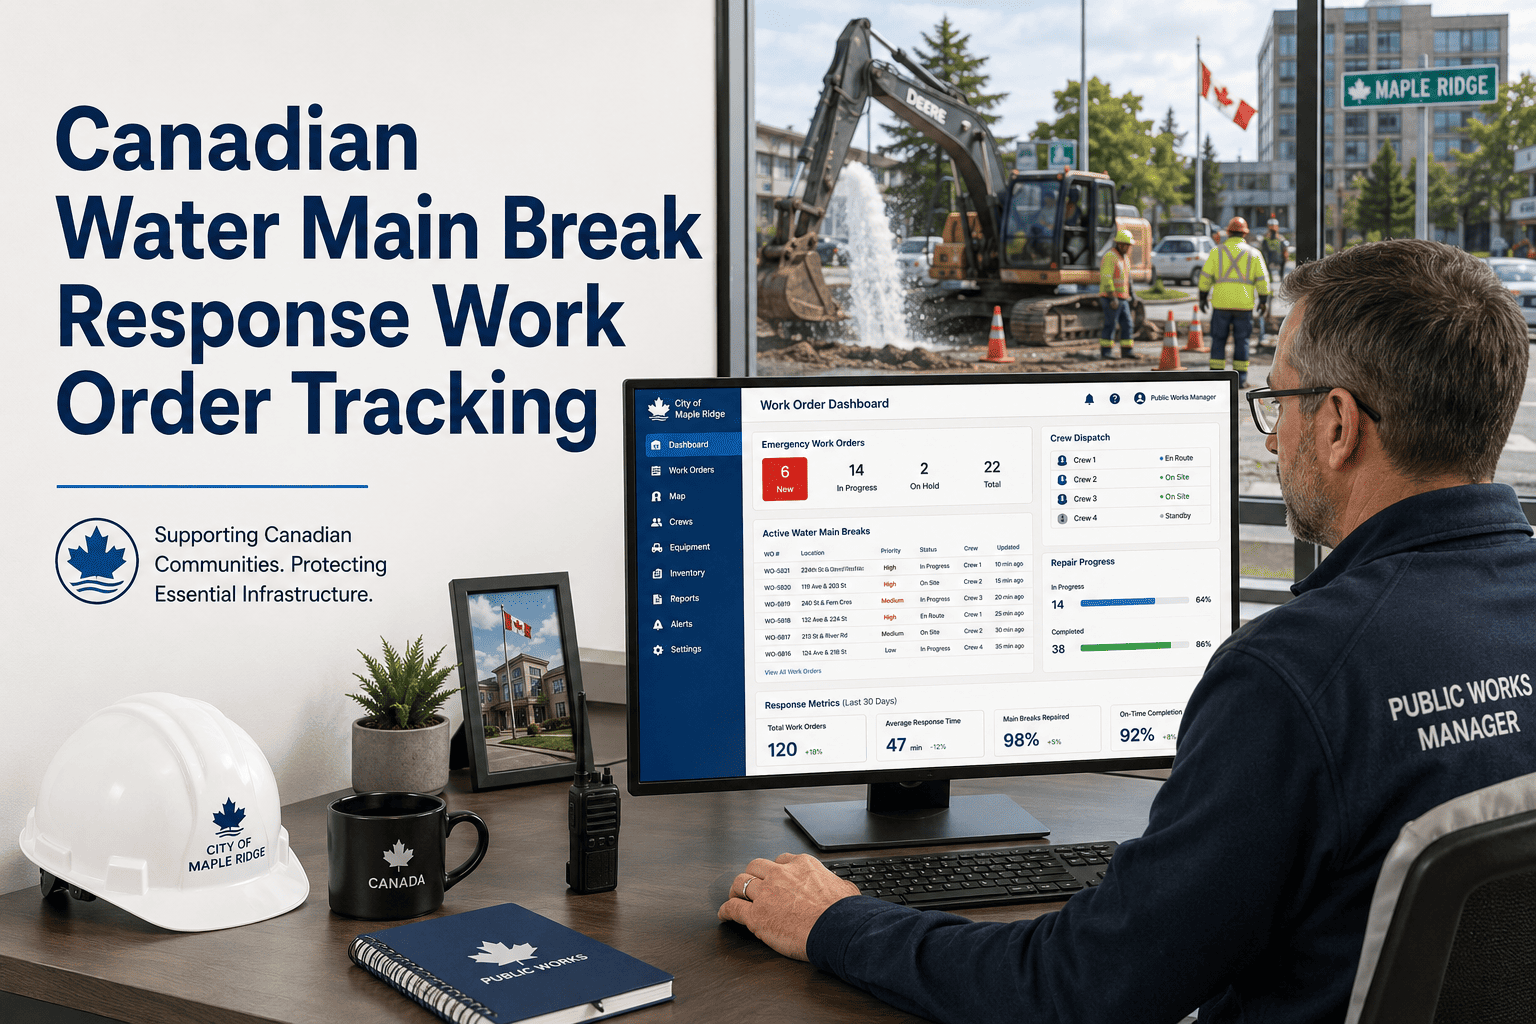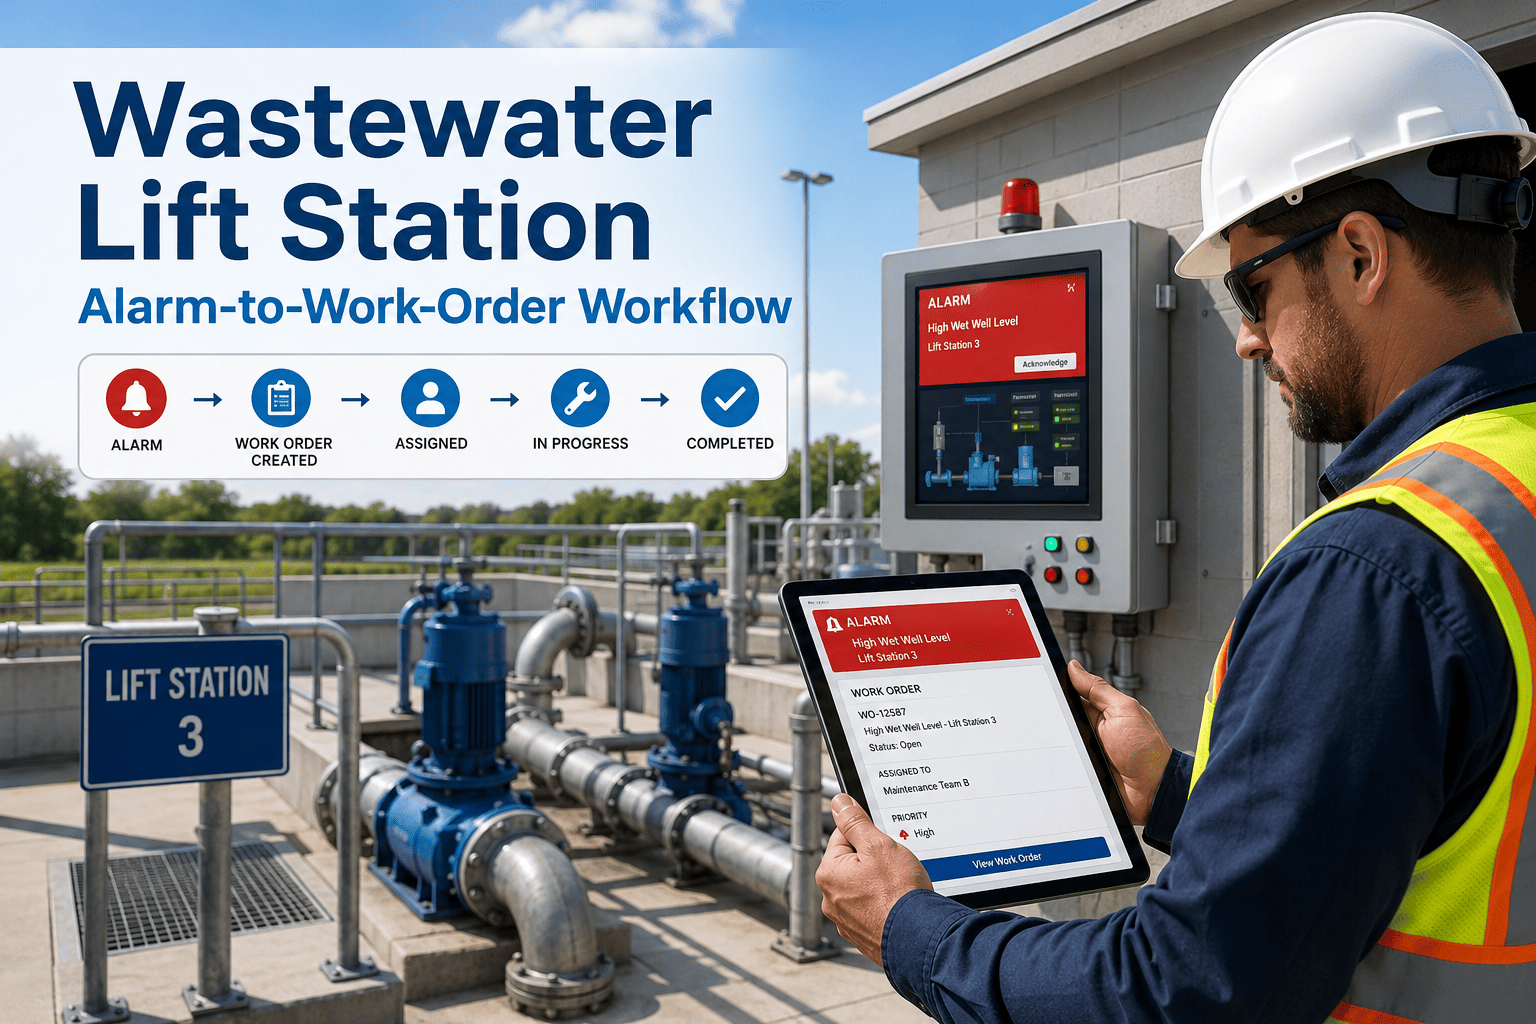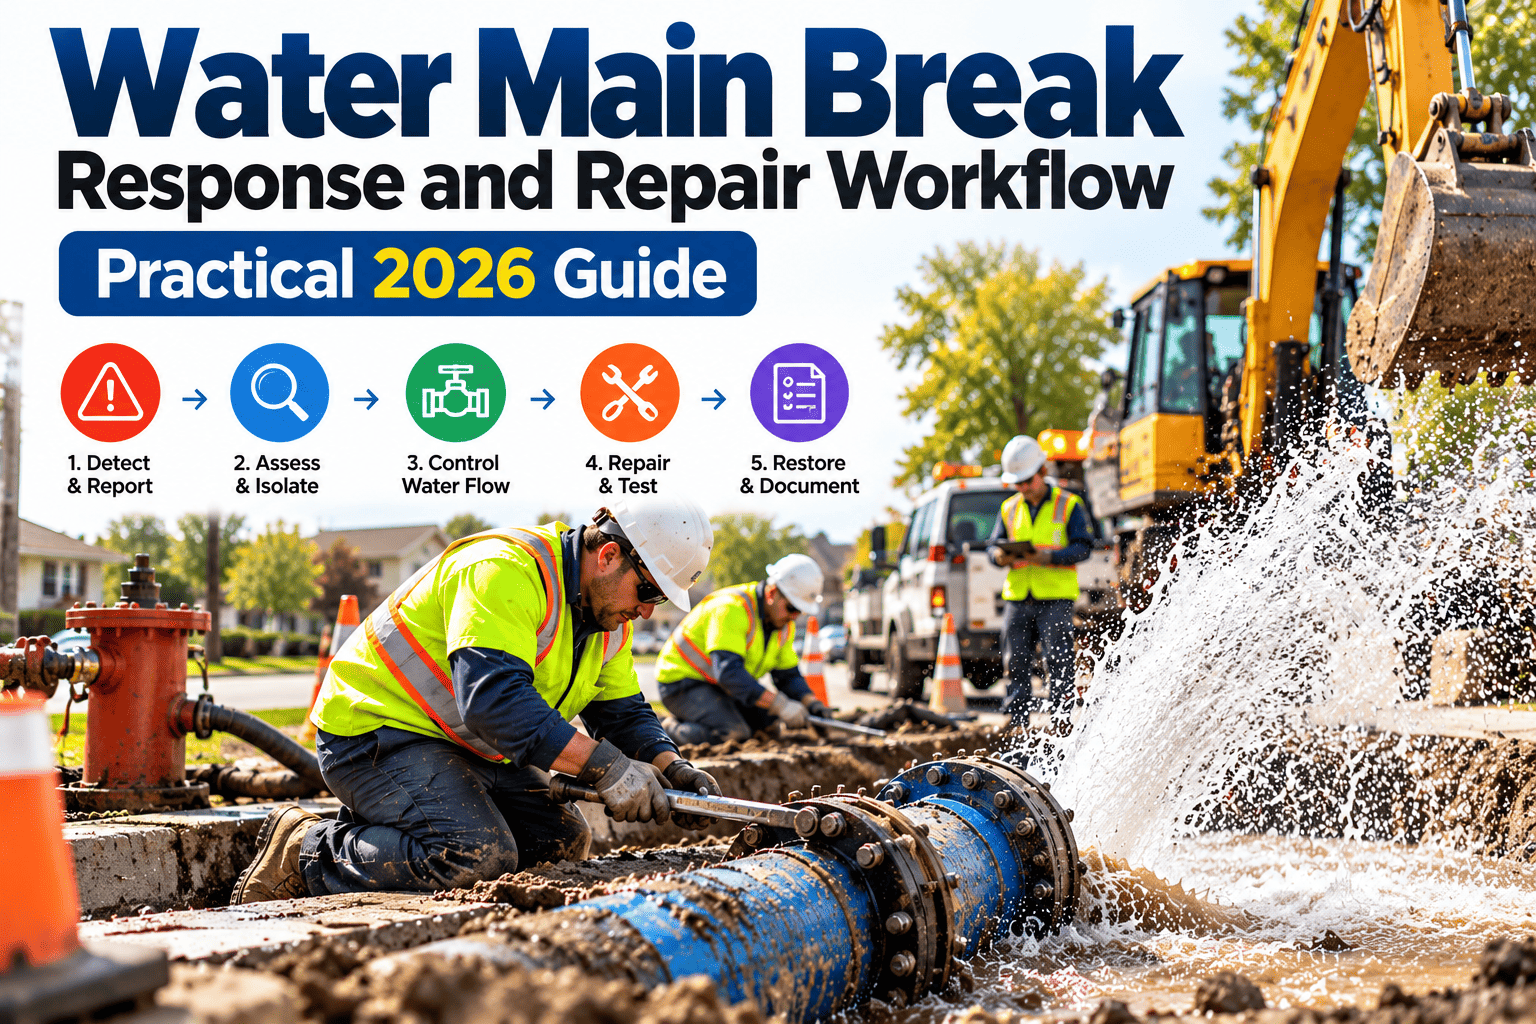
A water main break tests every part of a utility at once: dispatch, valve maps, crews, traffic control, customer notices and water quality. The first hours decide how many customers lose service, how much water is lost and how much damage reaches nearby property. Utilities that respond well tend to have a written workflow, current valve records and a habit of closing the loop afterward. This guide walks through a response from the first call to restoration and the records that follow, with work tracked in a CMMS such as Oxmaint.
Water Main Break Response and Repair Workflow
Move from the first call to restored service with a clear sequence for isolation, crews, customer notices and post-repair records, and learn from every break.
Why response drags when a main breaks
Slow location confirmation
Reports from residents are vague, and crews drive around before finding the source.
Unknown or stuck valves
Valves that were never exercised may not close fully, so the isolated area grows.
Paper valve maps
Outdated drawings send crews to the wrong valve or the wrong pipe.
Missing repair materials
Clamps, couplings and pipe sections are not on the truck or in the right yard.
Unclear roles
Nobody owns notices, traffic control or utility coordination, so each waits on the other.
Delayed corrective follow-up
Temporary repairs and surface restoration stay open for weeks and then fail.
Phase 1: Intake and triage
Create the work order at the first call, even before the break is confirmed. A single record collects the caller, address, time and photos, and gives dispatch one place to track progress.
Questions for the first ninety seconds
- Exact location and nearest cross street
- Where the water is going, and whether it threatens buildings, roads or electrical equipment
- Any loss of pressure or service reported nearby
- Whether the road is passable for responders
Severity levels to define
Phase 2: Isolate the break
Pull the valve map
Identify the closest isolation valves on both sides and a backup set in case one fails.
Check for critical customers
Hospitals, dialysis centers, schools and care facilities need direct contact before shut-off where possible.
Close valves in sequence
Close slowly to avoid pressure surges, and record each valve, turns and condition.
Confirm the flow has stopped
If water continues, move to the next set and note the failed valve as a corrective work order.
Define the affected area
List addresses and accounts without service so notices and alternate supply can be planned.
Valve condition decides isolation speed
A valve exercise program is the quiet foundation of fast response. When crews exercise valves on schedule and record their status, the next break is isolated with fewer surprises.
Open one work order for the whole break
Oxmaint lets crews log location, valves, labor, parts and photos on mobile, so the response record builds itself while the repair is under way.
Phase 3: Crews, equipment and the repair
| Role | Responsibility during the break | Record to keep |
|---|---|---|
| Incident lead | Directs the response and decides escalation | Timeline of key decisions |
| Valve crew | Isolates the main and confirms shut-off | Valves operated and their condition |
| Repair crew | Excavates, repairs and backfills | Hours, equipment, pipe size, material and repair type |
| Traffic and safety | Sets up work zone, trench protection and utility locates | Safety checks and permits |
| Customer communications | Issues notices and answers calls | Notices sent, times and affected accounts |
| Water quality lead | Directs flushing, disinfection and sampling per regulator rules | Test results and clearance times |
Before the excavator starts
Customer and agency notices
Phase 4: Restore service safely
Advisory and sampling rules differ by state and system, so follow your own permit conditions and regulator instructions. The workflow should reference them rather than replace them.
Phase 5: Close the loop with the records
Capture on closeout
- Pipe material, diameter, age and approximate depth
- Failure type, such as circumferential, longitudinal, joint or corrosion hole
- Soil, traffic loading and recent construction nearby
- Time of call, isolation, repair and restoration
- Labor, equipment, materials and contractor costs
- Photos of the failed section and the repair
Create as follow-up work
- Permanent pavement restoration order with a due date
- Valves that failed to close, as corrective work
- Review of nearby pipe segments for similar defects
- Update to valve and pipe records if they were wrong
- Flag for the capital plan if the segment has repeated breaks
Measures worth reviewing after every quarter
| Measure | What it tells you | Action it supports |
|---|---|---|
| Time from call to isolation | Dispatch, valve records and crew readiness | Fix valve maps and exercise programs |
| Time from isolation to restoration | Repair efficiency, materials and testing time | Improve truck stock and procedures |
| Customers affected per break | Valve layout and network sectioning | Plan added valves where outages are wide |
| Repeat breaks by segment | Condition of specific pipes | Feed replacement priorities |
| Valve exercise compliance | Whether isolation will work next time | Schedule and close overdue valve work |
| Open restoration work orders | Follow-up discipline after temporary repairs | Clear aged surface restoration items |
Where the CMMS supports the workflow
What drives main breaks, and what you can track
| Factor | How it contributes | What to record |
|---|---|---|
| Pipe material and age | Some materials corrode, crack or fail at joints more than others as they age | Material, diameter, install year and lining |
| Soil conditions | Corrosive or shifting soils load and attack pipe | Soil notes and photos at the repair |
| Freeze and thaw | Ground movement and temperature swings stress brittle pipe | Weather in the days before the break |
| Pressure changes | Surges from valve and pump operations can fatigue pipe | Recent valve work, pump events and pressure data |
| Traffic and nearby construction | Loads, vibration and third-party damage affect shallow mains | Nearby projects and road conditions |
| Repair history | Multiple breaks on one segment suggest wider deterioration | Asset ID on every break work order |
Be ready before the next break
What a break response truck should carry
Hold an after-action review within a week
Rebuild the timeline
Use work order time stamps to place the call, dispatch, arrival, isolation, repair and restoration on one line.
Find the slowest step
Ask what delayed it: location, valves, materials, notices or testing. Focus on one improvement at a time.
Check what went well
Capture practices worth repeating so they become written procedure.
Assign corrective work
Create work orders for valve repairs, record corrections and training, each with an owner and a date.
Seasonal patterns to plan around
Cold weather response
- Expect a higher call volume when ground temperatures change quickly
- Prepare for frozen valves and hydrants, and for ice at the work site
- Pre-position pipe repair materials and heaters
- Plan shifts so crews are rested during extended events
- Coordinate road treatment and traffic control with the street division
Warm weather response
- Watch for breaks linked to dry, shifting soil and high summer demand
- Protect crews from heat during trench work
- Schedule valve exercising and flushing in milder months
- Manage high demand when part of the system is isolated
- Use quieter periods to complete deferred surface restoration
Principles for communicating during an outage
Say what you know
Give the affected area, what is being done and when the next update will come, even if the repair time is uncertain.
Use more than one channel
Combine phone alerts, text messages, the website and door hangers so people without internet still receive notice.
Tell people what to do
Explain what to expect when water returns, such as discolored water or air in pipes, and what to do about it.
Reach vulnerable customers
Use your critical customer list and offer alternate supply where the outage is long.
Keep the record
Log every notice sent, with time and audience, on the work order for later review.
Close the loop
Send a final message when service is restored and any advisory has been lifted.
Using contractors and mutual aid without losing control
| Situation | What to arrange in advance | What to record |
|---|---|---|
| Multiple breaks at once | On-call contractors with rates and response terms agreed | Contractor arrival, scope and hours on each break |
| Large diameter main | Access to specialty crews, pipe and equipment | Materials, specifications and inspection notes |
| Neighboring utility help | A mutual aid agreement and compatible equipment lists | Personnel, equipment and cost-sharing details |
| After-hours restoration | Paving and surface restoration contacts with call-out terms | Temporary and permanent restoration orders |
Turning break records into a replacement plan
Each repaired break is a data point about a pipe segment. When every break is linked to an asset, you can see which segments keep failing and compare repair cost against replacement. That evidence supports capital requests far better than anecdotes.
Questions the data can answer
- Which segments have had more than one break in the review period?
- Do breaks cluster by material, age or street?
- What did repeat repairs cost compared with replacing the segment?
- Which breaks affected critical customers or main roads?
Suggested review order
Frequently asked questions
What are the first steps in a water main break response?
Confirm the location, assess severity, dispatch crews and identify isolation valves. Open a single work order so every action is recorded in one place.
How can we shorten the time to isolate a break?
Keep valve maps current and exercise valves on a schedule. Record failed valves as corrective work so they are fixed before the next break.
Do we always need a boil water advisory?
Not always. The decision depends on pressure loss, contamination risk and your state and permit rules, so follow your regulator's guidance and document the decision.
What should we record after the repair?
Pipe details, failure type, timeline, labor, materials, photos and test results. A CMMS stores this against the asset for later analysis.
Can Oxmaint support utility emergency repair?
Oxmaint supports emergency work orders, asset records, mobile logging and reporting. You can book a demo to see a main break workflow.
Make every main break faster and better documented
Track the response from first call to restoration, then use the history to fix valves and plan replacements. Oxmaint gives water crews one record for the whole event.