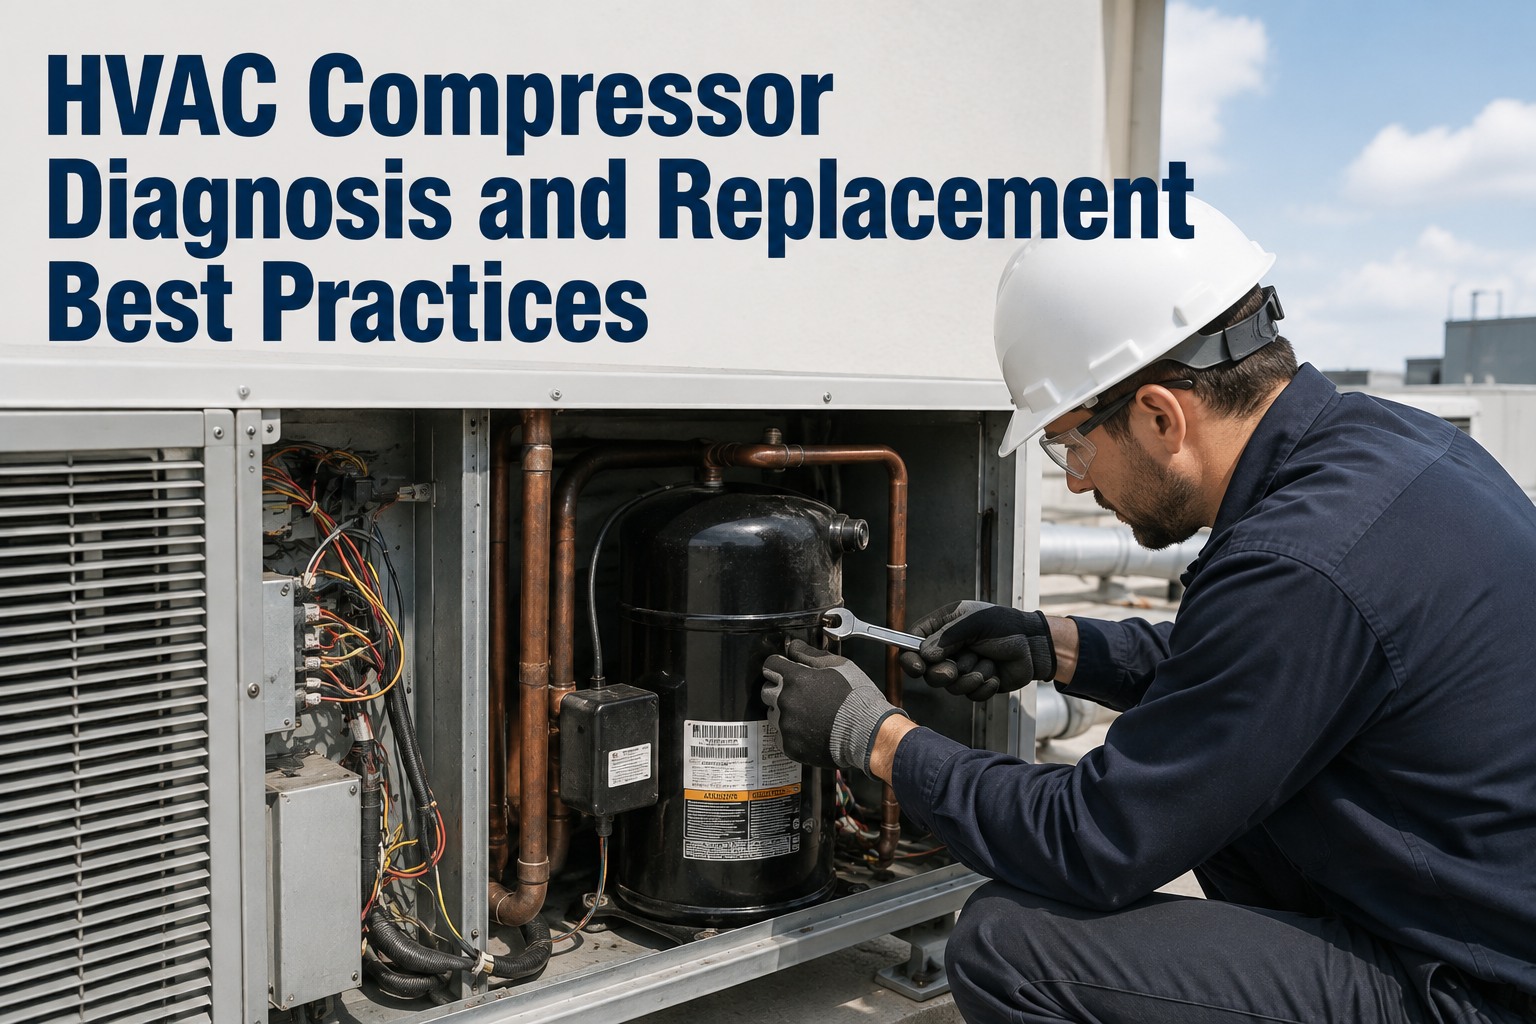
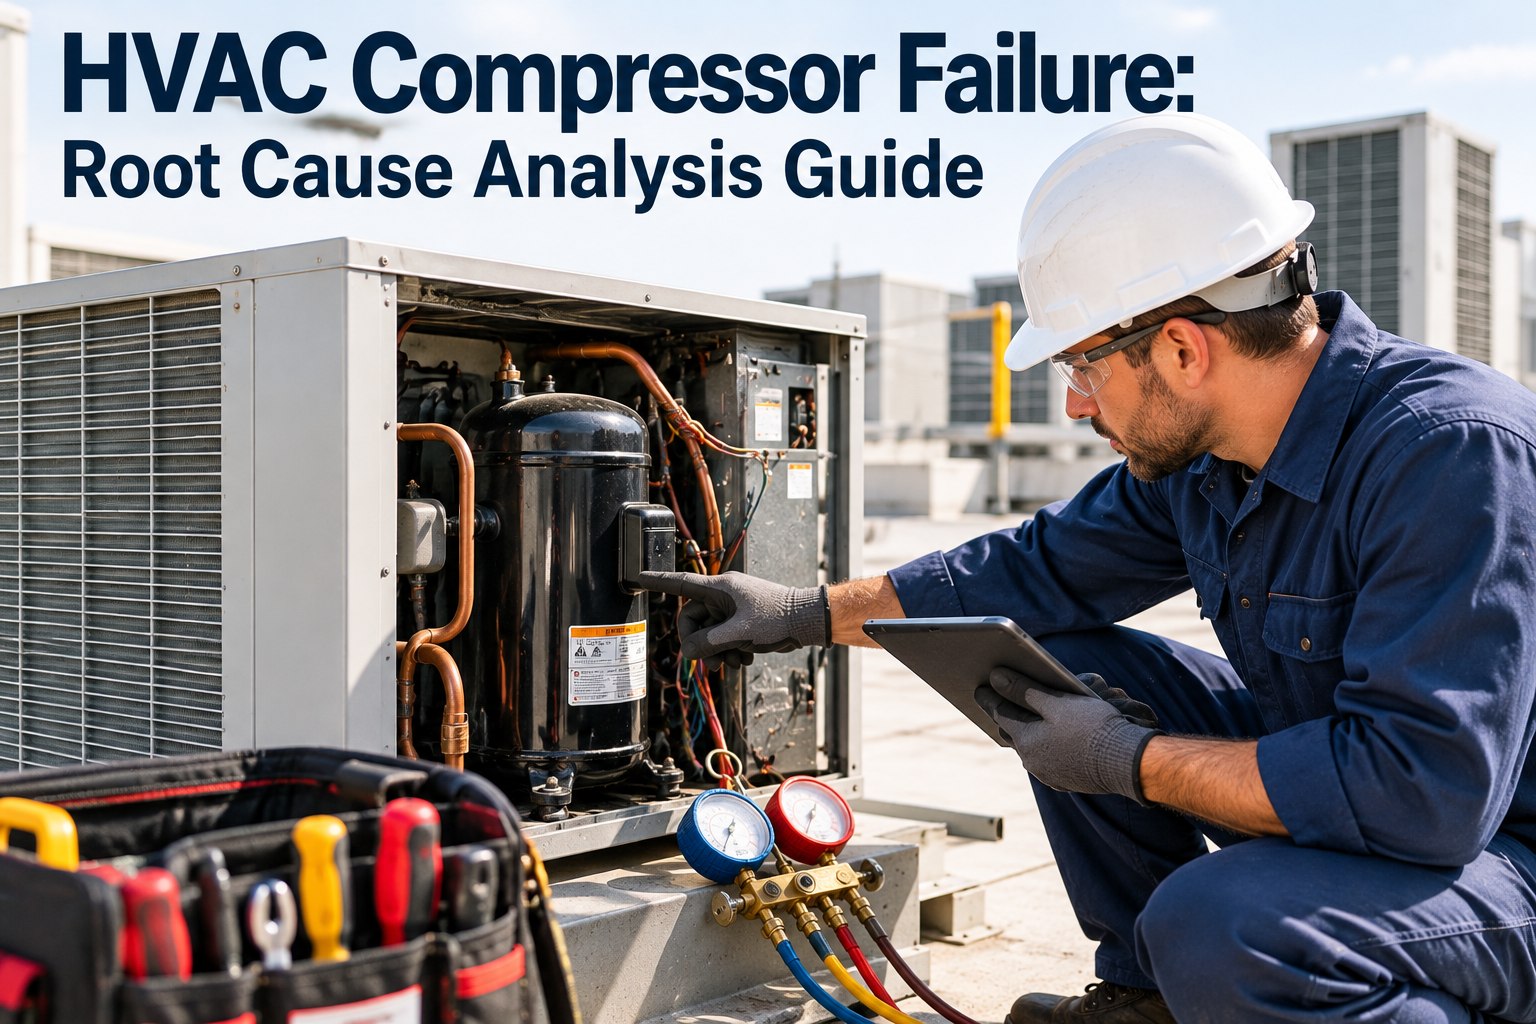
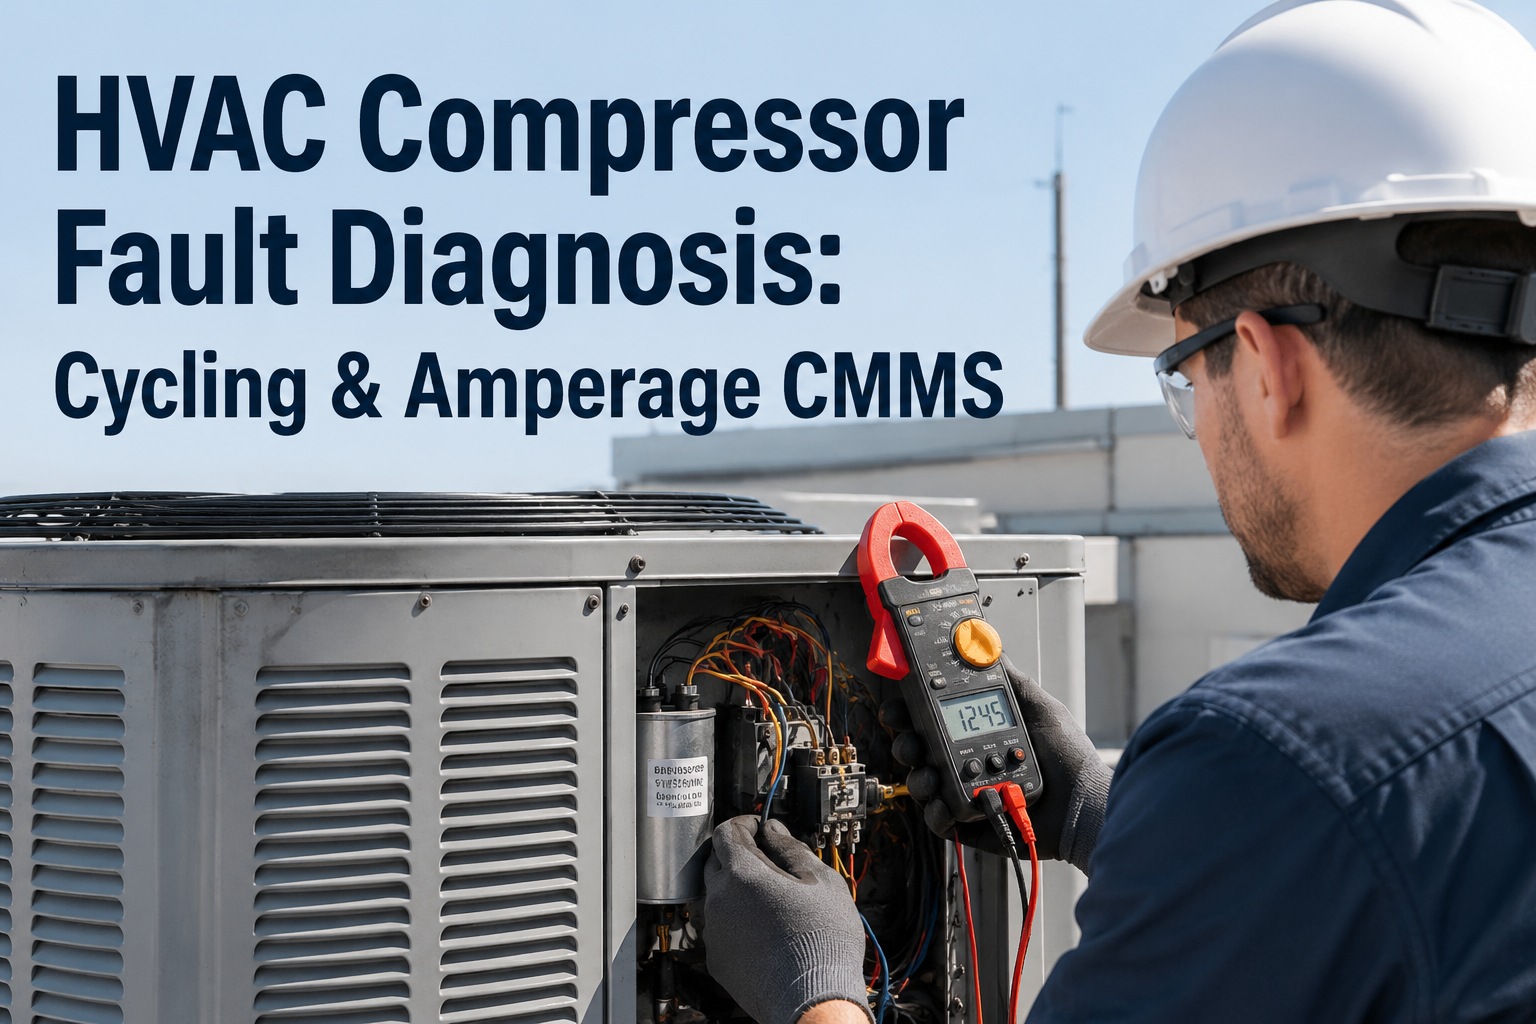
Compressor replacement is one of the most expensive HVAC service calls, and a wrong diagnosis is what turns it into two service calls. This guide covers the failure-mode identification matrix, root-cause discipline before condemnation, and the 7-step replacement sequence that keeps new compressors from becoming comebacks. Start free on OxMaint to load the diagnostic checklist, or book a demo.
HVAC Compressor Diagnosis & Replacement · Get It Right the First Time
5 failure modes · condemnation checklist · comeback prevention.
5
Distinct compressor failure modes — misdiagnosis at this step drives the entire comeback rate
≥ 20 MΩ
Winding-to-ground insulation minimum on a healthy compressor (500 V megger); below → grounded winding
500 μm
Vacuum target on any new-compressor evacuation — deeper than the water boil point at ambient
100%
Rate at which the filter drier gets replaced on every compressor swap — non-negotiable, no exceptions
The 5 Failure Modes · Diagnostic Signature Matrix
Every compressor failure fits one of five modes, and each mode leaves a diagnostic fingerprint the tech can read in under 15 minutes with a multimeter, megger, and refrigerant-oil acid-test kit. The matrix below is the field-standard identification shortcut — pattern-match the symptoms, confirm the root cause, then decide.
Mode 01
Mechanical Failure
Visual signWon't run, or runs w/ knocking / grinding noise
Electrical testWindings OK · draws LRA repeatedly on start attempt
Oil signMetal shavings visible in oil sample
Root causeBearing wear, valve failure, piston damage, broken connecting rod
Mode 02
Electrical — Shorted Winding
Visual signTrips breaker on start; won't energize
Electrical testWinding-to-winding resistance below manufacturer spec (C-R, C-S, R-S check)
Oil signUsually normal unless combined w/ burnout
Root causeInsulation breakdown between motor windings — often from overheat cycles
Mode 03
Electrical — Grounded Winding
Visual signTrips breaker; may hum then trip
Electrical testMegger winding-to-ground < 20 MΩ (500 V test) — direct path to case
Oil signAcid test positive if burnout progressed to insulation
Root causeWinding insulation failure allowing conductor contact with grounded compressor case
Mode 04
Thermal — Burnout
Visual signCompressor hot to touch even off · burnt-oil smell at service port
Electrical testOpen, shorted, or grounded windings — depends on severity
Oil signDark/black oil · positive acid test · copper plating on internals
Root causeOverheat from restricted airflow, low charge, high head pressure, or dirty condenser
Mode 05
Slugging & Oil Failure
Visual signLoud knock on start; damaged valve plates; oil migration to evaporator
Electrical testWindings typically OK; failure is mechanical/hydraulic
Oil signLow oil level in sight glass; oil trapped in suction line or evaporator
Root causeLiquid refrigerant returning to compressor · missing/failed accumulator · TXV overfeed
The "Don't Condemn Yet" Decision Tree
The most expensive mistake in HVAC service is condemning a compressor that isn't actually the root cause. Before ordering the new unit, the six-step tree below is what every experienced tech walks — because a bad capacitor, tripped internal overload, or open control circuit looks like a dead compressor from the outside.
01
Check the Capacitor
Test start/run capacitor with capacitance meter. Bad cap prevents compressor from starting — looks like a dead compressor. Cheapest fix on the list.
↓
02
Verify Line Voltage & Contactor
Confirm proper voltage at compressor terminals. Pitted or welded contactor, blown fuse, or bad relay is a control-side failure — not the compressor.
↓
03
Test for Internal Overload Trip
Allow the compressor to cool 2–4 hours. Internal thermal overload can trip and stay open until temp drops — retest before condemning.
↓
04
Megger Test — Winding to Ground
500 V megohm test between terminals and ground. ≥ 20 MΩ = healthy insulation. Below = grounded winding, condemn.
↓
05
Continuity — Winding to Winding
Ohm C–R, C–S, R–S. Open winding = no continuity on one leg. Shorted winding = resistance below manufacturer spec.
↓
06
Acid Test on Oil Sample
Positive acid = burnout confirmed → full system cleanup required. Negative + failed windings = clean electrical failure → filter drier only.
Burnout Severity Ladder · What Each Level Requires
Not every compressor failure is a full burnout, and the severity determines the system cleanup scope. Under-scoping a severe burnout kills the replacement compressor within months; over-scoping a clean electrical failure wastes money. The three-tier ladder below is the field-standard classification.
Level 1
Mild — Clean Electrical Failure
Signs Clean oil color · no acid · no burnt smell · winding failure only
Cleanup Standard filter drier · normal evacuation to 500 microns · standard oil charge
Level 2
Moderate — Partial Burnout
Signs Darkened oil · mild acid on test · slight burnt smell at service ports
Cleanup Suction-line filter drier (burnout-rated) · double evacuation · liquid-line drier · oil sample after 24 hr run
Level 3
Severe — Catastrophic Burnout
Signs Black oil · strong acid · burnt smell · copper plating · carbon on internals
Cleanup Full flush of suction/liquid lines · burnout-rated filter driers replaced twice · triple evacuation · TXV inspected or replaced
Load the Compressor Diagnostic + Replacement Checklist — Free Forever
Sign up on OxMaint's free forever plan and load the diagnostic decision tree, burnout severity ladder, and 7-step replacement procedure as mobile PMs. Test readings, oil-sample photos, and severity classification capture at the truck — no card, no time limit.
The 7-Step Replacement Sequence · With Mandatory Hold-Points
Every replacement follows the same sequence, and each step has a hold-point where the tech confirms the previous step before proceeding. Skipping any one is what causes comeback failures within weeks or months.
01
Recover Refrigerant
EPA-certified recovery to spec vacuum. Weigh recovered charge — compare to nameplate to confirm system wasn't overcharged or leaking.
02
Cut Out Old Compressor
Cut lines at compressor stubs; don't unsweat if contamination is suspected. Cap open lines immediately to prevent moisture ingress.
03
Match Replacement Spec
Verify BTU capacity, refrigerant type (R-410A vs R-32 vs R-454B), oil type (POE / mineral / alkylbenzene), voltage/phase. Wrong spec = second failure.
04
Install Filter Drier — Mandatory
Fresh liquid-line drier on every replacement. Suction-line burnout drier if Mode 04 confirmed. No exceptions — the drier catches contamination the vacuum won't.
05
Braze With Nitrogen Purge
Nitrogen at 2–5 psig flows through lines during brazing to prevent copper-oxide scale formation. Scale becomes contamination that fails the next compressor.
06
Evacuate to 500 Microns
Deep vacuum to 500 microns and hold. Isolate pump — if pressure rises above 500 microns in 10 min, moisture or leak present. Do not charge yet.
07
Charge, Start, Verify
Weigh in nameplate charge; verify superheat, subcool, discharge/suction pressures, amperage. Post-run oil sample after 24 hr on burnout jobs.
Comeback Prevention · The 6 Causes of Repeat Failures
The compressor comeback rate is the fingerprint of a service program. Field data across service organizations consistently traces repeat failures to the same six shortcuts — each one avoidable with disciplined procedure.
Cause 01
Filter Drier Skipped
Old drier reused or drier omitted "to save time." Contamination reaches new compressor within weeks.
Cause 02
No Acid Flush After Burnout
Mode 04 burnout treated as clean electrical failure. Residual acid eats new compressor windings from the start.
Cause 03
TXV Not Inspected
Stuck-open TXV that caused slugging on original goes untouched. New compressor slugs and fails on start #1.
Cause 04
Wrong Oil Type
POE for HFC systems vs mineral for older CFC/HCFC. Mixing dissolves out mineral deposits and clogs metering device.
Cause 05
Copper Oxide From No-Nitrogen Braze
Brazing without nitrogen purge leaves black scale inside lines. Scale flakes into new compressor over first month of runtime.
Cause 06
Root Cause Never Addressed
Overheat from dirty condenser condemned the original — condenser never cleaned. New compressor overheats identically.
How OxMaint Runs the Full Compressor Diagnostic Program
The 5-mode diagnostic matrix, the condemnation decision tree, the burnout severity ladder, and the 7-step replacement sequence all run on one CMMS — mobile diagnostic PMs on the truck, test readings captured with photos, severity classification driving downstream parts and procedure, and a comeback-tracking metric per technician.
Diagnose
5-Mode Matrix on the Truck
Diagnostic checklist walks tech through visual, electrical, and oil-sample checks per mode — no condemnation without full workflow.
Classify
Auto Burnout Severity Level
Oil color, acid test, smell classification captured with photo → auto-assigns Level 1/2/3 and pulls the matching parts list.
Match
Replacement Spec Verification
BTU / refrigerant / oil / voltage cross-checked against asset nameplate before parts leave the warehouse.
Execute
7-Step Sequence Hold-Points
Each step signs off with reading or photo before next unlocks — filter drier install, nitrogen braze, 500-micron vacuum all mandatory.
Verify
Post-Start Readings Captured
Superheat, subcool, pressures, amperage recorded on the WO. 24-hr oil sample scheduled on any burnout job.
Track
Comeback Rate by Technician
Repeat-failure metric by tech, by root cause, by shortcut skipped — the KPI that closes the training loop.
Stop Compressor Comebacks Before They Leave the Shop
Free forever plan — no card, no time limit. Load the diagnostic tree, the severity ladder, and the 7-step replacement sequence, and every hold-point signs off before the next unlocks. Or book 30 minutes and we'll walk your last comeback end-to-end on the platform.
Frequently Asked Questions
What are the five HVAC compressor failure modes?
Mechanical (bearing / valve / piston damage — often with metal shavings in oil), shorted winding (winding-to-winding resistance below spec), grounded winding (megger reads below 20 MΩ to case), thermal burnout (overheat destroying insulation, dark oil, positive acid test), and slugging / oil failure (liquid refrigerant return damaging valves, low oil level, loud knock on start). Each mode has a distinct diagnostic signature you can pattern-match in about 15 minutes with a multimeter, megger, and acid-test kit.
Why does the filter drier get replaced on every compressor swap?
Because the drier catches contamination that vacuum evacuation doesn't — moisture, acid, particulate, and small solids that would otherwise circulate through the new compressor and cause a repeat failure within weeks. On a Mode 04 burnout, both a liquid-line drier and a suction-line burnout-rated drier are installed; on a clean electrical failure, the standard liquid-line drier suffices. Reusing the old drier is one of the top six causes of compressor comebacks documented across service organizations.
Why 500 microns of vacuum, and why nitrogen purge during brazing?
500 microns is below the boiling point of water at ambient temperature, so pulling to and holding at 500 microns proves all moisture has vaporized and been evacuated. Nitrogen purge at 2–5 psig during brazing prevents copper-oxide scale from forming inside the lines — that black scale is the contamination that flakes into the new compressor over the first month of runtime and causes the second failure. Both are non-negotiable hold-points in the 7-step replacement sequence.
How do you tell a mild burnout from a severe one?
Three signals in sequence: oil color, acid test, smell. Level 1 (clean electrical failure) — oil looks like new, acid test negative, no burnt smell. Level 2 (partial burnout) — oil darkened, mild acid on test, slight burnt smell at service ports. Level 3 (catastrophic burnout) — black oil, strong acid, strong burnt smell, copper plating visible on internal parts, carbon deposits. The severity level drives the cleanup scope — under-scoping a Level 3 as a Level 1 is what kills the replacement compressor within weeks.
Book a demo to see severity classification in the mobile checklist.
What are the most common reasons a replacement compressor fails again?
Six causes account for almost every comeback: skipped filter drier, no acid flush after a burnout was treated as clean electrical, TXV not inspected on a slugging failure, wrong oil type (POE vs mineral), copper oxide from brazing without nitrogen purge, and root cause never addressed (dirty condenser or restricted airflow that caused the original overheat left untouched). Each is a shortcut fix that shows up on the replacement WO — and each is preventable with a hold-point checklist on the truck.
Sign up free to load the checklist on your first job.