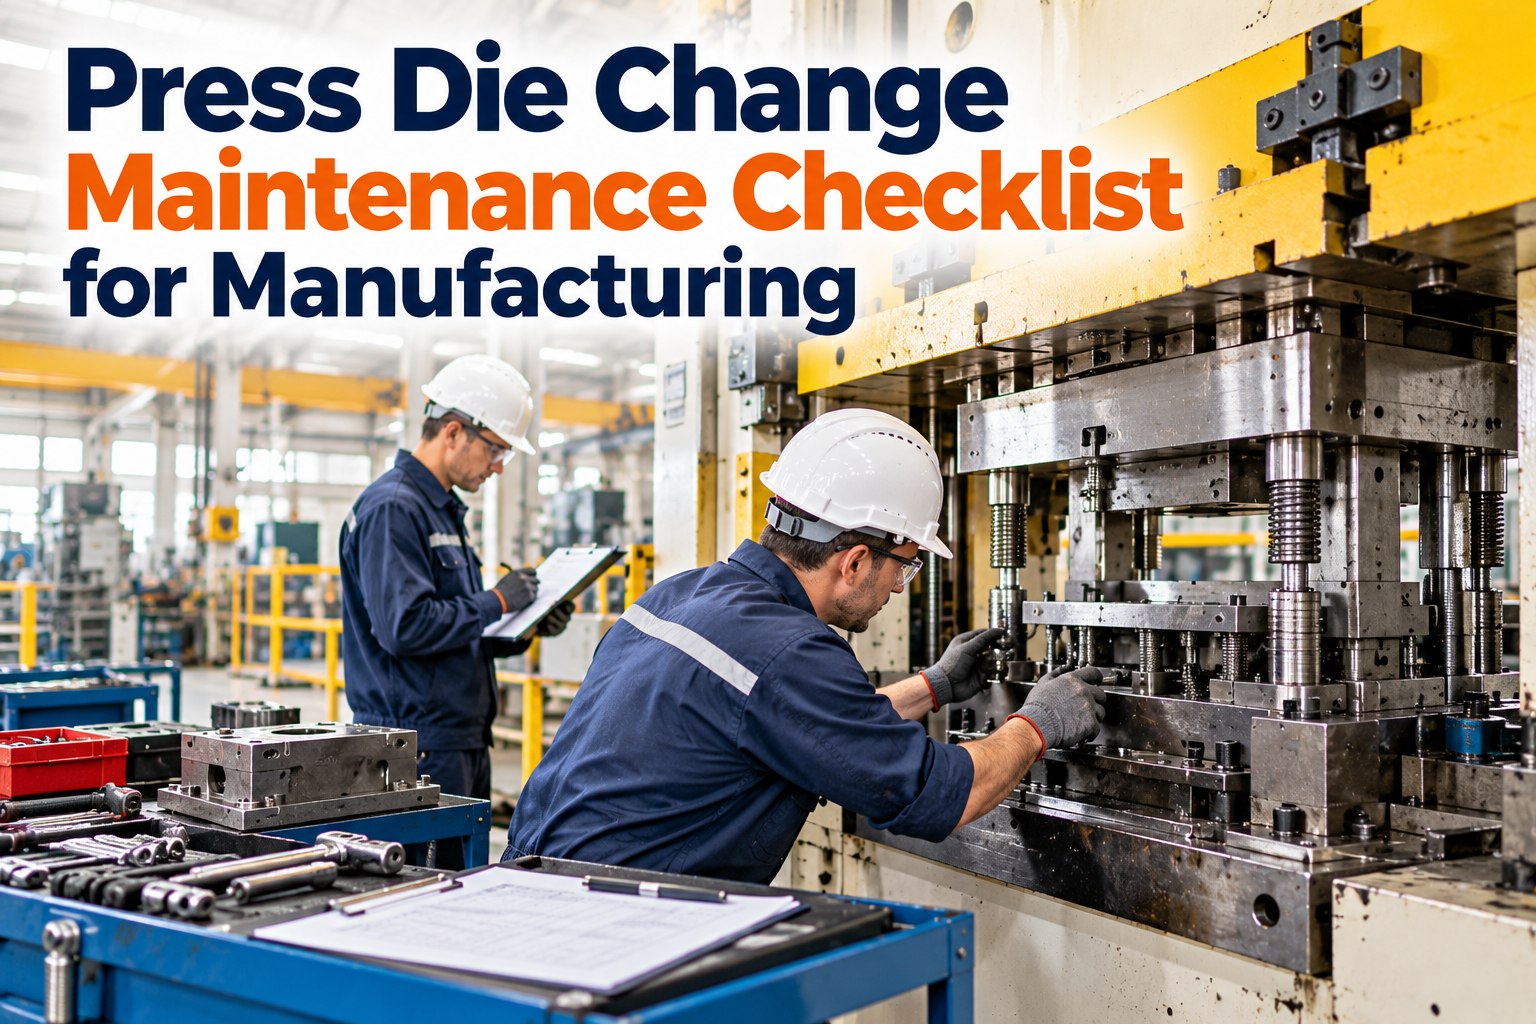
A die change looks like a production task — pull one die, set the next, run the job. But it is also the only moment the tooling is out of the press and in your hands. Miss that window and the next time you see the die is when it cracks mid-run, or when a worn cutting edge quietly fills a pallet with burred scrap. Treat the changeover as a maintenance checkpoint and the die goes back in clean, inspected and set right — not just swapped. This checklist walks the change phase by phase, with the maintenance built in. Tick each item, and let the OXMAINT AI — the AI-powered maintenance management software — schedule the die change and hold the tooling history.
Press Die Change Maintenance Checklist for Manufacturing
The die change is your maintenance window on the tooling. Work the checklist by phase — prep, removal, inspection, set and first-off — so every die goes back in serviced and verified, and let OXMAINT AI track each die's life across changes.
The Changeover Is a Maintenance Window
A die change moves through the same five phases every time. The maintenance that matters happens in the middle one — when the die is out and reachable — but the phases around it decide whether that work is fast, safe and verified. Here is the shape of the change; start free and run every phase as a work order in OXMAINT AI.
Do It While the Press Still Runs
The fastest, safest changes split the work in two: everything you can prepare with the press still producing, and the short list that genuinely needs it stopped. Keep the stopped-press list short and nothing waits on a missing tool or an unread die. Book a demo to stage this prep from OXMAINT AI.
- Next die pulled from storage and staged at the press
- Die inspected and serviced from its last run, ready to go
- Clamps, bolts, shims and setting tools gathered
- Die-change work order, specs and shut-height recorded
- Die cart or crane staged and rigging checked
- Lock out the press and confirm zero motion
- Unclamp and lift the old die out
- Mount, clamp and set the new die
- Reconnect services and run the first-off
The Die Change Checklist, Phase by Phase
Work top to bottom through the change. The safety items in removal are non-negotiable, and the inspection phase is where the real maintenance lives. Tick each item as you confirm it; start free and run this as a recurring die-change work order in OXMAINT AI.
The Wear a Die Shows Before It Fails
The inspection phase pays off only if you know what you are looking at. These are the signs that a die needs attention now — caught at the change, not discovered in a run of scrap; book a demo to turn a wear flag into a tooling work order in OXMAINT AI.
The Die That Cracked Mid-Run Was Fine at the Last Change — Nobody Looked.
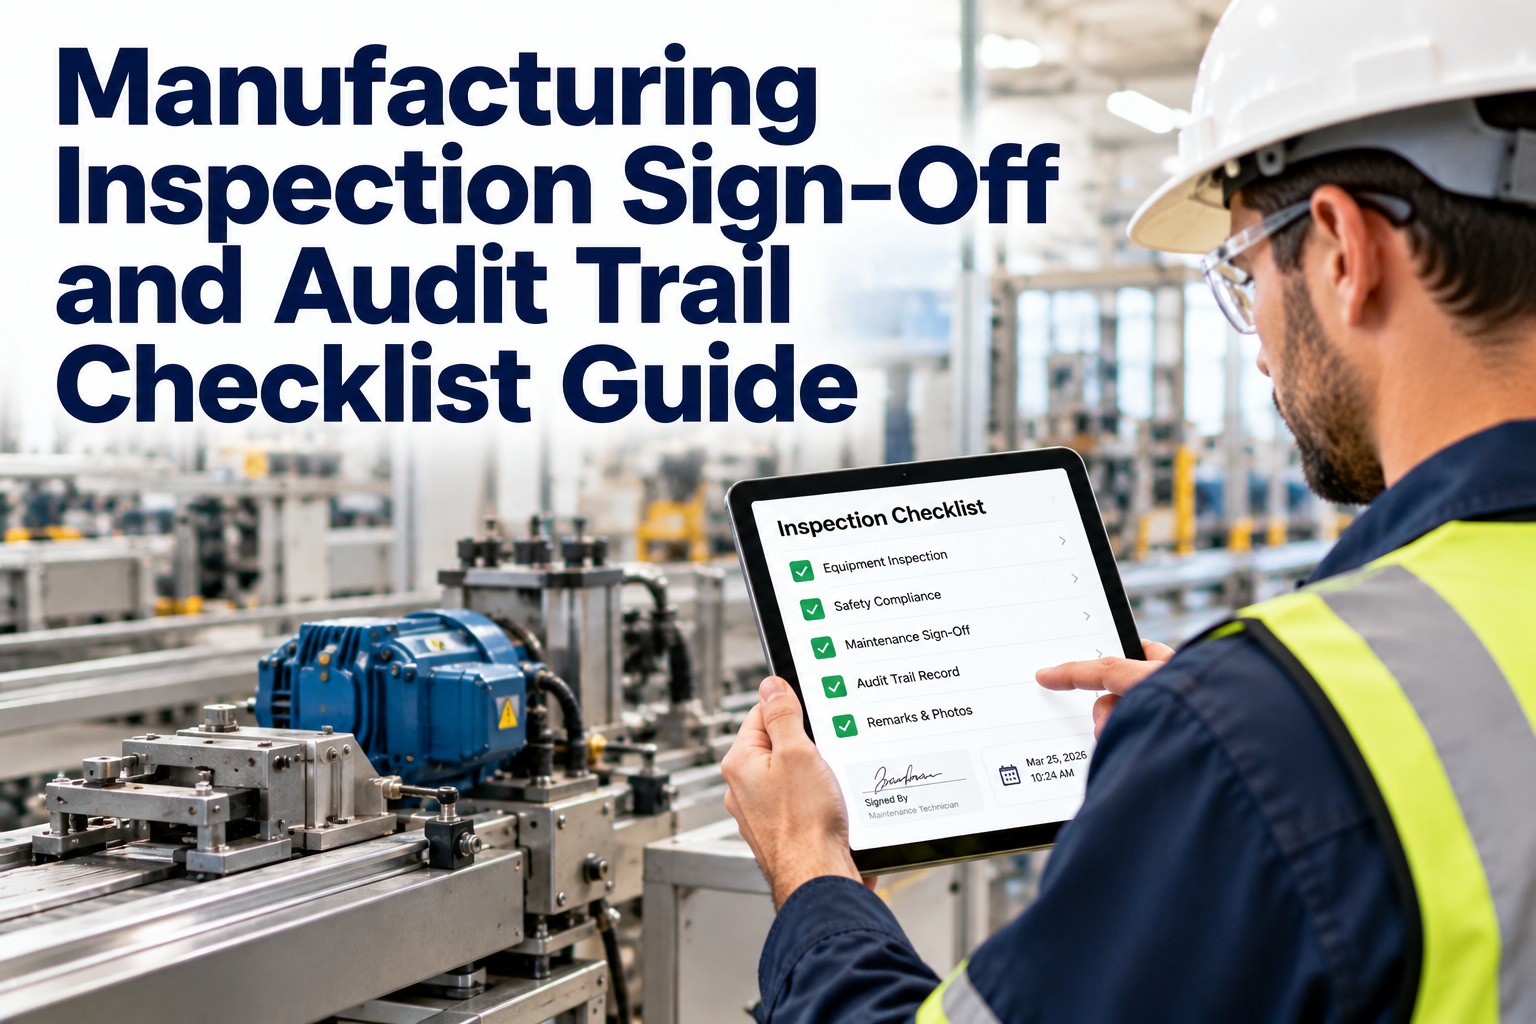
A die change without inspection is a swap, not maintenance — and the wear that was visible with the die in your hands becomes a cracked tool, a line down and a scrapped run weeks later. The OXMAINT AI maintenance management software schedules the die change, runs the checklist, counts the strokes on each die and keeps its wear history, so the tooling is serviced on the way back in.
How OXMAINT AI Runs Die-Change Maintenance
Die maintenance only holds up when each die is tracked as its own asset, with its own life and history — which is the job the software does. Here is what the OXMAINT AI maintenance management software brings to press tooling; start free and put every die on a record in OXMAINT AI.
Frequently Asked Questions
Make Every Die Change a Service, Not Just a Swap.
Run press die-change maintenance inside the OXMAINT AI maintenance management software — a per-die asset register, stroke and tool-life tracking, die-change work orders, scheduled tooling PM and wear logging — so every die goes back in inspected, set and verified, and the one that cracks mid-run becomes the one you caught at the change.


.png)