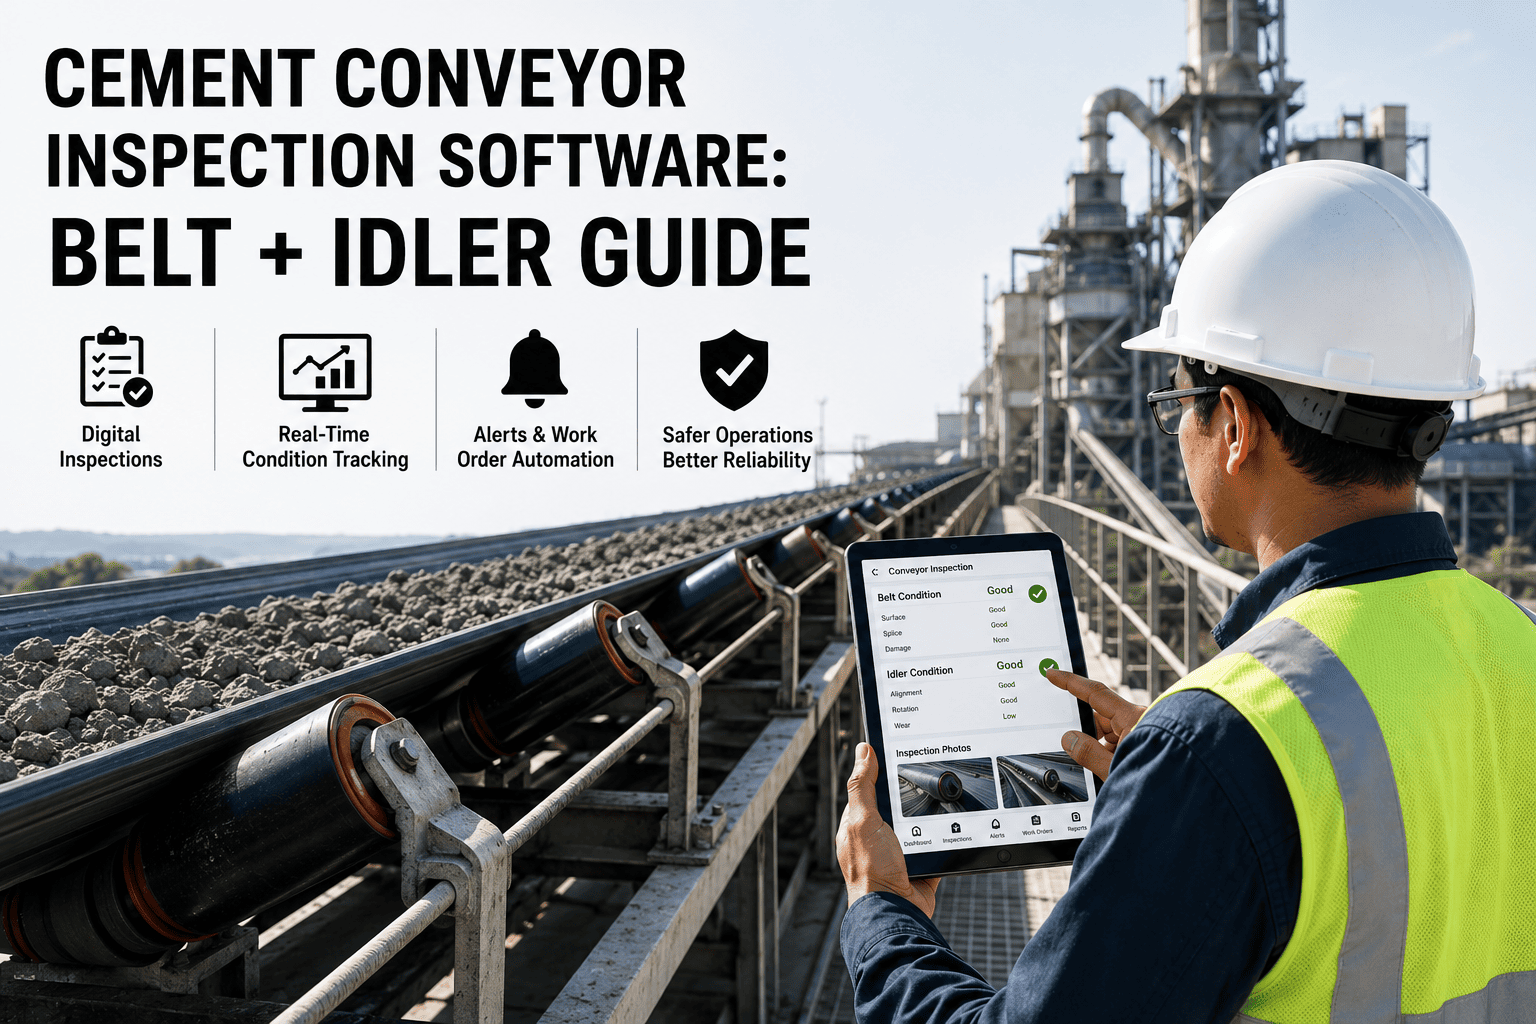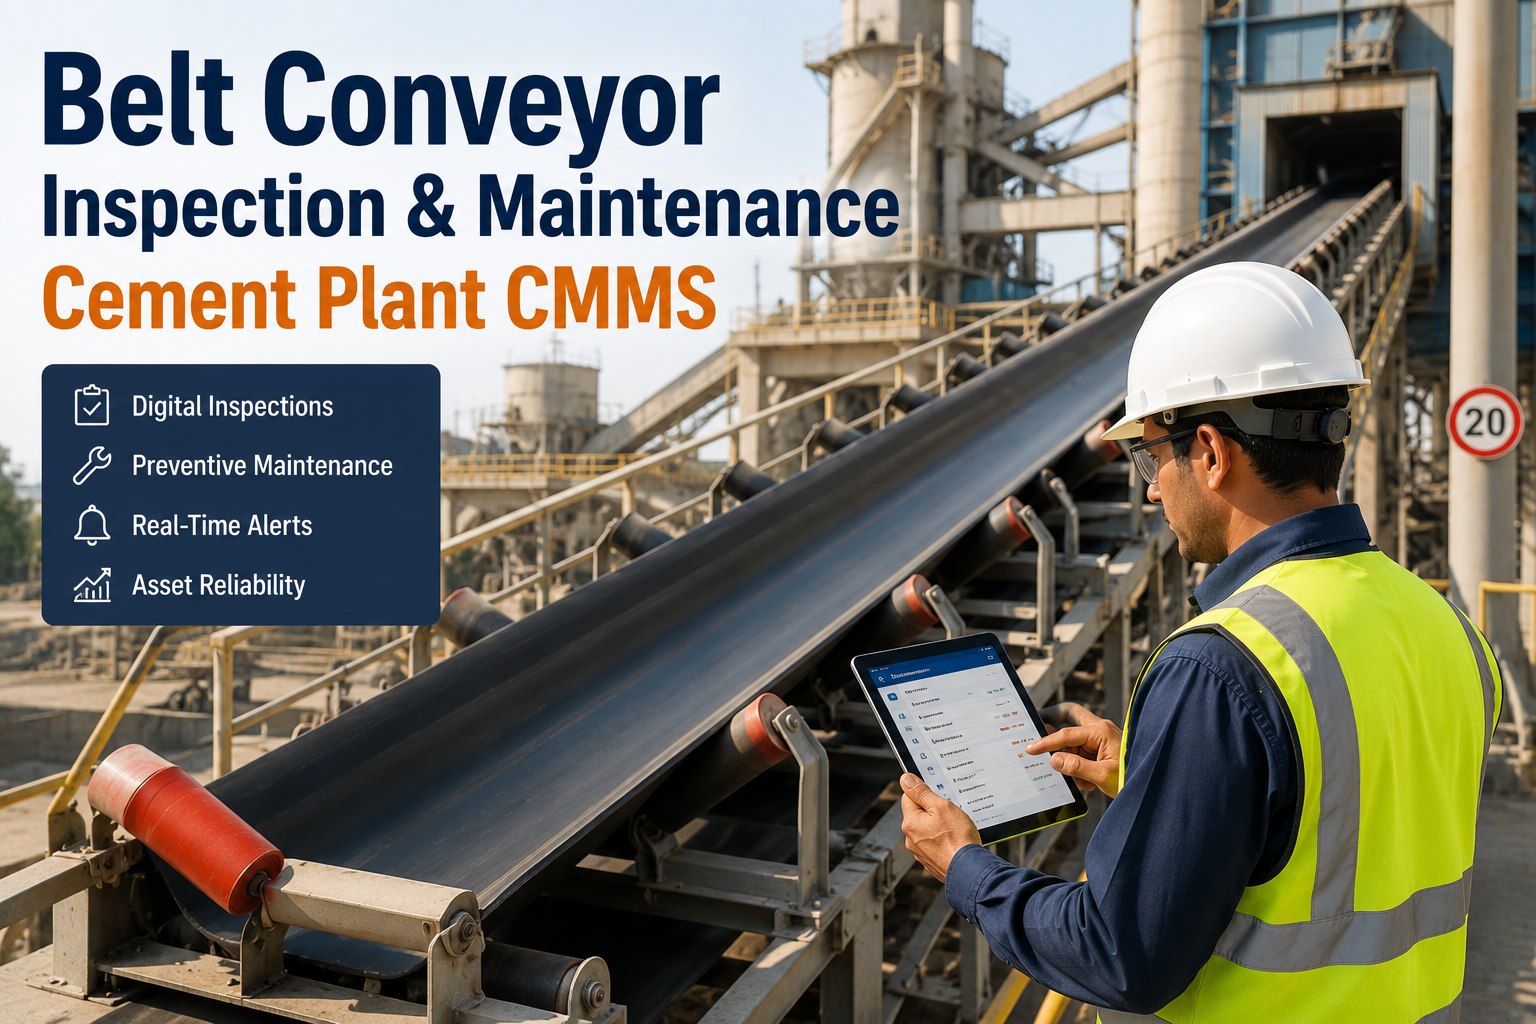
In cement operations, a single belt conveyor can carry over 1,000 tonnes of clinker, limestone, or raw meal per hour across distances that stretch hundreds of metres — and when one fails, the entire kiln line can be idled within minutes. Belt conveyor inspection and maintenance in cement plants is not a routine chore; it is the difference between a $200 splice repair and a $45,000 belt replacement, between a 20-minute tightening and a 14-hour unplanned outage. This guide walks through belt condition assessment, tracking and tensioning, splice inspection, take-up maintenance, and the CMMS-driven inspection program that catches belt issues before they become catastrophic failures — and you can put it into practice today when you Start Free Trial with Oxmaint.
Belt Conveyor Inspection · Cement CMMS Guide
Is one missed splice inspection costing your plant $45,000 per belt replacement?
In abrasive, dusty, high-load cement environments, skipped belt inspections turn a $200 splice repair into a full belt replacement — and a 20-minute tightening into a 14-hour kiln-line outage. A CMMS-driven inspection program catches belt issues before they escalate into catastrophic failures.
Belt Condition Assessment
Reading the belt before it fails
A cement conveyor belt running 16 hours a day over abrasive clinker and hot limestone loses roughly 0.5–1.0 mm of top cover per quarter. Left unchecked, cover wear exposes the steel cord or fabric carcass — and a $3,200 patch becomes a $45,000 belt change. Inspect these six conditions on every walkthrough.
Top cover wear
Measure remaining cover thickness with a ultrasonic gauge at 10-metre intervals. Flag any reading below 3 mm on the carry side or 1.5 mm on the pulley side. Cement clinker at 80 °C accelerates wear up to 2× versus ambient material.
Edge damage & tears
Inspect both belt edges for longitudinal tearing, chafing, or curling. Edge curl indicates mistracking or over-tensioning. A 300 mm edge tear left uncut will propagate inward and split the belt within days under load.
Hardening & cracking
Heat and ozone harden the rubber. Press a Shore A durometer — readings above 80 on a belt rated for 60–70 mean the cover has lost elasticity. Transverse cracks at 50 mm spacing signal imminent carcass exposure.
Pulley lagging wear
Worn or missing lagging causes belt slip and accelerated cover loss. Check for bald patches on the drive pulley and de-bonding at the lagging edges. Slip of even 2% generates enough heat to glaze the belt bottom cover.
Belt contamination
Cement dust and clinker fines buildup on pulleys and idlers cause uneven tracking and localized wear. Inspect scraper efficiency — a worn primary scraper passing 3% of carryback will coat the snub and bend pulleys within one shift.
Idler roll condition
Spin each idler by hand — a seized or grinding roll will flat-spot the belt within hours. Listen for bearing noise and check for material buildup under the roll. Replace any idler with more than 3 mm of shell wear.
Tracking & Tensioning
Keeping the belt on centre and the sag within spec
A belt mistracking by just 25 mm off-centre wears the edge against the structure and tears the splice within weeks. Overtensioning by 15% shortens belt life by up to 40% and overloads idler bearings. Use the formula below to set tension correctly, then verify tracking under full load.
Operating Tension Formula
Top = (Te × Sf) ÷ Nb
Where Top = operating tension per belt width (N/mm), Te = effective tension from motor power and belt speed, Sf = service factor (1.3 for cement, abrasive), and Nb = number of plies or cord rows. Maintain sag at 2% of span between idlers — measure with a taut string across three carry idlers.
| Tracking Symptom | Likely Cause | Corrective Action |
|---|---|---|
| Belt drifts to one side consistently along entire length | Idler frames misaligned or pulley shaft not square | Square the pulley to the conveyor centreline; re-shim idler frames within 0.5 mm tolerance |
| Belt wanders at the loading point only | Off-centre loading of limestone or clinker | Adjust chute skirt boards; install a loading trainer idler within 3 m of the transfer |
| Belt runs off at the tail pulley | Material buildup on pulley or worn lagging | Clean pulley face; inspect scraper blade; replace lagging if wear exceeds 2 mm |
| Belt shifts under load but tracks empty | Insufficient tension or take-up travel consumed | Add counterweight or extend screw take-up; check that 75% of take-up travel remains available |
Splice Inspection & Vulcanizing
The 30-second check that prevents 80% of belt ruptures
Mechanical splices fail at 55–70% of the belt's rated tension; properly vulcanized splices hold 90–100%. In a cement plant running hot, abrasive material, splice life ranges from 18 months for mechanical clips to 5–7 years for a hot-vulcanized step splice. Inspect every splice on every walkdown — it takes 30 seconds and catches the 80% of ruptures that originate at the joint.
"A 1,200 mm wide belt on a clinker conveyor failed at a mechanical splice that had been flagged for vulcanizing three months earlier. The unplanned outage cost 14 production hours and $87,000 in lost throughput — the vulcanizing repair would have cost $1,400 and one shift."
— Maintenance manager, 8,500 TPD cement plant, Karnataka
Take-Up & Component Maintenance
The take-up that travels is the take-up that works
A gravity or screw take-up must maintain at least 75% of its available travel to absorb belt stretch and load spikes. When travel drops below 25%, the belt slips on the drive pulley, cover glazes, and the splice takes the full shock load. Inspect take-up travel, counterweight guides, and screw threads on every PM round — and pair each check with idler and pulley condition.
Take-up travel
Measure available travel with the belt running under normal load. If less than 25% remains, re-tension or add counterweight. Log the reading in the CMMS after every inspection to track stretch rate over time.
Counterweight guides
Check that the gravity take-up carriage moves freely on its rails — no binding, no excessive play. Lubricate guide rollers monthly. A seized take-up is the leading cause of drive pulley slip in cement conveyors.
Screw take-up threads
Inspect for cross-threading, corrosion, and lubrication. Cement dust destroys unprotected threads within months. Apply grease monthly and verify both sides advance equally — uneven travel twists the tail pulley and mistracks the belt.
Pulley bearing temps
Scan drive, tail, and bend pulley bearings with an infrared thermometer. Any bearing above 70 °C or 15 °C hotter than its paired bearing signals imminent failure. Log readings in the CMMS to set trend-based alerts.
CMMS-Driven Inspection Program
From clipboard to closed-loop in five stages
A paper-based belt inspection program captures roughly 40% of defects before failure. A CMMS-driven program captures 90%+ because every reading is timestamped, trended, and routed to a work order automatically. Here is the five-stage deployment that a 180-conveyor cement plant used to cut belt-related downtime by 63% in 12 months.
Asset & route setup
Register every belt conveyor with its unique ID, belt spec (width, ply, cover grade), installed length, and drive motor kW. Build inspection routes grouped by physical location so a technician walks one physical line, not a scattered asset list.
Week 1–2Checklist digitization
Convert every belt inspection point — cover thickness, edge condition, splice status, take-up travel, idler spin — into a structured CMMS checklist with pass/fail and numeric fields. Attach photos of known failure modes so inspectors recognize them in the field.
Week 3–4Frequency & threshold rules
Set inspection frequency by criticality: primary kiln-feed belts weekly, secondary belts biweekly, stockpile belts monthly. Configure automatic work-order generation when a reading crosses threshold — e.g., cover below 3 mm auto-creates a belt-replacement planner ticket.
Week 5–6Mobile field execution
Inspectors complete checklists on rugged tablets or phones, capturing photos of defects and voice notes on corrective actions. Offline mode ensures the kiln gallery and underground tunnels — where WiFi fails — still log data that syncs on return.
Week 7–8Trend analysis & PM optimization
After 90 days of data, the CMMS reveals wear patterns — a belt losing 1.2 mm/quarter in the clinker zone versus 0.4 mm in the raw meal section. Shift PM frequency and forecast replacement dates from actual trend lines instead of calendar guesses.
Month 3+Stop replacing belts you could have repaired
Deploy a CMMS-driven belt inspection program in your cement plant and catch splice, tracking, and take-up issues before they become $45,000 replacements and 14-hour outages.
Frequently Asked Questions
Belt conveyor inspection in cement plants — answered
How often should belt conveyors be inspected in a cement plant?
Primary belts feeding the kiln or raw mill should receive a visual walkthrough inspection every shift and a structured CMMS checklist inspection weekly. Secondary and stockpile belts can move to biweekly or monthly structured inspections. The key is consistency — a 10-minute weekly check catches 90% of developing failures, while a quarterly check catches almost nothing in time to act. Set frequencies by criticality in the CMMS so nothing falls through the cracks.
What is the difference between belt vulcanizing and mechanical splicing for cement conveyors?
Mechanical splices use metal clips that hold 55–70% of belt rated tension and last 12–18 months in abrasive cement service. Hot vulcanized step splices fuse the belt carcass under heat and pressure, retaining 90–100% of rated tension and lasting 5–7 years. Use mechanical clips only for emergency repairs on non-critical belts; schedule permanent hot vulcanizing within 30 days. A vulcanized splice costs roughly $1,200–$2,000 versus $45,000 for a full belt replacement.
How does a CMMS improve belt conveyor maintenance in cement operations?
A CMMS digitizes inspection checklists, auto-generates work orders when readings cross threshold, and trends belt wear data over time so you can forecast replacement dates instead of guessing. Plants using Oxmaint report a 63% reduction in belt-related downtime within 12 months because defects are caught at the $200 repair stage, not the $45,000 replacement stage. You can see this in action — Book a Demo and we will walk through your conveyor routes live.
What are the most common causes of belt failure in cement plants?
The four leading causes are splice failure (40%), cover wear exposing the carcass (25%), mistracking edge damage (20%), and take-up failure causing slip and heat damage (15%). Splice failure dominates because mechanical clips are left in service far past their 18-month design life. A weekly CMMS inspection of every splice — checking for lifted edges, broken fasteners, and step separation — prevents the majority of catastrophic ruptures.
How much take-up travel should remain on a cement conveyor belt?
At least 75% of total take-up travel should remain available when the belt is running under normal load. When available travel drops below 25%, the belt can no longer absorb stretch and load spikes — it slips on the drive pulley, glazes the cover, and transfers full shock load to the splices. Log take-up travel in the CMMS on every inspection so the stretch rate is visible and replacement can be forecast before the take-up bottoms out.
Your belts are talking. Are you logging it?
Start a CMMS-driven belt inspection program today and turn every walkthrough reading into a trend line, a work order, and a avoided failure. Free 14-day trial, no credit card required.
Free 14-day trial · No credit card