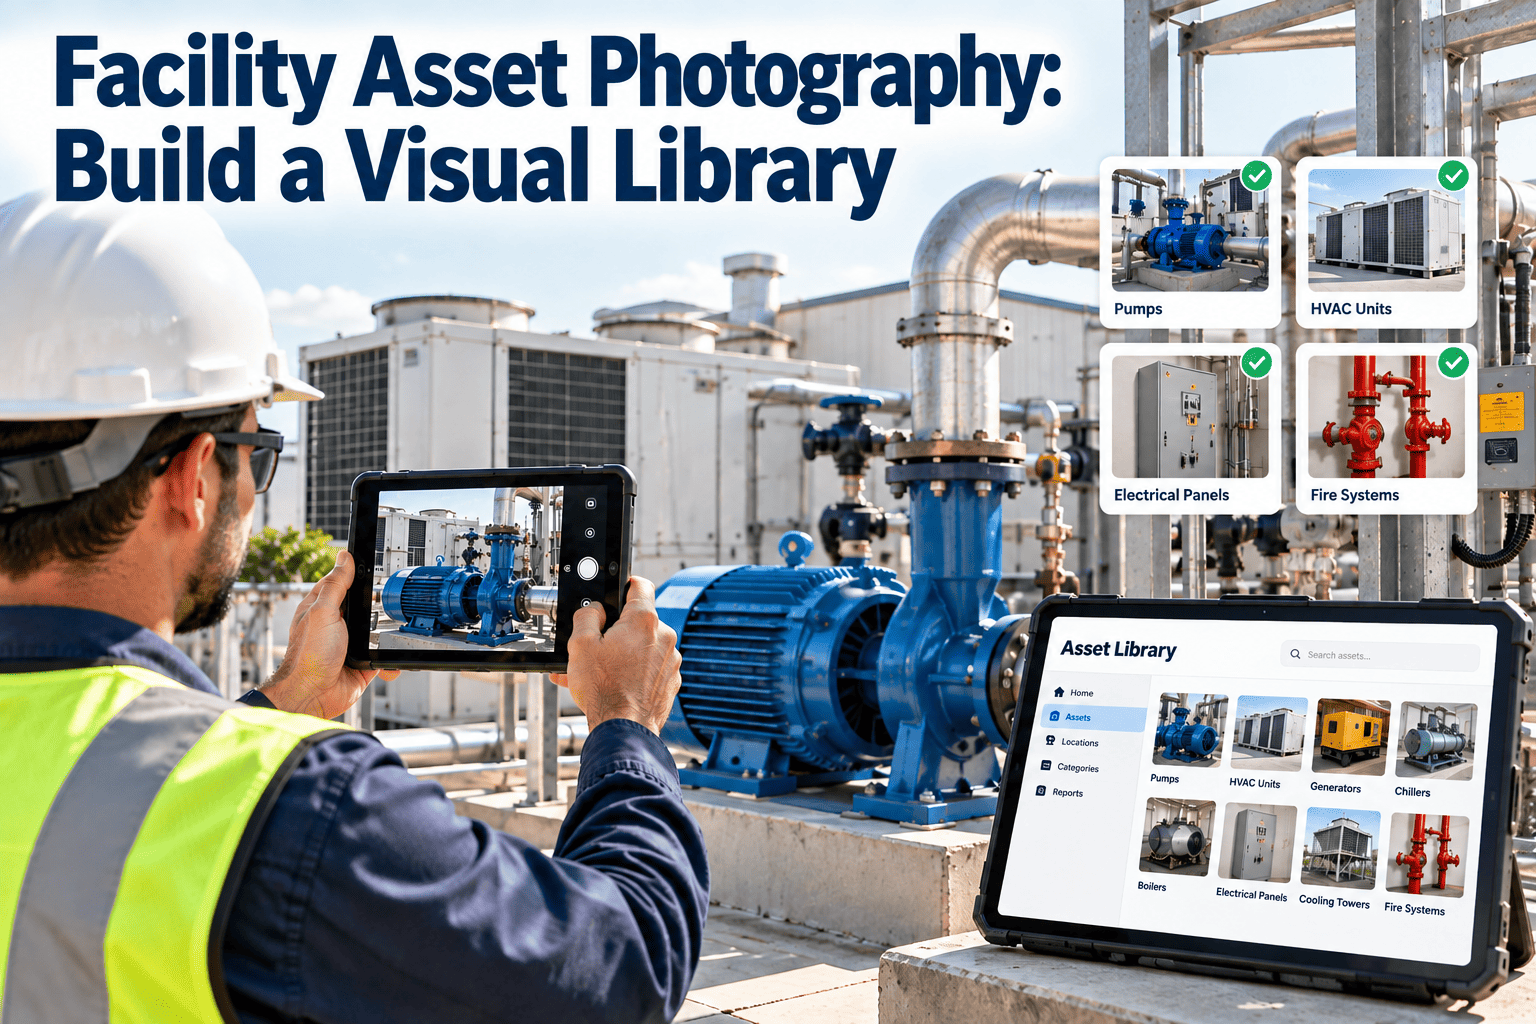
A technician standing in front of an unfamiliar rooftop unit, boiler or pump has one question: what am I looking at, and where is everything? A good photo answers that before the toolbag is opened. Most facilities have photos scattered across phones, email threads and shared drives, with no standard for what to shoot or where to file it. This guide sets out photography standards, naming rules and a CMMS attachment model for building a reliable visual asset library, and shows how Oxmaint asset management keeps every image tied to the right record.
Facility Asset Photography: Build a Visual Library
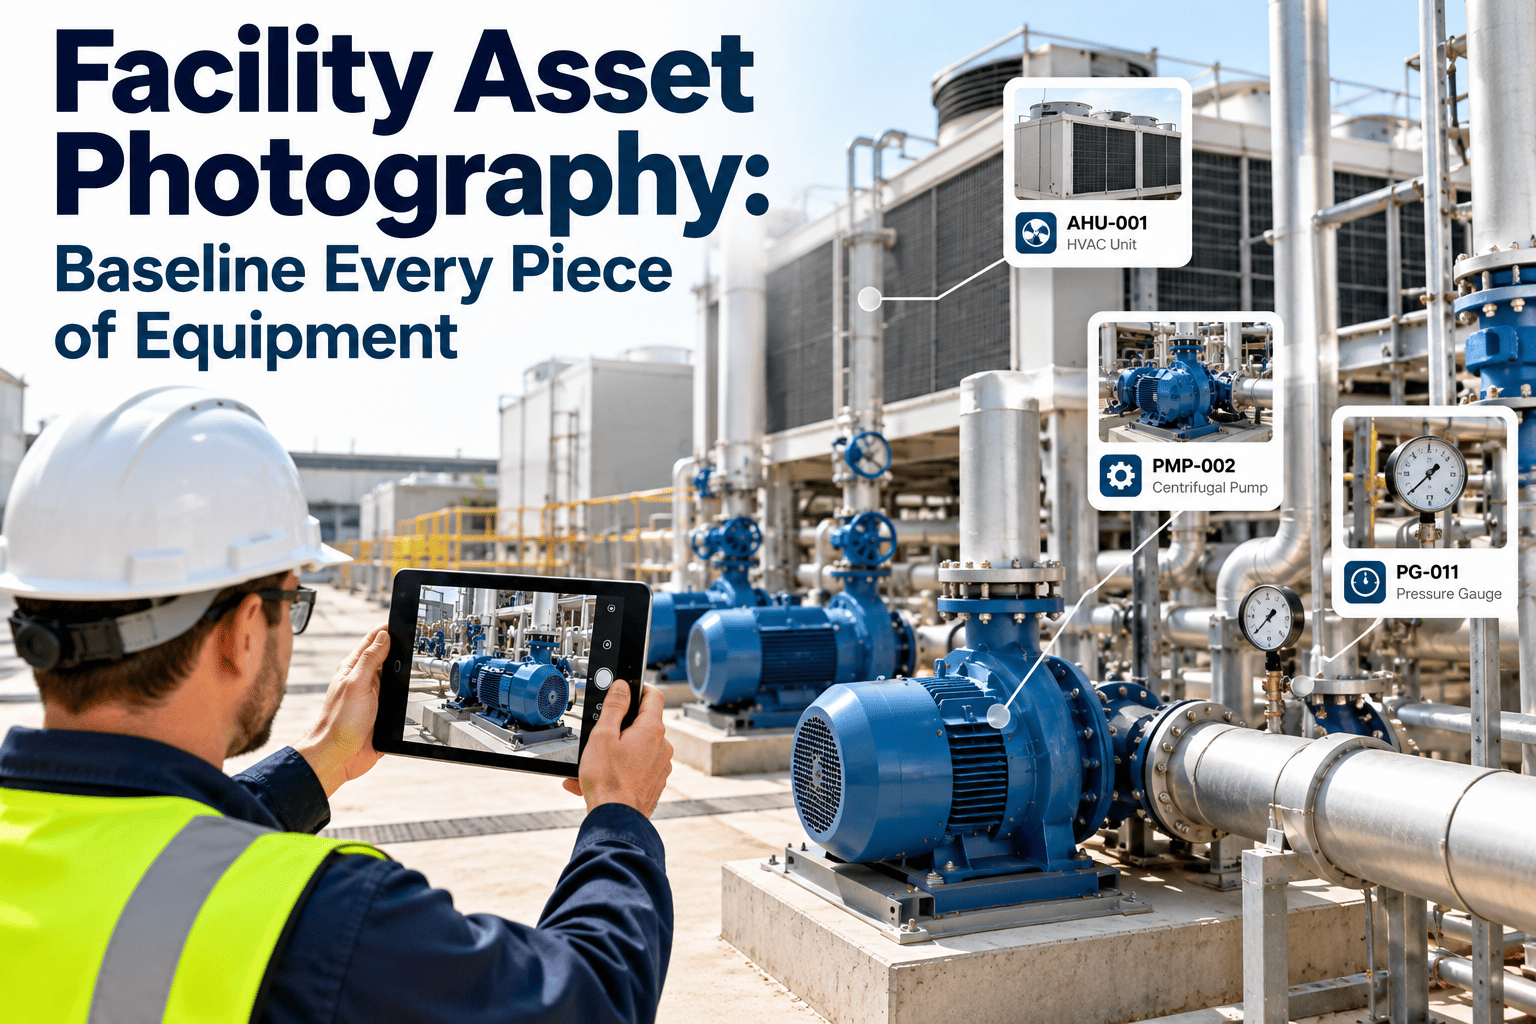
Photos shorten troubleshooting for every remote or unfamiliar technician, but only when they follow a standard. Capture the same shots the same way, name them consistently and attach them to the asset record.
Why Photos Change How Maintenance Gets Done
- Technician arrives, searches for the asset, then searches for the shutoff
- Nameplate data is copied by hand, often with errors
- Remote supervisors guess from a verbal description
- Parts are ordered for the wrong model or revision
- Every new hire relearns the building from scratch
- Location and access are visible before the trip
- Nameplate and serial are legible in the record
- Supervisors review the same view the technician sees
- Parts match the actual unit, not an assumption
- Knowledge stays with the asset when staff change
The Baseline Shot List
Photo Quality Standards
| Standard | Requirement | Why It Matters |
|---|---|---|
| Orientation | Hold the phone steady and square to the subject | Avoids skewed nameplates that are hard to read |
| Lighting | Use the torch or work light in dark rooms, avoid glare on labels | Illegible photos are worse than no photos |
| Focus | Tap to focus on the subject and check before leaving | Blur is the most common reason to reshoot |
| Scale reference | Include a hand, tool or ruler for defects and small parts | Gives reviewers a sense of size |
| Framing | Fill the frame with the subject, keep edges clear | Reduces the need for cropping |
| Landscape or portrait | Set one rule per shot type and keep to it | Makes the library visually consistent |
| Filters and effects | Not permitted | Evidence must show the true condition |
| People and screens | Avoid faces, badges, monitors and documents | Protects privacy and sensitive information |
Naming and Metadata That Survive Staff Turnover
- Use the same asset ID that appears on the physical tag and in the CMMS.
- Keep shot types to a short controlled list so filters and searches work.
- Store the date in year-month-day order so files sort correctly.
- Rely on the platform to record the uploader and upload time automatically.
- Where the CMMS attaches directly to the asset record, the ID in the filename is a backup, not the primary link.
Attach Photos to the Asset, Not to Someone's Phone
The CMMS Attachment Model
Which Photos Belong in Which Workflow
| Workflow | Photos to Capture | Purpose |
|---|---|---|
| Asset onboarding | Full baseline set | Creates the reference record |
| Preventive maintenance | Before and after for key steps, filters, belts | Proves the task was done |
| Corrective repair | Fault, cause, replaced part, completed repair | Speeds root cause and warranty review |
| Inspection rounds | Any failed or marginal item | Supports follow-up work orders |
| Contractor visit | Arrival condition and completed work | Verifies vendor performance |
| Asset replacement | Old unit, new nameplate, new installation | Updates baseline and disposal history |
Photos That Help Remote Technicians and Supervisors
Remote review is where a library earns its keep. A supervisor who can see the disconnect, the belt condition and the access route can decide who to send and which parts to bring.
Privacy, Safety and Restricted Areas
- Write a rule for restricted spaces such as data halls, clinical areas and secure rooms, and follow it before taking any device inside.
- Keep faces, patient information, screens and paperwork out of frame.
- Do not open energized panels or remove guards only to get a photograph.
- Upload to the CMMS and remove images from personal camera rolls where policy requires it.
- Restrict who can view or delete photos according to role.
Common Mistakes and Their Fixes
Building the Library Without Stopping Operations
Storage, Retention and File Size
- Photos from current phones are large, so choose a capture setting that keeps text legible without bloating storage.
- Keep baseline images for the life of the asset and archive them on disposal.
- Apply retention rules for work order and inspection photos that match your organization's record policy and any regulatory duties.
- Preserve original files for evidence, and use resized copies for quick viewing on mobile.
Photo Library Readiness Checklist
- A written shot list with example images for each shot type
- A controlled list of shot type names
- Asset IDs that match the physical tags
- A rule for restricted and sensitive areas
- Photo prompts built into key checklists
- An owner responsible for monthly sampling
- A retention and archive rule agreed with records management