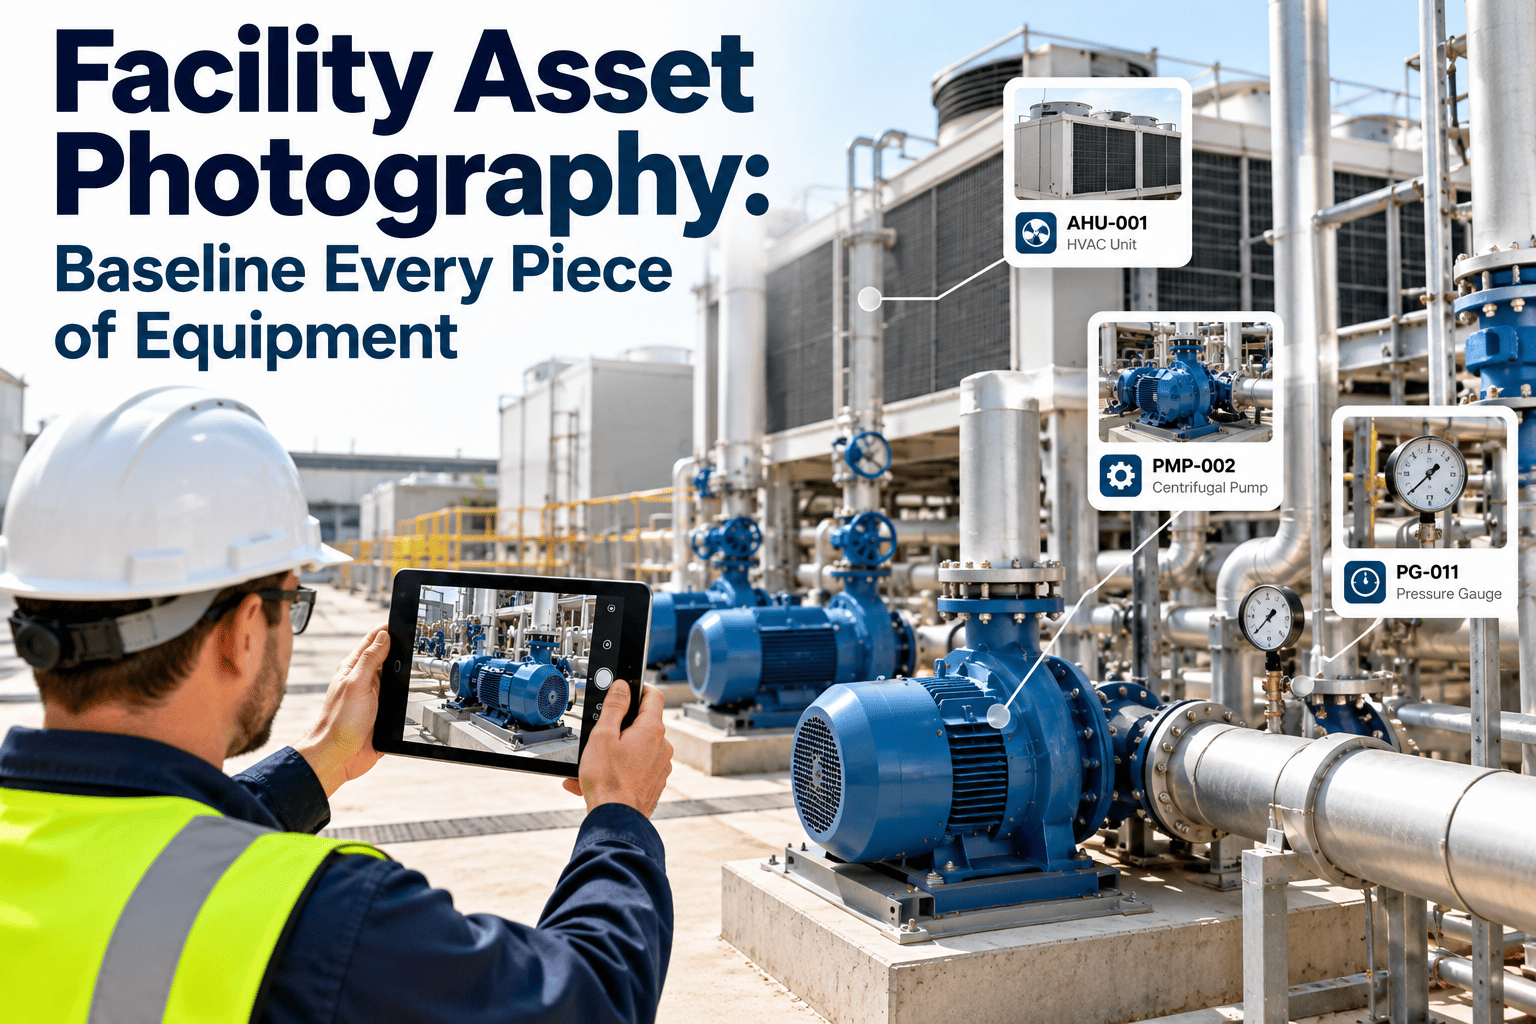
When a rooftop unit fails in year three of its warranty, the first question from the manufacturer is usually what condition it was in on day one. Without dated photos, nobody can prove it. A baseline photo set also helps technicians identify the right part, spot changes, and troubleshoot faster from the phone before leaving the shop. This guide sets out the angles, lighting, naming, and storage standard for photographing every asset, and shows how to attach images to records in a maintenance management system so they stay findable for the life of the equipment.
Facility Asset Photography: Baseline Every Piece of Equipment
One consistent photo set per asset gives you proof of condition, faster troubleshooting, and a defensible warranty file.
Standard shot sheet: six frames per asset
1
Overall front
Whole unit, tag visible
2
Nameplate
Straight on, readable
3
Opposite side
Access and condition
4
Connections
Piping, wiring, ducts
5
Controls and gauges
Settings at install
6
Surroundings
Clearance and location
Why a Photo Baseline Pays Off
Day 1
Install or takeover
Photos capture the as-found condition, settings, and labeling.
Year 1 to 3
Routine work
Technicians compare current condition against the baseline during rounds.
Failure
Claim or dispute
Dated images show how the unit looked before the problem began.
Turnover
Contractor or staff change
New teams see exactly what is installed, without a site walk.
Everyday benefits beyond warranty
- Remote triage: a technician can read the nameplate before ordering parts.
- Faster onboarding: new hires learn the plant from images instead of tribal knowledge.
- Change detection: corrosion, leaks, and missing guards become visible over time.
- Audit support: inspectors and insurers can see equipment condition on request.
Required Angles and What Each Proves
| Shot | What to capture | Why it matters |
|---|---|---|
| Overall front | Full asset with asset tag in frame | Links the image to the record and shows general condition |
| Nameplate | Model, serial, ratings, manufacture date | Parts lookup and warranty start verification |
| Opposite side | Panels, doors, and any visible wear | Shows condition on the face crews rarely see |
| Connections | Electrical terminations, piping, valves, duct transitions | Records how it was installed before anyone modifies it |
| Controls and gauges | Setpoints, display values, breaker labels | Documents as-commissioned settings |
| Surroundings | Clearance, drainage, nearby hazards | Supports access, safety, and environmental claims |
Add a close-up whenever something is unusual: existing dents, rust, field repairs, or non-standard components. Anything that looks odd on day one should be on file before it becomes someone else's argument.
Lighting and Capture Rules
Do
- Hold the camera level and square to the nameplate.
- Use a work light or phone torch in dark mechanical rooms.
- Include a scale reference such as a ruler for defects.
- Take a wide shot, then a close-up of each detail.
- Check that serial numbers are readable before leaving.
Avoid
- Flash straight onto glossy or metal plates, which causes glare.
- Shooting from steep angles that distort text.
- Digital zoom, which reduces clarity.
- Cropping or editing originals.
- Leaving tools, ladders, or people in the frame.
Keep original files with their embedded date and time data intact. If your team applies markups or arrows, save them as a separate copy so the original remains unaltered evidence.
Give Every Asset a Photo Record Technicians Can Find
Attach images to asset records and work orders so condition evidence travels with the equipment.
Naming and CMMS Attachment Standard
Suggested file name pattern
SiteCode_AssetTag_ShotNumber_ShotName_YYYYMMDD
Example: HQ1_AHU-014_02_Nameplate_20261006
Attachment rules
- Attach images to the asset record, not only to a single work order.
- Tag each image by shot type so searches return the right frame.
- Keep one current baseline set and archive superseded sets, never delete them.
- Add a short caption for any anomaly noted at the time of capture.
- Record who captured the photos and on which date.
Pick one convention and enforce it. A mixed naming scheme is almost as hard to search as no scheme at all.
Add-On Shots by Asset Type
| Asset type | Extra frames to capture |
|---|---|
| Air handling unit or rooftop unit | Filter bank, coil face, belt and drive area, condensate drain, economizer section |
| Chiller or boiler | Gauge panel, relief valves, controller display, insulation condition, water treatment points |
| Electrical panel or switchgear | Panel label, circuit directory, cover removed only by qualified staff, grounding points |
| Pump or motor | Coupling guard, seals, alignment marks, motor tag, base and anchoring |
| Fire and life safety | Tags, inspection stickers, access clearance, signage |
| Roof or exterior equipment | Curb and flashing, support rails, penetrations, drainage path |
Follow your lockout and electrical safety procedures. A photo is never a reason to open a live enclosure or reach past a guard.
Building a Warranty-Ready File
A
Baseline photos
Dated condition at install or takeover.
B
Maintenance history
Work orders showing the scheduled service was done.
C
Failure photos
Close-ups of the fault, taken before anything is moved.
D
Claim package
Records exported with dates, tags, and notes.
Warranty terms vary by manufacturer and contract. Photos strengthen a claim but do not replace the documents the warranty actually requires.
When to Retake Baseline Photos
- After a major repair, overhaul, or component replacement.
- After a retrofit, control upgrade, or relocation.
- When a nameplate is replaced or relabeled.
- After storm, flood, fire, or impact damage, plus before repair.
- At a set refresh interval for critical assets, such as annually.
- When a new contractor takes over a site.
Rolling Out Photo Standards Across a Portfolio
Technician
Captures the shot sheet during rounds and attaches it from a mobile device.
Supervisor
Reviews completeness each week and sends back incomplete sets.
Facility manager
Tracks percentage of assets with a current baseline and prioritizes gaps.
Reliability lead
Uses image history to review repeat failures and condition trends.
Start with the assets that carry the most risk
- Equipment still under warranty.
- Critical systems such as cooling, power, and life safety.
- Assets with repeated failures or disputed service history.
- Equipment at sites with high contractor turnover.
Photo Documentation KPIs
Baseline coverage
Assets with a complete current photo set divided by total assets.
Set completeness
Share of sets with all required frames and a readable nameplate.
Warranty file readiness
Assets in warranty with photos, history, and documents on file.
Failure evidence rate
Failure work orders that include before-repair images.
How Oxmaint Fits This Workflow
- Asset management records hold the baseline set alongside tags, locations, and service history.
- Mobile workflows let technicians capture and attach images at the equipment.
- Work orders carry before and after photos with the repair details.
- Inspection checklists can require a photo step before closeout.
- Reports help identify assets that still lack current baseline images.
Feature availability depends on your plan and configuration, so confirm the exact photo and attachment options in a demo.
Frequently Asked Questions
How many photos should each asset have?
A core set of six frames works for most equipment, with extra shots for complex assets.
Do baseline photos really help with warranty claims?
They show condition over time, but you still need maintenance records and the documents the warranty requires.
Where should photos be stored?
Attach them to the asset record in your CMMS, and try it with your own assets.
How often should photos be refreshed?
Retake after repairs, retrofits, damage, or on a set interval for critical assets.
Can technicians capture photos on a phone?
Yes, if resolution and lighting are adequate. Book a demo to see mobile attachment.
Start Your Photo Baseline With the Assets That Matter Most
Build a searchable visual record that speeds repairs, supports claims, and survives staff turnover.