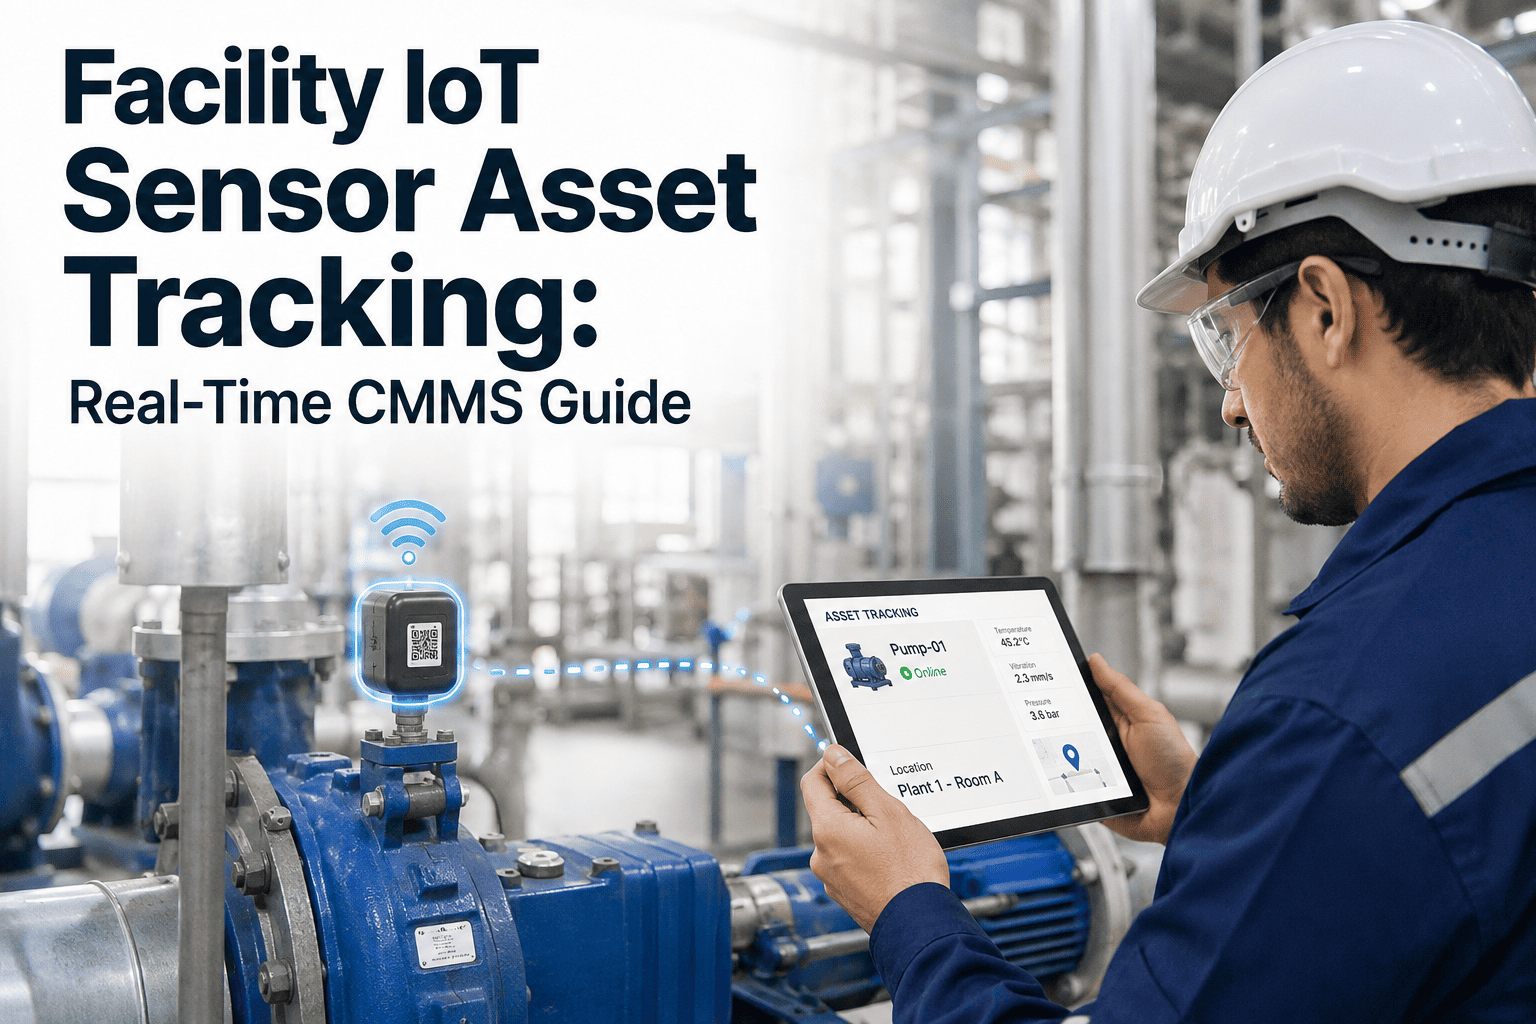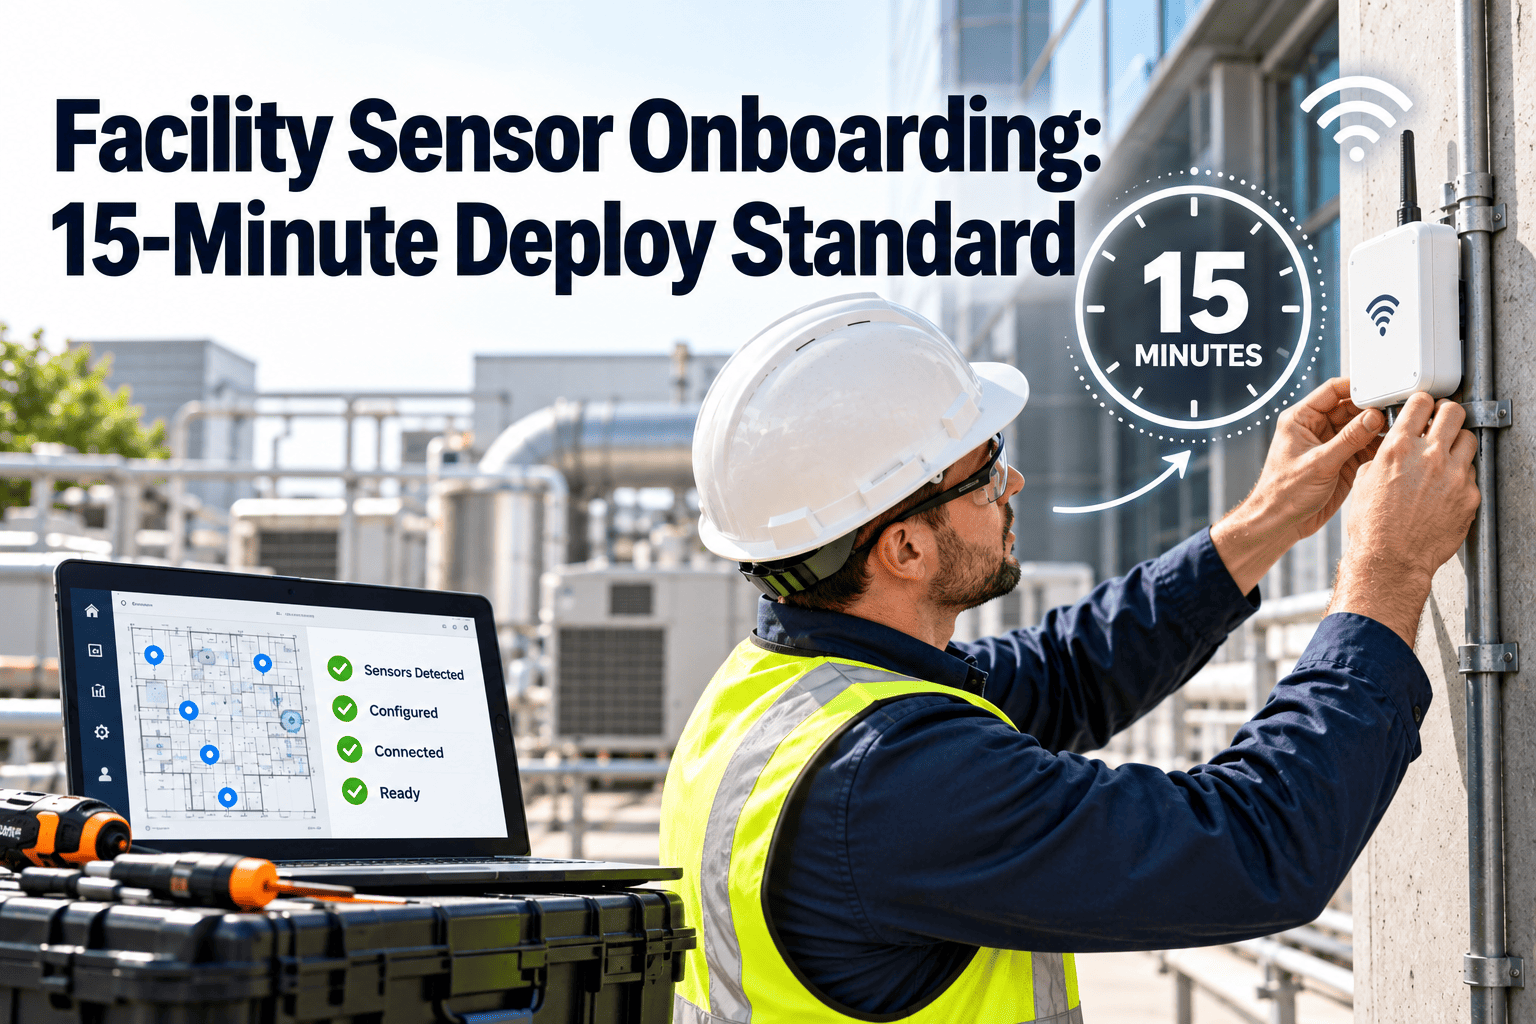
A sensor that takes an hour to commission will never scale across a campus, because every extra device multiplies the labor and the chance of a typing mistake. The fix is a repeatable standard: scan, link, verify, and hand off in about fifteen minutes per device. This article lays out a minute-by-minute workflow for wireless facility sensors, based on how LoRaWAN and EnOcean devices identify and secure themselves. It also shows how the finished sensor connects to an asset record in CMMS software, so readings lead to work instead of dashboards nobody opens.
Facility Sensor Onboarding: The 15-Minute Deploy Standard
Rolling out dozens or hundreds of sensors should be a controlled production line, not a string of custom projects. A fixed time budget per device keeps quality high and rollouts predictable.
Why sensor rollouts stall
Most delays are not caused by the radio technology. They come from process gaps that appear once the first ten devices are installed.
What the QR code carries
Both common facility wireless families use machine-readable labels to avoid typing. The details differ, and knowing them helps you pick scanning and provisioning tools.
LoRaWAN devices
- The LoRa Alliance defines a QR code format for device identification in its TR005 recommendation.
- The code typically carries the JoinEUI, the DevEUI, and a device profile identifier.
- Over-the-air activation uses a unique root key per device, so each sensor negotiates its own session keys.
- The network and application servers must be told the same identifiers and key before the device can join.
EnOcean devices
- EnOcean sensors are self-powered by harvested energy, so there is no battery change in the maintenance plan.
- Devices are identified by a unique ID, and many carry a QR code with that ID and a security key.
- Teaching in a device to a receiver or gateway links the sensor to the system.
- Radio range indoors is typically tens of meters, so receiver placement matters.
Treat keys as secrets. Photographs of labels posted in shared chats are a common way for credentials to leak, so restrict who can scan and store them.
The six steps, minute by minute
1. Scan the device label
The technician scans the QR code with the mobile tool. Identifiers and keys are captured without typing, and duplicates are rejected immediately.
2. Link to the asset
The sensor is attached to an existing asset record, such as a pump, air handler, or freezer, or to a room if it measures space conditions.
3. Join the network
The device is powered, activated, and joins the gateway. For LoRaWAN, the technician confirms the join request is accepted.
4. Verify the signal and data
Check signal quality, the first reading, units, timestamp, and plausibility against a handheld reference.
5. Apply the rule template
Select the standard thresholds for the sensor type and asset class, and set who receives the alert.
6. Sign off and tag
Record the installation location, take a photo, mark the device active, and apply the physical asset tag if needed.
Prepare before the technician arrives
Most of the 15 minutes is protected by work done earlier. Pre-staging removes decisions from the field.
- Build the device list. Match each sensor to its target asset or room before the site visit.
- Complete the asset records. Missing assets are the most common cause of onboarding delays.
- Survey the radio environment. Confirm gateway or receiver coverage in the planned locations, including basements, plant rooms, and metal enclosures.
- Define naming rules. Use one format for building, floor, area, and asset, so names stay consistent across technicians.
- Load rule templates. Prepare default limits for each sensor type, such as temperature, vibration, humidity, and run-time.
- Charge and test the mobile devices. Check scanning and offline behavior in the worst-signal area of the site.
Make every sensor part of a maintenance workflow
Link each device to an asset, apply a standard alert rule, and let an out-of-range reading open a work order.
Manual commissioning versus the standard workflow
| Area | Manual approach | 15-minute standard |
|---|---|---|
| Device identification | Typed from a label or spreadsheet | Scanned from the QR code |
| Asset linking | Done weeks later, if at all | Done during the install visit |
| Thresholds | Chosen individually by each technician | Applied from a shared template |
| Acceptance test | One reading seen on a screen | Signal, units, timestamp, and reference check |
| Documentation | Notes in personal files | Recorded on the asset with a photo |
| Scaling | Time per device grows with each rollout | Time per device stays predictable |
The acceptance checklist
A device is not done when it sends data. It is done when the data is trustworthy and the alert path works.
Signal and power
- Signal strength and signal-to-noise are within the margin you set for the site.
- Battery level is reported where applicable.
- Reporting interval matches the template.
Data quality
- Units and scaling are correct.
- The value agrees with a handheld reference within tolerance.
- Timestamps are correct and not duplicated.
Workflow
- The sensor is linked to the correct asset.
- A test alert reaches the right person.
- Location photo and notes are stored.
Common onboarding failures and fixes
| Symptom | Likely cause | Fix |
|---|---|---|
| Device never joins | Identifier or key mismatch between device and server | Rescan the label and compare the stored values |
| Joins but drops out within days | Marginal coverage or a changed environment | Move the device or add a gateway or receiver |
| Readings look flat or implausible | Wrong placement, wrong units, or faulty sensor | Compare to a reference and review the payload decoding |
| Too many alerts | Default limits do not suit the asset | Refine the template with a short pilot period |
| Sensor is live but nobody owns it | No asset link or owner assigned | Block sign-off until both are present |
Run a pilot of ten to twenty devices before a large rollout. The pilot exposes coverage gaps and template problems while they are cheap to fix.
Time math for a larger rollout
Small differences per device become large differences at scale. This example is hypothetical and uses assumed times.
Add travel and unplanned retesting and the gap widens. The standard also reduces rework, which is often the hidden cost of manual commissioning.
Which sensors, on which assets
Start where a reading changes a decision. The table shows common pairings for facility maintenance teams.
| Asset | Measurement | Maintenance use |
|---|---|---|
| Motors, pumps, fans | Vibration and temperature | Condition-based inspection and bearing checks |
| Chillers and cooling towers | Water temperatures and run-time | Performance trending and cleaning triggers |
| Walk-in coolers and freezers | Temperature and door state | Excursion alerts and compliance records |
| Air handlers | Differential pressure across filters | Filter changes based on condition |
| Rooms and critical spaces | Temperature and humidity | Comfort and environmental monitoring |
| Leak-prone areas | Water presence | Fast corrective work orders |
How Oxmaint supports the standard
The sensor is only half the system. The maintenance side decides whether a reading leads to action.
- Asset management keeps each sensor attached to the equipment it monitors, with location and history.
- Work orders turn threshold breaches into assigned, tracked jobs with the reading attached.
- Preventive maintenance schedules cover sensor battery checks, cleaning, and recalibration.
- Mobile workflows support field tasks, photos, and notes during installation and inspection.
- Reporting shows sensor coverage, alert volumes, and the work that followed.
Confirm the data path for your sensor platform during planning. The method for sending alerts or readings depends on the gateway and network software you use.
KPIs for a healthy rollout
Radio planning that protects the 15 minutes
The fastest onboarding still fails if the device cannot reach the network. Coverage planning belongs before the first install, not after the first failure.
- Test coverage at the actual mounting position, because plant rooms, risers, and metal cabinets can block signals that work fine in the corridor.
- Keep a note of the weakest locations and place gateways or receivers to serve them first.
- Leave a margin above the minimum workable signal so seasonal changes, moved equipment, and new partitions do not cause dropouts.
- Record the coverage test result on the sensor record so later troubleshooting has a reference.
Reporting interval and battery life
More frequent reporting gives faster alerts but uses more battery on battery-powered devices. Set the interval from the decision the data supports, not from the maximum the hardware allows.
- Slow-changing conditions such as room temperature often need only periodic updates.
- Critical alarms such as water presence should report on event, with a regular heartbeat to prove the device is alive.
- Battery-free EnOcean devices remove battery replacement from the plan, though receiver coverage still needs checking.
Security basics for facility sensors
Sensors sit on the same networks and platforms as other building systems. A few simple habits reduce the risk without slowing the rollout.
At commissioning
- Use unique keys for each device rather than a shared key across a batch.
- Limit scanning and provisioning to named technicians with accounts.
- Do not store label photos in unmanaged chat or email.
After commissioning
- Review active devices regularly and retire anything no longer in service.
- Rotate or reissue credentials when a device is moved between sites or reassigned.
- Log who commissioned each device and when.
Handling replacements, moves, and retirements
Onboarding is only the first event in a sensor's life. Without a lifecycle process, the sensor list slowly fills with stale entries.
Swap with history intact
Scan the new device, link it to the same asset, and mark the old one retired with a reason.
Update location and asset
Relink to the new asset, rerun the signal check, and confirm that the rule template still fits.
Close the record
Remove active alerts, revoke credentials, and keep the history for audit and failure analysis.
Schedule a periodic audit that compares installed sensors, reporting sensors, and assets with sensors assigned. Any mismatch is either an orphan or a coverage gap.
Training technicians on the standard
A written standard only works if every technician follows it the same way. Short, practical training closes that gap.
- Walk through one device together. Time each step and discuss where the team loses minutes.
- Let each technician commission a supervised device. Review the record afterward against the acceptance checklist.
- Share common failures. Keep a short list of join problems, weak-signal locations, and label issues found during the pilot.
- Review the first week of data. Check alert volumes and correct any template that produces noise.
Documenting the standard
Keep the standard to a single page per sensor technology. It should list the steps, the acceptance checks, the naming rule, and who to call when a device will not join.
- Update the page after every pilot batch, because real installs always teach something new.
- Store the page where technicians can open it from the mobile device in the field.
- Version it, so you know which rule templates were in effect when a sensor was installed.
Common questions from the field
- Should installers or controls staff do onboarding? Either works if the checklist and tools are the same. Maintenance technicians often do best because they already know the assets.
- Should thresholds be strict from day one? Start with moderate limits and a short review period, then tighten once the normal range is known.
- What if the asset is not in the system yet? Create a minimal asset record on the spot, then complete it later, rather than leaving the sensor unlinked.
Sensor onboarding questions
Is 15 minutes realistic for every sensor?
It is a target for standard devices in good coverage. Hard locations take longer, which is why a pilot sets your real baseline.
Do I need the same process for LoRaWAN and EnOcean?
The steps match, but the identifiers and joining method differ. Keep one checklist with a short section for each technology.
Who should own sensor records?
Link each sensor to an asset owner, then set up asset records so alerts reach the right team.
How do I stop alert fatigue?
Use tested templates and review limits after the first month. A demo session can show alert-to-work-order setups.
What happens when a sensor is replaced?
Retire the old device record, scan the new one, and relink it to the same asset so history stays continuous.
Roll out sensors the same way every time
Adopt a fixed onboarding standard, link every device to an asset, and let readings drive real maintenance work.