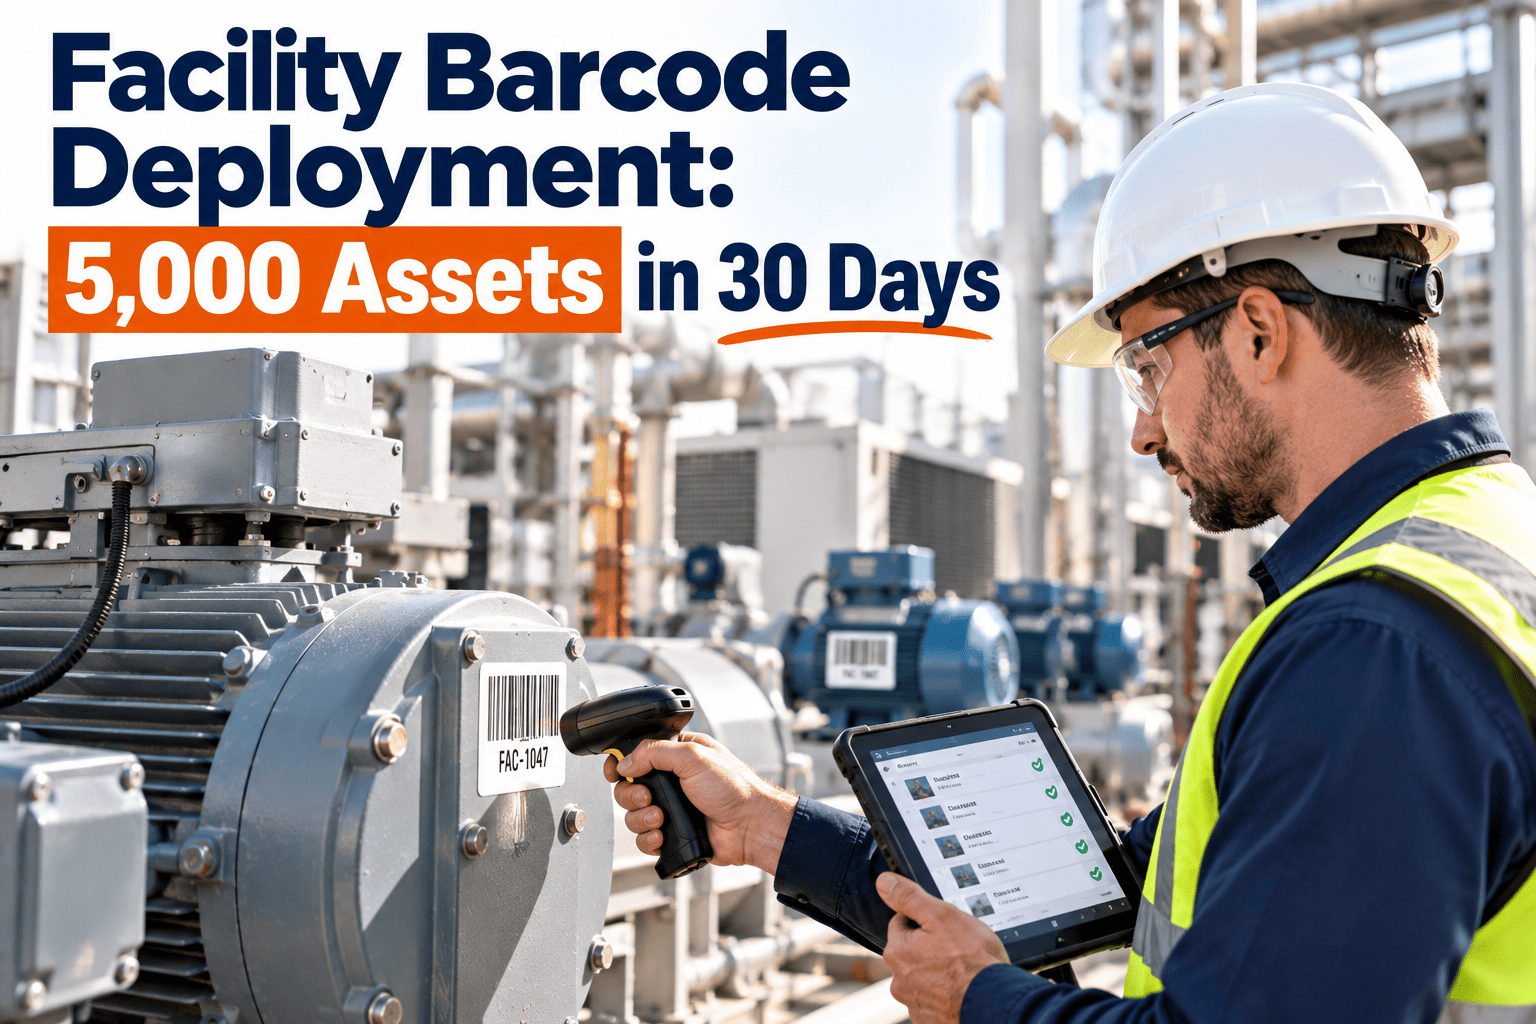
Barcoding a large facility sounds simple until crews meet locked plant rooms, labels that peel off, and a register that does not match what is on the floor. Most rollouts slow down because the data, labels, and field workflow were never designed together. A 5,000-asset program can finish in 30 days when every step is sequenced and every scan feeds back into the register. This guide lays out that sequence, and shows how a CMMS with mobile scanning keeps the results usable after the labels go on.
Facility Barcode Deployment: 5,000 Assets in 30 Days
A week-by-week method to print, mount, scan, and reconcile every asset label, so maintenance history attaches to the right equipment from day one.
Why barcode programs stall
Data problems
- Asset registers built from old spreadsheets with duplicate or missing entries
- No agreed naming or numbering rule
- Locations described differently by each contractor
- Assets installed or removed with no record
Field problems
- Labels that fail in heat, moisture, or cleaning chemicals
- Access delays to plant rooms and ceiling spaces
- Crews labeling without scanning, so nothing is verified
- No daily check of progress against the target
The planning math
The figures below are a planning illustration, not a benchmark. Adjust them to your site's access, density, and crew size.
The 30-day schedule at a glance
Why the phases overlap
Printing starts before cleanup is finished for early zones, and reconciliation begins while later zones are still being labeled. Overlap is what makes 30 days possible.
Week 1: fix the register before printing a label
Define the identifier
Every asset needs one unique, permanent identifier. GS1 offers the Global Individual Asset Identifier (GIAI) for exactly this purpose, and many facilities adopt a similar structured scheme internally.
Rules for a good asset ID
- Unique across the whole portfolio, never reused after disposal.
- Short enough to read aloud and type when a scan fails.
- Free of meaning that can change, such as room numbers or departments.
- Linked to a separate location hierarchy: site, building, floor, space.
Minimum data per asset
Choosing the code and label type
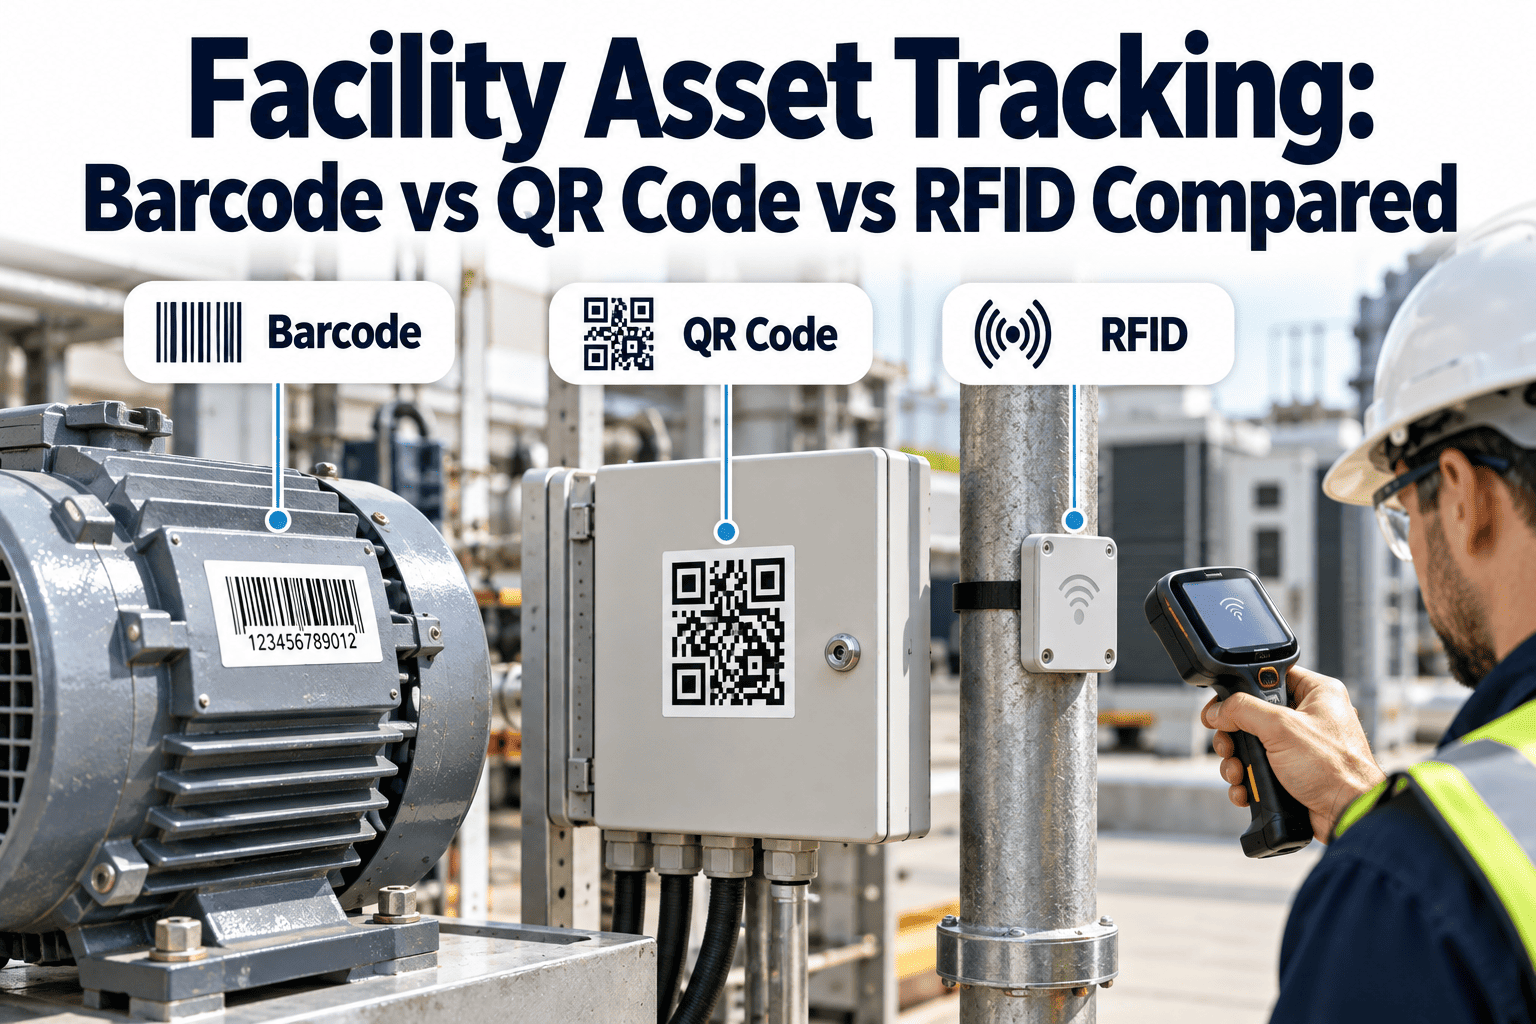
Symbology comparison
| Option | Strengths | Limits | Best for |
|---|---|---|---|
| Code 128 linear | Widely supported by scanners, easy to read | Needs more label width as the ID grows | Larger equipment with room for a label |
| QR code | Reads quickly with phone cameras, tolerates some damage | Quality varies with print resolution | Mobile-first programs and mixed fleets |
| GS1 Data Matrix | Very compact, holds structured data | Works best with imagers rather than older laser scanners | Small components and tight spaces |
Label material by environment
| Environment | Suggested material | Check before bulk print |
|---|---|---|
| Indoor offices and corridors | Polyester or vinyl with permanent adhesive | Surface texture and cleaning products |
| Mechanical rooms | Polyester with a durable overlaminate | Heat, oil, and abrasion near equipment |
| Outdoors and rooftops | UV-resistant polyester or metal tags | Sun fade, rain, and temperature swings |
| High-heat or chemical areas | Polyimide or engraved metal | Manufacturer temperature rating |
Plan your labeling rollout around a live asset register
Build the register, scan labels in the field, and see progress by zone without a spreadsheet in the middle.
Week 2: print, pilot, and standardize placement
Run a pilot floor first
Label one representative floor or zone completely. The pilot exposes bad adhesion, unreadable codes, missing assets, and slow access before the full crews begin.
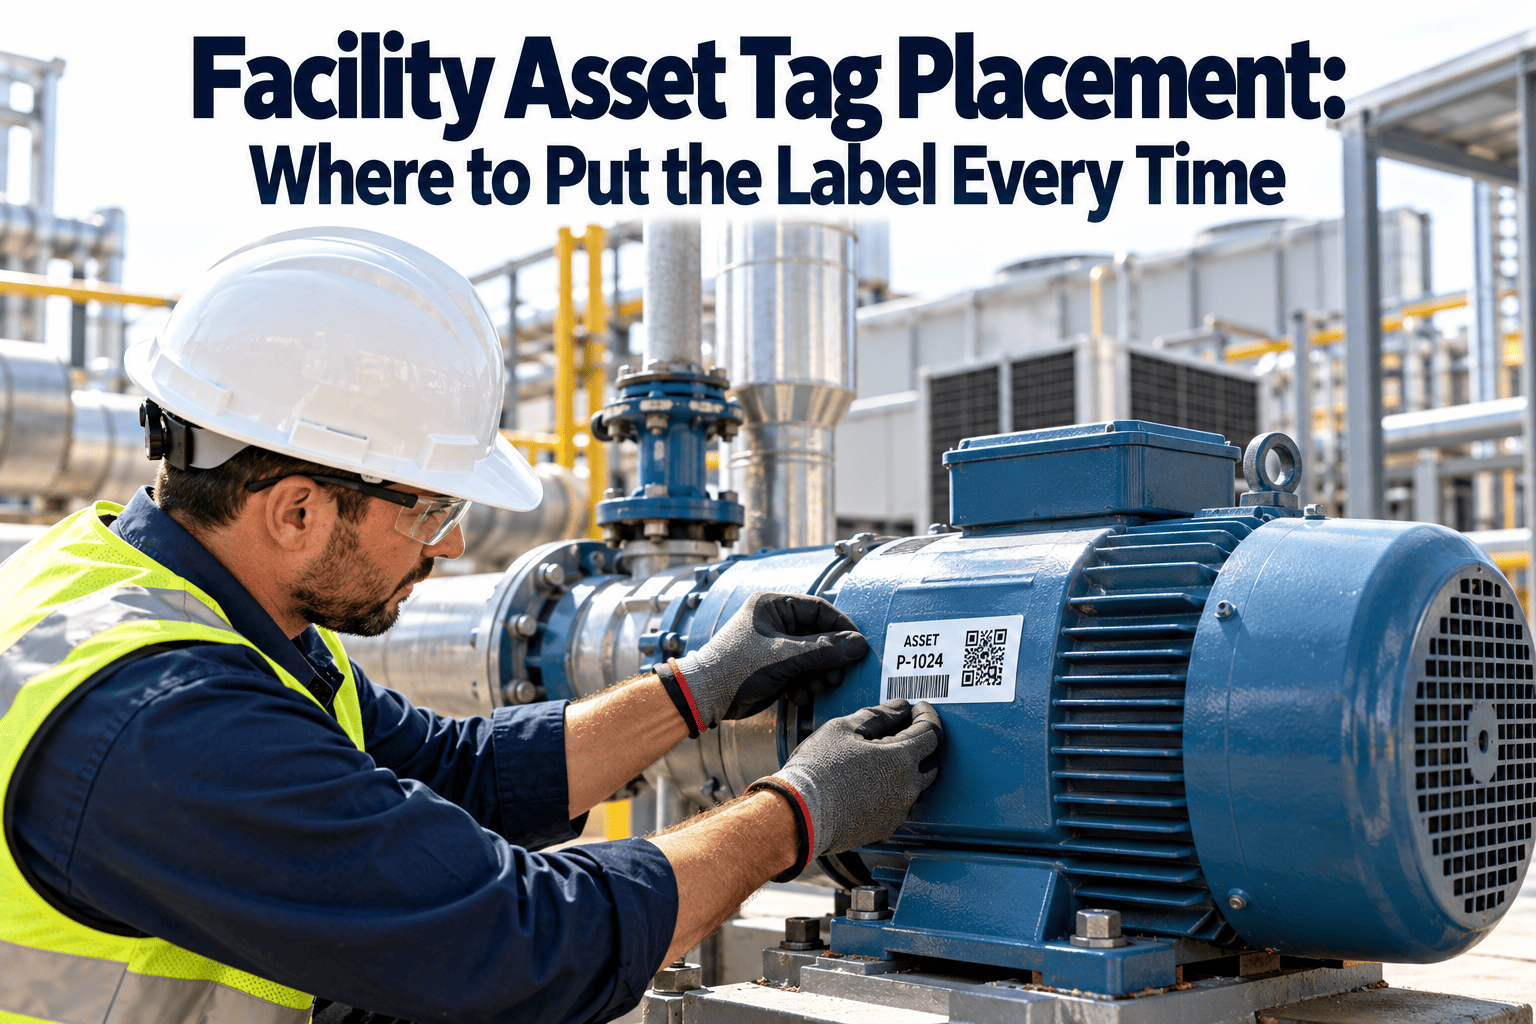
Placement standards
- Place labels on the asset body, not on removable panels or covers.
- Keep them between knee and eye height where possible, and visible without moving the equipment.
- Use the same side and position for the same asset type.
- Add a second label for large assets that can be approached from several directions.
- Clean and dry the surface before application.
Print batching
Print labels in route order for each zone, in numbered batches. Crews then carry labels in the sequence they will walk, which cuts search time and prevents duplicates.
Week 3: the five-step field loop
Locate
Walk the route and find the physical asset.
Verify
Check name, model, and serial against the register.
Apply
Mount the label per the placement standard.
Scan
Scan to confirm the code resolves to the correct record.
Record
Capture a photo and note any data corrections.
Daily control rhythm
- Start each shift by assigning zones and printed batches to each crew.
- End each shift by comparing scans completed against the daily target.
- Log blockers such as locked rooms or missing keys the same day.
- Spot-check a sample of labels for adhesion and readability.
Week 4: reconciliation turns labels into reliable data
Three buckets to resolve
Found and matched
Asset scanned and record correct. These close out immediately.
Found but not in register
Physical asset with no record. Create it, classify it, and assign a parent and location.
In register but not found
Record with no asset. Re-search, confirm removal, then retire or flag it.
Exception handling rules
- Never delete a record without a note explaining why.
- Resolve duplicates by merging history into the surviving record.
- Route data corrections to a named owner with a deadline.
- Track the open exception count daily until it reaches zero.
Staffing and equipment for a 30-day push
Crew model
Two-person crews work best. One person verifies the asset and applies the label, while the other scans, photographs, and corrects the record on a mobile device.
Roles on the program
Field kit per crew
- Mobile device or handheld scanner with the register available, including offline use where signal is weak.
- Printed label batches for the assigned zone, plus spares for damaged or reprinted labels.
- Surface cleaning wipes, a ladder or step stool, and a torch for dark plant rooms.
- A zone checklist showing the expected asset count so gaps are visible immediately.
Access, safety, and tenant coordination
Plan access before crews arrive
Locked plant rooms and occupied spaces cause more delay than labeling itself. Book access windows by zone at least a week ahead and confirm them the day before.
Safety rules for labeling crews
- Never label energised equipment by opening panels; place labels on exterior surfaces only.
- Follow site permit, lockout, and work at height procedures for rooftops and ceiling voids.
- Keep clear of hot surfaces, rotating equipment, and chemical storage during placement.
- Report damaged, unsafe, or unlabelled-but-unknown equipment rather than guessing its identity.
Risk and response
| Risk | Early sign | Response |
|---|---|---|
| Access delays | Daily count falls below target for a zone | Reassign the crew to an open zone and escalate the blocked area |
| Label failure | Labels lifting or fading in the pilot | Switch material before bulk printing continues |
| Register errors | Frequent mismatches on scan | Pause the zone and correct data before applying more labels |
| Duplicate IDs | One code resolving to two assets | Reprint the affected batch and quarantine the old numbers |
Linking labels to maintenance history
What a scan should unlock
Why this matters for maintenance
- Failure patterns become visible once repairs accumulate against a single, correct asset.
- Repeat repairs on the same equipment can be spotted and challenged.
- Warranty, manufacturer, and serial data are available at the point of work.
- Preventive maintenance tasks can be assigned and proven by scan, which supports compliance records.
A note on data governance
Decide who may create, edit, and retire asset records before the rollout ends. Without clear ownership, the register drifts and the labels lose value within a year.
Before and after the rollout
Before barcoding
- Technicians search for assets by room description
- Work orders raised against the wrong equipment
- Repair history scattered across files
- Audits require manual walk-throughs
After barcoding
- A scan opens the right asset in seconds
- Work orders attach to the correct record
- History builds up against each asset
- Audits compare scans to the register
Special cases that slow crews down
| Asset group | Challenge | Practical approach |
|---|---|---|
| Ceiling-mounted units and terminal boxes | Access needs ladders and ceiling tile removal | Label on an accessible frame or add a tag at the access point, and record the exact position |
| Fire and life safety devices | Large counts and strict inspection rules | Label by device type with a short code, and align the scan with the inspection route |
| Small portable equipment | Moves between rooms | Use compact Data Matrix labels and scan the location on every move |
| Rooftop and external plant | Weather and sun exposure | Use UV-resistant labels or metal tags with a protective finish |
| Concealed or buried equipment | No visible surface | Label the nearest access point and link the record with a photo and drawing reference |
Decide the labeling boundary early
Not every item needs its own label. Agree which components are tracked as separate assets and which are recorded as parts of a parent, such as a motor on a pump set.
Questions to settle in week one
- What is the smallest component that gets its own maintenance history?
- Are tenant-owned assets inside scope or recorded separately?
- Who labels equipment installed by contractors during the rollout?
- How are temporary or rented units identified and removed?
Quality metrics to track during rollout
Common mistakes to avoid
- Printing the full batch before testing material on real surfaces.
- Embedding changeable details, such as room numbers, inside the asset ID.
- Labeling without scanning, which leaves silent data errors.
- Skipping a pilot and discovering placement problems at scale.
- Treating reconciliation as optional cleanup after the crews leave.
- Failing to define who labels new assets after the project ends.
Keeping the labels useful after day 30
Make scanning part of daily work
A label has value only when people scan it. Build scanning into work order closeout, inspection rounds, and preventive maintenance tasks so history accumulates automatically.
New asset and disposal process
Periodic verification
- Audit a sample of each zone every quarter by scanning rather than counting.
- Replace damaged labels as part of regular inspection rounds.
- Review unscanned assets, which often signal neglected or removed equipment.
How Oxmaint supports barcode deployment
Capabilities that matter for a rollout
- Asset management holds the register, location hierarchy, parent-child links, and criticality in one place.
- Mobile workflows let crews scan, verify, photograph, and correct records in the field.
- Work orders open from a scan, so requests land on the correct asset.
- Preventive maintenance schedules attach to scanned assets once the register is trusted.
- Inspections can be completed by scanning the asset first, which proves the right equipment was checked.
- Reporting shows progress by zone, exceptions outstanding, and maintenance history by asset.
- Inventory links let parts and spares be tied to the equipment they serve once assets are identified reliably.
- Scheduling and dashboards help planners balance labeling days against normal maintenance workload during the rollout.
If you are planning a program, you can set up your asset register or talk through your rollout plan with the team.
Frequently asked questions
Is 5,000 assets in 30 days realistic?
It is achievable with a clean register, enough crews, and early access to rooms. Sites with poor records should extend week one.
Should we choose QR codes or linear barcodes?
QR suits phone-based scanning, while Code 128 suits dedicated scanners. Test both on your actual surfaces and ask for guidance if needed.
What should the asset ID contain?
A unique, permanent number with no location or department meaning. Keep changeable details in separate fields.
How do we handle assets we cannot find?
Re-search, confirm removal with facility staff, then retire the record with a note rather than deleting it.
Where do scans and history live afterwards?
In the asset record of your CMMS, so every work order builds history. You can start here.
Put a scannable label on every asset that matters
Start the rollout with a register you trust and a field workflow your crews can follow from the first day.