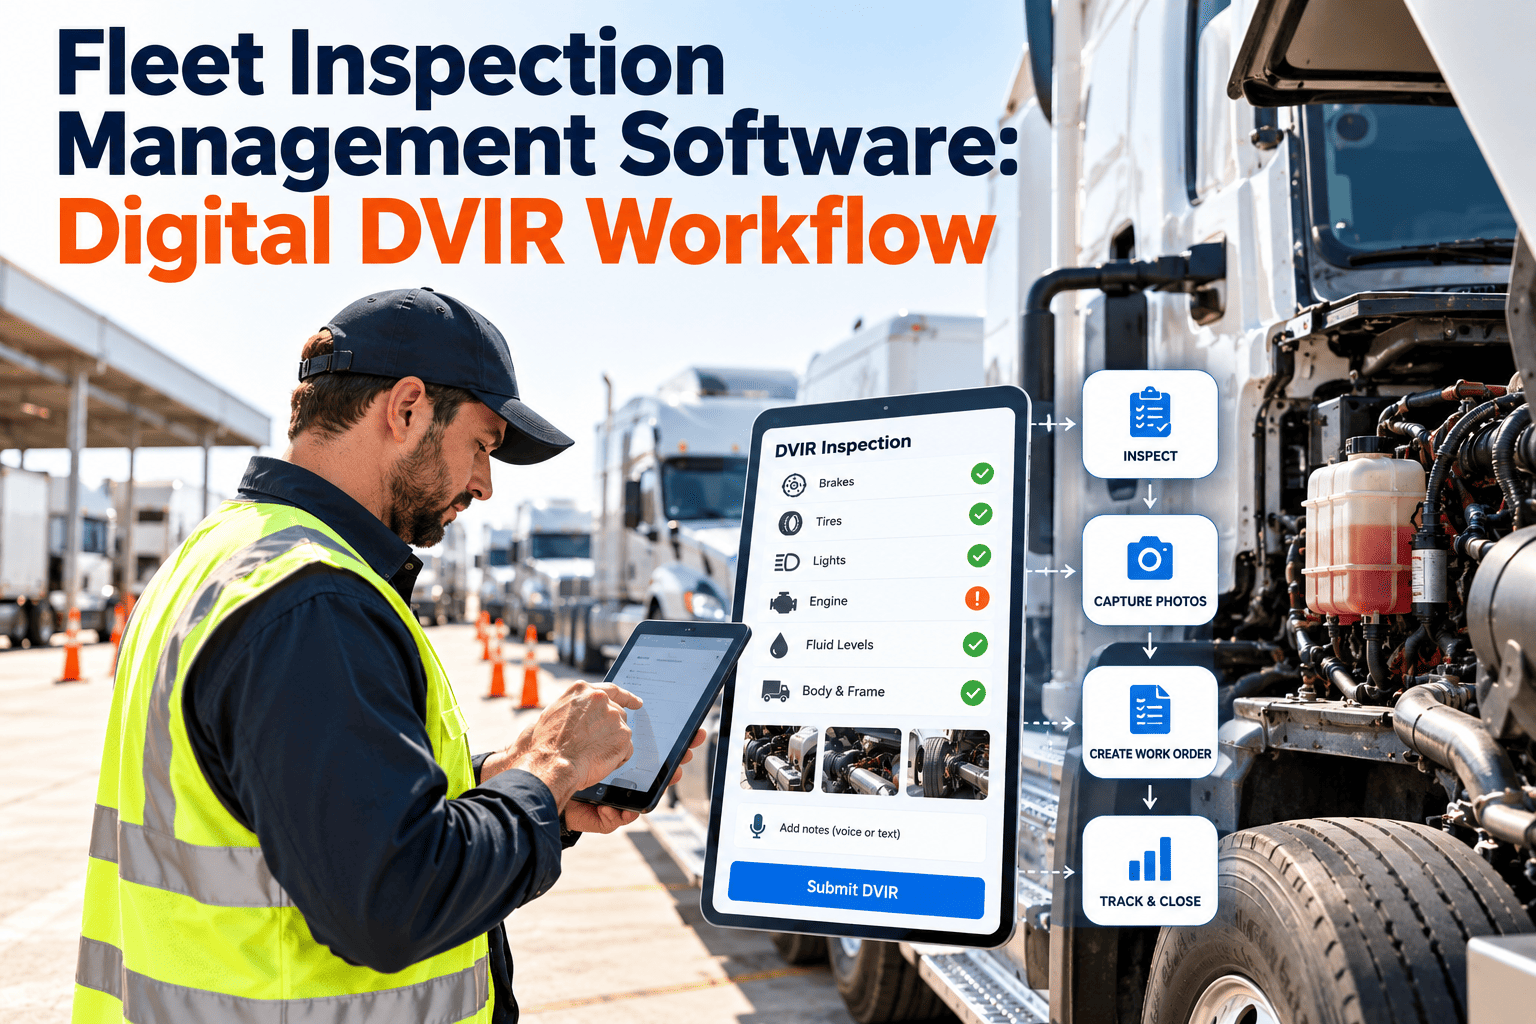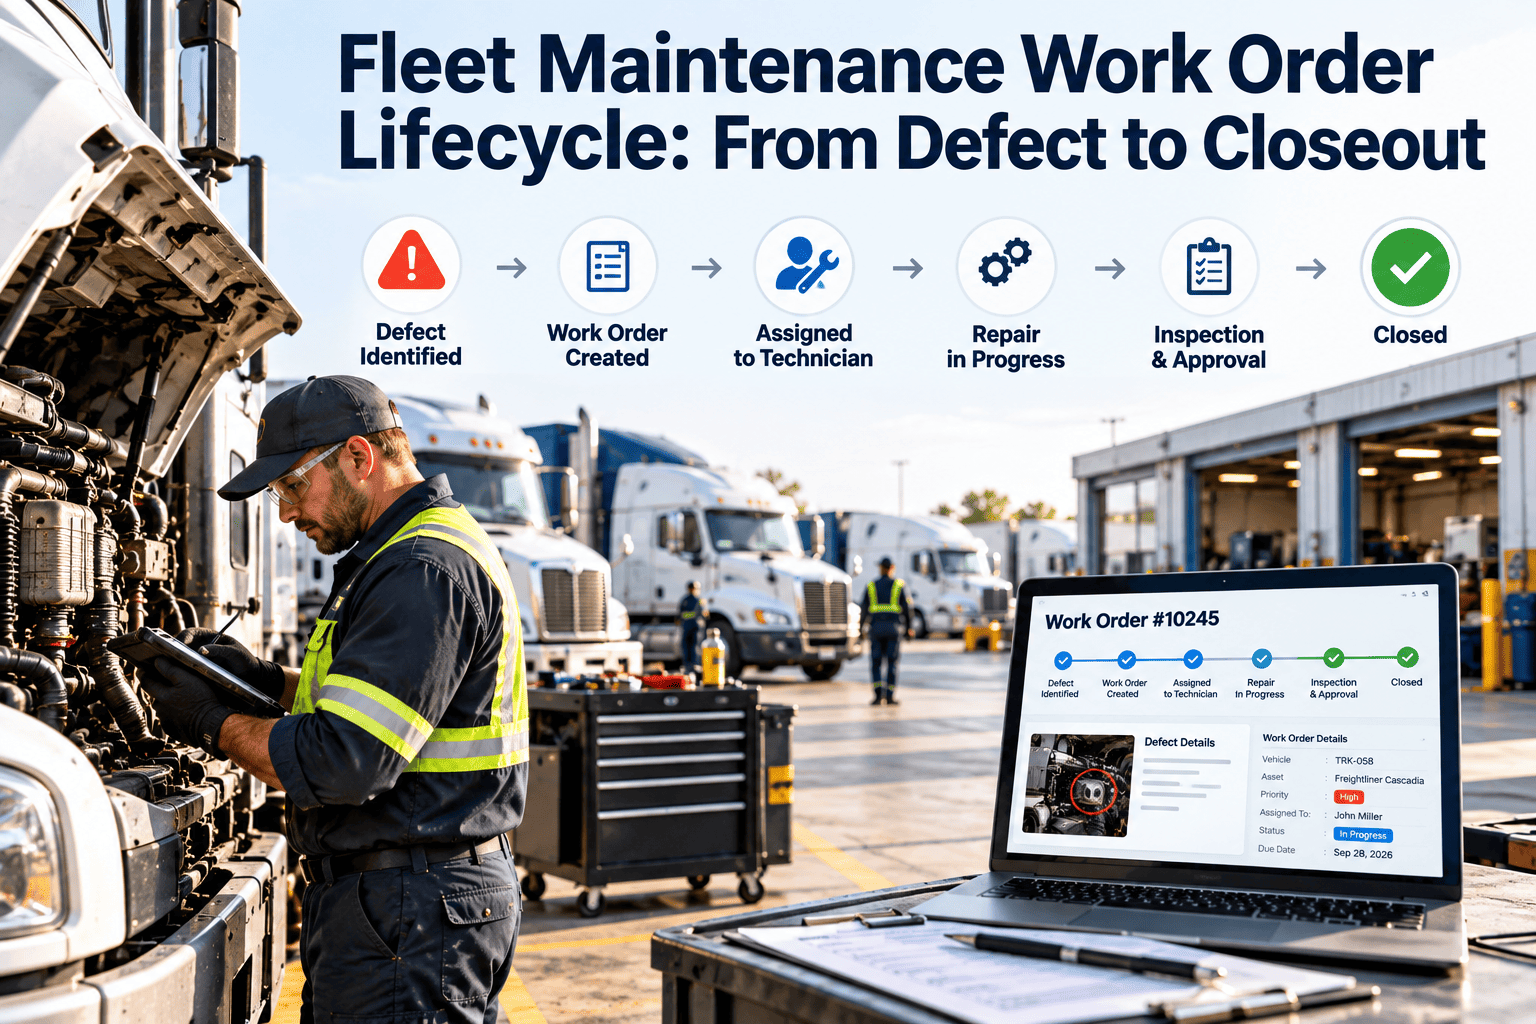
A fleet vehicle is not a single purchase decision. It is a chain of decisions that starts with specification and ends with disposal, and every link either adds to or removes from total cost of ownership. Fleets that treat acquisition, maintenance, repair, and resale as separate departments lose the history that connects them. This guide walks through each lifecycle stage, shows where maintenance data changes the decision, and explains how a structured maintenance record supports it. If you want to see that record in practice, you can schedule a walkthrough of the workflow.
Fleet Vehicle Lifecycle Management: Acquisition to Retirement
Why Lifecycle Thinking Changes Maintenance Outcomes
Most fleets already track purchase price, fuel, and repair invoices. What they rarely hold in one place is the story connecting those numbers to a specific vehicle over several years.
Without a lifecycle record
- Specification choices are made without repair history from similar units
- Warranty claims are missed because paperwork sits with different people
- Replacement timing is driven by age or a single large invoice
- Resale value suffers from gaps in documented service
- Technicians repeat diagnosis because earlier findings were never recorded
With a lifecycle record
- Each purchase draws on actual failure and cost data by make and model
- Warranty-period defects are logged and claimed with evidence
- Replacement is triggered by condition trends and cumulative cost
- Sale packages include a complete, verifiable service history
- Technicians see prior repairs before they start the next one
Where lifecycle cost is actually decided
The Six Stages and What Maintenance Owns in Each
Maintenance is often brought in only at stage three. In practice, it has useful input at every stage, and it produces the data that makes later stages defensible.
Stage 1: Acquisition Decisions Maintenance Teams Should Influence
Specification locks in maintenance cost for years. A few small choices at purchase can mean fewer tool types, shorter service times, and simpler parts stocking.
Specification inputs worth requesting from maintenance
- Repeat failure patterns on the models and engines already in the fleet
- Parts commonality across existing vehicles to limit inventory growth
- Standard tire sizes and wheel types to reduce spare variety
- Diagnostic port access and data compatibility with current tools
- Service access for filters, belts, and brake components
- Supplier warranty terms and the evidence required to claim them
| Purchase Choice | Maintenance Consequence | Record to Capture |
|---|---|---|
| Mixed tire sizes across units | More spares, slower swaps, higher stock value | Tire size per axle position |
| New engine platform | New tooling, training, and parts | Engine model and service intervals |
| Extended warranty package | Defects must be documented to be claimed | Warranty start, term, and exclusions |
| Aftermarket body or equipment | Separate PM needs and separate suppliers | Attached equipment as child assets |
| Different brake or axle suppliers | Different wear parts and inspection points | Component make and model per unit |
Stage 2: Commissioning and the Baseline Record
A vehicle that enters service without a complete record starts its life with a gap. Commissioning is the moment to close that gap while the information is still easy to find.
Start Every Vehicle With a Complete Record
Stage 3: Active Service and Inspection Discipline
This stage generates most of the data and most of the cost. The goal is to catch small defects early so they do not become roadside failures that disrupt routes and customers.
Three layers of inspection
- Pre-trip and post-trip driver inspections for visible defects
- Scheduled PM inspections performed by technicians against a checklist
- Periodic safety and regulatory inspections with signed records
Tires and Wheels Across the Lifecycle
Tires are among the most frequent maintenance items and one of the most safety-critical. Tracking them by position, not just by vehicle, makes patterns visible.
| Lifecycle Point | Tire and Wheel Activity | Why It Matters |
|---|---|---|
| Commissioning | Record size, brand, and axle positions | Creates a baseline for wear comparison |
| Routine service | Pressure checks, tread measurement, rotation | Supports even wear and fuel efficiency |
| Repair events | Log punctures, damage, and wheel-end work | Exposes recurring alignment or load issues |
| Mid-life | Review cost per tire position and replacement rate | Shows which routes or units are hardest on tires |
| Retirement | Remove usable tires and wheels for reuse | Recovers value and reduces new purchases |
Warranty Management Inside the Lifecycle
Warranty value is easy to lose. Claims need dates, mileage, failure descriptions, and repair evidence, and those details are scattered when work is recorded informally.
Stage 4: Parts, Labor, and Cost Visibility
Cost data only helps if it is attached to the right vehicle and the right job. Work orders that capture labor hours, parts used, and failure cause give that structure.
Parts control that supports the lifecycle
- Set minimum levels on high-use items such as filters, brake pads, and belts
- Link parts to the work order so usage rolls into unit history
- Review slow-moving stock when a vehicle model is phased out
- Compare supplier performance using failure and return records
Utilization, Duty Cycle, and Reassignment
A vehicle that is wrong for its route wears out faster. Maintenance records show which units suffer on which duties, and that supports smarter assignment before replacement is needed.
| Observation in the Record | Possible Cause | Lifecycle Response |
|---|---|---|
| Frequent brake work on one unit | Stop-and-go routes or heavy loading | Reassign to lighter duty or adjust inspection frequency |
| Low mileage but high idle hours | Long waits or equipment use | Add hour-based PM triggers |
| Repeated suspension repairs | Rough terrain or overload | Review routes and payload practices |
| Underused vehicle with age-related issues | Surplus capacity | Consider early disposal or pooling |
Stage 5: Knowing When to Replace
Age alone is a weak trigger. Two vehicles of the same year can have very different condition and cost profiles depending on duty cycle and maintenance quality.
Stage 6: Retirement Without Losing the History
Retirement is more than removing a unit from the schedule. The closing steps protect resale value and keep the data useful for future purchases.
What a buyer or auction house usually wants to see
- A dated list of preventive services with the meter reading at each visit
- Major repairs, component replacements, and the reason each was needed
- Tire, brake, and battery replacement dates for the final years of service
- Accident or damage repairs with supporting work order notes
- Outstanding recalls or open defects, stated honestly to avoid disputes later
Common Lifecycle Mistakes to Avoid
| Mistake | Why It Hurts | Better Practice |
|---|---|---|
| Keeping history in several places | No one can see the full picture of a unit | Use one asset record for all work |
| Replacing only by age | Good vehicles go early and poor ones stay too long | Review condition and cost together |
| Skipping minor findings | Small defects grow into failures | Create linked work orders for every finding |
| Ignoring tire and wheel records | Safety and cost patterns stay hidden | Track by axle position |
| Closing records at disposal | Lessons never reach the next purchase | Archive and review by model |
Compliance Records Across the Vehicle Life
Inspection and maintenance rules vary by country, vehicle class, and operation. The consistent need is a record that is dated, attributable, and easy to retrieve.
- Driver vehicle inspection reports linked to the correct unit
- Periodic safety inspection results and corrective actions
- Technician sign-off on completed work orders
- Document expiry tracking for registrations and permits
How Oxmaint Supports Each Stage
Oxmaint is maintenance management software, so it covers the maintenance side of the lifecycle. These are the capabilities that map to each stage.
| Stage | Capability | Result |
|---|---|---|
| Acquisition and commissioning | Asset management, document storage | One record per vehicle from day one |
| Active service | Preventive maintenance, inspections, mobile work orders | Scheduled work and field findings in one workflow |
| Mid-life | Inventory, corrective maintenance, reporting | Cost and failure trends by unit |
| Evaluation | Dashboards and asset history | Evidence for repair or replace decisions |
| Retirement | Compliance records, exportable history | Clean handover and archived data |
A practical 90-day rollout
A Quarterly Lifecycle Review That Keeps Decisions Honest
Lifecycle decisions drift when nobody looks at the whole fleet together. A short, regular review keeps maintenance, operations, and finance working from the same facts.
- Rank units by cost per mile or hour and examine the top and bottom of the list
- List vehicles approaching a major component replacement and compare the cost with replacement
- Check warranty expiry dates so eligible defects are claimed before coverage ends
- Review idle or underused units that could be pooled, reassigned, or sold early
- Note models with repeat failures to inform the next purchase specification