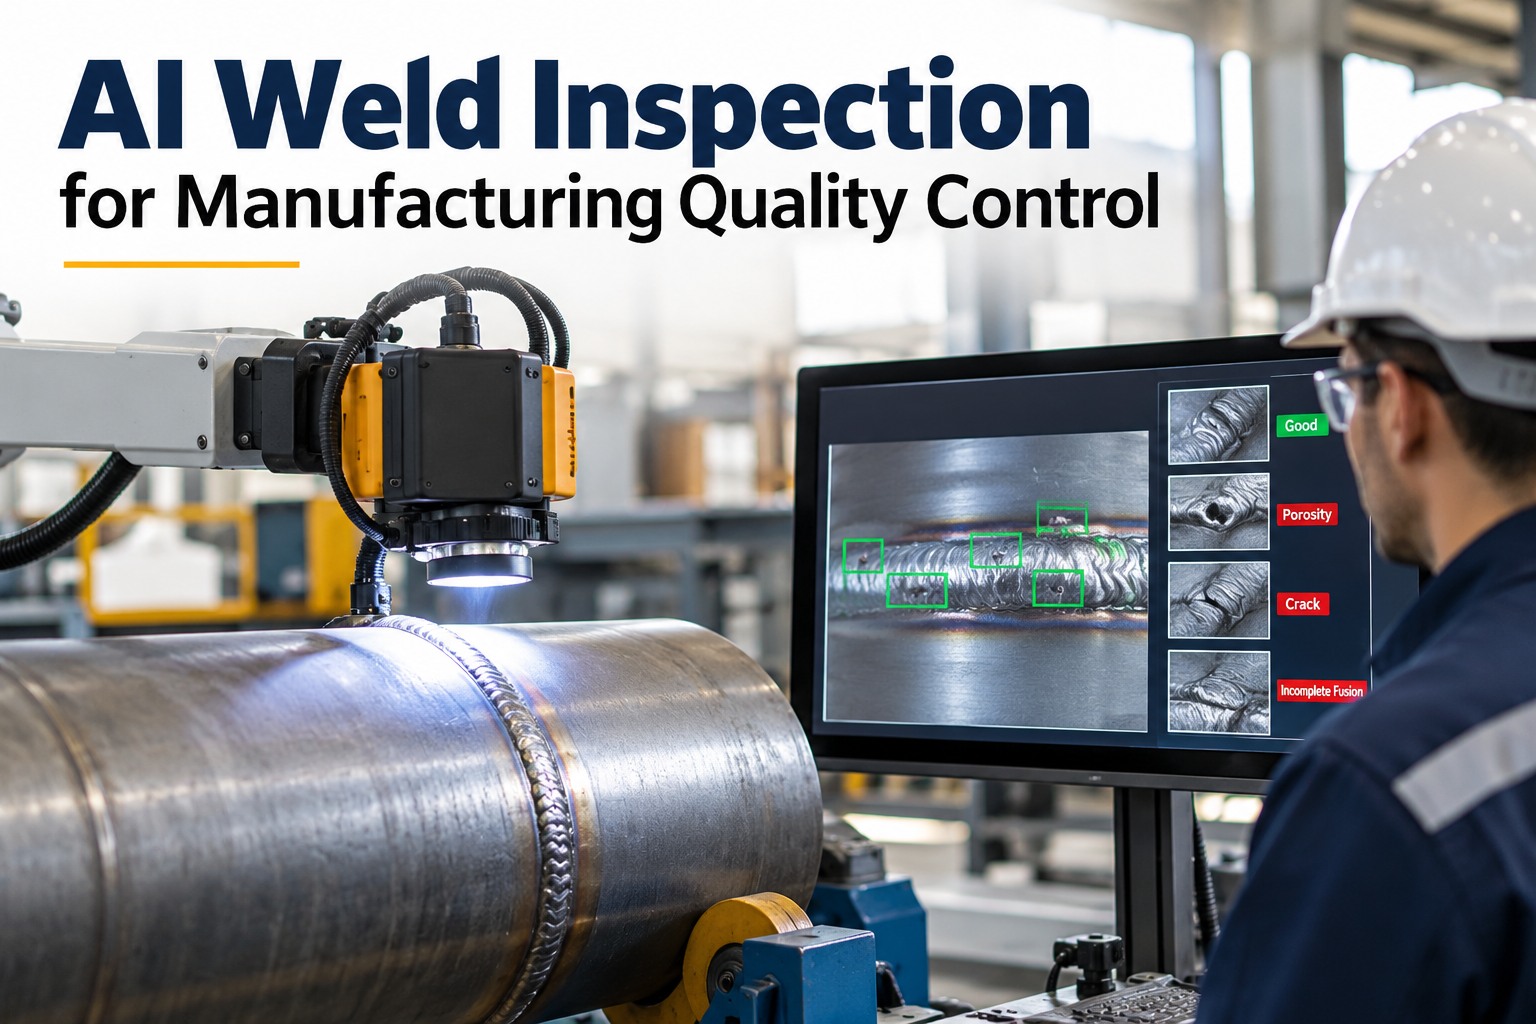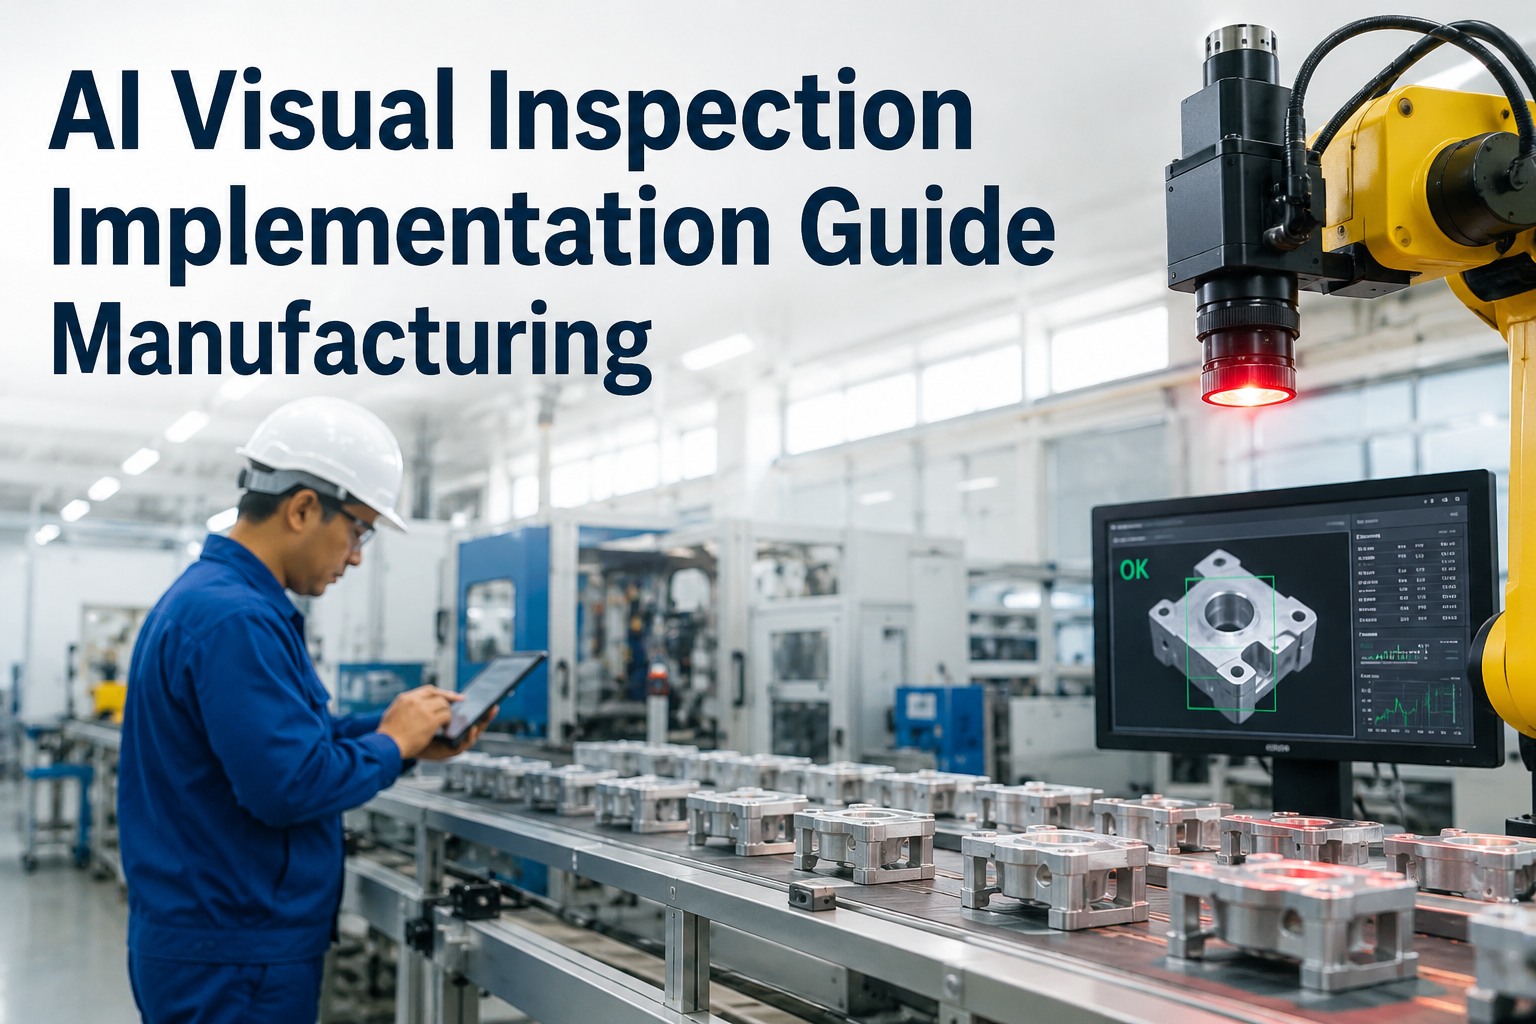
AI visual inspection uses cameras, controlled lighting and deep learning models to catch surface defects, assembly errors and contamination at line speed — often spotting flaws that human inspectors miss after hours of fatigue. A practical AI visual inspection implementation follows six phases: define the defect taxonomy, select cameras and lighting, collect and label training images, build or buy the model, tune false-reject rates, and integrate results with your CMMS so defect trends link back to specific assets. Plants that follow this sequence typically reach production in 8–16 weeks and see payback inside 12 months. This guide walks through each phase with real numbers, common pitfalls and the integration step most teams skip. If you want defect data flowing straight into work orders, Start Free Trial and see how OxMaint closes the loop.
How do you deploy AI defect detection on a live production line — without stopping it?
Most AI vision quality control projects fail at the same three points: bad lighting, too few training images, and no link between the camera and the maintenance system. This guide fixes all three, phase by phase.
Why machine vision inspection pays for itself in under a year
Human visual inspectors catch roughly 70–85% of defects under ideal conditions — and accuracy drops sharply after the first hour of a shift. AI visual inspection holds 97–99%+ detection rates consistently, at full line speed, on every unit.
A beverage plant running 3 lines was scrapping $310K/yr in mislabeled and underfilled product that manual checks missed. One AI vision quality control station per line ($86K total, including lighting rigs and integration) cut escapes by 92% in the first quarter. Payback: 4.2 months. The hidden win came later — defect data linked to filler #4 in OxMaint revealed a worn seal causing 60% of underfills, turning a quality problem into a $900 spare-parts fix.
AI visual inspection implementation: the 6-phase timeline
Projects that skip phases 1–2 and jump straight to model training account for most failed deployments. Budget your 8–16 weeks like this.
List every defect type the system must catch, with pass/fail boundary examples. "Scratched" is not a spec — "scratch >2mm visible at 40cm" is. Get quality, production and maintenance to sign off on the same definitions.
Lighting solves 80% of vision problems before any AI runs. Match resolution to your smallest defect (rule of thumb: 3–5 pixels across the smallest feature). Choose area-scan vs. line-scan based on line speed and part geometry.
Target 500–2,000 labeled images per defect class, including edge cases and borderline passes. Capture across shifts, lighting drift and product variants. Poor label consistency here caps your model's ceiling forever.
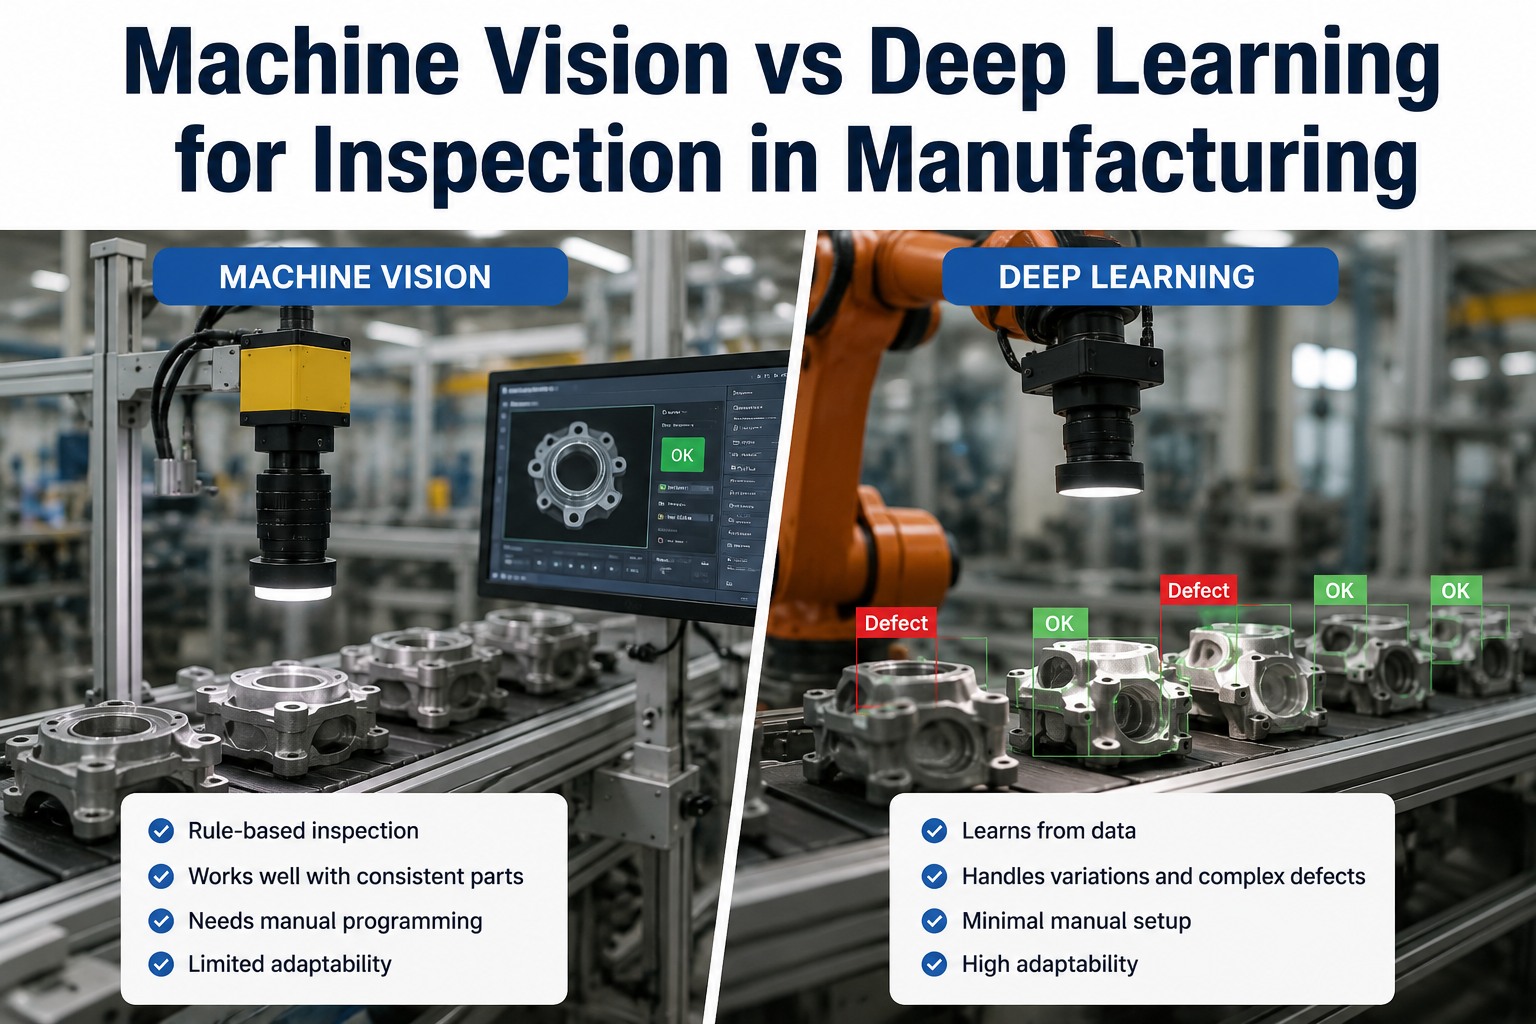
Vendor platforms get you to production fastest for standard defects (surface, presence/absence, OCR). Custom deep learning inspection makes sense for novel defect types or when you need the IP in-house.
Run in shadow mode first — flagging but not rejecting. A 5% false-reject rate on a 10,000-unit shift means 500 good units scrapped daily. Tune thresholds until false rejects sit under 0.5–1% without letting escapes climb.
The step most teams skip. Pipe defect events into OxMaint tagged by asset, so rising defect rates on a specific machine auto-trigger inspection work orders before the equipment fails outright.
Camera and lighting selection for computer vision in manufacturing
A $400 camera with the right lighting outperforms a $4,000 camera with the wrong lighting. Spend your budget in this order: lighting first, optics second, sensor third.
| Decision | Option A | Option B | Choose when… |
|---|---|---|---|
| Camera type | Area-scan ($300–2K) | Line-scan ($2K–10K) | Line-scan for continuous web/ Conveyor >2 m/s; area-scan for discrete parts |
| Lighting geometry | Diffuse dome / coaxial | Low-angle dark field | Dome for print/labels; dark field to make scratches and dents pop |
| Light type | LED strobe | Continuous LED | Strobe freezes motion at speed; continuous for slow or stopped parts |
| Processing | Edge (on-camera / IPC) | Cloud | Edge for <100ms decisions and reject actuation; cloud only for offline analytics |
| Resolution | 2–5 MP | 12 MP+ | Only go high-MP if your smallest defect demands it — data costs scale fast |
"We spent three weeks retraining a model that kept missing scratches. The fix turned out to be a $180 low-angle bar light, not more data. Lighting is the cheapest accuracy you'll ever buy." — Reliability engineer, Tier-1 automotive supplier
How OxMaint turns AI defect detection into predictive maintenance
A vision system that only rejects bad parts is leaving half its value on the table. When defect trends feed your CMMS, quality data becomes an early-warning sensor for equipment health.
When defect rates on an asset cross a threshold you set, OxMaint auto-generates an inspection work order — so a drifting filler or worn die gets checked before it fails. Plants using condition-triggered PMs cut unplanned downtime 30–50%.
Every reject is tagged to the machine, line and shift that produced it. OxMaint's analytics dashboard shows which assets drive your scrap rate — turning a vague "quality is down" into "conveyor #2 bearings, replace this week."
Defect trends pointing at a worn component? OxMaint checks spare-parts inventory against the asset's BOM and flags low stock before the work order is even assigned — no more emergency overnight freight on a $40 seal.
Every defect event, threshold change and resulting work order is timestamped and searchable — the traceability ISO 9001 and customer audits demand, without a single spreadsheet. Audit prep drops from days to minutes.
See defect trends become work orders — live on your assets
Book a 30-minute demo and we'll walk through exactly how OxMaint ingests vision-system events, thresholds them per asset and auto-dispatches your team.
5 mistakes that sink automated visual inspection projects
Industry surveys consistently attribute 60%+ of stalled vision projects to data and change-management issues — not model accuracy. These are the traps, and the fix for each.
Defects are rare by definition — you may see 20 bad parts per 100,000. Fix: augment with synthetic defect images, run planned "defect-seeding" trials, and start with anomaly-detection models that learn what "good" looks like instead of needing thousands of bad examples.
A 3% false-reject rate on a $4 part running 50K units/day scraps $6,000 of good product daily. Fix: shadow-mode tuning for 2–4 weeks, and track false rejects as a KPI alongside escapes — both belong on the same dashboard.
New suppliers, tooling wear and seasonal lighting changes degrade accuracy 5–15% within months. Fix: schedule quarterly revalidation, log every override, and version your models so you can roll back.
Trying to inspect 40 defect types across 12 lines at launch guarantees an 18-month science project. Fix: one line, 3–5 high-cost defect types, prove payback in a quarter, then replicate the playbook.
If defect events never reach maintenance, you bought an expensive sorting machine. Fix: integrate with OxMaint from week one so every defect trend is tied to an asset, a work order and a fix.
AI visual inspection: frequently asked questions
A single-station deployment typically runs $25K–120K all-in: cameras and lighting ($3K–15K), edge compute ($2K–8K), software or model development ($15K–80K) and integration. Most plants recover that in 6–12 months through reduced scrap, rework and manual inspection labor.
Plan for 500–2,000 labeled images per defect class for supervised deep learning inspection. If defects are rare, anomaly-detection approaches can start with as few as 100–300 images of known-good product, then flag anything that deviates.
Well-tuned systems reach 97–99%+ detection with false-reject rates under 0.5–1%, versus 70–85% for fatigued human inspectors. The catch: those numbers require disciplined lighting, consistent labeling and quarterly revalidation — accuracy is an operational practice, not a one-time spec.
Buy for standard use cases — surface defects, presence/absence checks, label verification, OCR — where vendor platforms reach production in weeks. Build custom when your defect types are novel, your volumes justify the data-science headcount, or the model itself is competitive IP. Either way, book a demo to see how the output integrates with maintenance workflows.
Defect events stream via API or OPC-UA into OxMaint, tagged by asset and defect type. When a machine's defect rate crosses your threshold, OxMaint auto-creates a work order, checks spare-parts stock and tracks the fix — so rising scrap becomes an early failure warning instead of a quarterly surprise. Start Free Trial to test the workflow on one line.
Your cameras see the defects. OxMaint makes sure they get fixed.
Connect AI visual inspection to work orders, spare parts and asset analytics in one platform — and turn every reject into a reliability signal.