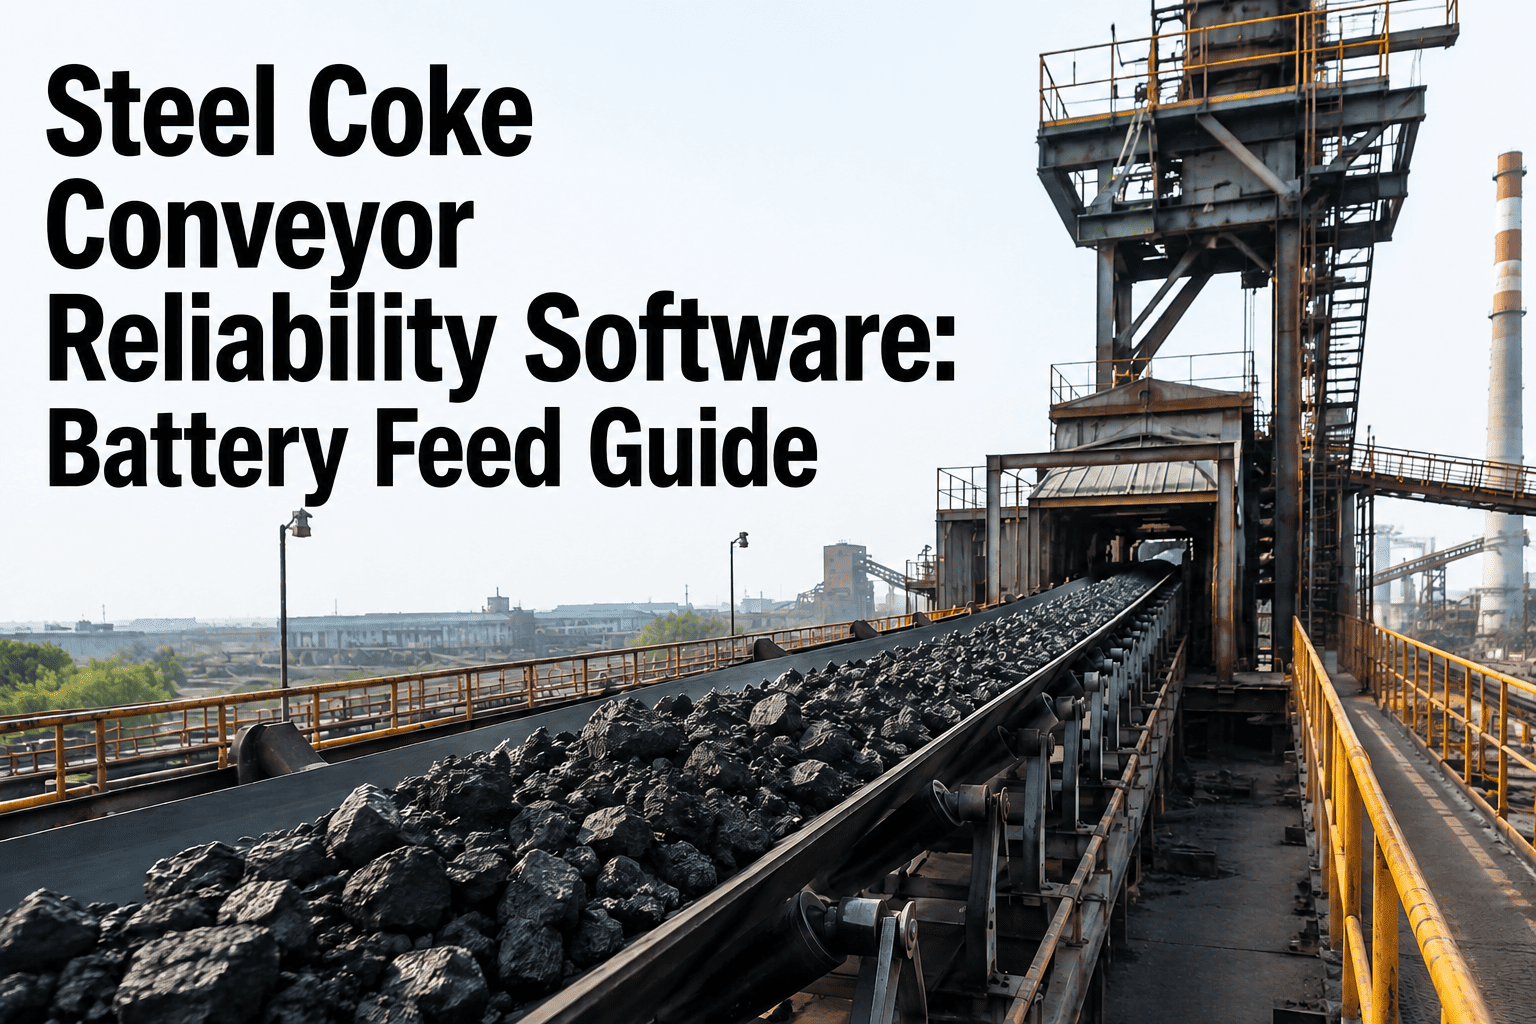
Every ton of hot coke that leaves a coke oven battery travels through five separate conveyor and transfer points before it reaches the blast furnace stockhouse — the pusher-side apron, the quench car discharge, the coke wharf reclaim belt, the crushing and screening line, and the final BF feed conveyor. Each point is a place where a seized idler, a torn belt cover, or an unmonitored bearing can turn an 18-hour coking cycle into a stockhouse shortage. Coke handling conveyors run hotter, dirtier, and more abrasively than almost any other belt system in an integrated steel plant, and most reliability teams still track them the same way they track a low-load ore yard belt. Start a free trial with Oxmaint to see what battery-to-furnace conveyor tracking looks like when it is built for coke logistics specifically.
Coke Logistics · Battery to Blast Furnace
The Coke Conveyor Chain Is the Blast Furnace's Only Fuel Line — Treat It Like One
From pusher-side apron to coke wharf to BF stockhouse, five transfer points carry every ton of fuel your blast furnace burns. This guide breaks down where those belts fail, why coke is harder on conveyors than any other material in the plant, and how a CMMS built for the full chain keeps the furnace fed.
The Coke Path
Five Transfer Points Between the Oven and the Furnace
Coke does not go from oven to furnace in one move. It is pushed, quenched, wharfed, screened, and belted — and every one of those steps runs on a conveyor or a rail car that can stop the chain.
1
Pusher-Side Apron
Hot coke rammed from the oven onto the coke guide, feeding the quench car. Highest thermal load, shortest belt life.
2
Quench Car Transit
Rail-mounted car carries incandescent coke to the quench tower for water deluge before it ever touches a fixed belt.
3
Coke Wharf Reclaim
Quenched coke drains and cools on the inclined wharf, then drops through wharf gates onto the reclaim conveyor.
4
Crushing & Screening
Coke is sized for blast furnace charging — undersize breeze is diverted, oversize is crushed and re-screened.
5
BF Stockhouse Feed
Final belt delivers sized coke into the stockhouse bins that feed the furnace charging sequence directly.
180-200°C
Typical belt-contact temperature for quenched coke under normal cooling — higher during quench excursions
80%
Share of total conveyor components that are idlers — and the single most common cause of coke belt fires
18 hrs
Typical coking cycle time — a feed conveyor stoppage this long stalls an entire battery's output
6-12 hrs
Recovery window after a pusher-side jam cascades into a downstream conveyor feed shortfall
Why Coke Belts Fail Differently
Coke Is the Hardest Material Any Conveyor in the Plant Has to Carry
Ore is heavy. Sinter is hot. Coal is dusty. Coke combines all three failure modes on a single belt — and adds an abrasive edge that wears through covers faster than any other bulk material handled in an integrated mill.
Heat
Quenched coke still carries residual heat well above standard belt tolerance. Idler bearing failure under a hot coke load generates enough friction to ignite belt rubber directly.
Abrasion
Coke's sharp, irregular particle structure produces the highest belt cover wear rate of any material tracked across coal handling, sinter, and ore yard conveyors.
Dust
Fine coke breeze generated at crushing and screening creates explosion-risk dust loading near an active heat source — a combination unique to the coke handling line.
Single-Path Dependency
Most batteries run one reclaim and feed path per wharf zone. There is no redundant belt to reroute onto when the primary conveyor goes down.
See Every Coke Belt, One Battery Row at a Time
Oxmaint maps the pusher-side apron, wharf reclaim, screening line, and BF feed belt as one connected chain — so a bearing alarm on the reclaim conveyor shows up next to the battery it feeds, not buried in a plant-wide asset list.
What to Monitor
The Inspection Points That Actually Predict a Coke Belt Failure
Generic conveyor PM checklists miss the failure modes specific to hot, abrasive coke. These are the checkpoints reliability teams weight highest across the battery-to-furnace chain.
01
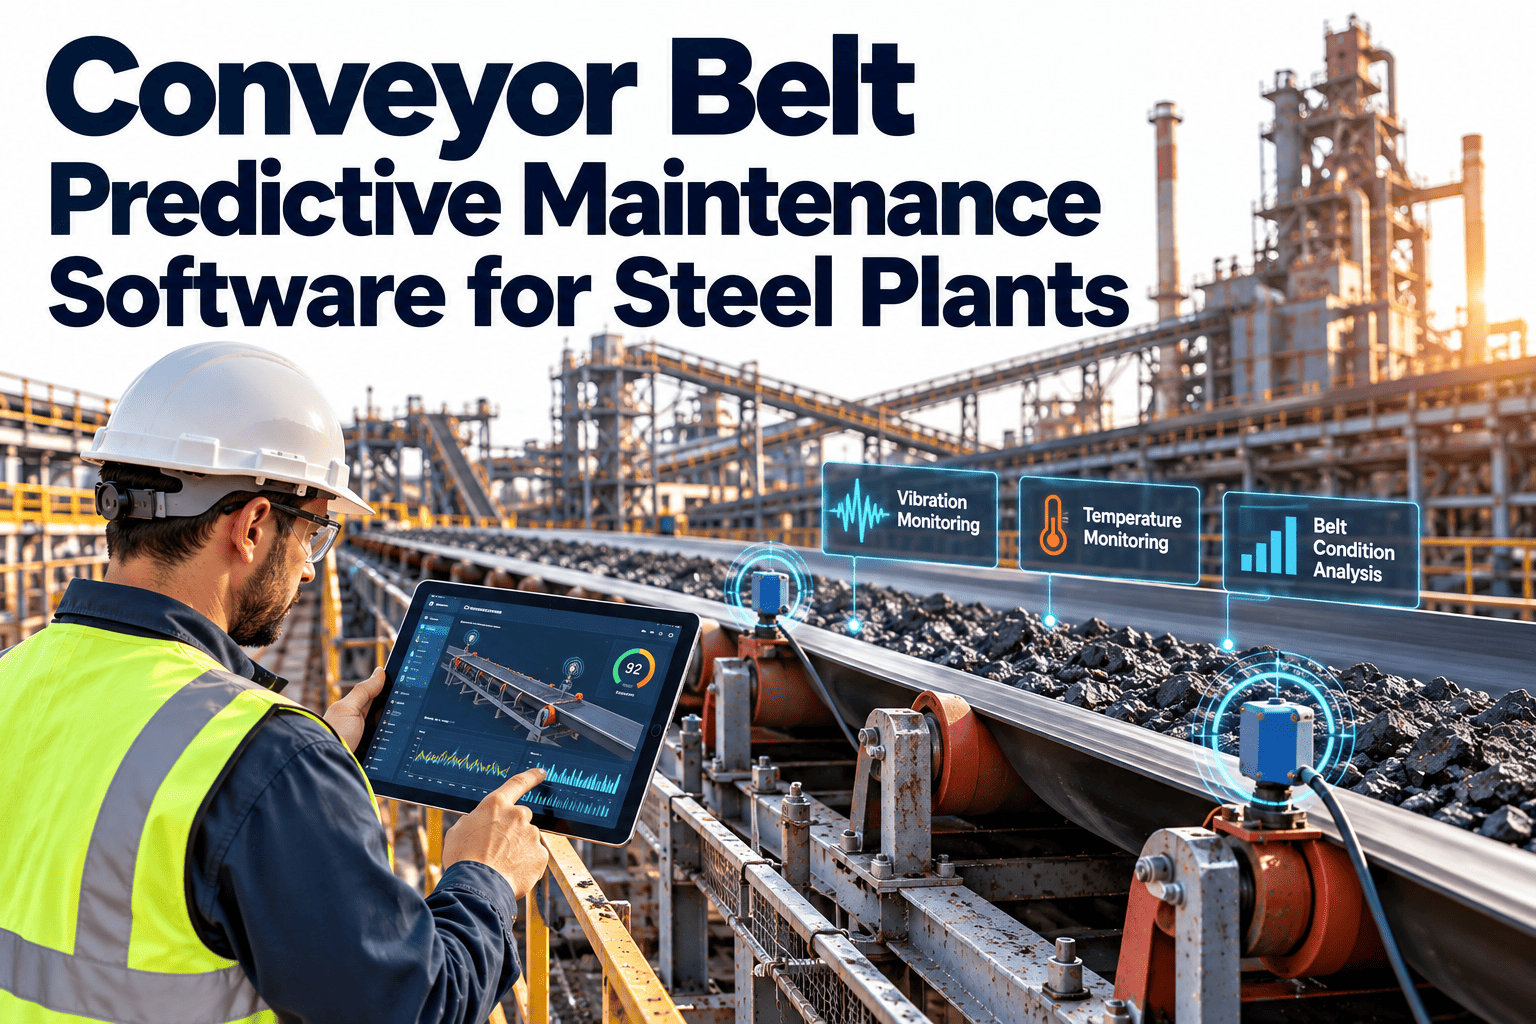
Idler bearing temperature on hot-coke sections
Continuous or shift-based thermal checks on every idler within the first 40 meters of the quench car discharge and wharf reclaim belt.
02
Belt cover thickness at wharf gate impact zones
Coke drop points under wharf gates see concentrated impact wear that thins cover rubber faster than the rest of the belt run.
03
Dust buildup at crusher and screen transfer chutes
Breeze accumulation near heated coke is an explosion risk that standard housekeeping checklists routinely underweight.
04
Skirt seal condition on the wharf reclaim conveyor
Worn skirting lets fine coke spill under the belt, accelerating idler contamination and creating a secondary fire path.
05
Alignment tracking on the BF stockhouse feed belt
Mistracking on the final feed belt is the failure most likely to trigger an unplanned stop at the exact point closest to the furnace.
Built for the Chain, Not Just the Belt
What a Coke-Chain CMMS Actually Tracks
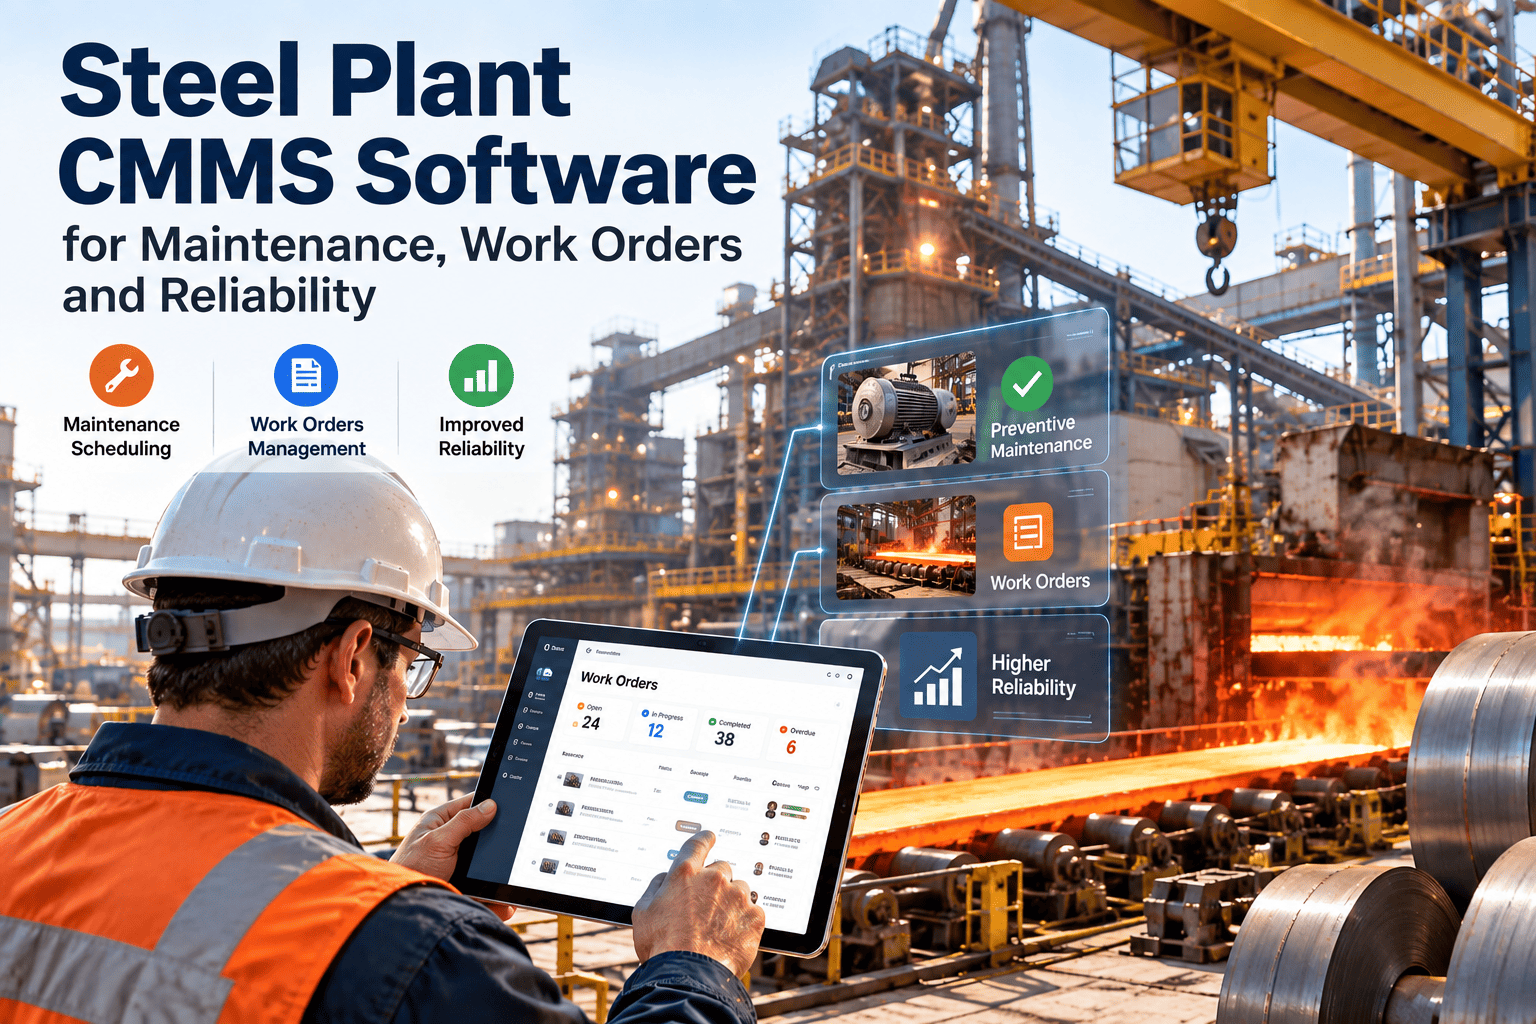
Treating the coke conveyor chain as one connected asset — rather than five unrelated belts — changes what a maintenance platform needs to capture and how fast a team can respond when a section goes down.
Chain Mapping
Battery-to-Bin Asset Hierarchy
Every belt, quench car, and wharf gate is linked to the specific battery row and stockhouse bin it feeds, so a fault shows its downstream impact immediately.
Thermal Tracking
Idler Temperature Logging
Manual or sensor-fed bearing temperature readings on hot-coke sections are logged against a threshold that flags before ignition risk builds.
Wear Monitoring
Belt Cover Thickness Records
Ultrasonic or manual thickness readings at wharf gate impact zones are stored per belt segment, building a wear-rate trend instead of a one-time reading.
Fast Response
Single-Path Failure Alerts
Because most coke reclaim paths have no redundant route, a fault on any chain segment generates a priority work order tied to feed-buffer time remaining.
Why It Matters Downstream
A Coke Feed Gap Doesn't Stay a Conveyor Problem
Wharf reclaim belt down
Stockhouse buffer draws down within hours
Screening line down
Oversize coke backs up into the wharf gates
BF feed belt down
Charging sequence constraint shifts to the furnace itself
Pusher-side jam
6-12 hour recovery cascades across the full battery output
Common Questions
Coke Conveyor Reliability — What Ironmaking Teams Ask
Why do coke conveyors wear out faster than ore or coal belts?+
Coke combines heat, abrasion, and dust in one material. Its irregular, sharp-edged particles cut belt cover rubber faster than rounder ore or coal, while residual quench heat adds thermal stress no other bulk material on the line carries at the same intensity. Tracking cover thickness by segment with
Oxmaint turns that wear pattern into a plan instead of a surprise.
What causes most unplanned stops on the coke wharf reclaim belt?+
Seized idlers under hot coke loads are the leading cause — a stuck roller creates a flat spot that damages the cover, then the carcass, and can generate enough friction heat to start a belt fire. Regular bearing temperature checks on the first belt sections after quench discharge catch this before it becomes a shutdown.
How long can a blast furnace run on stockhouse buffer if a coke feed belt fails?+
Buffer time varies by bin capacity and burn rate, but most integrated furnaces carry only a few hours of coke inventory in the stockhouse bins. Once that buffer draws down, the furnace charging sequence — not the conveyor repair — becomes the actual production constraint.
Why is coke breeze dust considered a higher risk than dust on other plant conveyors?+
Coke breeze accumulates near crushing and screening equipment that sits close to residual process heat, combining fine combustible dust with an active ignition source. Housekeeping checklists built for cooler, less combustible materials routinely underweight this specific combination.
Should the coke conveyor chain be tracked as one asset or five separate belts?+
Tracking it as one connected chain — apron, quench transit, wharf reclaim, screening, and BF feed — makes downstream impact visible the moment a fault appears anywhere in the sequence.
Book a demo to see how battery-to-bin mapping works in practice.
Your Blast Furnace Runs on Five Belts You've Never Tracked as One Chain
Oxmaint connects the pusher-side apron, quench car handoff, wharf reclaim, screening line, and BF stockhouse feed into a single reliability view — so the team feeding your furnace sees the whole chain, not five disconnected assets.