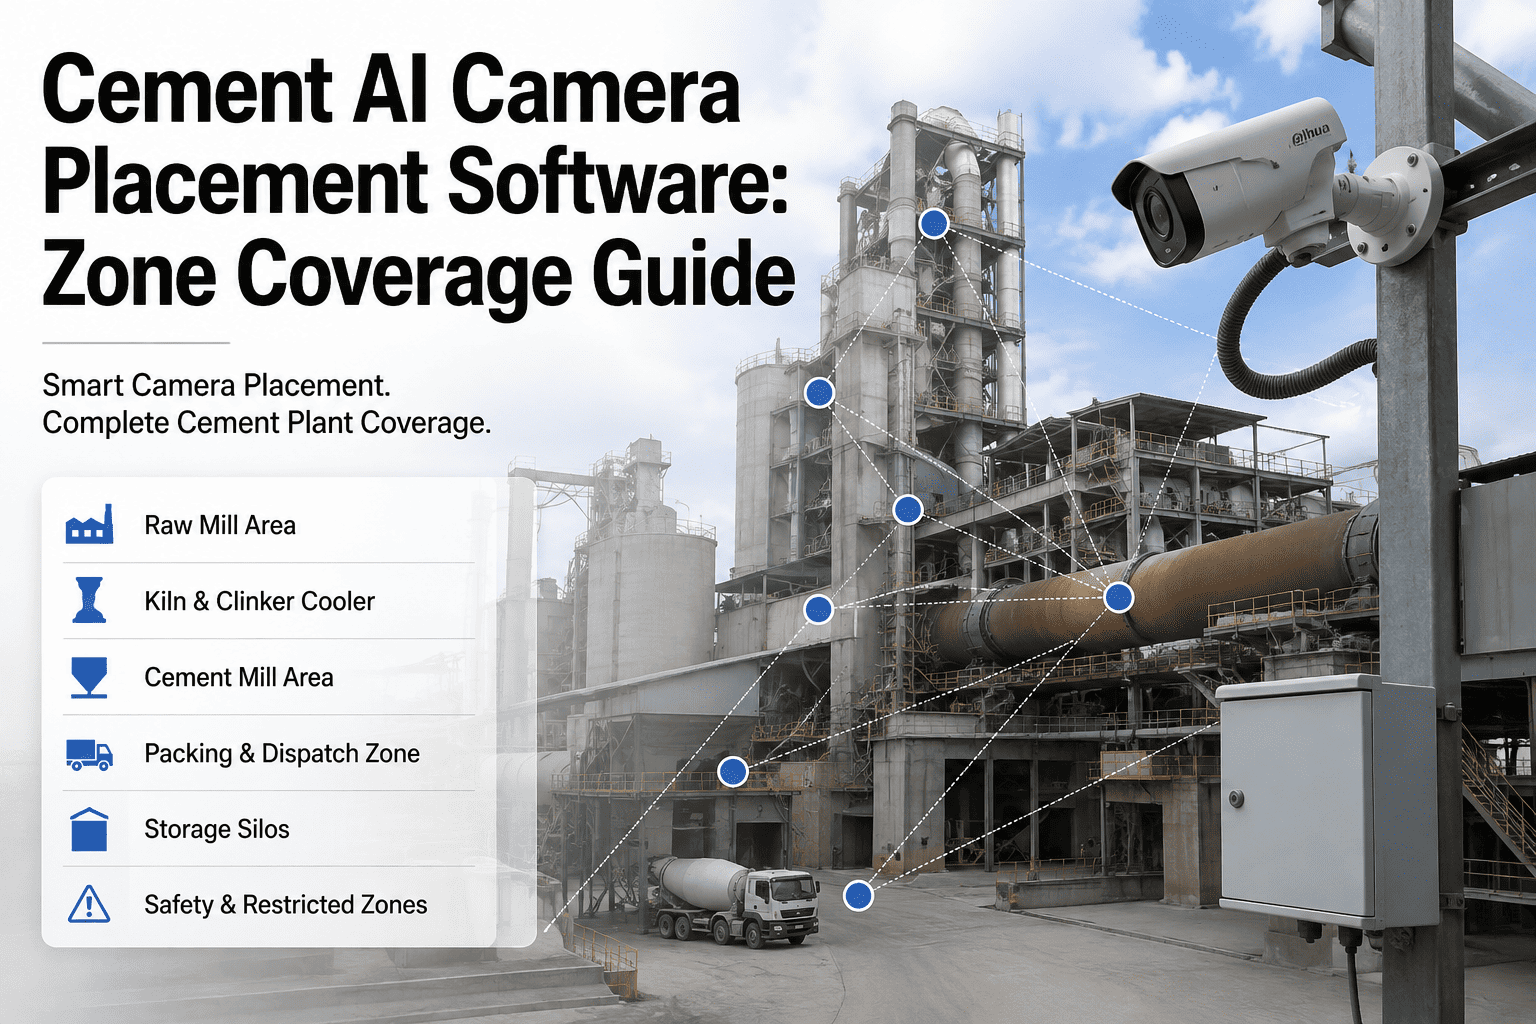
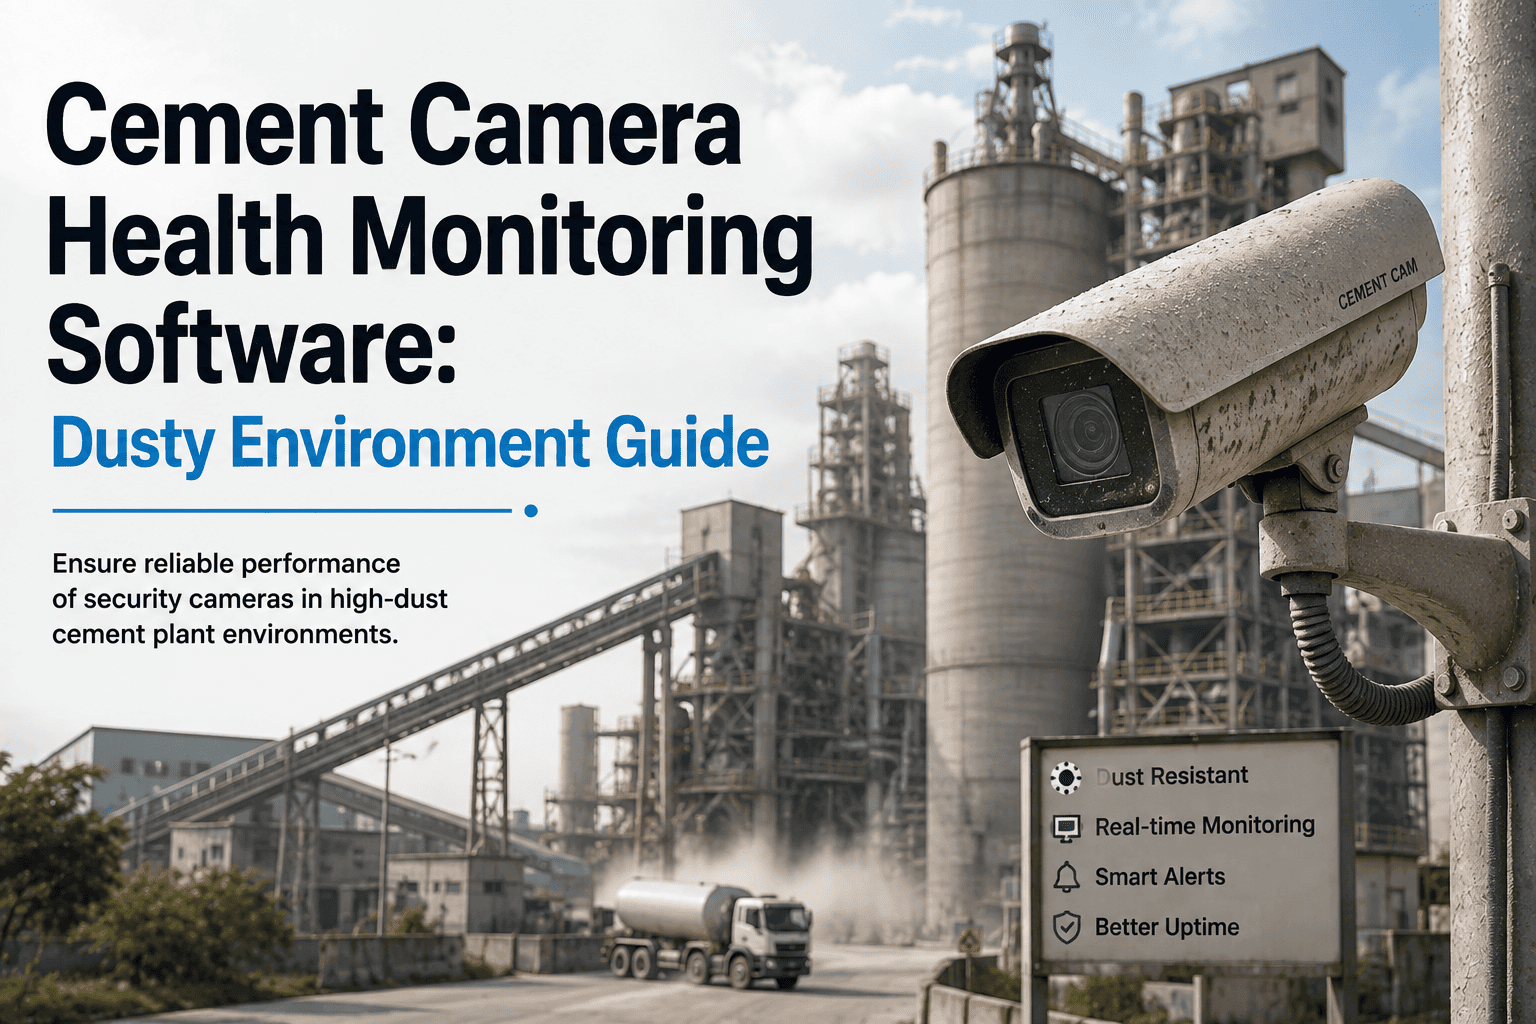
Cement plants that roll out AI cameras without a placement plan end up with blind spots at the exact zones that cause the costliest failures: kiln stack emissions, cooler vent leaks, transfer point spillage, silo overfill, and haul road near misses. Hardware alone does not create coverage discipline — someone still has to decide where every unit points, confirm the field of view at commissioning, and re-check it whenever a conveyor or chute gets modified. Most plants skip that last step, and the gap only surfaces after an incident. Oxmaint ties every AI camera to a zone-level asset record inside the CMMS, so placement decisions, calibration history, and coverage gaps live in one system instead of scattered installation photos. Start your Start Free Trial and map your plant's full AI camera zone coverage this week.
AI CAMERA ZONE COVERAGE
Are your AI cameras actually watching the zones that matter?
Most cement plants place cameras where the mounting is easy, not where the risk is highest. A structured zone coverage plan inside your CMMS turns scattered cameras into a full-plant monitoring network you can actually verify.
5
Core zones every cement plant AI deployment needs to cover before it can be called complete
THE COST OF BLIND SPOTS
Why placement matters more than the camera you buy
Two plants can install the same camera model and end up with completely different outcomes. The difference is whether the mounting angle, height, and lens choice were matched to the zone's actual failure pattern, and whether anyone re-checks that match after the plant changes.
5
Core zones — kiln stack, cooler vent, transfer point, silo, haul road
30%
Typical drop in near-miss incidents after zone-based placement review
48h
How long a coverage gap can go unnoticed without a tracked placement record
3-6mo
Typical payback window for AI cameras once placement is deliberate
WORKED EXAMPLE
A 4,000 TPD plant had 22 AI cameras installed over three years by three different contractors, with no shared placement record. A zone audit inside the CMMS found that the haul road camera covered a section already visible from the weighbridge, while the actual blind curve near the crusher had no coverage at all. Re-mapping cameras to the five core zones closed the gap with only two camera relocations, no new hardware spend.
ZONE COVERAGE CHECKLIST
Six zones every cement plant AI deployment should map first
Each zone below carries a distinct failure pattern, which means each one needs its own mounting height, angle, and detection logic — not a copy of the last camera you installed.
01
Kiln stack
Wide-angle placement above the platform line to catch visible emissions and flame color shifts without glare from the shell.
02
Cooler vent
Angled downward across the vent stack to detect leaks and dust plumes before they spread across the cooler platform.
03
Transfer point
Positioned to see both the chute discharge and belt alignment, since spillage at transfer points usually starts as a belt drift.
04
Silo
Top-mounted view of the fill level and vent, catching overfill risk before it reaches the high-level alarm threshold.
05
Haul road
Positioned at blind curves and intersections rather than open stretches, where near misses actually cluster.
06
Crusher and stockpile
Coverage of the feed hopper and stockpile edge, where bridging and material overflow are the most common triggers.
DEPLOYMENT WORKFLOW
From camera install to verified coverage: a four-step CMMS workflow
Placement is not a one-time install task. Each step below has an exit condition tracked as a work order, so a camera is never marked complete until its coverage is actually confirmed.
Step 1
Zone risk survey
Walk each of the five core zones with maintenance and EHS to identify where incidents and near misses have actually occurred, not where a camera is convenient to mount.
Step 2
Placement and field-of-view test
Mount the camera and log its angle, height, and lens setting against the zone record. Capture a reference image so future audits can confirm nothing has drifted.
Step 3
Calibration and threshold setup
Set detection thresholds specific to the zone's failure pattern, such as dust plume density at cooler vents or belt drift angle at transfer points.
Step 4
Verification and gap closure
Re-walk the zone list quarterly or after any layout change. Any camera whose field of view no longer matches its reference image opens an automatic work order.
| Coverage dimension |
Ad-hoc installation |
CMMS-managed zone coverage |
| Placement decision |
Set by whoever ran the cable, based on convenience |
Set by a documented zone risk survey with defined exit criteria |
| Coverage verification |
Assumed correct after install, rarely re-checked |
Confirmed against a reference image at every quarterly audit |
| Blind spot detection |
Found only after an incident review |
Flagged automatically when a zone falls outside its coverage record |
| Post-change recheck |
No trigger tied to conveyor or chute changes |
Layout changes auto-generate a placement recheck work order |
| Cross-zone reporting |
Each camera reported in isolation |
All five zones rolled into one plant-wide coverage score |
READY TO MAP YOUR ZONES
Stop guessing where your next camera should go.
Deploy Oxmaint's zone coverage workflow in under a week and see your first coverage score within 48 hours.
KEY CAPABILITIES
What a zone coverage CMMS actually tracks for your team
Beyond storing a camera list, the right CMMS turns placement into a living record that updates every time the plant does.
Zone-based asset mapping
Every camera is tied to one of the five core zones, not just a location name, so coverage can be reported zone by zone.
Field-of-view verification
Reference images captured at commissioning are compared against current footage to catch drift before it becomes a gap.
Automated gap alerts
When a zone's coverage record goes stale or a camera's view no longer matches its reference, a work order opens automatically.
Cross-zone incident correlation
Incident logs are matched against zone coverage history, showing whether a gap contributed to the event.
Recalibration triggers
Conveyor, chute, or road layout changes automatically trigger a placement recheck for any camera in that zone.
Multi-plant zone library
Zone definitions and thresholds can be copied across plant lines, so a new site starts from a proven coverage template.
FREQUENTLY ASKED
Cement AI camera placement — your questions answered
Which zones should we cover first if we can only place a few cameras?
Start with kiln stack and transfer points, since these two zones account for the largest share of both safety incidents and material loss. You can
Start Free Trial to build a phased zone plan for the rest.
Do we need to replace existing cameras to use zone-based placement?
No. Most plants keep their existing hardware and simply re-map each unit to a zone record, adjusting angle or height only where the current view misses the actual risk area.
How often should camera placement be re-verified?
Quarterly at minimum, and immediately after any conveyor, chute, or road layout change. The CMMS can trigger this automatically once a change is logged against the zone.
Can zone coverage data be shared across multiple plant lines?
Yes. Zone definitions, thresholds, and reference images can be copied to a new line, so each plant does not start its coverage plan from zero.
How do we prove coverage during a safety audit?
Every zone has a stored reference image, current verification date, and any open gap work orders, giving auditors a single record instead of a hardware inventory.
Book a Demo to see an audit walkthrough.
START MAPPING TODAY
Your cameras should cover the risk, not just the easy mounting points.
Join cement plants that turned scattered camera installs into a verified, zone-by-zone coverage plan using Oxmaint CMMS.
Free 14-day trial · No credit card