Cement cooler grate refractory rarely fails as one unit — it fails zone by zone, and most teams only notice once discharge temperature climbs past 200°C. The hot end zone takes the full force of clinker leaving the kiln at 1,200°C to 1,400°C, while the discharge zone rarely sees more than 300°C, so treating every zone with the same inspection schedule hides the exact spot that is about to breach. A cooler that stops clinker transport can force a kiln shutdown within hours, and undetected zone failures have pushed unplanned repair bills past $500,000 at some plants. OxMaint gives every side wall, bullnose, and grate zone its own condition record instead of one general cooler note. Start a Free Trial workspace mapped to your own cooler's zone layout and see the difference a zone-level record makes.
Which cooler zone will breach threshold first — and do you have a record that can tell you?
Hot end, transition, and discharge zones wear on completely different timelines. A single cooler log flattens that difference; a zone-linked CMMS record shows exactly which side wall, bullnose, or grate row is closest to failure — before red clinker forces a stop.
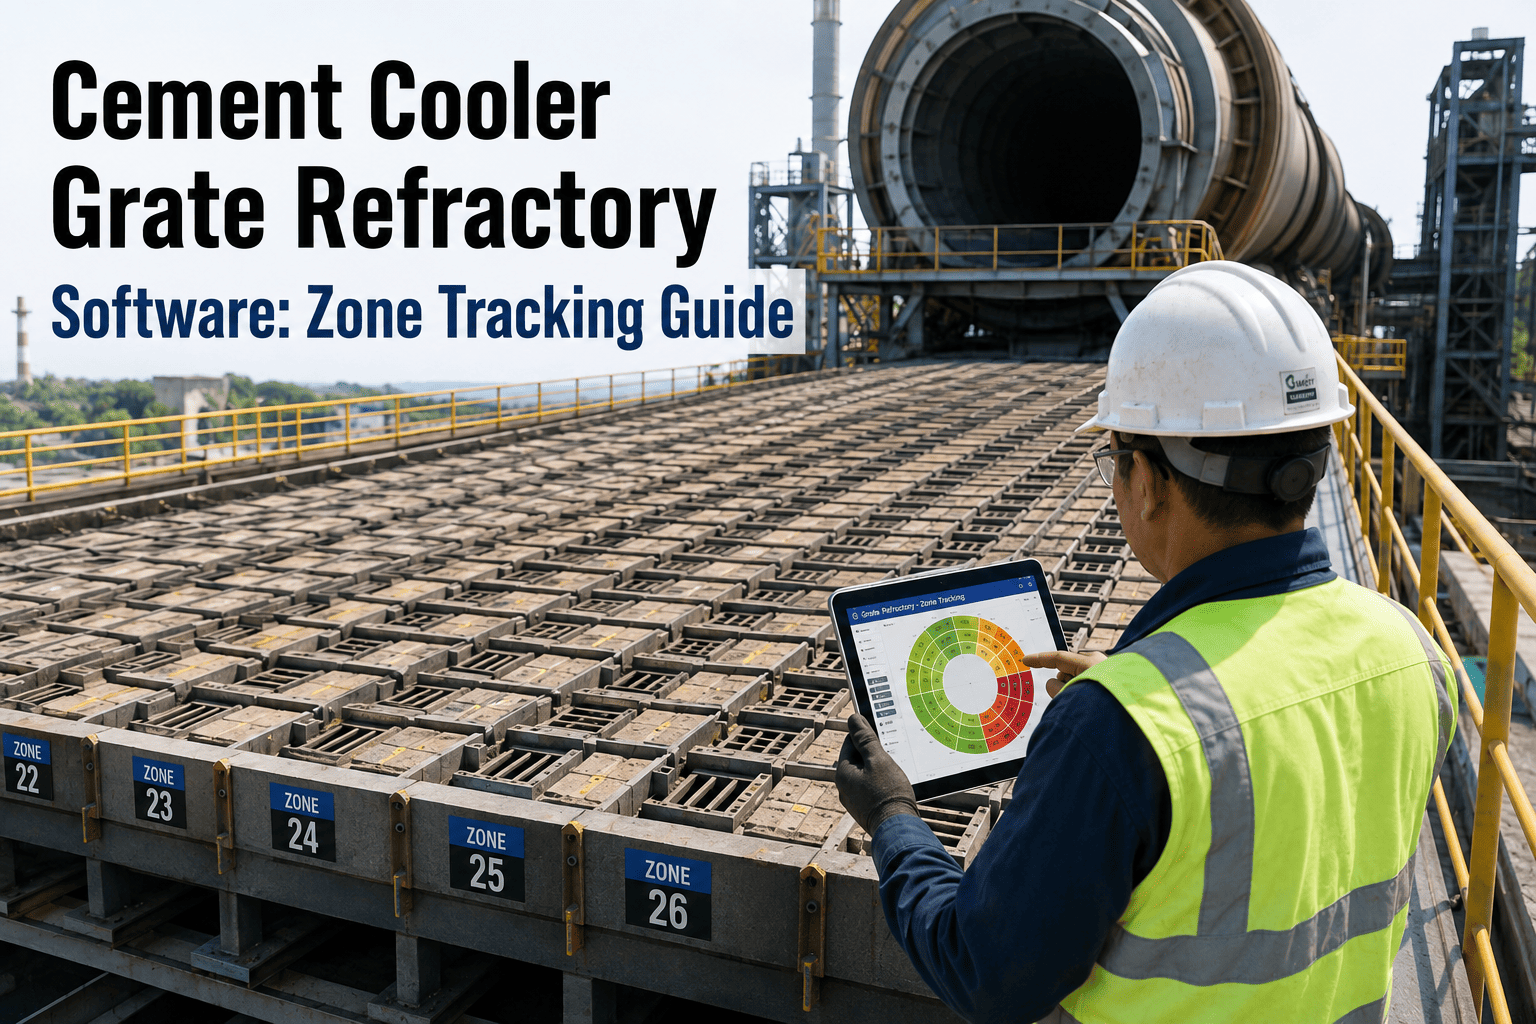
One cooler, three refractory zones, three different clocks
Clinker cooler refractory does not age uniformly along the grate. The hot end absorbs the full thermal shock of clinker leaving the kiln, the transition zone carries moderate but steady wear, and the discharge zone is mostly a mechanical wear problem, not a thermal one. Tracking all three the same way is why one zone's failure always seems to arrive "out of nowhere."
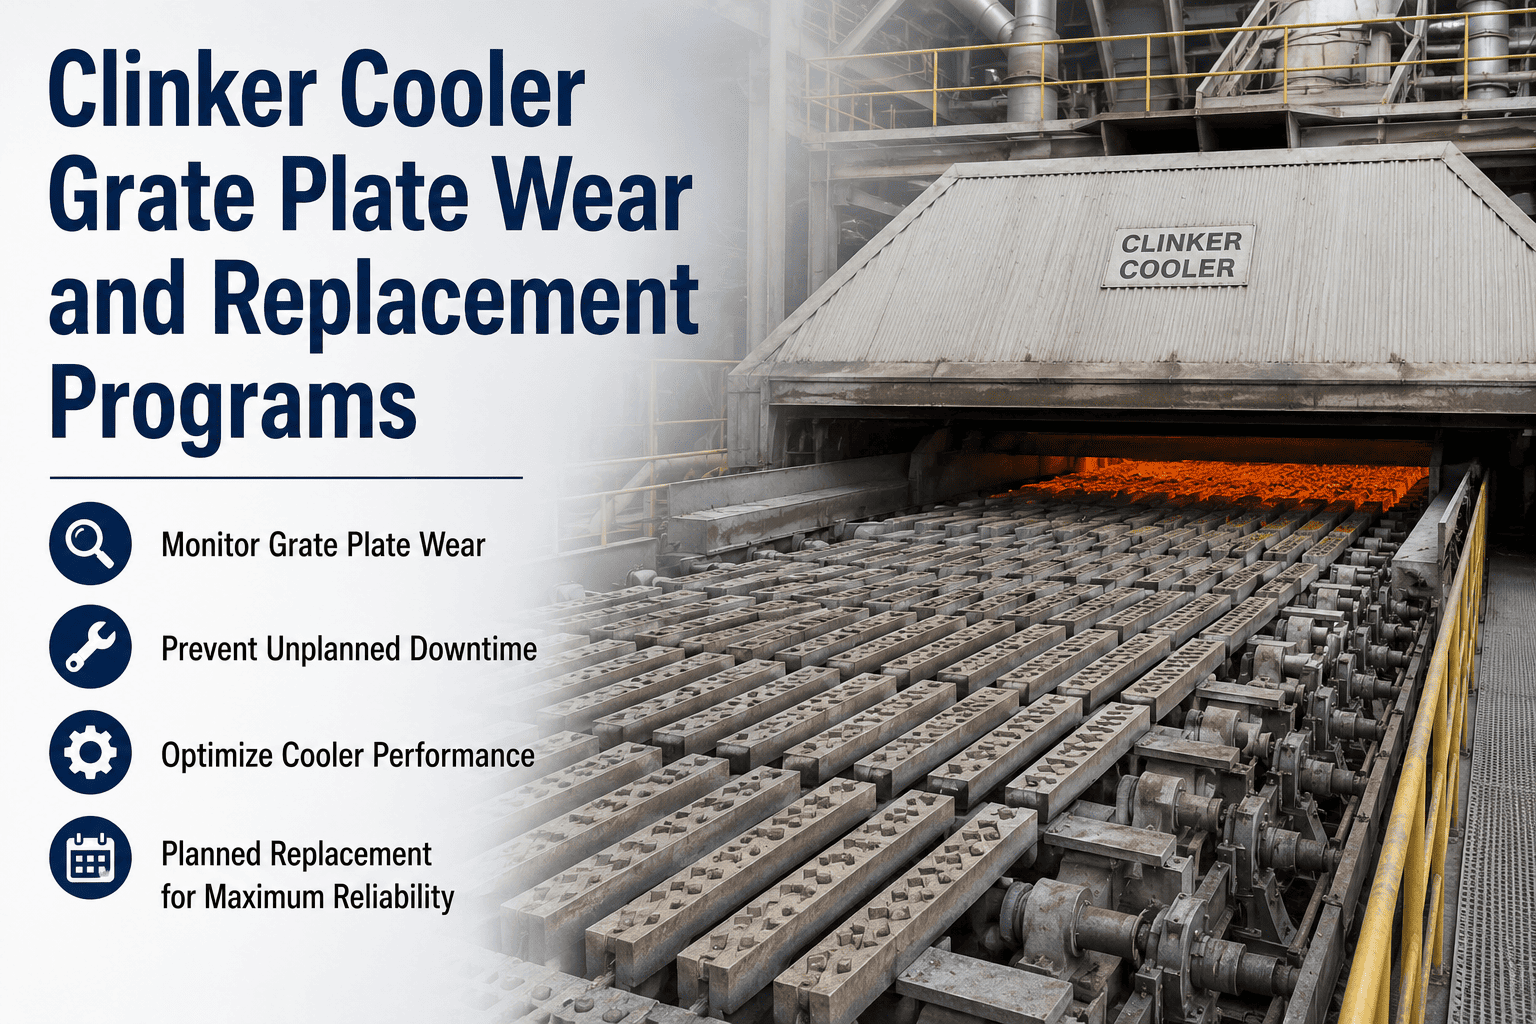
Ultra-low cement castable and bullnose lining absorb the direct impact of clinker leaving the kiln. Grate plates here typically last 12–24 months. A breakthrough exposes the steel casing and can force a kiln stop within hours.
Medium-duty castable and moderate-abrasion lining see steady, predictable wear. Uneven wear in this zone is usually a symptom of bed-depth or airflow problems further upstream, not a local defect.
Thermal risk is low here, but grate plates still run 36–48 months against constant mechanical abrasion. Enlarged slot openings let fines fall through and spill into the under-grate compartment.
Four ways a cooler zone actually fails
Almost every unplanned cooler stop traces back to one of these four patterns. Knowing which zone each one belongs to is what turns a mystery shutdown into a scheduled repair.
Uneven clinker distribution, broken plates, or a shallow bed let hot clinker bypass the cooling bed entirely, discharging at 200–400°C instead of under 65°C and cutting heat recovery by up to 30%.
Worn plates enlarge their slot openings, so clinker fines fall through into the under-grate compartment and block the airflow distribution the rest of the bed depends on.
Once castable refractory thins past its safety margin, the steel casing behind it is exposed directly to clinker temperature — often forcing an immediate kiln stop.
A pressure or flow drop in the grate's hydraulic drive stops clinker transport outright, backing hot clinker up into the kiln discharge within hours.
Give every cooler zone its own record, not a shared note
Map your side walls, bullnose lining, and grate rows as individual assets and start scoring wear zone by zone from the very next shutdown.
From shutdown notes to a zone-by-zone replacement list
Zone tracking is a sequence: map, log, score, act. Each step feeds directly into the next one, so a reading taken on the shop floor ends up as a prioritized part of your next shutdown plan without anyone re-typing it.
Side wall castable, bullnose lining, roof sections, and grate rows are entered separately, each with install date, material grade, and expected life.
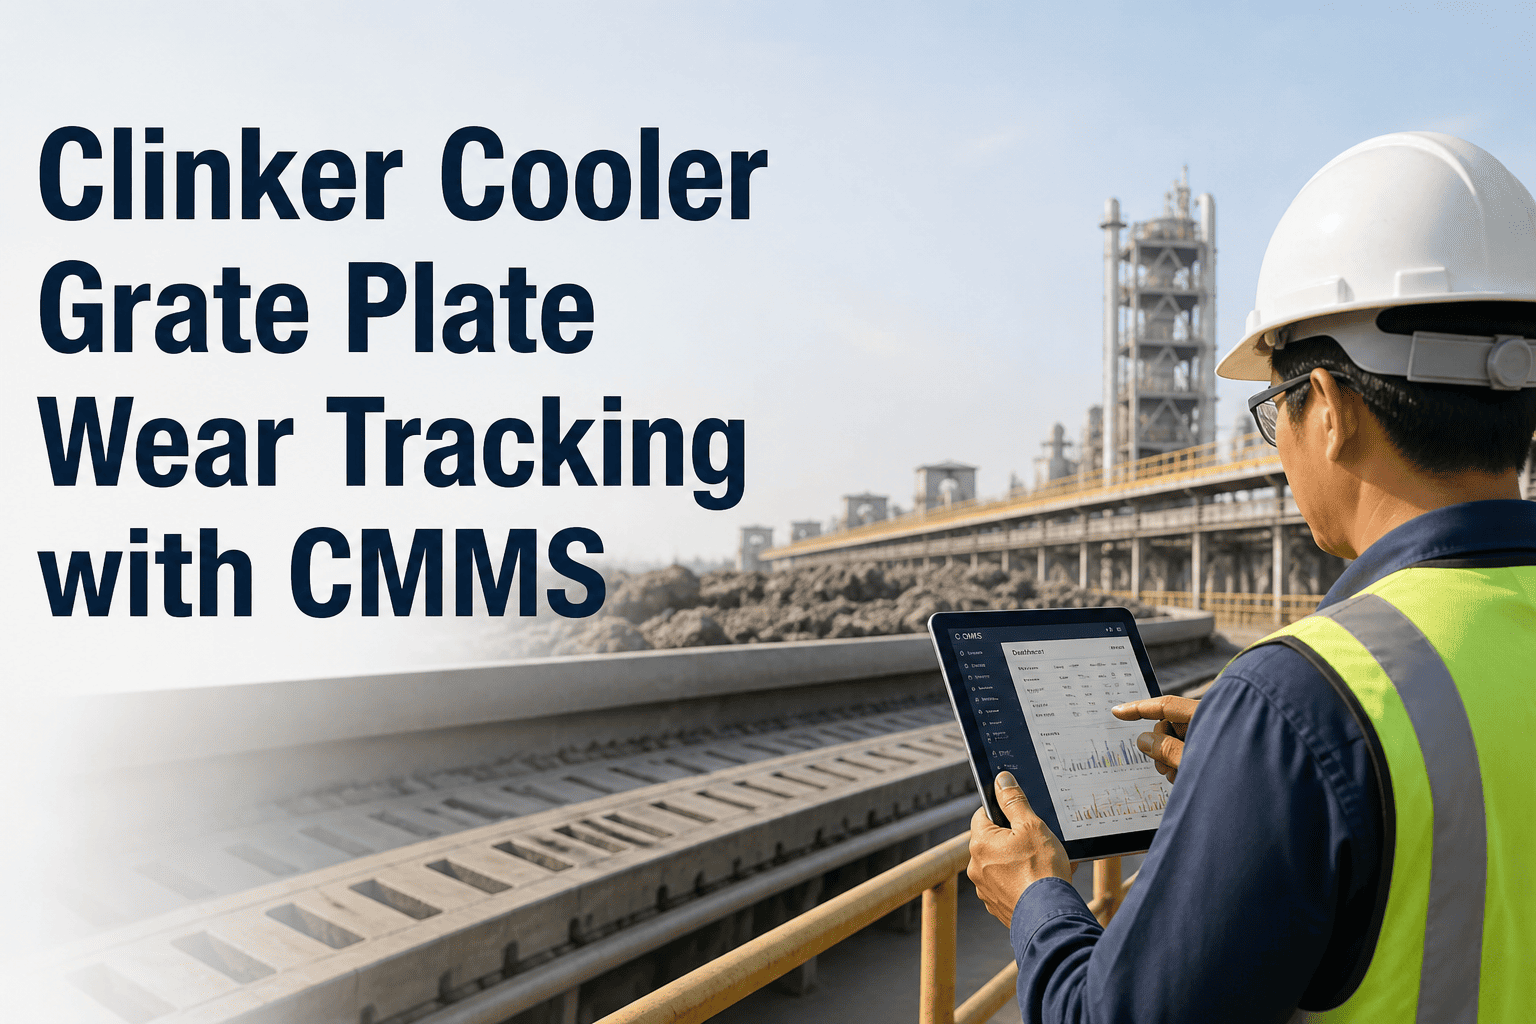
Thickness readings, photos, and wear notes taken at shutdown attach directly to that zone's record instead of a general cooler comment.
Each zone carries its own wear score, so planners can see at a glance which one is closest to the replacement threshold.
A zone crossing threshold auto-generates a work order and reserves the matching brick, castable, or plate grade in inventory.
By the time the next planned stop is scheduled, the refractory and grate replacement list is already ranked zone by zone.
What a zone record actually holds
A zone in OxMaint is not just a label on a map — it is a running record that grows with every shutdown and every reading. Six fields carry the weight of the whole system.
- Material grade and installation date for that zone's lining or plates
- Thickness or wear readings logged at every shutdown inspection
- Photos and free-text wear notes tied to that exact position
- A rolling condition score, 0 to 100, with trend history over time
- A linked spare part reservation once the score nears threshold
- An assigned work order and target shutdown window
What zone tracking actually changes
The gap between a paper cooler log and a zone-linked CMMS record shows up most clearly in how early a problem is caught — and what it costs by the time it is.
| Tracking Factor | Shared Cooler Log | Zone-Linked CMMS |
|---|---|---|
| Wear visibility | Only checked at shutdown, every 6–12 months | Continuous condition score per zone |
| Spare parts | Ordered reactively after a failure | Reserved automatically at threshold breach |
| Detection timing | Usually after red clinker or breakthrough | Weeks before the zone's own threshold |
| Unplanned stop cost | $80K – $500K per event | Largely avoided with scheduled replacement |
| Shutdown list | Built manually before each stop | Pre-built and ranked by zone score |
One plant, three zones, one avoided shutdown
We used to get one cooler report at shutdown covering the whole grate. Once we split it into hot end, transition, and discharge zones, the hot end sidewall showed up at 80% wear score three weeks before the next planned stop. We reserved the castable, scheduled the patch during the stop we already had, and never touched an emergency crew.
Manual checks catch less than most teams assume
The inspection method behind a zone's condition score matters as much as the record itself. Manual visual checks and sensor-based methods see very different pictures of the same zone.
- Only possible once the cooler is cold, typically every 6 to 12 months
- Residual heat above 1,000°C at the hot end can delay a thorough check for hours
- Clinker buildup can hide plate wear happening underneath it
- Dust and confined access limit how much of a zone a person can actually see
- Thermal imaging can survey zones during brief operational pauses, not just shutdowns
- Multi-spectrum imaging reveals wear patterns hidden beneath clinker deposits
- Readings feed straight into the zone's CMMS record instead of a separate report
- Continuous pressure and discharge temperature trending flags drift between physical checks
Cement cooler grate refractory tracking — answered
Kiln refractory wears along one rotating shell in a fairly continuous gradient. Cooler refractory sits across three distinct zones with very different temperatures and wear rates, so each zone needs its own record rather than one shared condition score. See a live example on a Book a Demo call.
Hot end sidewall and bullnose lining warrant a check at every shutdown given the thermal load they absorb. Transition and discharge zones can typically follow a longer interval unless their condition score trends downward faster than expected.
A work order fires the moment a zone's condition score crosses its set threshold, and it arrives pre-attached with the zone's inspection history, photos, and the recommended castable or plate grade for that specific position.
Yes — a zone record can hold both the lining and the grate plates that sit within it, since they are typically inspected together during the same shutdown window and often replaced on related schedules.
Most plants map their zones and load the first inspection history within three weeks. Start with a Start Free Trial workspace pre-built around a standard cooler zone layout.
Give your hot end, transition, and discharge zones the record they actually need
Map your cooler's real zone layout, attach every shutdown reading to the right zone, and let threshold-based work orders build your next shutdown list for you.