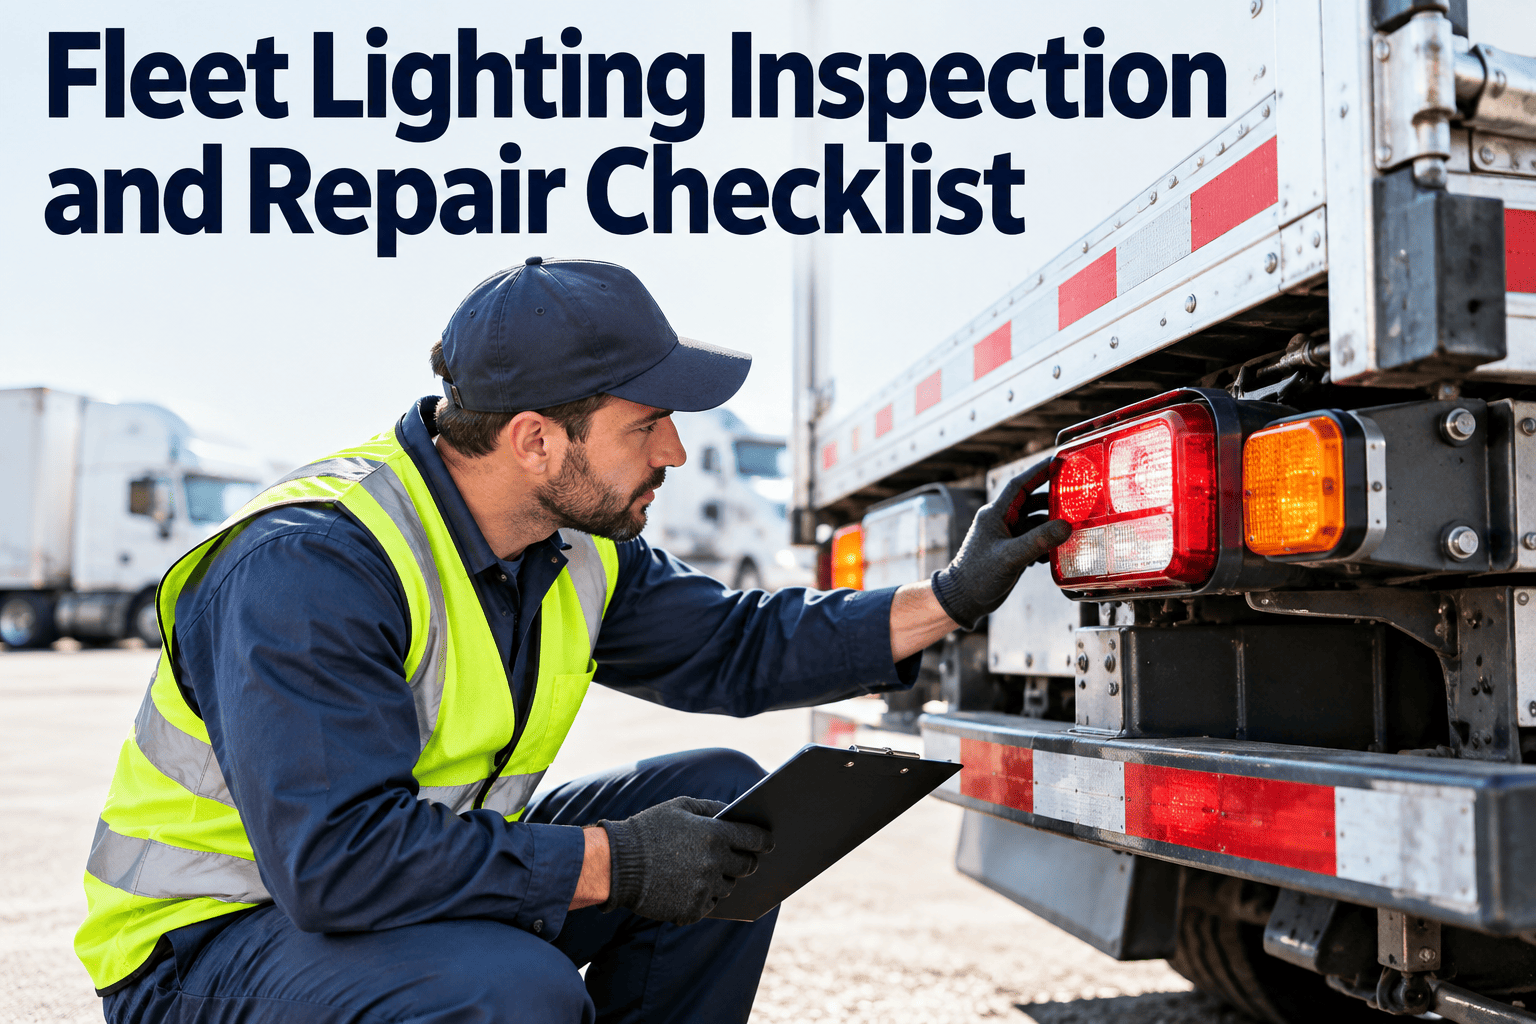
Lighting is the simplest system on a commercial vehicle to check and one of the most frequently cited at roadside inspections. A single corroded ground, a chafed harness or a cracked lens can knock out a stop lamp or marker circuit, and the driver often does not know until an inspector or a following vehicle notices. For fleet teams, the problem is rarely finding a failed bulb; it is catching intermittent faults, repairing the real cause and proving the work was done. This fleet lighting inspection and repair checklist walks through pre-trip checks, diagnosis, repair standards and records, and shows how to manage the full cycle in Oxmaint fleet maintenance software.
Fleet Lighting Inspection and Repair Checklist
A walkaround inspection route, a symptom-based repair guide and a record trail for every lamp, harness and connector on your trucks, trailers and service vehicles, so lighting defects are fixed at the source and never reach a roadside report.
How One Failed Lamp Turns Into a Fleet Problem
Lighting defects are cheap to fix in the yard and expensive to discover on the road. The cost builds step by step once a defective vehicle leaves the gate.
Required Lamps and Reflectors at a Glance
Lighting on U.S. commercial vehicles is governed by FMVSS 108 for manufacturers and 49 CFR Part 393 Subpart B for motor carriers. Exact requirements depend on vehicle type, width and build date, so confirm against the regulation for each asset class.
| Lamp or device | Color | Where it goes | Typical failure to check |
|---|---|---|---|
| Headlamps (low and high beam) | White | Front | Failed beam, poor aim, hazed or cracked lens |
| Front turn signals | Amber | Front, both sides | Wrong flash rate, poor ground |
| Front clearance and identification lamps | Amber | Front top; identification lamps on vehicles 80 inches or wider | Water ingress, broken housing from branches or wash bays |
| Side marker lamps and reflectors | Amber front and intermediate, red rear | Along both sides | Corroded pigtails, lens damage, missing reflectors |
| Tail lamps | Red | Rear | Failed circuit, often shared ground issues |
| Stop lamps | Red | Rear | Dim output, intermittent operation |
| Rear turn signals | Red or amber | Rear, both sides | Hyperflash after LED retrofit, cross-wiring |
| Rear clearance and identification lamps | Red | Rear top | Vibration damage, broken mounts |
| License plate lamp | White | Rear plate | Often overlooked, corroded socket |
| Backup lamp | White | Rear | Switch or circuit fault |
| Retroreflective sheeting | Red and white | Trailer sides and rear, per 393.11 | Peeling, fading, covered by dirt or labels |
The Walkaround Lighting Inspection Route
Following the same route every time means no lamp is skipped. Turn on headlamps, markers and hazards before leaving the cab, and use a helper or a trailer tester for stop and turn checks.
In the cab
- Dash warning lamps and indicators work, including high-beam and turn indicators
- Turn indicator flashes at a normal rate; fast flashing points to a failed lamp on that side
- Headlamps, markers and hazard flashers switched on for the walkaround
- Previous DVIR reviewed and any lighting defect confirmed repaired under 49 CFR 396.13
Front of vehicle
- Low and high beams both work on both sides
- Headlamp lenses clean, uncracked and not hazed enough to reduce output
- Amber clearance and identification lamps lit and securely mounted
- Front turn signals and hazards flashing on both sides
Driver side
- All side marker lamps lit, lenses intact and correct color
- Side reflectors present and clean
- Visible harness runs clipped, not hanging, rubbing or melted near exhaust
- Retroreflective sheeting on trailer side intact and unobstructed
Coupling area
- Seven-way connector fully seated with the latch or spring cover holding it in place
- No green or white corrosion, bent pins or burnt contacts at plug and socket
- Electrical line supported and not dragging or pinched at the deck plate
- Cable long enough for turns without pulling on the socket
Rear of vehicle
- Tail lamps lit on both sides
- Stop lamps bright and working together with the brake applied
- Rear turn signals and hazards flashing correctly
- Rear clearance, identification and license plate lamps lit
- Rear reflectors and sheeting in place; backup lamp works where fitted
Passenger side
- Repeat the side marker, reflector and sheeting checks
- Look for lamps glowing faintly when they should be off, a sign of a poor ground
- Check junction boxes and nosebox covers are closed and undamaged
Record the result
- Record pass or each defect on the DVIR with the lamp location
- Photograph damaged lamps, lenses or connectors
- Do not dispatch with a defect that affects safe operation until it is repaired
Put the Lighting Route on Every Driver's Phone
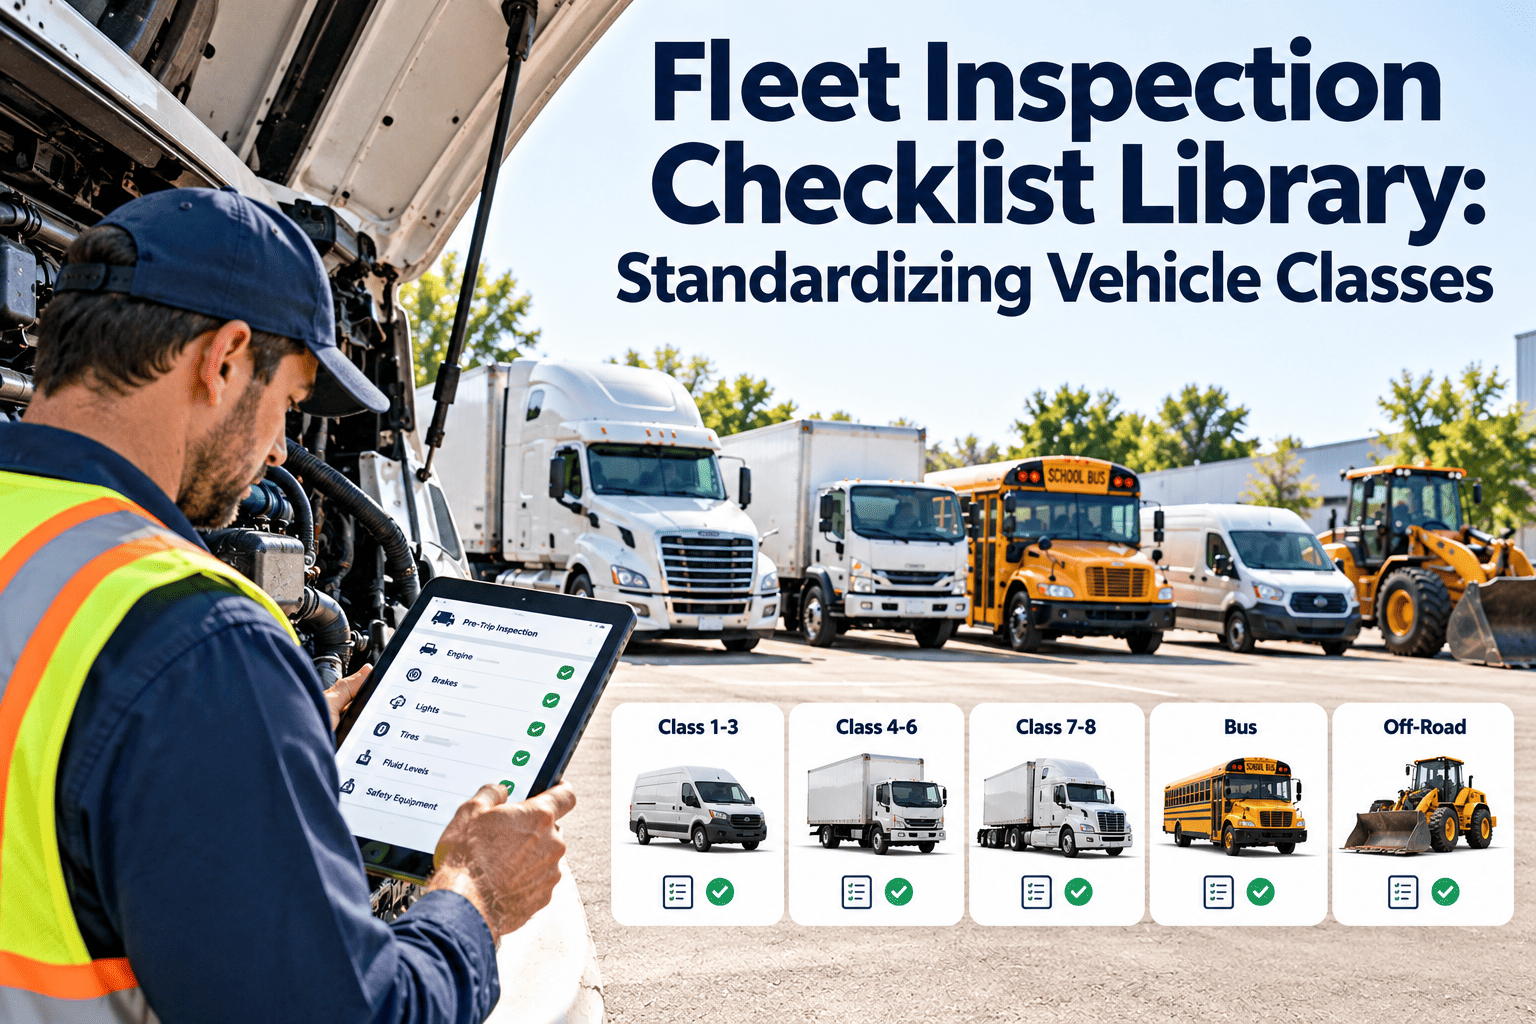
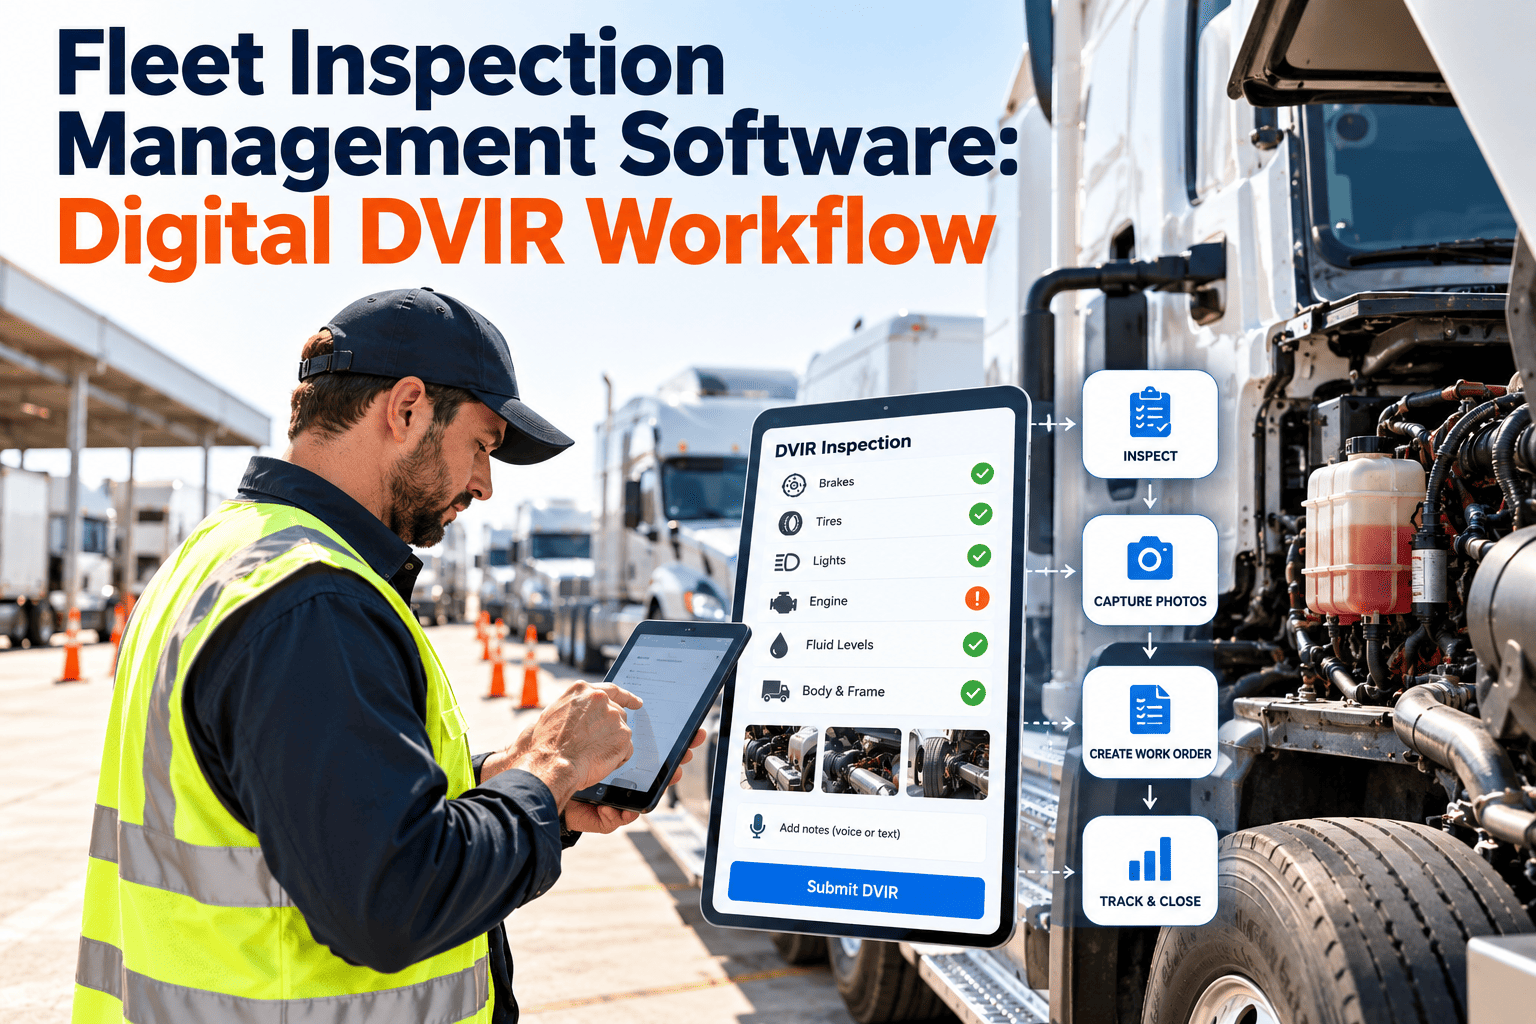
Build this walkaround as a mobile inspection in Oxmaint, capture photos of each defect and turn failed items into repair work orders before the vehicle is dispatched.
Where Lighting Faults Actually Start
A lamp that is out is a symptom. The fault can sit anywhere between the lamp and the tractor's electrical system, and replacing the lamp only fixes the first layer.
Symptom-Based Lighting Repair Guide
Diagnose by symptom rather than swapping parts. Test with a meter or a trailer circuit tester under load, since a circuit can show voltage with no load and still fail when the lamp draws current.
One lamp out
Whole circuit out on trailer
Dim or flickering lamps
Lamps glow or backfeed
Turn signals flash fast
Works in the shop, fails on the road
Repair Standards: What Good Lighting Work Looks Like
Most repeat lighting defects come from the previous repair. Set a written standard so every technician repairs harnesses the same way.
Do
- Use sealed, heat-shrink butt connectors on every splice
- Replace corroded pigtails and grommets rather than cleaning them back into service
- Fit replacement lamps marked as DOT-compliant for the correct function and color
- Protect connectors with dielectric grease where the connector maker recommends it
- Secure harnesses with clips away from sharp edges, exhaust and moving parts
- Verify the repair by operating every circuit, not only the one that failed
Avoid
- Piercing wire insulation with test probes, which lets moisture enter the copper
- Twist-and-tape splices or non-sealed crimp connectors
- Mixing lamp mounting styles that leave housings loose
- Leaving cracked lenses in service because the lamp still lights
- Replacing a lamp without checking why it failed
- Closing a repair without recording what was replaced and where
Lighting Maintenance Across the Vehicle's Schedule
Pre-trip checks catch failures. Scheduled maintenance prevents them. Build lighting into every level of your preventive maintenance program.
Incandescent Versus LED Fleet Lighting
Many fleets are moving to LED lamps. They change how lighting fails and how it should be maintained.
| Factor | Incandescent | LED |
|---|---|---|
| Typical failure | Filament breaks from vibration or age | Usually the wiring, connector or seal rather than the LED itself |
| Current draw | Higher, adding load on circuits and connectors | Lower, which reduces heat at pins |
| Sensitivity to voltage drop | Dims gradually | Can flicker or cut out when voltage falls too low |
| Repair approach | Replace bulb, then check socket | Usually replace the sealed lamp; focus on connection quality |
| Flasher compatibility | Works with load-sensing flashers | May need an LED-compatible flasher |
| Maintenance focus | Bulb stock and socket corrosion | Connectors, grounds and harness sealing |
Lighting Records That Stand Up to Review
A lighting repair that is not documented is hard to prove during a compliance review, a customer audit or a crash investigation. Keep these records for every vehicle, and confirm current retention periods in the regulations.
- Driver vehicle inspection reports
- Post-trip DVIRs listing any lighting defect, with the certification of repair. Under 49 CFR 396.11, carriers retain the DVIR and repair certification for three months.
- Repair work orders
- What failed, where on the vehicle, the root cause found, parts replaced, the technician and the circuit test result after repair.
- Periodic inspection reports
- Annual inspection reports covering lighting devices; 49 CFR 396.21 requires the report to be retained for 14 months.
- Roadside inspection results
- Any lighting violation noted at roadside, linked to the vehicle and to the corrective work order that closed it.
- Photo evidence
- Before and after photos of damaged lamps, connectors and harness sections, which help technicians and support audits.
Lighting KPIs Every Fleet Should Track
These measures show whether defects are being found early and fixed permanently. Use your own history as the baseline.
Managing Lighting Defects in Oxmaint
Oxmaint is a maintenance-first CMMS. It connects the driver's inspection to the technician's repair and the manager's reports in one record.
Frequently Asked Questions
What should a fleet lighting inspection checklist include?
Every required lamp and reflector, turn signal flash rate, stop lamp operation, lens condition, harness routing, the seven-way connector and retroreflective sheeting, plus a record of each defect on the DVIR.
Which regulations cover commercial vehicle lighting?
FMVSS 108 sets manufacturer requirements, and 49 CFR Part 393 Subpart B covers what carriers must maintain. DVIR and defect repair rules are in 49 CFR 396.11 and 396.13.
Why do lighting defects keep coming back on the same vehicle?
The lamp is often replaced while the real cause, such as a corroded ground, chafed harness or poor splice, stays in place. Tracking repeat defects by vehicle shows where to look.
Do LED lamps remove the need for lighting inspections?
No. LED lamps last longer, but wiring, grounds, connectors and lenses still fail. Inspections should continue every trip and at every PM service.
How can a CMMS help with lighting repairs?
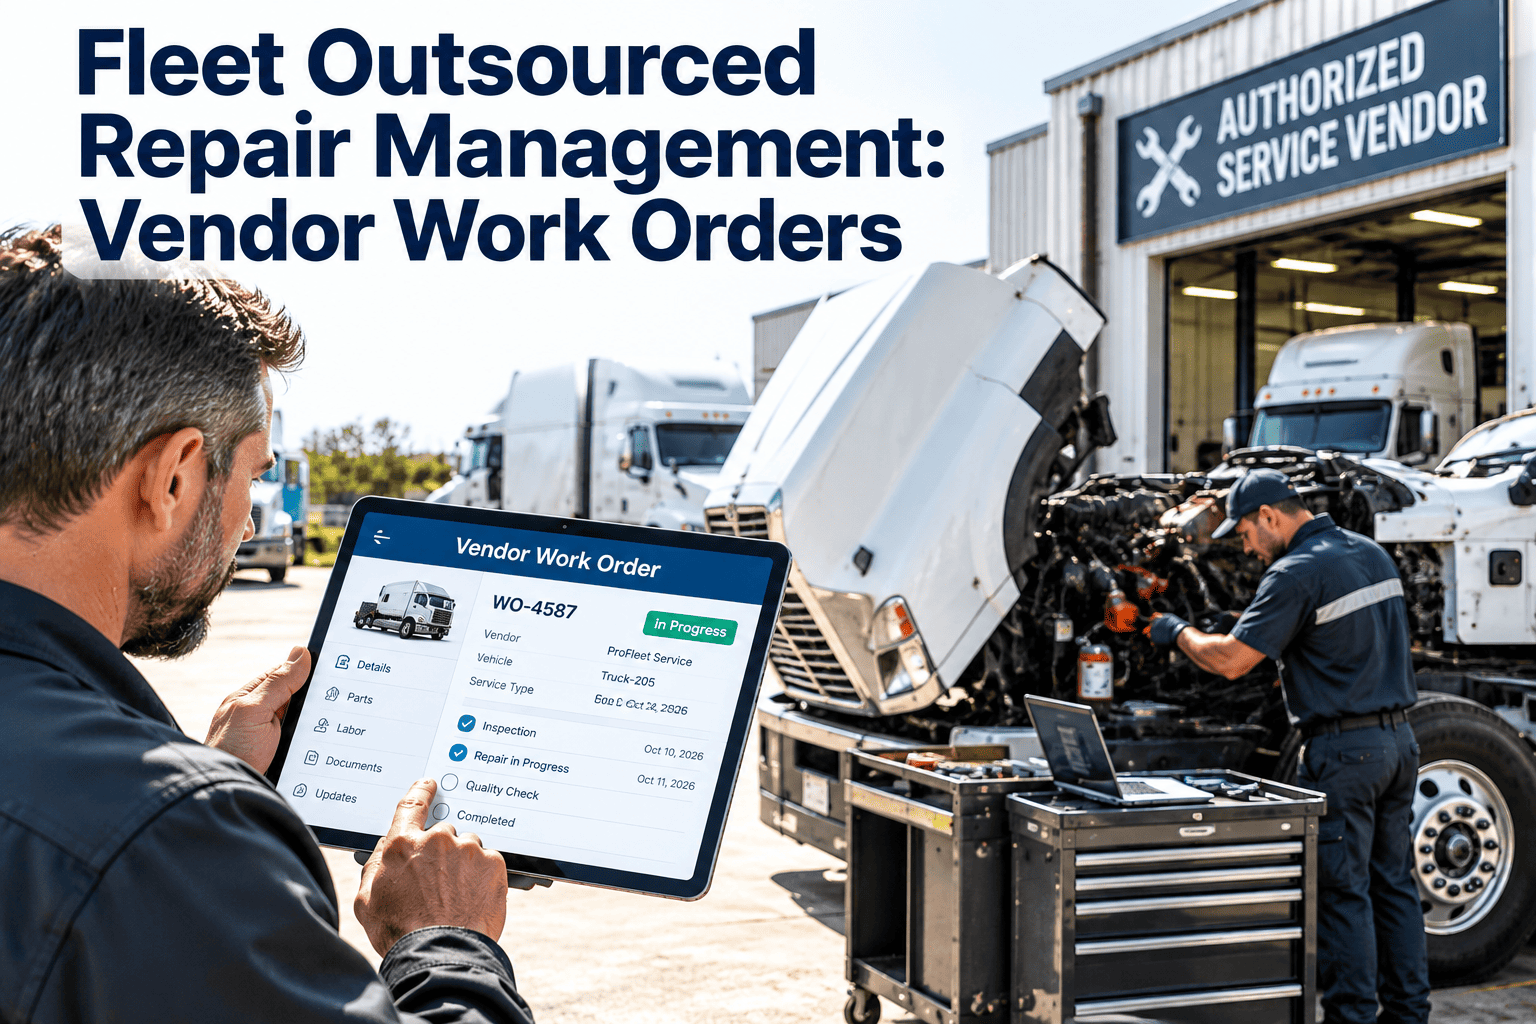
It turns inspection defects into work orders, tracks parts and keeps repair history per vehicle. Book a demo to see the workflow, or sign up for Oxmaint to try it.
Fix Lighting Defects Once and Prove It Every Time
Give drivers a clear lighting route, give technicians a repair standard and give managers the records to back it up. Run your fleet lighting inspection and repair checklist in Oxmaint.