Fleet oil changes and lubrication service are the foundation of commercial vehicle preventive maintenance — yet most fleets still track service intervals through spreadsheets, paper forms, or disconnected shop records that create gaps between what was performed, what was documented, and what the asset history actually shows. A missed oil change interval, an undocumented filter replacement, or an unrecorded torque spec on a drain plug can accelerate engine wear, void warranty coverage, and create audit exposure when a maintenance history is reviewed after a breakdown or liability event. Oxmaint connects multi-point lube service records directly to vehicle asset profiles — so every oil grade used, every filter replaced, every mileage trigger met, and every torque spec verified is logged against the vehicle VIN with technician attribution and timestamp. Sign Up Free to configure your fleet lube service workflow or Book a Demo to see how Oxmaint tracks oil change intervals and multi-point lubrication records across your entire fleet.
GET STARTED TODAY
Track Every Fleet Oil Change & Lube Service in One System
Connect oil grade records, filter replacements, mileage triggers, and technician sign-offs into one auditable asset history — from first service to fleet retirement.
CMMS · PREVENTIVE MAINTENANCE · LUBRICATION · FLEET SERVICE RECORDS
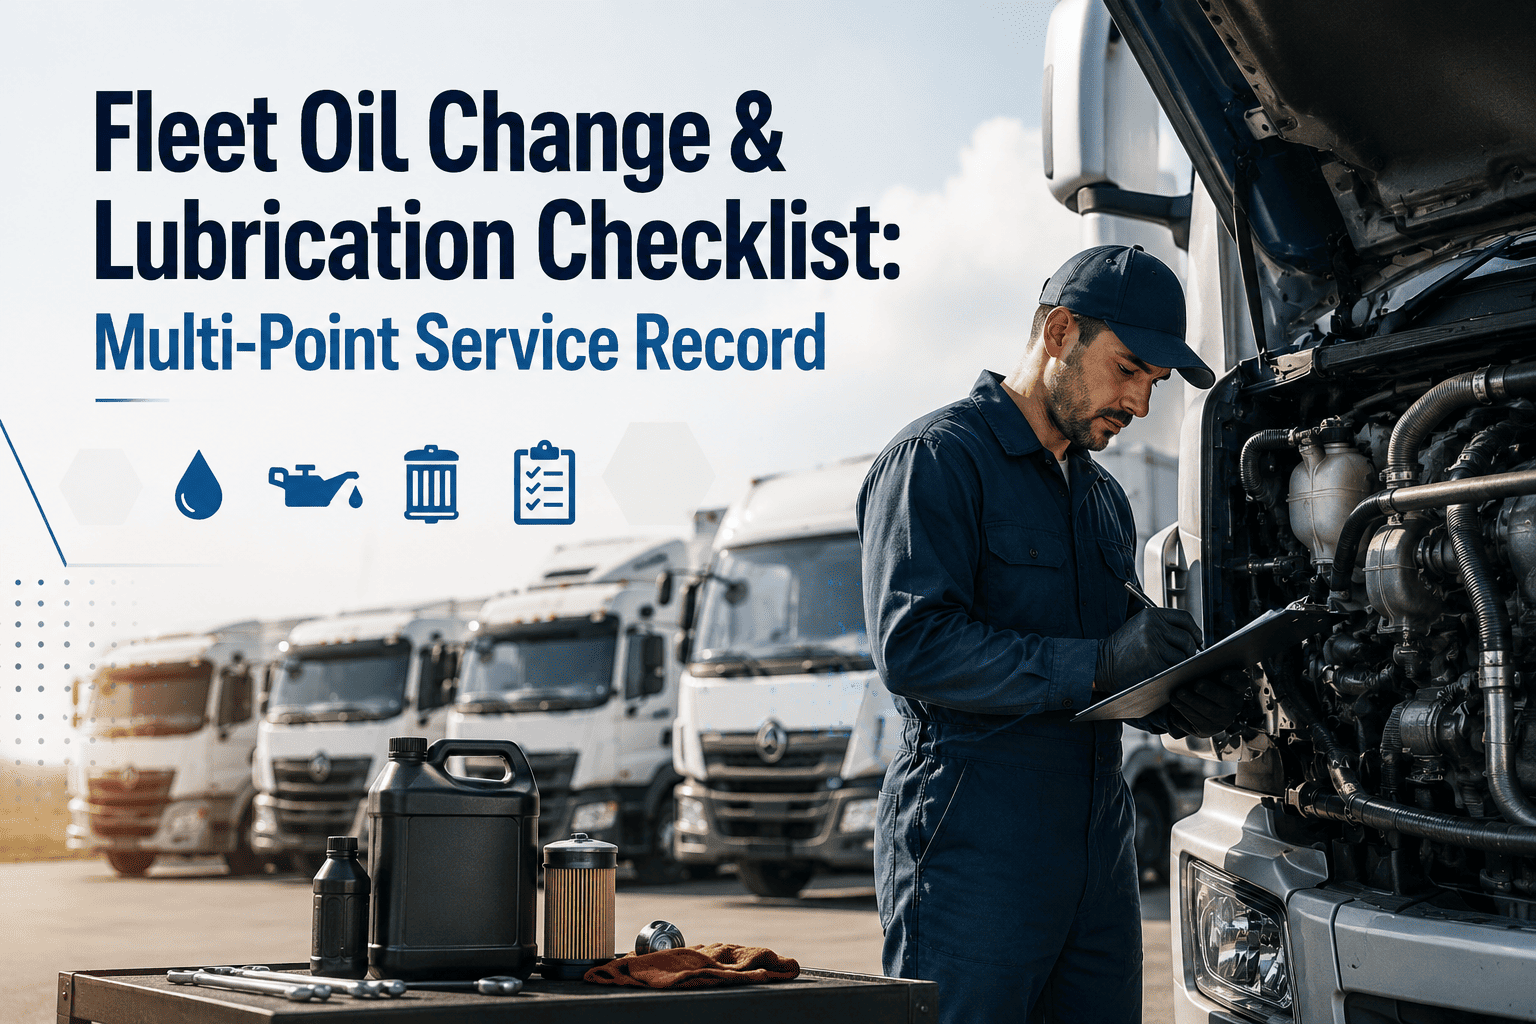
Fleet Oil Change & Lubrication Checklist: Multi-Point Service Record
This checklist covers every step of a complete fleet oil change and lubrication service — from pre-service verification through post-service documentation. Each item maps to an Oxmaint work order workflow, ensuring every lube service is fully recorded, interval-triggered, and linked to the vehicle asset history.
Phase 1: Pre-Service Verification
Confirm Service Interval Trigger — Mileage or Time
Verify the oil change is due based on OEM-specified mileage interval or elapsed time since last service, whichever comes first. In Oxmaint, PM triggers are configured per vehicle asset — automatically generating a work order when the threshold is reached. Check the open work order against the vehicle's odometer reading before beginning service.
Pull Vehicle Service History & OEM Oil Specification
Review the vehicle's Oxmaint asset profile for prior oil service records, any noted concerns from the previous technician, and the OEM-specified oil grade (viscosity, API classification, and approved specification). Using the wrong oil type in a commercial engine — particularly in newer emissions-controlled diesels — can damage the DPF and void warranty coverage.
Verify Replacement Parts — Filter Part Number & Oil Quantity
Confirm the correct oil filter part number, oil quantity (in quarts or liters), and any secondary filters (bypass, fuel, air) required for the service. Cross-reference part numbers against the vehicle VIN and mileage. Record parts staged in the Oxmaint work order before service begins — creating an auditable parts consumption record tied to the asset.
Inspect Current Oil Condition — Color, Consistency & Contamination
Before draining, pull the dipstick and note oil color, viscosity, and any signs of coolant contamination (milky appearance) or fuel dilution (thin, low viscosity). Abnormal oil condition should be flagged in the Oxmaint work order as a finding — triggering a follow-up inspection work order for the underlying cause rather than simply completing the oil change.
Phase 2: Oil Drain & Filter Replacement
Drain Engine Oil — Verify Complete Drain & Inspect Drain Plug Condition
Allow oil to drain fully with the engine at operating temperature. Inspect the drain plug threads and sealing surface for wear, stripping, or damage. Replace the drain plug washer or gasket per OEM specification. Do not reuse a deformed crush washer. Note any metal particles in drained oil and document as a finding in the Oxmaint work order with a photo attachment.
Install Drain Plug to OEM Torque Specification
Reinstall the drain plug and torque to OEM specification using a calibrated torque wrench. Over-torquing is a leading cause of stripped drain plug threads in aluminum sumps. Record torque spec applied in the Oxmaint work order — providing documentation that the correct procedure was followed, which is relevant for warranty claims and post-failure investigations.
Replace Oil Filter — Verify Anti-Drainback Valve & Gasket Seating
Remove and discard the old oil filter. Lightly pre-lubricate the new filter gasket with fresh oil before installation. Tighten to OEM spec (typically hand-tight plus a specified fraction of a turn). For cartridge filters, confirm the anti-drainback valve and O-ring are correctly seated. Record filter part number and installation confirmation in the Oxmaint service record.
Check & Service Secondary Filters — Fuel & Hydraulic (If Applicable)
On heavy commercial vehicles, confirm whether the fuel filter, hydraulic filter, or transmission filter is due for replacement on this service interval. Cross-check the PM schedule in Oxmaint for co-incident service items. Replacing secondary filters on a shared interval reduces vehicle downtime and consolidates service documentation into a single work order record.
Phase 3: Oil Fill & Multi-Point Lubrication
Fill Engine Oil to OEM Specification — Record Grade, API Spec & Quantity
Fill with OEM-specified oil grade and quantity. Do not mix viscosities or API classifications unless explicitly permitted by the OEM. Record oil brand, viscosity grade (e.g. 15W-40, 5W-30), API certification (CK-4, FA-4), and quantity dispensed in the Oxmaint work order. This data becomes part of the permanent asset service record and supports warranty documentation.
Grease Chassis Fittings — Steering, Suspension & Driveline
Lubricate all chassis grease fittings per the OEM lube chart: kingpins, tie rod ends, drag link ends, U-joints, slip yokes, and fifth wheel pivot. Use the correct grease type for each application. Count and verify fitting count against the vehicle lube chart. Record grease type applied and fitting locations serviced in the Oxmaint work order checklist — not just "chassis lubed."
Service Fifth Wheel Plate & Kingpin Mating Surface
Clean the fifth wheel top plate surface and apply appropriate fifth wheel lube (grease or dry lubricant per fleet specification). Inspect the kingpin lock mechanism and jaw engagement. Verify the locking handle is secure and the release mechanism operates correctly. Document fifth wheel service in Oxmaint — it is a critical coupling component that is frequently skipped in standard lube service checklists.
Check & Top Off All Fluid Levels — Coolant, Power Steering, Transmission & DEF
Inspect and top off all fluid reservoirs: coolant (check concentration with refractometer), power steering fluid, transmission fluid, windshield washer fluid, and DEF (on SCR-equipped diesels). Note any reservoirs showing abnormal consumption since last service as findings in the Oxmaint work order — abnormal fluid loss is a diagnostic indicator, not a routine top-off event.
Phase 4: Post-Service Inspection & Documentation
Start Engine — Verify Oil Pressure & Check for Leaks
Start the engine and monitor the oil pressure gauge until pressure stabilizes within normal operating range. Allow the engine to idle for 3–5 minutes, then inspect under the vehicle for any leaks at the drain plug, filter, or gasket surfaces. Any active leak must halt service completion until corrected. Document post-start oil pressure reading and leak check result in the Oxmaint work order.
Verify Oil Level on Dipstick After Engine Warm-Up
With the engine warm and shut off for 3 minutes, re-check the oil level on the dipstick. Confirm level is within the operating range — not at minimum and not overfilled. Overfilling causes aeration and oil foaming, which damages bearings and seals. Record final oil level as part of the work order completion checklist in Oxmaint before the job is marked complete.
Reset Oil Life Monitor / PM Interval Counter
Reset the vehicle's oil life monitoring system or in-dash service reminder per OEM procedure. In Oxmaint, close the PM work order and update the vehicle's odometer reading — this automatically calculates and sets the next service interval trigger. A PM work order closed without an odometer update will generate an incorrect next due date in the system.
Complete Work Order — Record Technician, Parts Used & Next Due Interval
Close the Oxmaint work order with technician ID, total labor time, all parts consumed (part numbers and quantities), oil grade and quantity used, and odometer at service. Set the next PM interval due date and mileage. This record becomes the auditable service history entry for the asset — referenced in warranty claims, pre-sale inspections, DOT audits, and fleet cost analysis.
Attach Service Label — Oil Change Sticker or Digital Asset Tag Update
Apply a physical oil change service sticker inside the windshield noting oil grade, quantity, date, and next due mileage. For fleets using digital asset tracking, update the asset tag or QR code record in Oxmaint so field technicians scanning the vehicle can immediately access the most recent service record without opening a desktop system.
Flag Inspection Findings for Follow-Up Work Orders
Review any findings documented during the lube service — unusual oil condition, abnormal fluid consumption, chassis wear, or fluid leaks — and create follow-up work orders in Oxmaint before releasing the vehicle. Findings captured during oil service are among the most cost-effective defect detection opportunities in fleet maintenance; they must not be deferred without a documented decision and scheduled return date.
FLEET LUBRICATION MANAGEMENT
Automate Oil Change Intervals Across Every Vehicle in Your Fleet
Oxmaint generates PM work orders automatically when mileage or time thresholds are reached — ensuring no vehicle misses its oil change interval. Every service record captures oil grade, filter part number, technician, torque specs, and next due date in one auditable asset history.
QUESTIONS
Frequently Asked Questions
How often should commercial fleet vehicles receive oil changes?+
Interval depends on vehicle type, engine, duty cycle, and oil specification. Most commercial diesel trucks follow 15,000–25,000 mile intervals with CK-4 or FA-4 rated synthetic oil; severe duty or vocational vehicles may require shorter intervals. Always follow OEM specification. Oxmaint's PM scheduler configures per-vehicle intervals — triggering work orders by mileage, engine hours, or elapsed time automatically.
What oil grade should be used for commercial diesel fleet vehicles?+
Use the OEM-specified viscosity grade and API classification for each engine. Post-2017 engines typically require API CK-4 or FA-4. Mixing viscosities or using non-approved specs risks warranty voiding and accelerated wear. Oxmaint stores the correct oil specification per asset in the vehicle profile — so technicians pull the right grade every time without referencing paper manuals.
What chassis lubrication points need to be serviced during a fleet oil change?+
Standard chassis lube points include kingpins, tie rod ends, drag links, U-joints, slip yokes, fifth wheel pivot pins, and any other OEM-designated grease fittings. Fitting count and locations vary by vehicle class and configuration. Oxmaint's work order checklist includes vehicle-specific lube point lists — ensuring technicians service every fitting, not just the easy-to-reach ones.
How does Oxmaint track fleet oil change intervals and generate PM work orders?+
Oxmaint's PM module uses odometer readings, engine hours, or calendar triggers — whichever threshold is reached first — to automatically generate oil change work orders. Fleet managers receive advance alerts before due dates so service can be scheduled proactively. Closing a work order updates the asset history and sets the next interval automatically.
What should be documented in a fleet oil change service record?+
A complete oil service record should include: vehicle VIN, odometer at service, oil grade and quantity, filter part number, drain plug torque, chassis grease points serviced, all fluid levels checked, technician ID, parts consumed, any findings noted, and next due date/mileage. Oxmaint captures all of these fields in a structured work order — creating a defensible audit trail per vehicle.
Can Oxmaint flag inspection findings from an oil service for follow-up work orders?+
Yes. Technicians document findings directly in the lube service work order — abnormal oil condition, fluid leaks, chassis wear, or fluid consumption anomalies. Oxmaint allows follow-up work orders to be created from any finding before the original work order is closed, ensuring nothing is deferred without a documented decision and scheduled resolution date.
START MANAGING LUBE SERVICES SMARTER
Your Fleet Oil Change Records Belong in Your CMMS — Not a Spreadsheet
Every lube service completed without a linked digital record, a documented oil grade, and a logged next-interval trigger is a gap in your asset history and a missed defect detection opportunity. Oxmaint connects PM scheduling, multi-point lube checklists, parts consumption, and technician sign-offs in one system — so your fleet service records are complete, auditable, and always current.