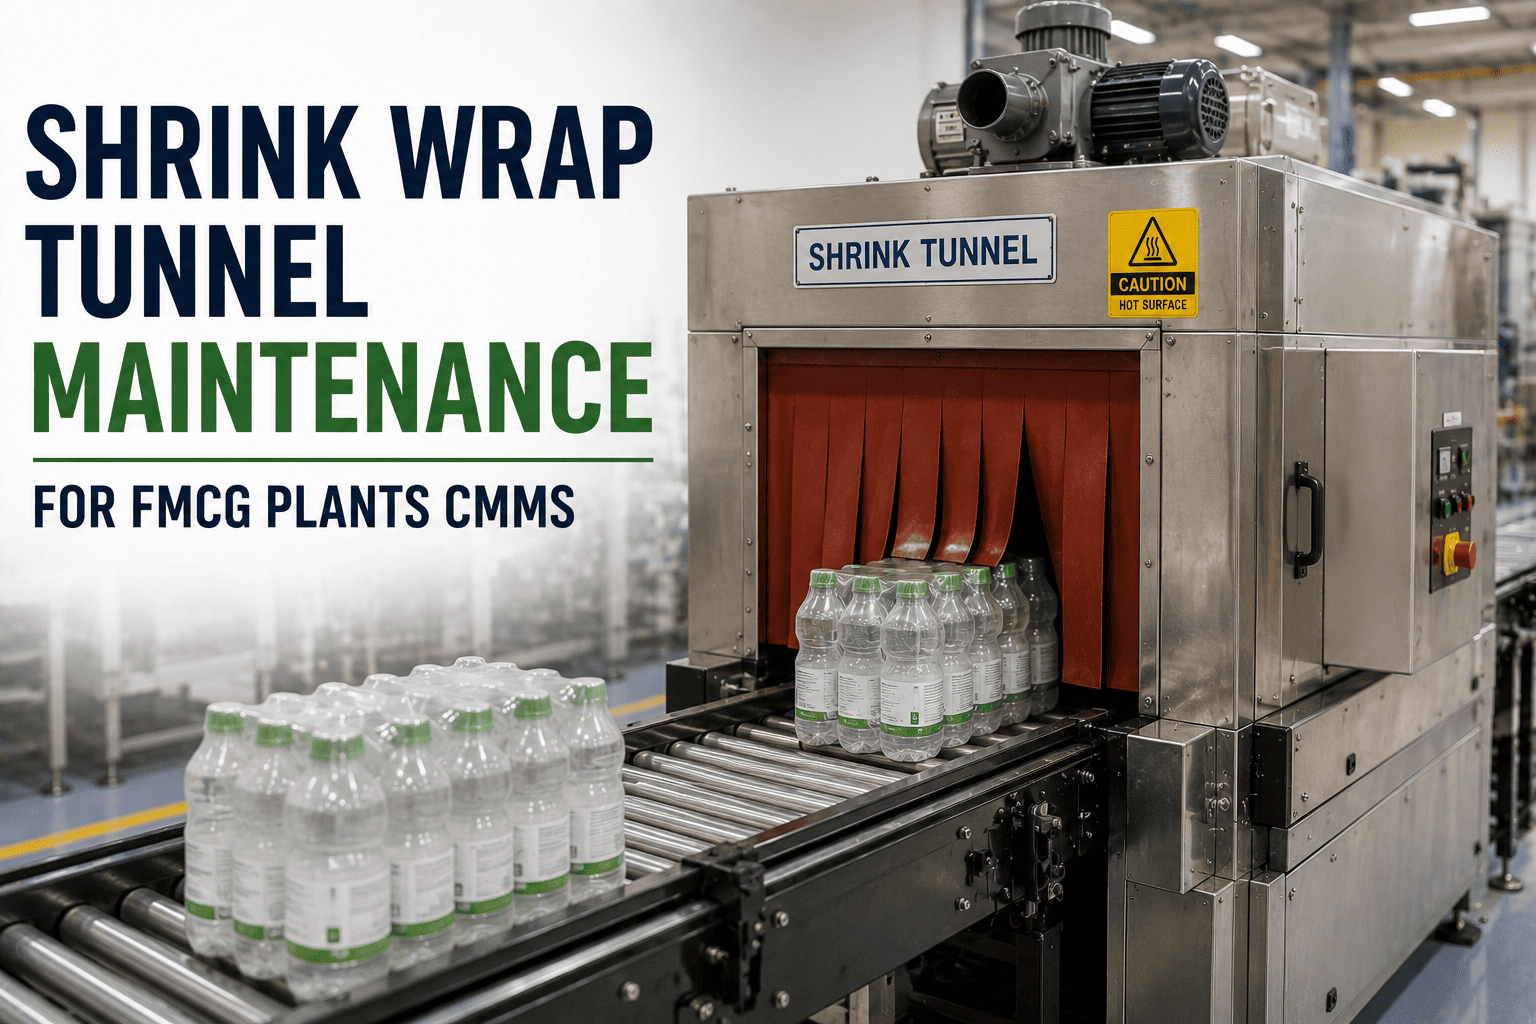
Shrink wrap tunnels sit at the very end of the FMCG line, which means every burn-through, film jam, or temperature drift shows up as rejected multipacks, rework labor, and missed dispatch windows. A disciplined preventive maintenance program — built around heating element inspection, conveyor belt service, blade replacement, and temperature uniformity checks — typically cuts shrink-related stoppages by 30–50% and protects pack appearance at retail. This guide lays out the inspection cadence, calibration thresholds, and CMMS workflows that keep shrink tunnels defensible during audit season. Ready to operationalize it? Start Free Trial and configure your shrink tunnel PM templates today.
How much shrink-wrap downtime is quietly costing your line each shift?
A single uncalibrated tunnel zone drifts 8–12°C within weeks, scorching film on one lane and under-shrinking the next. A CMMS-driven PM program brings that variance under 2°C and recovers the OEE points you've been writing off.
The four PM circuits that govern shrink tunnel reliability
A shrink tunnel is four subsystems bolted around a heated chamber. Each has its own failure signature, inspection cadence, and tolerance band. Run them as four separate CMMS PM circuits — not one generic checklist — and defect-driven downtime drops within the first quarter.
Heating Element PM
- Inspect ceramic infrared elements for hairline cracks and discoloration
- Measure resistance across each element pair; flag deviation over 5% from nameplate
- Verify SSR output and thermocouple continuity on every zone
- Clean element reflectors and chamber insulation of film residue
Conveyor System Service
- Inspect open-mesh belt for stretched links, melted strands, and tracking drift
- Check drive chain tension and sprocket alignment within 0.5mm tolerance
- Lubricate gear motor per OEM hour-meter schedule; log oil sample
- Confirm belt speed setting matches product pitch and film dwell time
Temperature Control Calibration
- Map chamber temperature at 6 points using a calibrated data-logger
- Verify PID setpoint vs actual within ±2°C across all zones
- Recalibrate thermocouples against NIST-traceable reference annually
- Audit over-temperature cutout and door interlock safety circuits
Film Cutting & Sealing Blade
- Check cut quality on 5 consecutive packs at line start-up
- Inspect blade edge for nicks, adhesive build-up, and temper color
- Track cuts-per-blade in CMMS; trigger replacement at 80% of life
- Verify seal-bar pressure and parallelism across the full width
Scannable matrix: defect, root cause, CMMS trigger
When a shrink tunnel starts producing dog-ears, scorch marks, or loose packs, the symptom almost always maps to one of six well-known failure modes. Use this table as a first-pass diagnostic and a trigger to generate the matching work order in your CMMS.
| Observed Defect | Probable Root Cause | Tolerance / Threshold | CMMS Action | Priority |
|---|---|---|---|---|
| Scorch marks on film | Element hot-spot; failed SSR latched closed | Zone temp > setpoint + 5°C | Auto-generate PM work order | Critical |
| Loose / wrinkled packs | Thermocouple drift; PID under-shooting | Actual < setpoint − 3°C | Calibration check + recal | High |
| Uneven shrink across lane | Belt tracking drift; one-side element weak | Side-to-side Δ > 4°C | Belt align + element test | High |
| Film tearing at infeed | Dull cutting blade; seal-bar misalignment | Cut count > 80% blade life | Blade swap work order | Routine |
| Belt surging or stuttering | Drive chain elongation; sprocket wear | Chain elongation > 1.5% | Mechanical PM trigger | High |
| Packs stuck to belt | Melted mesh residue; insufficient belt cooling | Visible residue > 10% coverage | Schedule deep clean | Routine |
From reactive firefighting to a 90-day reliability rollout
Building a defensible shrink tunnel program in a CMMS isn't a flip-the-switch event. It's a 90-day rollout across four milestones — each with a clear deliverable, a measurable target, and a named owner. Plants that follow this sequence typically recover 3–5 OEE points on the end-of-line within the first quarter.
Inventory, nameplate, and PM template setup
Register every shrink tunnel as a parent asset with child components (elements, belts, blades, PID controllers). Upload OEM manuals, attach nameplate photos, and build four PM templates — one per circuit — with check-items, tolerances, and estimated minutes.
Wire thermocouple readings and belt-speed into the CMMS
Connect zone temperature logs, SSR cycle counts, and belt-speed feedback to the CMMS via OPC-UA or manual data entry. Set deviation alarms at ±3°C from setpoint. The goal: every stoppage now arrives with a data trail, not a shrug.
Convert calendar PMs to condition-based work orders
Replace rigid weekly inspections with triggers: blade swap at 80% cut-count, element test when resistance deviates 5%, belt alignment when side-to-side Δ exceeds 4°C. Calendar PMs remain as a safety net, but the work order queue is now driven by actual asset state.
Monthly reliability review and FMEA refresh
Hold a 30-minute monthly review: MTBF trend, top-3 failure modes, PM compliance rate, and rework count from QA. Refresh the FMEA annually or after any major failure. This is what makes your end-of-line pack quality defensible to auditors and retail partners.
What a single uncalibrated tunnel costs a mid-size FMCG plant
Most plants underestimate shrink tunnel losses because the defects are absorbed as "normal" rework. Quantify them once and the business case for a CMMS program writes itself in a single shift.
What happens when the four circuits run clean
Real outcomes from FMCG plants that operationalized shrink tunnel PM in a CMMS. The pattern is consistent: the first 90 days recover the most visible losses, and sustained discipline compounds from there.
"We mapped chamber temperature at six points and found a 9°C side-to-side delta nobody knew about. After recalibrating thermocouples and swapping two fatigued elements, our multipack reject rate dropped from 7.4% to 2.1% in three weeks."
"Moving blade replacement from a fixed 30-day calendar to a cut-count trigger saved us $11K in film waste alone — we were swapping blades too early and suffering tear-throughs when we ran late. The CMMS tells us exactly when to act."
The tunnel isn't the bottleneck — the maintenance discipline around it is. Lock down the four PM circuits and OEE follows within a quarter.
Turn shrink tunnel maintenance into a measurable reliability program
Deploy PM templates, condition-based triggers, and audit-ready work order histories in a single CMMS built for FMCG end-of-line teams.
Shrink wrap tunnel maintenance, answered
How often should heating elements be inspected in an FMCG shrink tunnel?
Run a visual inspection of ceramic infrared elements weekly — look for hairline cracks, discoloration, and residue build-up on reflectors. Schedule a resistance measurement monthly and compare against the nameplate value; flag any element deviating more than 5%. Replace elements proactively at the first sign of hot-spotting, because a single latched SSR can scorch thousands of packs before the next scheduled check.
What temperature uniformity tolerance should I hold across the tunnel chamber?
A well-maintained FMCG shrink tunnel should hold side-to-side variance under 4°C and setpoint-to-actual deviation within ±2°C on every zone. Map the chamber at six points using a NIST-traceable data-logger monthly and after every product changeover. Drift beyond these bands is the leading cause of loose packs on one lane and scorch marks on the other.
How does a CMMS improve shrink tunnel reliability over a spreadsheet or calendar system?
A CMMS converts rigid calendar PMs into condition-based triggers — blade swaps at 80% cut-count, element tests at 5% resistance deviation, belt alignment when side-to-side temperature delta exceeds 4°C. It also attaches temperature logs, thermocouple calibration records, and failure histories to each asset record, which makes pack quality defensible during retailer and ISO 55000 audits. Book a Demo to see the shrink tunnel PM templates live.
When should the conveyor belt on a shrink tunnel be replaced versus repaired?
Repair when the belt is simply tracking off — adjust tension, realign sprockets, and clean melted residue from the mesh. Replace when you see stretched links, multiple melted strands, or belt elongation exceeding 1.5% of original length. A belt running past these thresholds will surge, stutter, and produce uneven dwell time that no amount of temperature tuning can compensate for.
What's the typical payback period for implementing a CMMS-driven shrink tunnel PM program?
Most mid-size FMCG plants see payback within 60–90 days. The recovered losses come from three buckets: reduced rework (typically 30–50% reduction), fewer unplanned stoppages (10–14 hours per month recovered), and lower film waste. A plant losing $400K+ annually to shrink tunnel defects can expect to bring that figure under $130K within the first quarter of disciplined execution.
Build your shrink tunnel reliability program in the next 14 days
Pre-built PM templates, condition-based triggers, audit-ready histories, and the four-circuit framework — ready for your FMCG end-of-line.
Free 14-day trial · No credit card