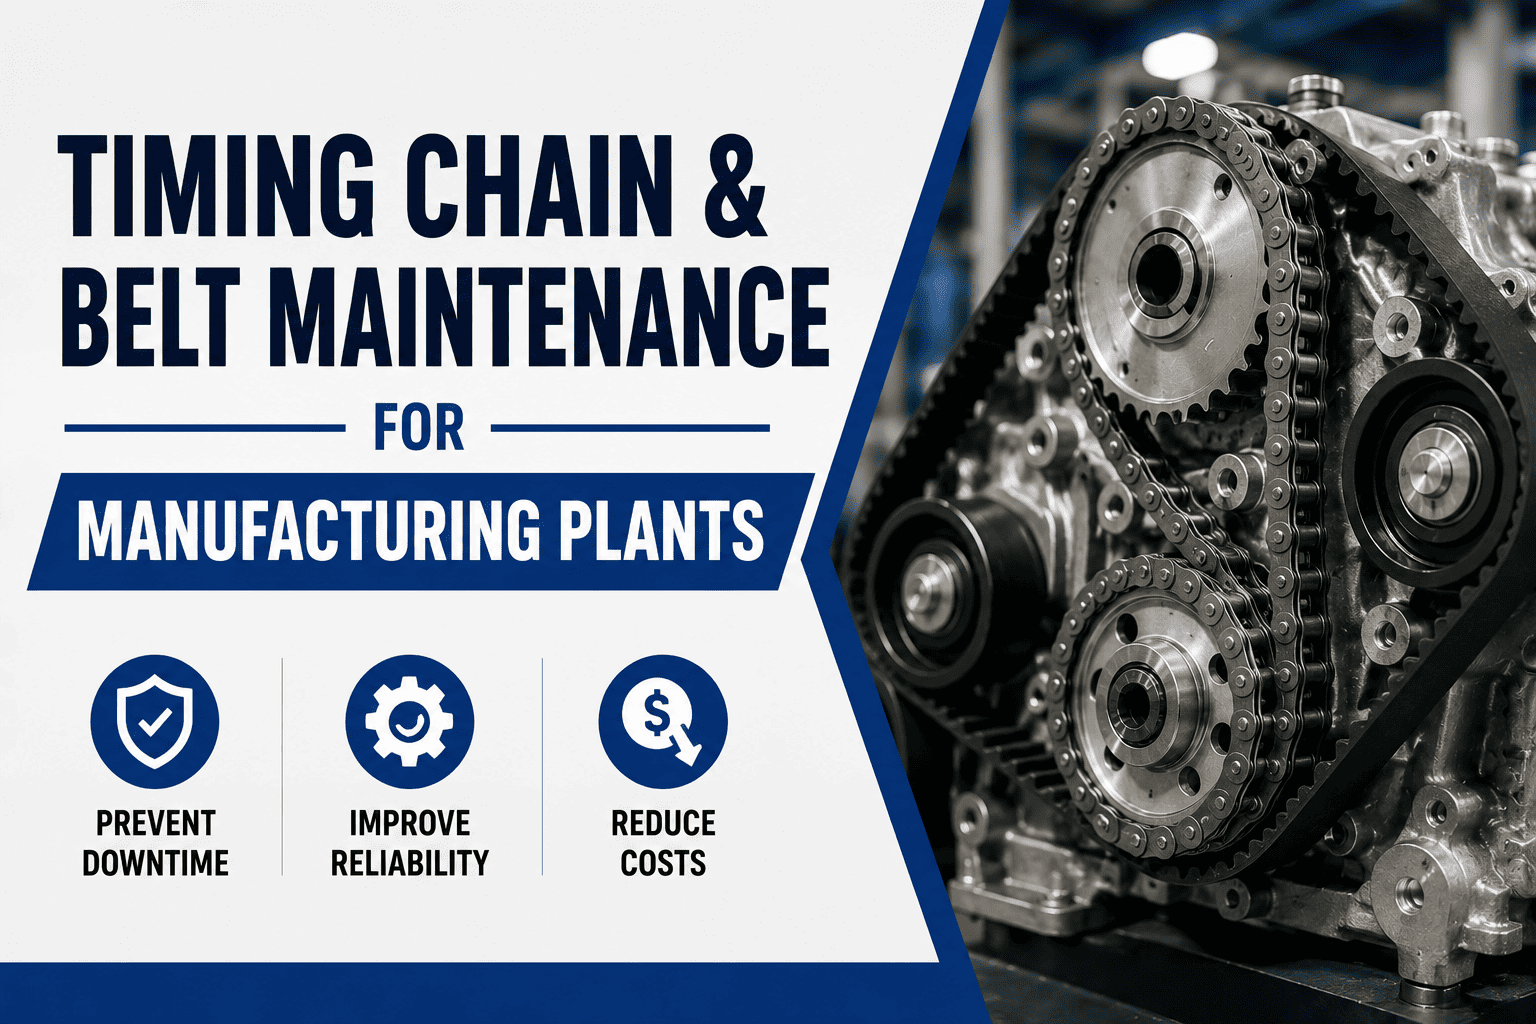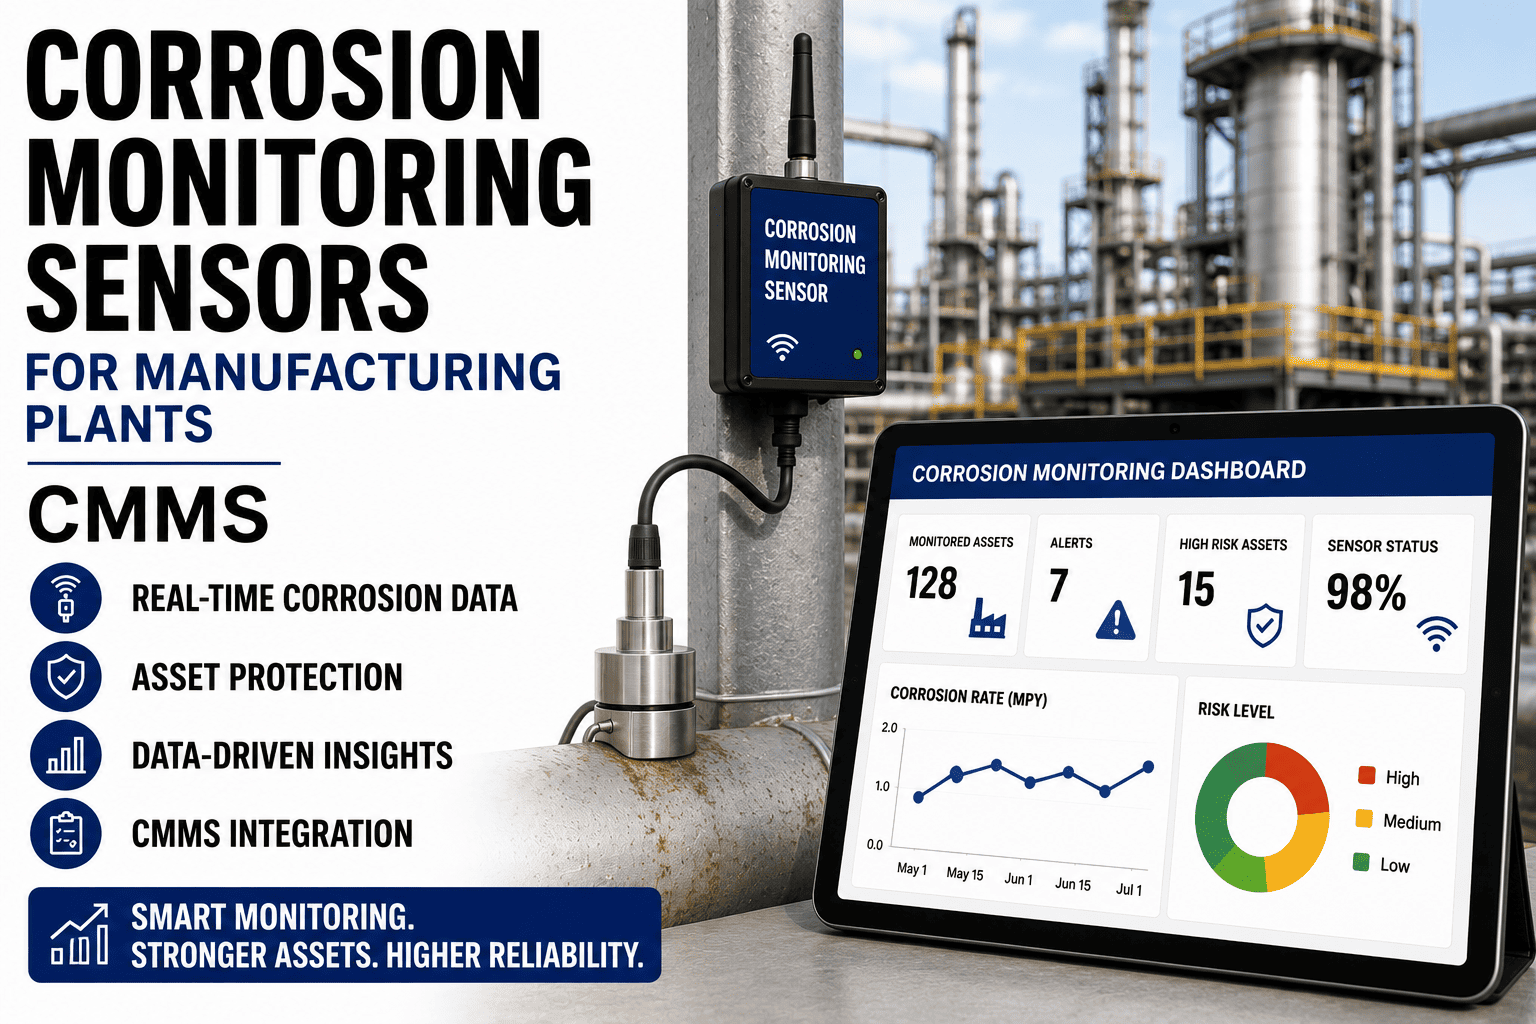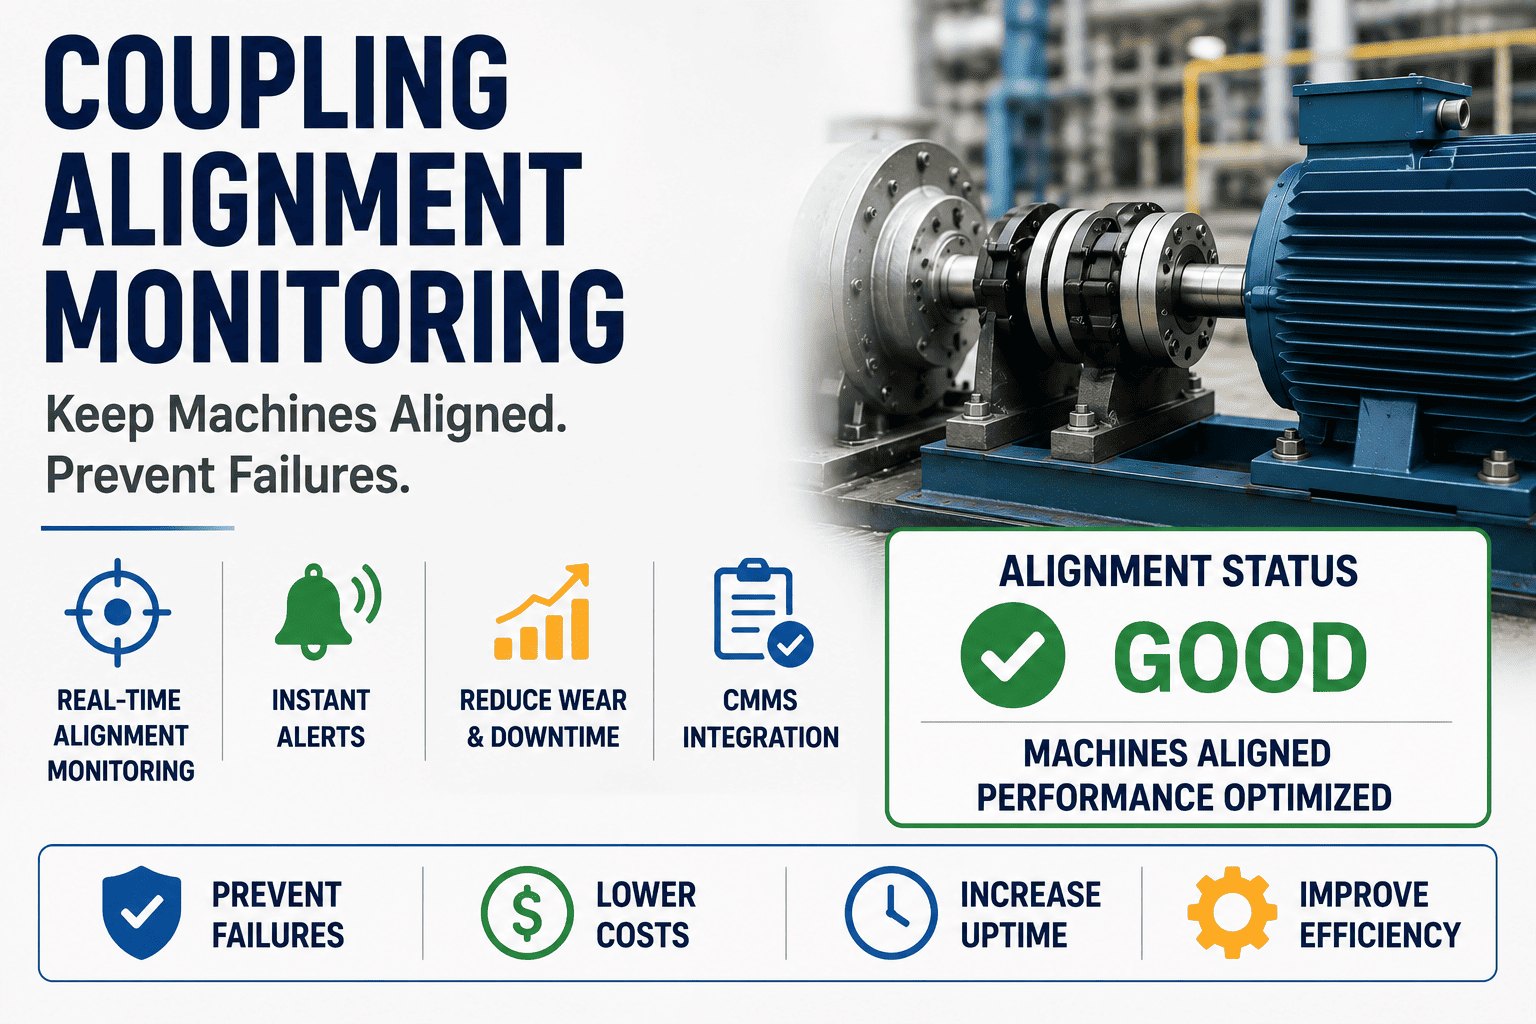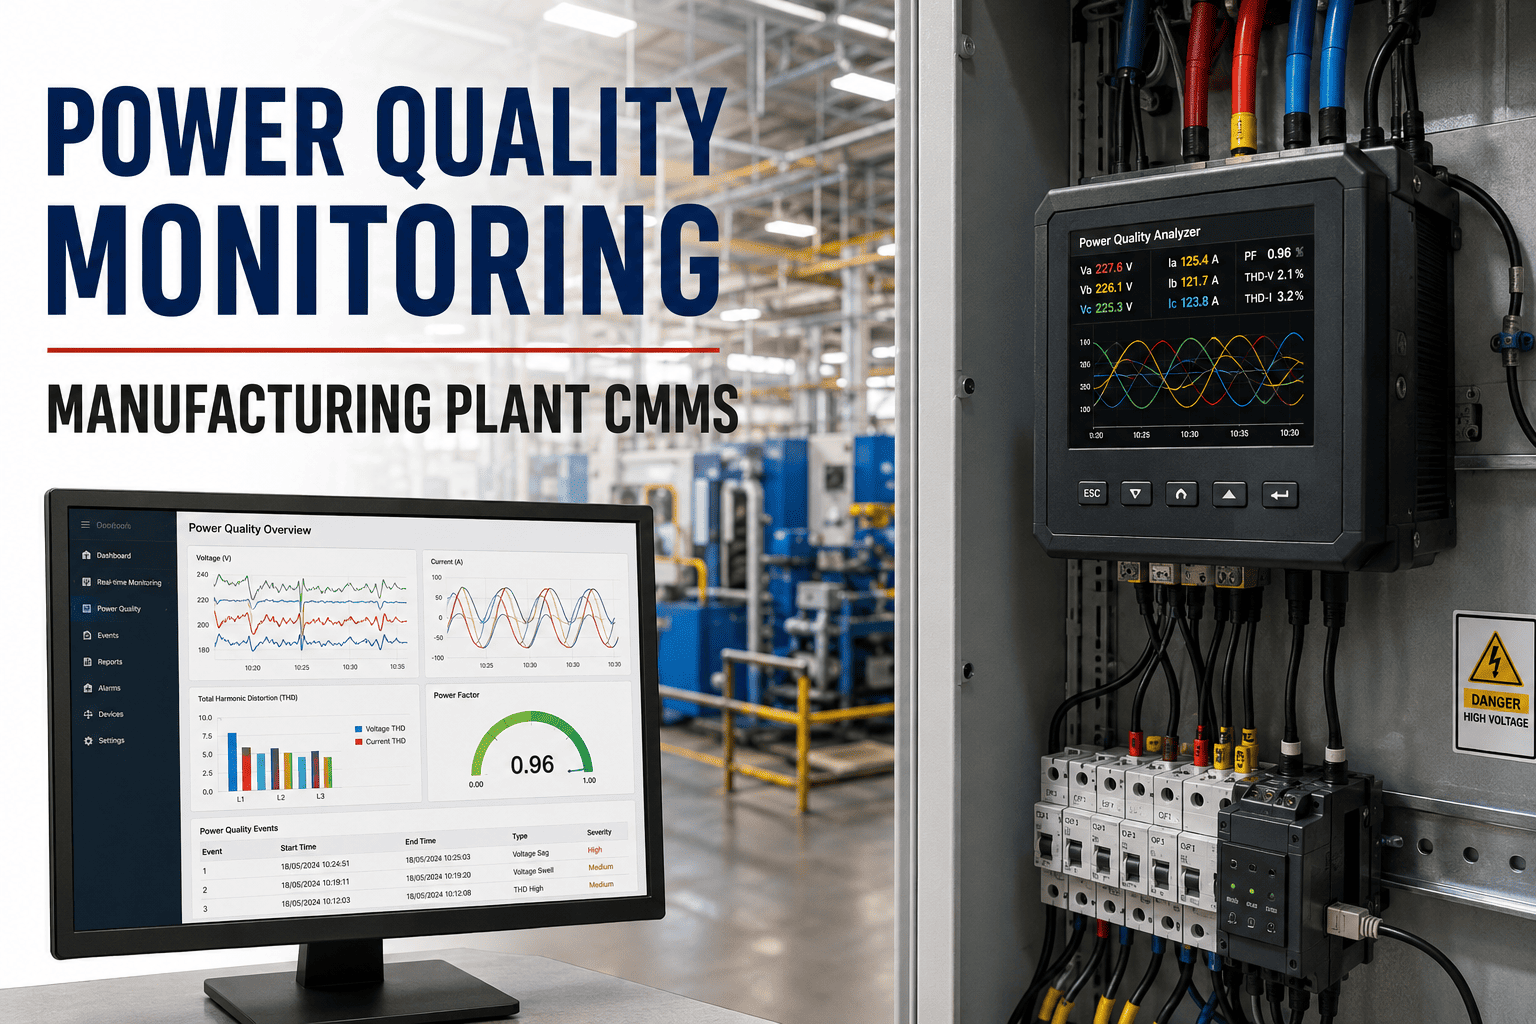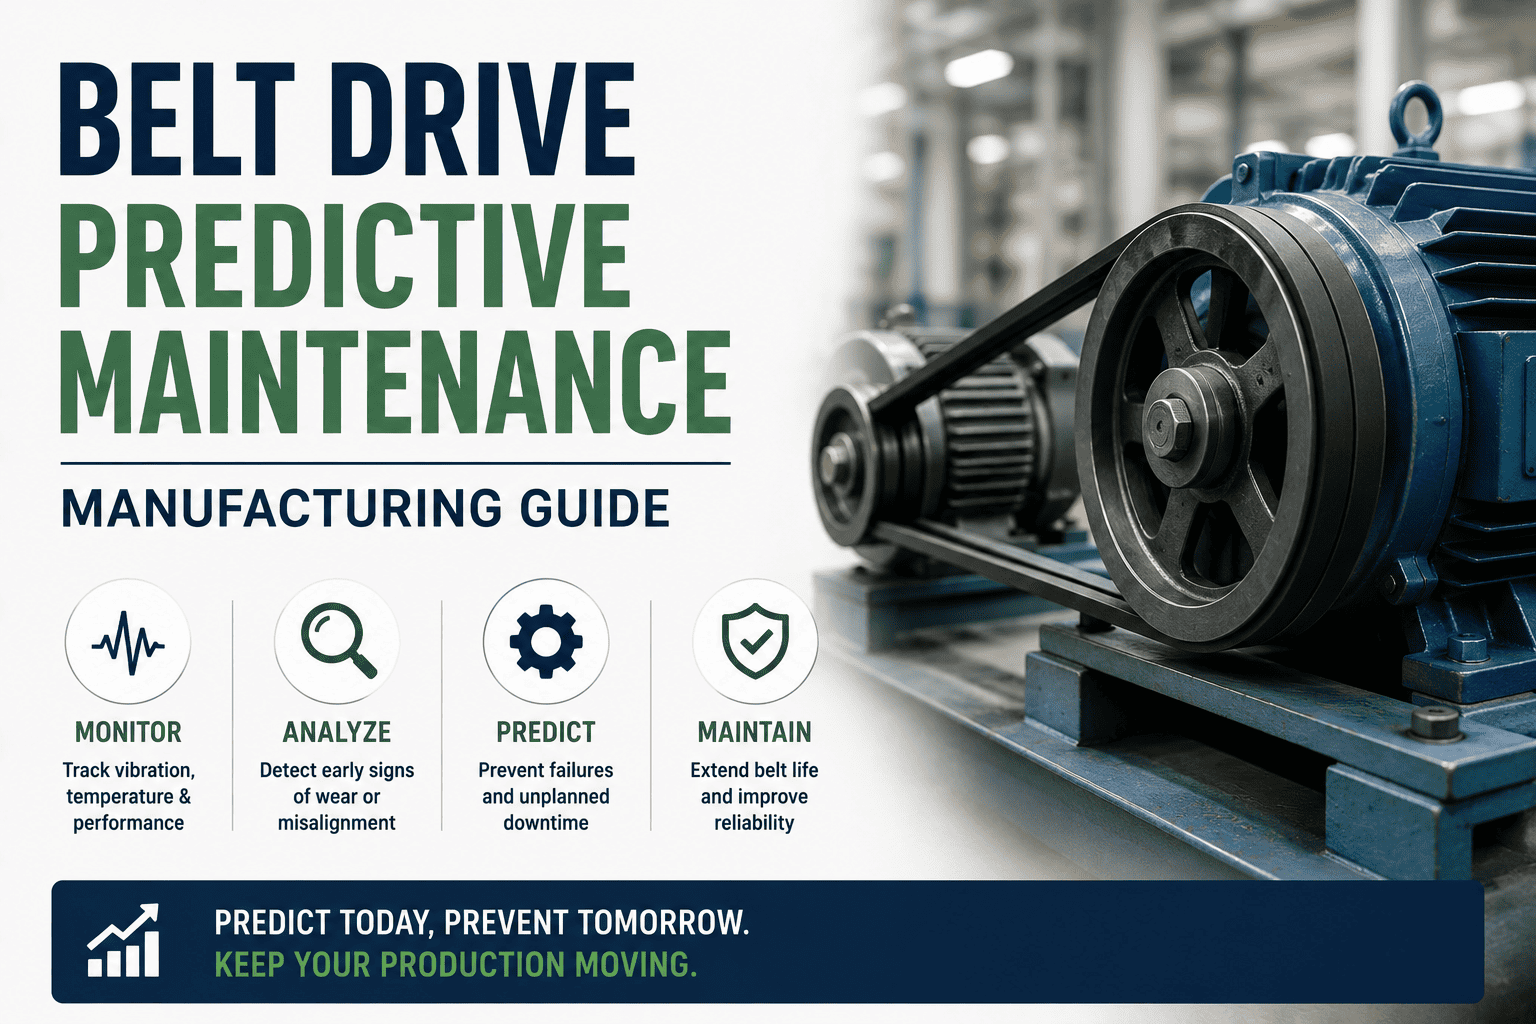
Belt drives are the quiet workhorses of manufacturing plants — and quietly, they account for 15 to 25 percent of unplanned rotating-equipment stoppages. A single stretched V-belt on a critical blower can cascade into a full line shutdown in under an hour, which is why mature maintenance teams have moved beyond run-to-failure and fixed-interval swaps toward condition-based, route-driven belt programs. This guide breaks down the four predictive levers — tension monitoring, laser sheave alignment, wear inspection, and thermal slippage imaging — and shows you how to operationalize them inside a CMMS route that prevents the next surprise failure. Ready to digitize your belt PdM program? Start Free Trial and turn your next route into a closed work order automatically.
What if the next belt failure on your line was scheduled — not a surprise?
15–25% of unplanned rotating-equipment stoppages trace back to belt drives. A route-based predictive program cuts that exposure by catching tension loss, misalignment, sheave wear, and thermal slippage weeks before the belt snaps. Here is the play-by-play your team can run inside a CMMS — starting this month.
Why belt drives deserve a dedicated PdM strategy
Belt drives are cheap to buy, expensive to ignore. A $40 belt on a 75 kW blower can stall a $12,000/hour production line — yet most plants still swap belts reactively or on a fixed calendar.
The compounding cost is the part most plants miss. A belt running at 30% under-tension doesn't just slip — it overheats the sheave, glazes the belt sidewall, transfers heat into the shaft, and shortens bearing grease life. By the time the belt snaps, the adjacent components have already absorbed months of abuse. A predictive route catches the tension drop in week one, not week twelve.
The inspection techniques that catch failure before it starts
Each pillar targets a distinct failure mode. Together they form a complete early-warning system that maps cleanly onto a CMMS route.
Belt Tension Monitoring
Use a sonic tension gauge or deflection method to measure static tension against the manufacturer's spec. A belt running 20% below target tension loses up to 15% of power transmission efficiency and slips under peak load. Log readings every 30 days for critical drives, every 90 days for non-critical.
Laser Sheave Alignment
A laser alignment tool flags angular and parallel misalignment in minutes. Misalignment beyond 0.5° accelerates sidewall wear by up to 40% and drives premature bearing failure. Re-check after every belt change or motor repositioning — never assume the old marks still hold.
Sheave & Groove Wear Inspection
Worn grooves let belts sit low, reducing contact area and effective tension. Use a sheave gauge to check groove profile against new-spec dimensions. A groove worn 0.030" deeper than spec means the sheave is due for replacement — not the belt riding in it.
Thermal Imaging for Slippage
A thermal camera catches the heat signature of micro-slip long before it's audible. A belt running 15°C hotter than baseline is slipping, under-tensioned, or overloaded. Scan during peak load conditions — a cold scan hides the problem entirely.
What a belt PdM program pays back — and how fast
The ROI of belt predictive maintenance is not theoretical. It is a function of avoided downtime, extended belt life, and reduced collateral damage — and it usually pays for itself inside the first quarter.
| Metric | Before PdM (Run-to-Failure) | With Belt PdM Route | Improvement |
|---|---|---|---|
| Belt-related downtime events / yr | 14 | 5 | −64% |
| Mean time between belt failures | 9 months | 22 months | +144% |
| Avg. cost per failure (incl. collateral) | $11,400 | $3,200 | −72% |
| Unplanned labor hours / yr on belts | 180 hrs | 60 hrs | −67% |
| Belt inventory carrying cost | $14,000 | $6,500 | −54% |
For the 180-asset plant above, total annual savings land near $318,000 — against a CMMS + sensor investment of roughly $24,000. That is a payback period under 10 weeks, and the savings compound every year the route stays disciplined.
Stand up a belt PdM route in your CMMS — in 30 days
A predictive route only works if it lives inside the system your technicians already open every morning. Here is a four-week rollout that turns belt PdM from a spreadsheet into automated work orders.
Asset & Criticality Mapping
Tag every belt-driven asset in the CMMS. Assign a criticality score based on downtime cost, redundancy, and safety exposure. Prioritize the top 20% of drives — they typically carry 80% of the failure risk.
Baseline Readings
Capture baseline tension, alignment, sheave groove profile, and thermal signature for every priority drive. Store these as the reference thresholds that trigger automated alerts when readings drift.
Route & Trigger Setup
Build the inspection route in the CMMS with 30/60/90-day cadences by criticality. Configure threshold-based triggers: a tension reading 15% below spec auto-generates a corrective work order, not just a note.
Review & Refine
Run the first full route. Review which triggers fired, which were false alarms, and tune thresholds. Lock the route into the weekly schedule and assign a route owner accountable for completion rate above 95%.
The belt PdM route checklist — what every inspection must capture
Print this, attach it to the CMMS work order, and make sure every technician fills every field. Incomplete inspections are the number-one reason PdM programs drift back into reactive mode.
Tension & Alignment
- ✓ Static tension reading logged (lbf or N)
- ✓ Reading within ±5% of OEM spec
- ✓ Angular misalignment ≤0.5°
- ✓ Parallel misalignment ≤1/16"
- ✓ Belt deflection measured at mid-span
Sheave & Belt Condition
- ✓ Groove profile gauged against new-spec
- ✓ No groove wear beyond 0.030" deviation
- ✓ Belt sidewalls checked for glazing
- ✓ No visible cracking, fraying, or chunking
- ✓ Belt matched-set on multi-belt drives
Thermal & Operational
- ✓ Thermal scan captured under peak load
- ✓ Belt temp within 15°C of baseline
- ✓ No abnormal vibration at sheave
- ✓ Guard condition & airflow verified
- ✓ Corrective WO auto-generated if triggered
What happens when a plant actually runs the route
"We had three belt failures a quarter on our air handlers — each one cost us a full shift. After standing up the tension and thermal route in oxmaint, we went nine months without a single unplanned belt stoppage. The ROI was immediate and undeniable."
"The laser alignment step alone cut our belt replacement frequency in half. We were throwing new belts at misaligned sheaves for years. Once the CMMS route forced a re-check after every change, the failures stopped clustering."
Stop replacing belts. Start predicting them.
Deploy a fully routed belt PdM program inside your CMMS this week — tension thresholds, alignment checks, thermal scans, and auto-generated work orders, all in one place.
Belt drive predictive maintenance — answered
How often should belt tension be checked on critical drives?
Critical belt drives — those whose failure stops production or creates a safety hazard — should be tension-checked every 30 days. Non-critical drives can follow a 90-day cadence. Always re-check tension within 24 hours of a new belt installation, as new belts seat and lose up to 10% of initial tension in the first hours of operation.
What tension deviation from OEM spec should trigger a corrective work order?
A reading 15% or more below the OEM static tension target should auto-generate a corrective work order in your CMMS. Readings between 5% and 15% below spec should flag a watch status and trigger a re-check within 7 days. Anything within ±5% is healthy. You can configure these thresholds and automations when you Start Free Trial on oxmaint.
Can thermal imaging really detect belt slippage before it fails?
Yes. Micro-slip generates friction heat that is invisible to the eye and often inaudible until damage is advanced. A thermal camera will show a slipping belt running 15–30°C hotter than baseline, often days or weeks before audible squeal or visible glazing appears. The scan must be taken under peak load — a cold or idle scan will mask the signature entirely.
How do I know if a sheave needs replacing versus just a new belt?
Use a sheave groove gauge to measure the groove profile against the new-spec dimensions. If the groove is worn more than 0.030" deeper than spec, the sheave is due for replacement — a new belt in a worn groove will sit low, lose contact area, and fail prematurely. Replacing the belt alone in this case is throwing money at the wrong component.
How long does it take to roll out a belt PdM route in a CMMS?
A disciplined team can stand up a belt PdM route for 20–50 priority drives in about 30 days: one week for asset mapping, one for baseline readings, one for route and trigger configuration, and one for the first full run and threshold tuning. Book a walkthrough via Book a Demo and we will map the rollout to your asset list.
Build your first belt PdM route today
Join the plants that turned belt failures from a surprise into a scheduled task. Set up tension thresholds, alignment checks, thermal scans, and auto-generated corrective work orders — all inside oxmaint.
Free 14-day trial · No credit card