The alarm sounds, the spindle stops, and the operator's first instinct is to reset and run again. That is the most expensive button on a CNC machine. A crash can bend a spindle, damage a ballscrew, shift a fixture or knock the machine out of geometry, and the damage is often invisible until parts start coming out wrong. This checklist guide gives your team a clear, repeatable routine for the first 15 minutes, the zone-by-zone inspection and the release tests before production restarts, and shows how to keep the record in OXMAINT AI, the AI-native CMMS for machine shops and manufacturing maintenance teams.
CNC Maintenance · Checklist · Crash Recovery
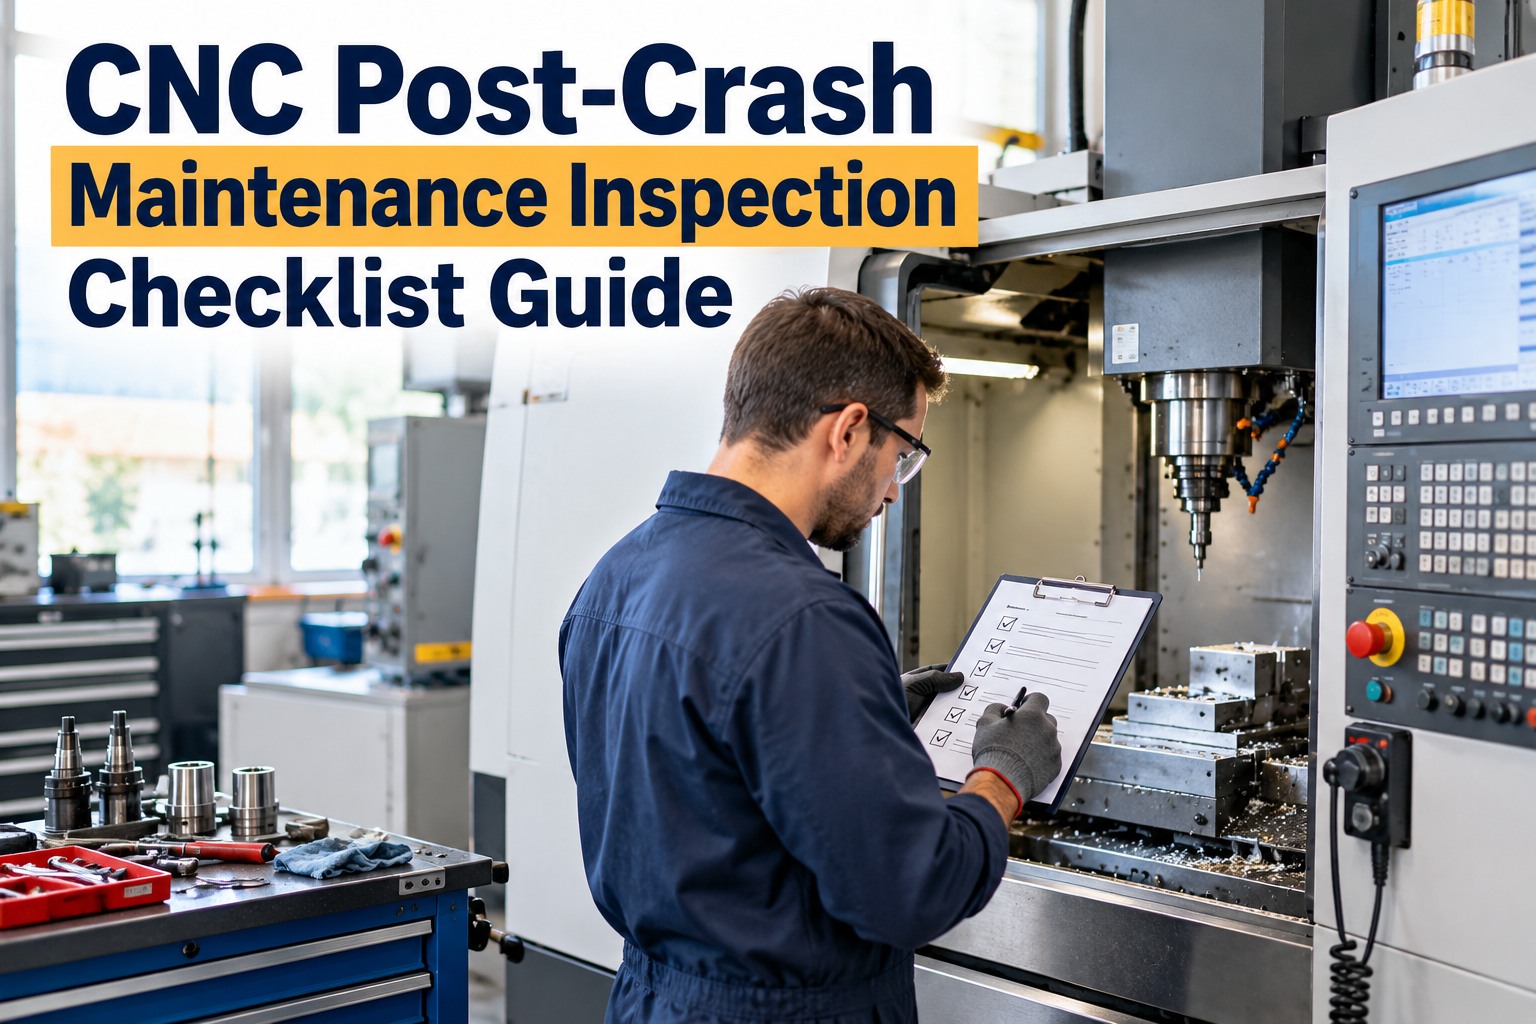
CNC Post-Crash Maintenance Inspection Checklist Guide
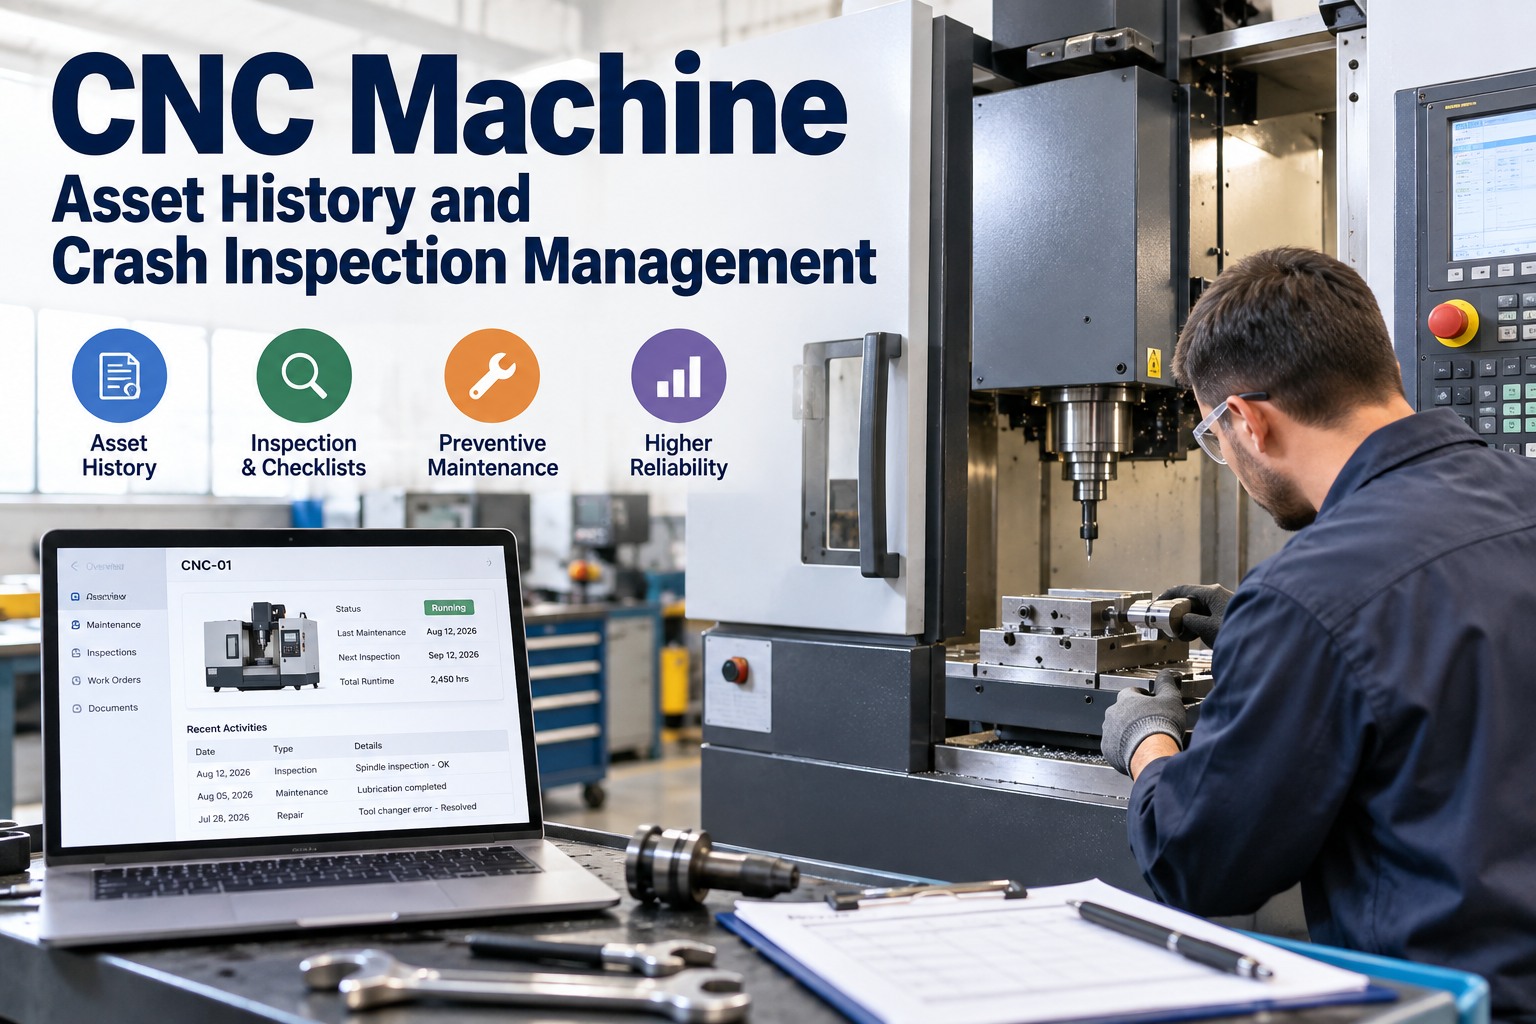
OXMAINT AI, the AI-native CMMS and maintenance management software, turns this checklist into a digital inspection with photo capture, failed items that raise work orders, and a crash history stored against each machine.
Digital Checklists
Photo Evidence
Machine Crash History
8 Zones
of the machine to check after any collision
3 Levels
of crash severity to decide how deep to go
4 Gates
to pass before the machine returns to production
1 Record
per incident, kept against the machine
Step 1: The First 15 Minutes
Before anyone inspects anything, make the machine and the people around it safe. Always follow your machine manufacturer's manual and your site's lockout and tagout procedure. Sign up free and save this as a reusable checklist.
BEFORE YOU TOUCH ANYTHING
1
Press E-stop and do not reset or restart the program.
2
Note the alarm code, program line, tool number and active offsets, and take photos of the screen.
3
Isolate power and apply lockout and tagout before opening guards or reaching inside.
4
Secure any vertical axis or heavy head so it cannot drop when brakes or power are released.
5
Photograph the crash site, tool, holder, workpiece and fixture before moving anything.
Step 2: Grade the Crash
Not every crash needs a full teardown, but the grade must be decided by evidence, not by how the machine sounds. When in doubt, grade up and involve the manufacturer's service team.
LEVEL 1 · MINOR
Tool or Workpiece Only
Broken tool, light contact, no overload alarm, no machine structure contact.
Run zones 1, 3, 7 and 8, then verify.
LEVEL 2 · MODERATE
Fixture or Holder Strike
Servo overload, fixture or vise hit, bent tool holder, unusual sound after impact.
Run all 8 zones and the full release tests.
LEVEL 3 · SEVERE
Spindle, Table or Rapid Crash
Impact at rapid speed, spindle nose or table contact, structural or guard damage.
Stop. Call the OEM service team before restart.
Step 3: The Zone-by-Zone Inspection Checklist
Work through each zone in order and record the result, a photo and any measured value. Use the manufacturer's specifications for every limit. Do not rely on generic tolerances.
1Spindle & Tool Holder
Inspect spindle nose and taper for nicks, dents or fretting
Check tool holder and pull stud for bending or cracks
Measure spindle runout with a test bar against OEM spec
Listen for new noise and check temperature during a slow warm-up
Confirm drawbar clamping and unclamping work normally
2Axes, Ballscrews & Guides
Move each axis by hand or jog slowly and feel for roughness
Inspect ways, linear guides, wipers and covers for damage
Check ballscrew nut and support bearings for noise or play
Review axis load and following error values for abnormal readings
Check for debris or metal flakes in lubricant
3Workholding & Fixtures
Inspect vise, chuck, clamps and fixture for movement or cracks
Re-check fixture location, pins and mounting bolts
Verify work offset against a known reference
Check pallet or table surface for burrs and dents
Replace damaged clamping parts, do not reuse
4Tool Changer & Magazine
Inspect changer arm, grippers and tool pockets for damage
Check magazine alignment and tool seating
Run changer in manual or slow mode with an empty holder
Verify tool length and diameter data for all affected tools
Confirm no stuck or partially seated tools remain
5Probes & Measuring Devices
Inspect touch probe and tool setter for impact damage
Check stylus, mounting and cable or signal link
Recalibrate probe and tool setter after any suspected strike
Compare measured result against a known gauge
Record calibration values and date
6Coolant & Lubrication
Check coolant nozzles, hoses and guards for damage
Inspect central lubrication lines and fittings for cracks or leaks
Confirm lubrication pump cycles and reaches each axis
Check fluid levels and look for contamination
Clean chips from ways, covers and enclosure
7Electrical, Sensors & Safety
Inspect cables, drag chains and connectors in the crash area
Test limit switches and proximity sensors
Check door interlocks, guards and E-stop function
Review alarm history and clear causes, not just messages
Confirm axis brakes hold as expected
8Program & Setup Review
Identify the crash cause: offset, tool length, program or fixture
Verify work coordinates and tool offsets in the controller
Review the program section where the crash occurred
Back up parameters and compare with last known good
Update setup sheet and notes
Step 4: The 4 Release Gates
A machine that passes visual inspection is not automatically ready. Move through these gates in order and stop at any failure. Book a demo to see gated sign-offs in an inspection workflow.
GATE 1
Dry Run
Run axes and spindle without a part at low speed. Listen and watch loads.
▶
GATE 2
Geometry Check
Verify alignment and accuracy with your standard method, such as a ballbar or laser check.
▶
GATE 3
Test Cut
Machine a proving part and measure size, finish and position.
▶
GATE 4
First-Article Sign-Off
Quality and maintenance approve release back to production.
Make Every Crash Inspection Complete, Consistent and On Record.
OXMAINT AI runs this checklist on any phone or tablet, captures photos at each step, raises work orders for failed items and stores the whole incident against the machine's history.
What to Record in the Crash Incident Log
Crash Incident Record
Machine & DateAsset ID, shift, time
Alarm & ProgramCode, line, tool, offsets
Severity Level1, 2 or 3
CauseOffset, tool, program or fixture
Zones CheckedResult and photos per zone
Parts & LabourReplaced items and hours
Release GatesWho passed each gate
Prevention ActionWhat changes to avoid a repeat
Prevent the Next Crash
Wrong tool length or offset
Tool presetting and offset verification before first cut
Program error
Simulation and dry run for new or edited programs
Fixture clearance
Setup sheets with clearance checks and photos
Worn or loose workholding
Scheduled PM inspection of vises, chucks and clamps
Drifting machine condition
Routine lubrication, calibration and probe checks
What OXMAINT AI Gives Your CNC Maintenance Team
Run this checklist on mobile with photos, notes and AI-generated templates. Failed items raise corrective work orders.
QR Tags on Every Machine
Scan to see the machine, its history, open jobs and past crashes, then log a new incident instantly.
Assign repairs, log labour and parts, and keep every job linked to the asset.
Schedule lubrication, calibration, probe and workholding checks to cut crash risk.
Track critical spares such as probes, tool holders and wipers with reorder alerts.
Spot machines and causes that repeat, and review trends with AI-powered reports.
Frequently Asked Questions
Can I restart the machine after a minor crash?
Only after the relevant zones have been inspected and the machine passes your release checks. Even a light crash can bend a tool holder or shift an offset, so follow your manufacturer's guidance and company procedure.
Sign up free and build your crash checklist.
When should I call the manufacturer's service team?
How does a CMMS help after a CNC crash?
It guides the inspection step by step, captures photos and findings, creates work orders for repairs, and stores the full incident history against the machine, which makes repeat causes easy to see.
Start free and log your first incident.
Which preventive tasks reduce crash risk?
Regular lubrication, probe and tool setter calibration, workholding inspection, geometry checks and offset verification all help. OXMAINT AI schedules them automatically and flags overdue tasks.
Book a demo to see PM scheduling.
Can we adapt this checklist to our own machines?
Every Crash Inspected. Every Machine Verified. Every Record Saved.
Put your CNC post-crash checklist into OXMAINT AI and get consistent inspections, photo evidence, tracked repairs and a crash history that helps you prevent the next one.