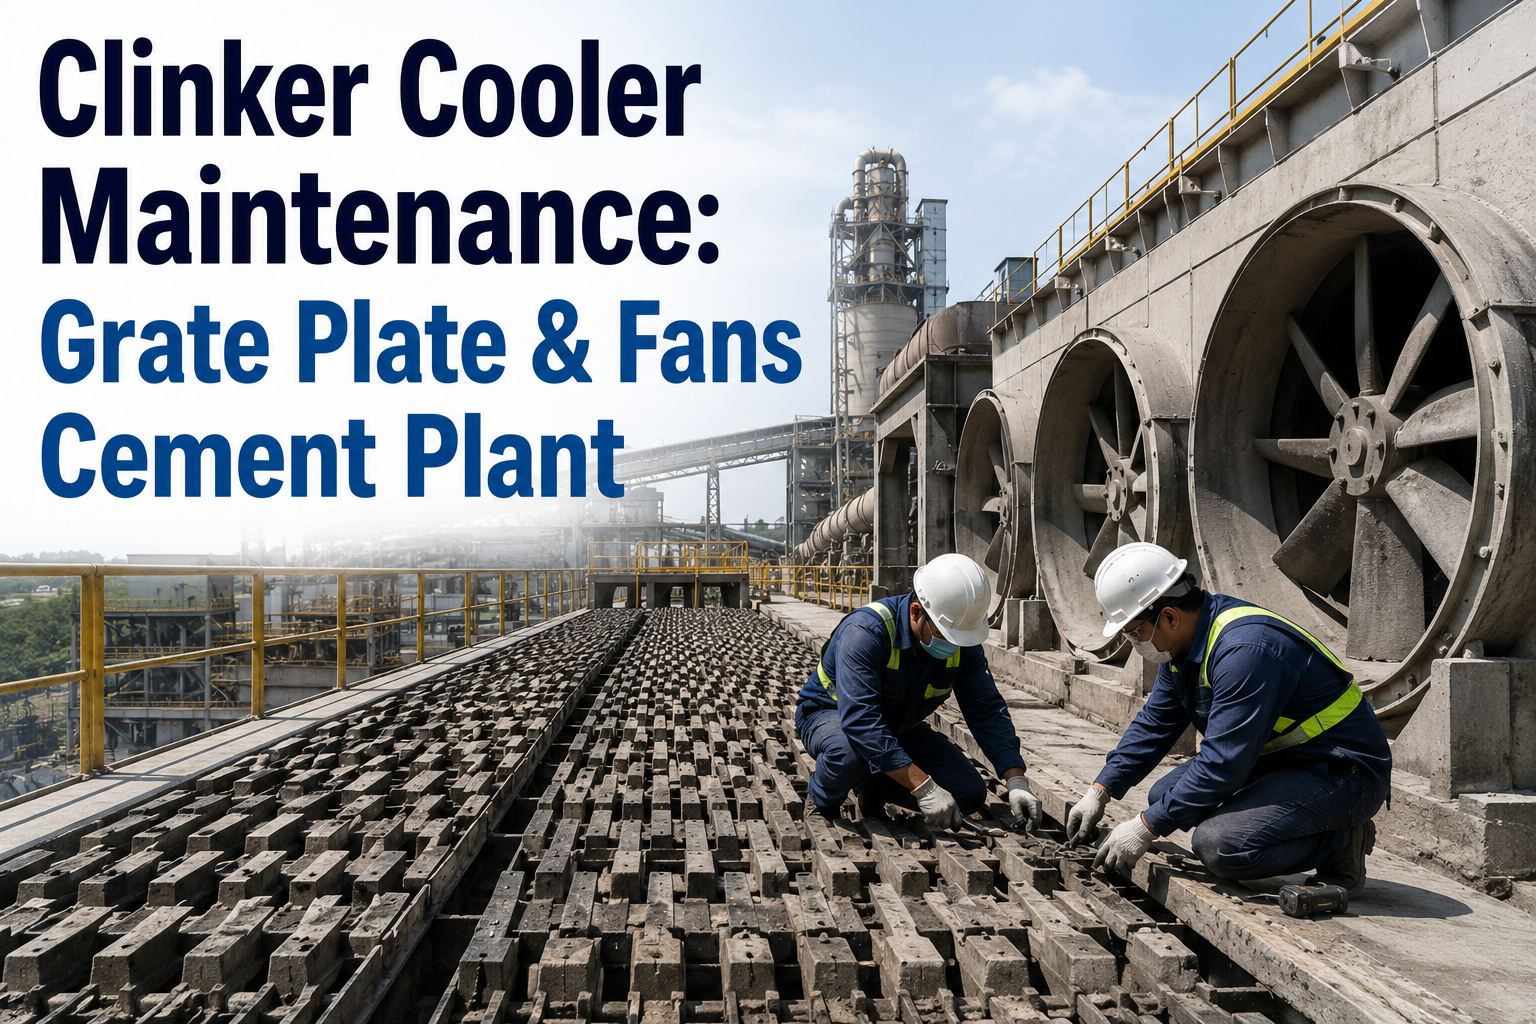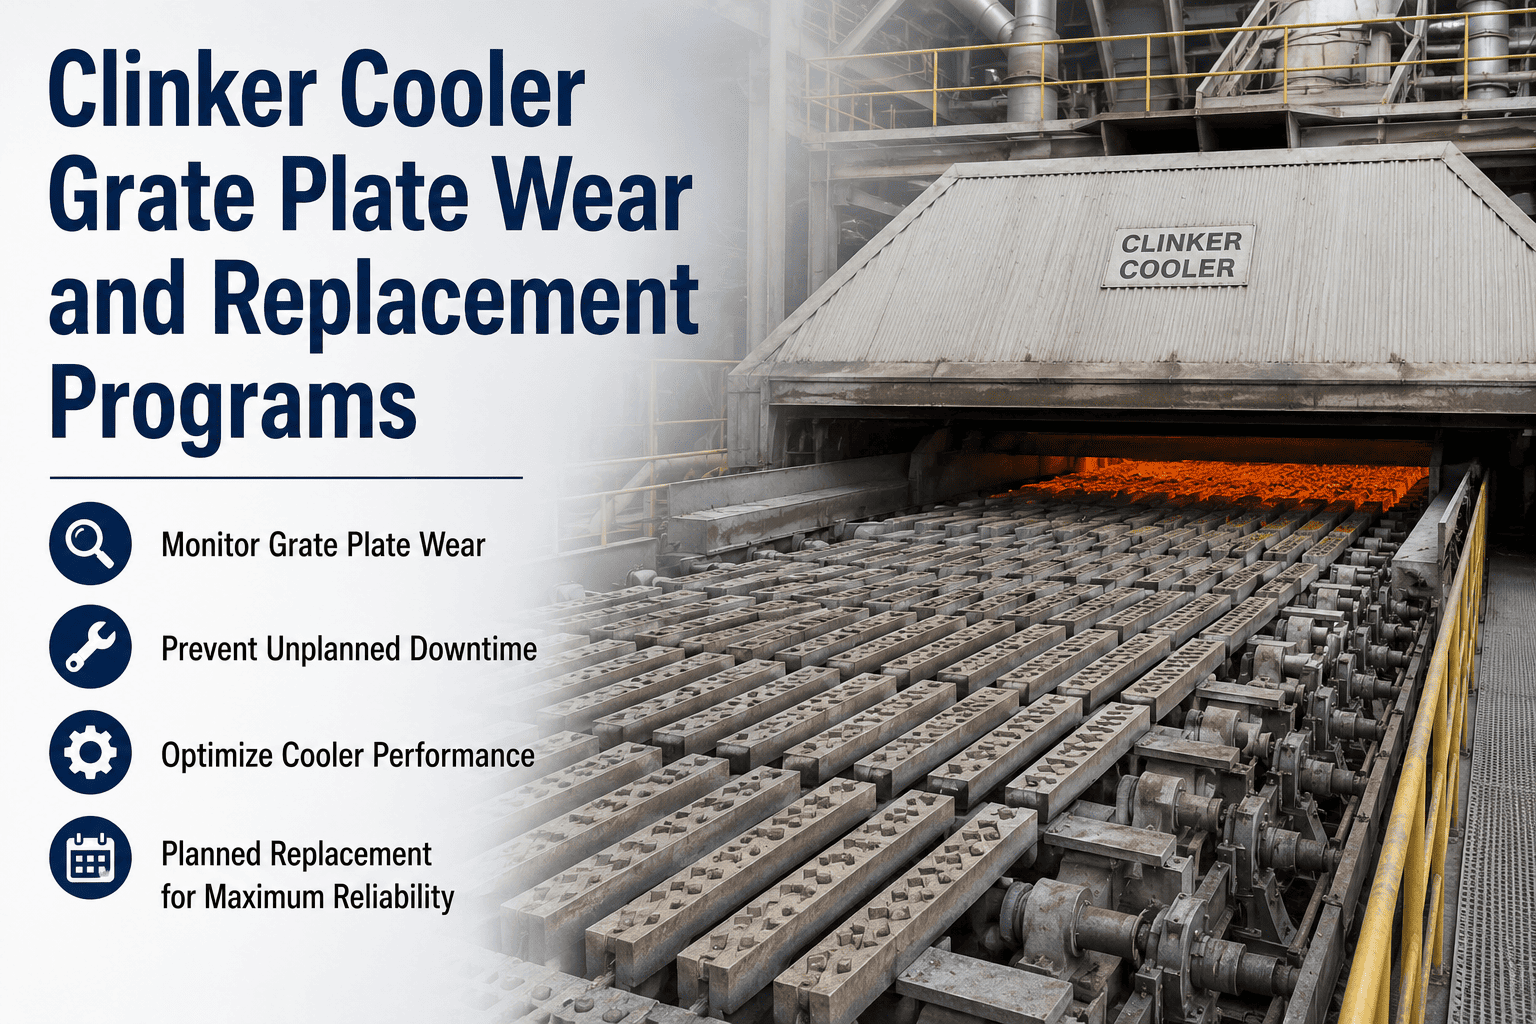
Grate plates sit directly under a bed of clinker that can arrive at the cooler well above 1,000 degrees Celsius, and they work through abrasion, thermal cycling, and constant movement. When wear is missed, plates warp, air holes clog, and clinker falls through the grate. Recuperation drops, kiln feed gets restricted, and unplanned stops follow. This checklist gives cement maintenance teams a repeatable way to inspect plates, rate their condition, and decide when to repair or replace, supported by cement maintenance software that keeps every finding on record.
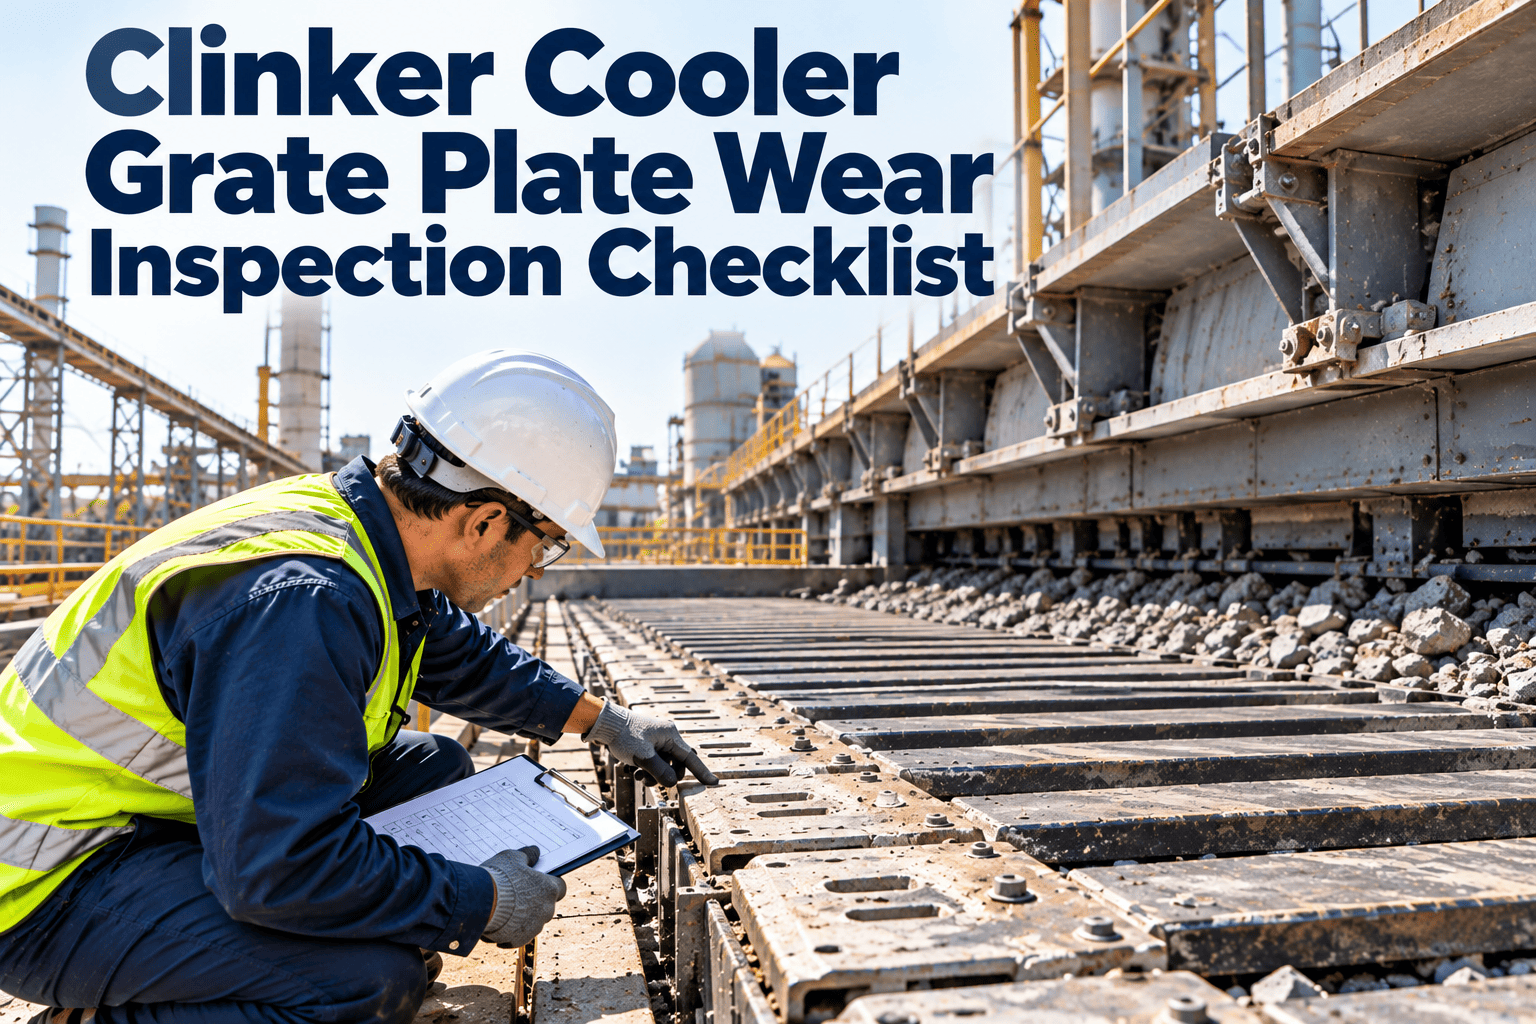
Clinker Cooler Grate Plate Wear Inspection Checklist
Field checks, condition ratings, and escalation criteria for grate plates in cement plant coolers, so wear is found during planned inspections and not during a cooler trip.
Good
Good
Edge wear
Cracked
Holes blocked
Good
What Grate Plate Wear Does to Cooler Performance
- Poor air distribution. Eroded or blocked air openings let cooling air bypass the clinker bed, which creates hot channels and cold zones.
- Lower heat recovery. Secondary and tertiary air temperatures fall, and kiln fuel consumption rises to compensate.
- Clinker fallthrough. Worn plate gaps and damaged seals send fines into the undergrate compartments, where they overload hoppers and drag chains.
- Red river and snowman risk. Uneven cooling lets hot clinker run along the grate and build up in the cooler inlet area.
- Higher clinker discharge temperature. Downstream conveyors, silos, and cement mills then take hotter material than they were designed for.
Where to Look: Wear Zones Along the Grate
Inspection Frequency at a Glance
Checklist A: Plate Surface and Body
- Inspect the top surface of every accessible plate for thermal cracks. Mark hairline cracks and note whether they run across the air openings, because crack growth there often leads to plate breakage.
- Look for warping or lifting at plate edges. A raised edge catches clinker, speeds up wear on its neighbour, and can jam the row movement.
- Check for burn-through or melted sections in the inlet zone. Record position and size so the pattern can be linked to flame shape or kiln upsets.
- Measure remaining plate thickness at agreed reference points, and compare with the OEM wear limit or your plant's replacement criterion.
- Inspect the nose and leading edge for chipping and rounding. Rounded edges allow clinker to ride over the plate instead of being pushed forward.
- Look for oxidation scale and surface flaking. Heavy scaling indicates sustained overheating, often from poor air supply under that plate.
- Note any plates with replacement history, such as welded repairs or non-standard material, so their performance can be tracked.
- Photograph defects with plate position tags, so the next inspector can compare condition without relying on memory.
Checklist B: Air Openings and Airflow
- Check air openings for blockage by fines, sintered clinker, or build-up. Blocked openings reduce airflow and raise plate temperature.
- Look for enlarged openings caused by erosion. Over-sized slots let clinker drop into the undergrate area and disturb air distribution.
- Compare undergrate compartment pressure with the baseline for the same fan speed and bed depth. A pressure shift often reveals plate wear before it is visible.
- Verify that cooling fan dampers and inlet vanes respond correctly, so airflow changes are not mistaken for plate problems.
- Inspect aeration or air-beam fittings where fitted, and confirm nozzles are intact and not displaced.
- Watch for localised hot clinker on the grate surface during operation, which may point to a blocked or damaged plate beneath.
Checklist C: Fixings, Clearances, and Alignment
- Check plate fixing bolts, clamps, or clips for looseness, stretch, and thread damage. Replace any fastener that shows heat damage.
- Measure clearance between fixed and moving rows, and between adjacent plates. Record every reading against the OEM value.
- Confirm plates sit flat on their support beams, with no rocking or lifted corners.
- Inspect the support beams and carriers for cracking, bending, and wear at contact surfaces.
- Check wear liners or protective covers on the plate carrier, since failures there let plate fixings overheat.
- Verify that replacement plates match the correct part number and alloy for their zone.
Checklist D: Side Seals, Drive, and Surrounding Items
- Inspect side-wall and side-plate interfaces for gaps. Clinker locking at the sides raises drive load and accelerates wear.
- Check seals between moving frames and undergrate compartments for damage and air leakage.
- Review hydraulic drive pressure and stroke behaviour against baseline. Rising pressure may indicate jammed plates or build-up.
- Inspect the roller or slide supports of moving frames for wear and lubrication condition.
- Check the clinker breaker, hammers, and discharge area for wear that changes particle size on the grate.
- Examine undergrate hoppers and drag chains for abnormal clinker volume, which signals fallthrough upstream.
Checklist E: Process Indicators to Review Before Entry
- Review trends of undergrate pressure, bed depth, grate speed, and cooler outlet clinker temperature for the last operating period.
- Compare secondary and tertiary air temperatures with recent history, to spot a slow recuperation decline.
- Note recent kiln upsets, such as liquid-phase surges or fine clinker events, because they change wear patterns.
- Check the count of cooler trips and drive overloads since the last inspection.
- Review spare plate stock and lead time before the shutdown, so findings can be acted on immediately.
- Record who inspected, what was checked, and what was not accessible, so gaps are visible.
Turn This Checklist Into a Standard Inspection Route
Load each zone as a task list, capture readings on mobile, and keep plate photos linked to the cooler asset record.
Condition Rating and Action Matrix
| Rating | Typical Findings | Action | Timing |
|---|---|---|---|
| Good | Intact surface, open air holes, within thickness and clearance limits | Continue routine inspection | Next planned round |
| Watch | Light edge rounding, minor hairline cracks, partial hole blockage | Clean, monitor, and record trend | Re-inspect at next opportunity |
| Plan | Thickness near limit, enlarged openings, loose fixings | Create work order and reserve spares | Next planned shutdown |
| Act | Through-cracks, burn-through, missing plates, jammed rows | Escalate to planner and production | Earliest safe stop |
Reactive Habits Versus Structured Inspection
- Plates replaced only after fallthrough or a cooler trip
- Findings kept in notebooks or memory
- Spares ordered after the shutdown starts
- No trend of plate life by zone
- Condition rated by zone at every inspection
- Findings stored with photos and readings
- Spares planned from rated condition
- Plate life tracked and compared by position
Escalation Path for Grate Plate Findings
Common Root Causes Behind Early Plate Wear
- Unstable kiln operation that sends fine, hot clinker onto the grate and causes uneven bed depth.
- Cooling air that is too low for the clinker load, which leaves plates running hotter than their design temperature.
- Clinker with abrasive or sticky characteristics from raw mix or fuel changes.
- Delayed replacement of damaged neighbours, which transfers load and wear onto adjacent plates.
- Mixed alloy grades or non-standard replacement parts that behave differently under heat.
- Missed seal and clearance checks that let clinker lock and raise stress on the drive.
How Oxmaint Supports the Inspection Workflow
Condition-based triggers can also be added when your plant already records pressure, temperature, or drive data, so rising trends open an inspection task automatically.
KPIs to Track for Grate Plate Reliability
| KPI | What It Shows | Review |
|---|---|---|
| Inspection completion rate | Whether planned routes are actually carried out | Weekly |
| Plate life by zone | Hours or tonnes before replacement, by position | Each shutdown |
| Unplanned cooler stops | Failures linked to grate or drive issues | Monthly |
| Undergrate pressure drift | Early sign of blockage or wear | Weekly |
| Planned versus emergency work | Share of grate work scheduled in advance | Monthly |
| Spares availability | Critical plates in stock before a shutdown | Before each stop |
Frequently Asked Questions
Safe Access Before Any Cooler Inspection
- Isolate the cooler drives, undergrate fans, and clinker breaker using the plant lock-out procedure, and confirm zero energy before anyone enters.
- Allow enough cooling time. Clinker residue and housing surfaces can stay dangerously hot long after the kiln stops, so check temperatures before entry.
- Remove or secure any hung-up clinker before work starts, because loose material can collapse without warning.
- Confirm that the entry permit, gas test where required, lighting, and an attendant at the access door are all in place.
- Check that inspectors carry measuring tools, marking paint, and a camera, so findings are recorded in one visit and not several.
- Agree an emergency exit route and communication method with the standby person before entry begins.
Setting Plant-Specific Wear Limits
- Start from the manufacturer recommendation for each plate type and alloy, and record the source document in the asset file.
- Compare removed plates from each zone to see how thickness, cracking, and opening wear actually progressed before replacement.
- Define a separate limit for each zone, since inlet plates fail mostly by heat and mid-grate plates fail mostly by abrasion.
- Include air opening size, clearance, and plate flatness as limits, and not only thickness.
- Review limits after changes in fuel, raw mix, kiln output, or cooler operating mode, because these shift the wear pattern.
- Record the reason whenever a limit is changed, so later teams understand the decision.
Recording Findings So the Next Shift Can Use Them
Common Mistakes During Grate Inspections
- Inspecting only the plates that are easy to reach, while the inlet and side rows receive little attention.
- Judging wear by eye and not by measurement, which makes comparison between inspections unreliable.
- Cleaning air openings and then not recording how blocked they were, so the cause of blockage is never investigated.
- Replacing a single failed plate without checking its neighbours, supports, and fixings for related damage.
- Ordering plates after the shutdown starts, which leaves no time to confirm part numbers and alloys.
- Closing the inspection record without an owner or date for each follow-up action.
Pre-Shutdown Preparation Checklist
- Review the last inspection report and the operating trends since then, and decide which zones need the most time.
- Confirm that replacement plates, fixings, and gaskets are in stock and match the drawings.
- Arrange measuring tools, cleaning equipment, and lifting aids before the cooler is opened.
Find Plate Wear Before It Stops the Cooler
Give your team one inspection standard, one rating scale, and one record for every grate plate finding.