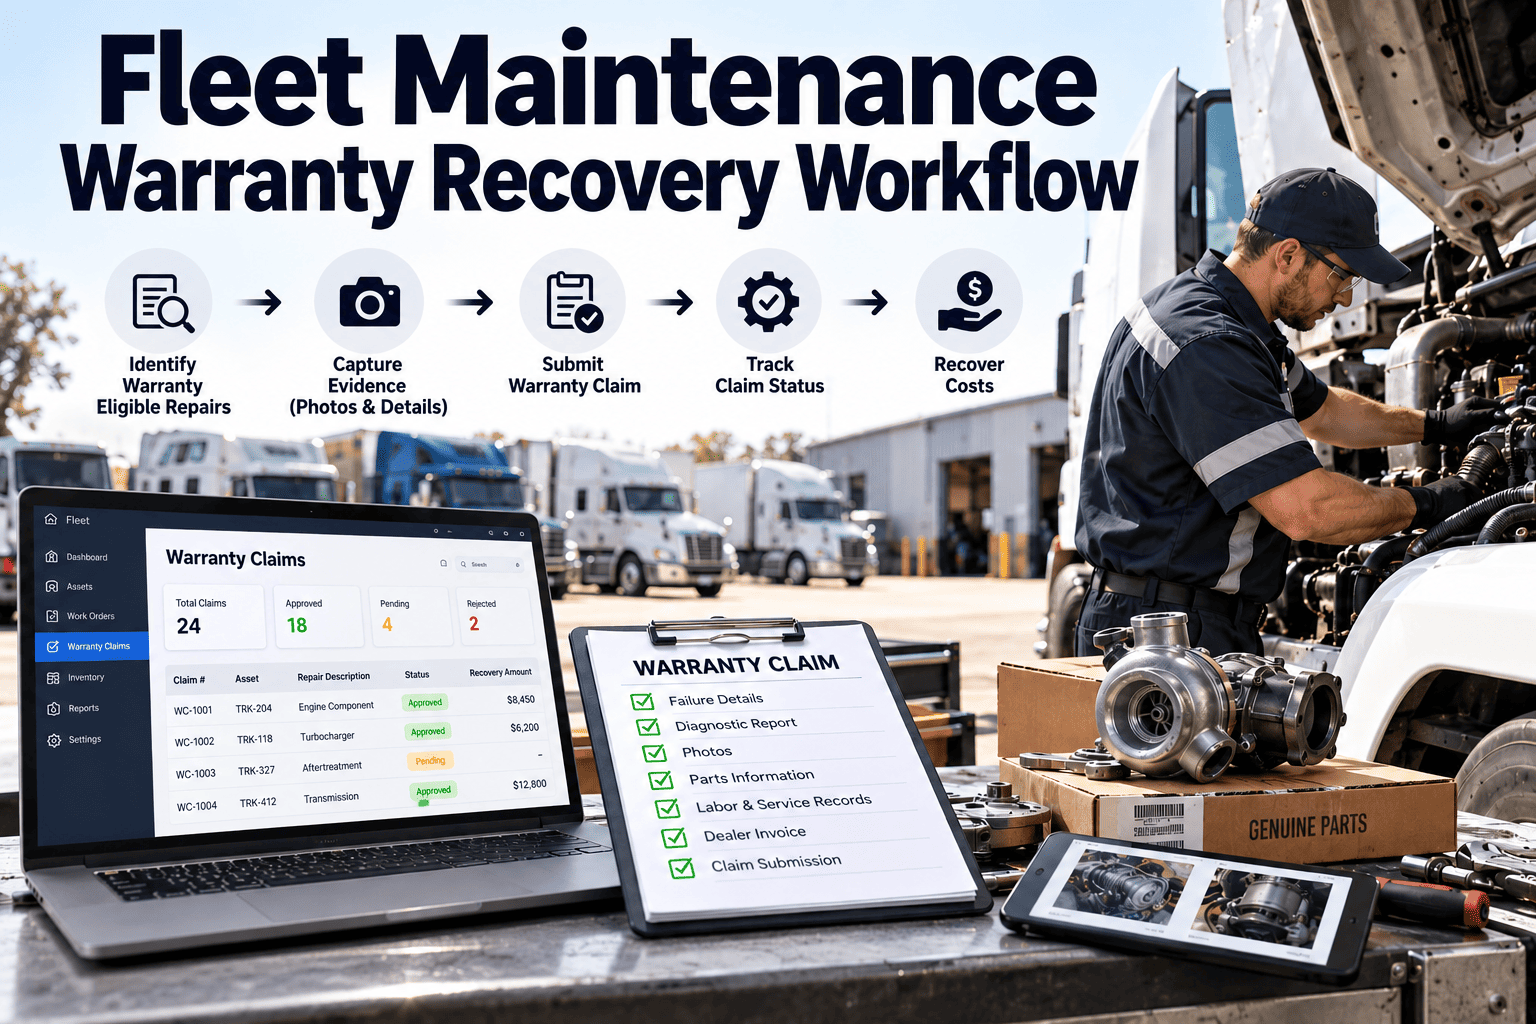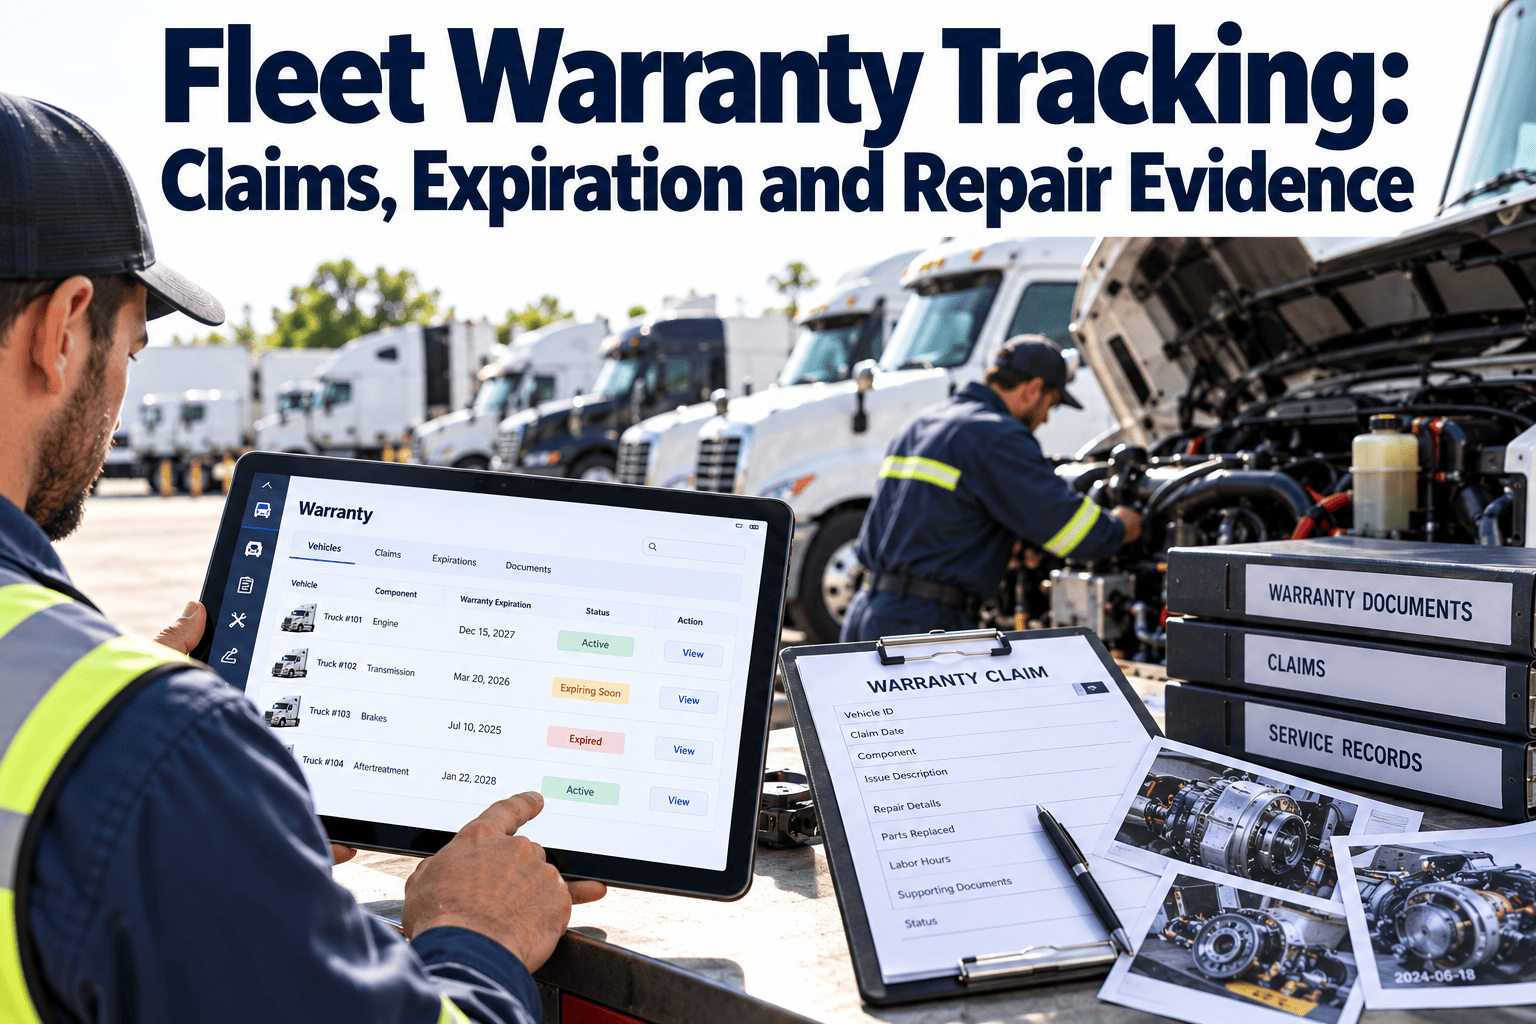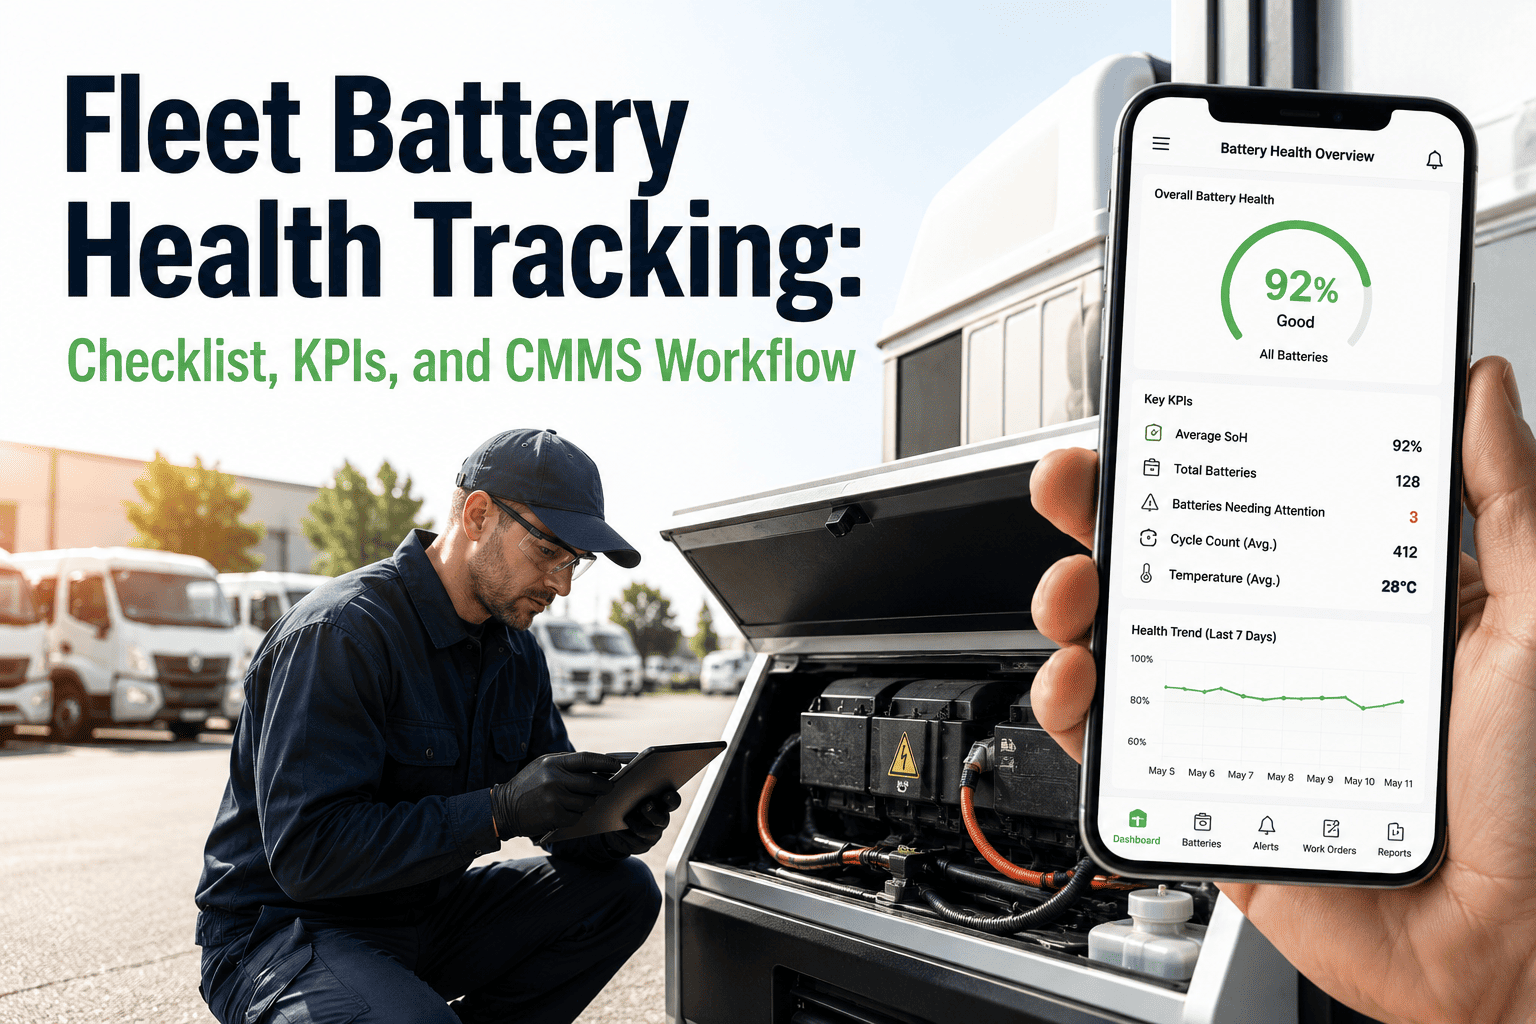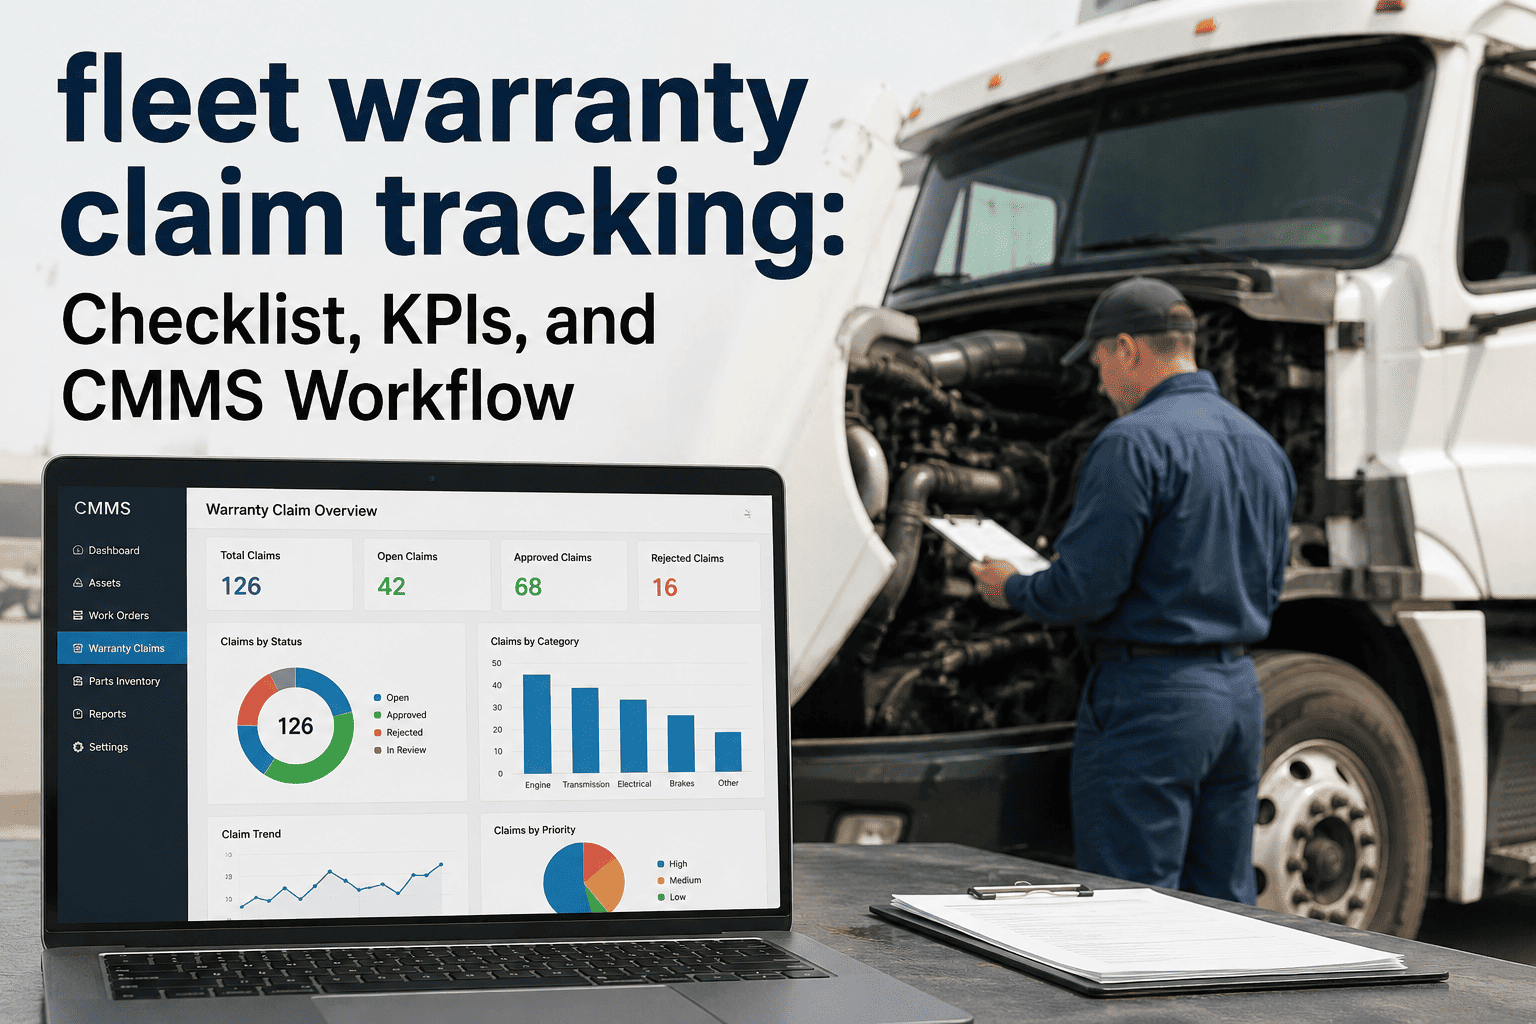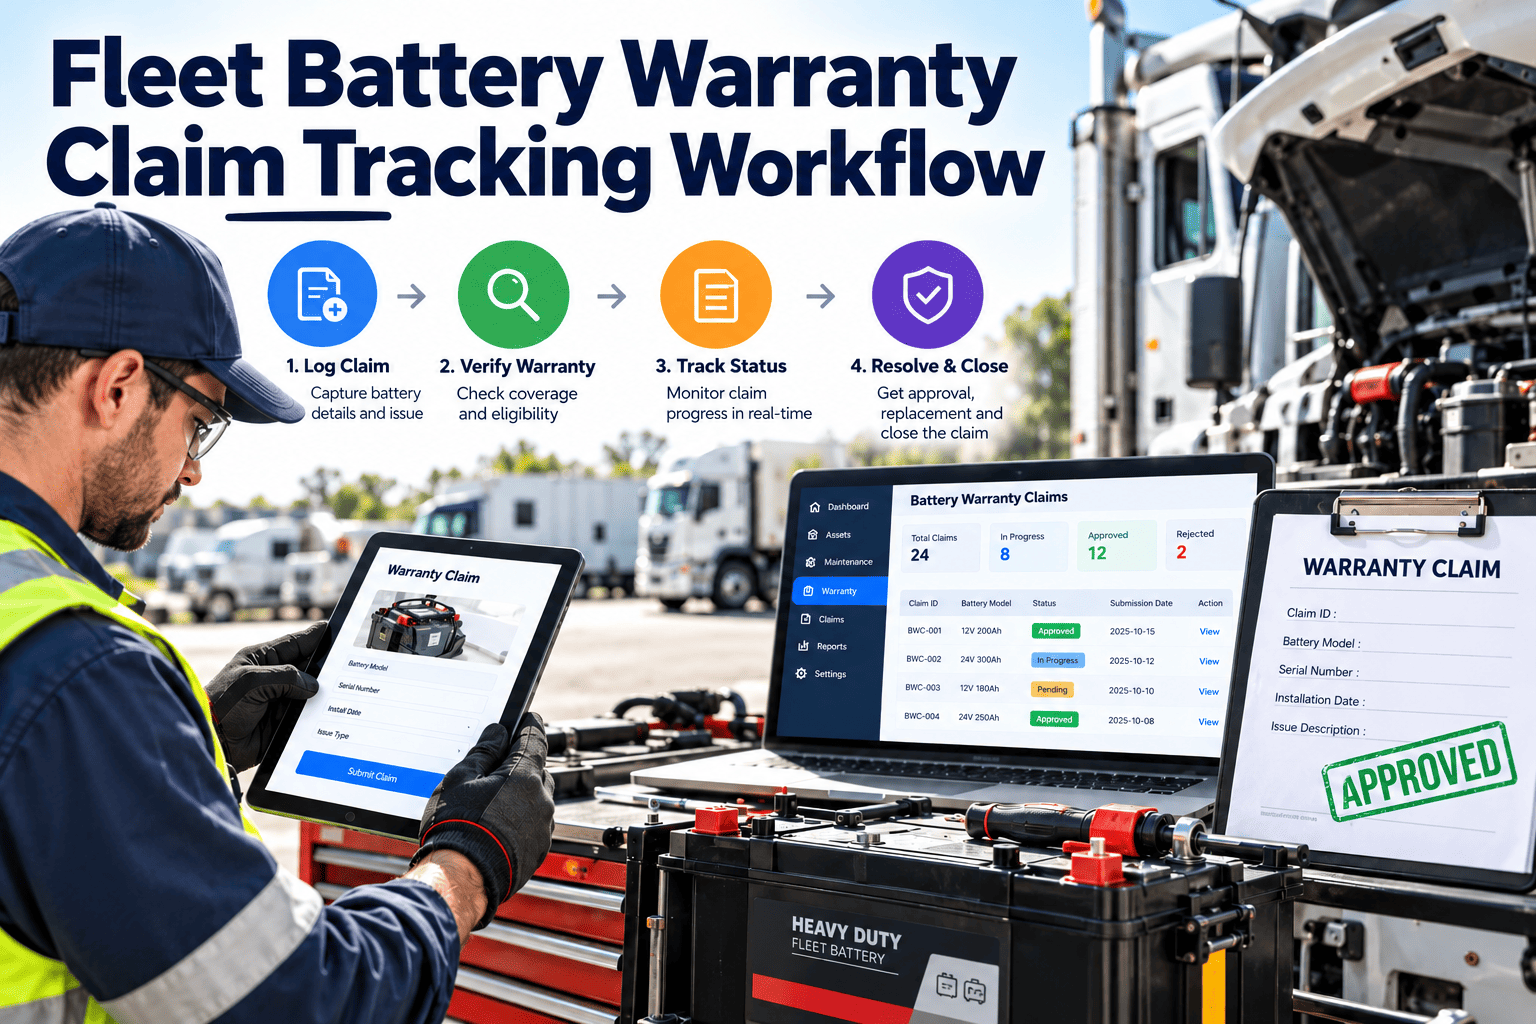
Battery failures rarely announce themselves politely. A truck refuses to start before dawn, a bus loses power on route, or a refrigerated trailer stops cooling, and the real question afterward is whether the battery was defective or abused. That answer decides who pays. Fleets that test, record, and track batteries by unit can win legitimate claims and spot bad lots early. Here is a claim workflow built around test evidence and asset history, supported by fleet CMMS software that keeps every result tied to the battery and vehicle.
Asset Management
Fleet Battery Warranty Claim Tracking Workflow
Prove whether a battery failed or was driven to failure. Record installs, test results, and charging system checks so valid claims get paid and root causes get fixed.
Battery life record
Each stage leaves evidence on the asset record
Why Battery Claims Get Denied
No install date
Without a recorded install date and unit, the warranty period cannot be confirmed.
No load test
A battery that only "would not start" is not proof of a defect; a recorded test result is.
Charging fault not ruled out
A weak alternator or loose connection can kill a good battery and void the claim.
Parasitic draw ignored
Accessories left drawing power drain batteries repeatedly, and vendors look for that pattern.
Sorting the Failure Before You File
Battery will not hold charge or start the vehicle
Charging or electrical cause
Alternator output low, loose or corroded terminals, parasitic draw, wiring fault. Fix the vehicle first; claim is unlikely.
Use or abuse cause
Deep cycling, extended idle with accessories, wrong battery type for the duty. Document and adjust the specification.
Cell or manufacturing cause
Shorted cell, internal failure, case damage within the warranty period. Build the claim with test evidence.
The Evidence Ladder
Level 1Battery identification: manufacturer, model, date code, and installed unit
Level 2Install and removal dates with odometer or engine hours
Level 3Voltage and load or conductance test results at the time of failure
Level 4Charging system and parasitic draw check on the vehicle
Level 5Prior service tests and inspections showing a healthy trend before failure
Claim Workflow, Step by Step
1
Open a work order on the failure
Record the unit, symptom, and conditions. Do not discard the battery.
2
Test the battery and the vehicle
Run the battery test and a charging system check, and note readings and tester used.
3
Check coverage
Confirm purchase date, warranty type, and whether replacement is free or pro-rated.
4
Submit the packet
Send test results, install record, and photos to the supplier with the claim reference.
5
Track the decision and credit
Record approval, adjustment, or denial, and match any credit to the original purchase.
6
Learn from the pattern
Review repeat failures by brand, date code, unit type, and duty cycle.
Free Replacement Versus Pro-Rated Coverage
| Coverage type | What it generally means | What to track |
|---|---|---|
| Free replacement period | Early failures are replaced without charge under the supplier terms | Exact end date from purchase or install |
| Pro-rated period | Credit decreases as the battery ages | Age at failure and the credit formula |
| Fleet or commercial agreement | Custom terms negotiated with the supplier | Agreement version applicable to the purchase |
| Core and exchange terms | Credit depends on returning the old battery | Core return confirmation |
Conventional and High-Voltage Batteries
Starting and auxiliary batteries
- Date codes and install records matter most.
- Load or conductance testing at each service shows decline.
- Terminal condition and cable checks belong in every PM.
- Duty-cycle mismatch often explains repeat failures.
Electric vehicle traction batteries
- Warranty usually references state of health and capacity thresholds.
- Keep diagnostic reports and charging history with the asset.
- Follow the manufacturer process, which is usually dealer-led.
- Record fault codes and service events as they occur.
Preventive Checks That Protect Future Claims
Every PM
Record resting voltage, inspect terminals and hold-downs, and clean corrosion.
Seasonal
Run load or conductance tests before extreme weather and replace weak units on your schedule.
After repeat jump starts
Trigger an electrical inspection for alternator output and parasitic draw.
At replacement
Log the new battery serial, install date, and unit immediately.
What to Measure
Battery failure rate by brand, size, and unit type
Claim success rate for submitted claims
Road calls from dead batteries and the downtime they caused
Average battery age at failure compared to expected life
Credit recovered against battery spend
Reading Battery Test Results Correctly
| Test outcome | What it usually indicates | Recommended next step |
|---|---|---|
| Good, fully charged | Battery is healthy and the problem lies elsewhere in the vehicle | Investigate starter, cables, and parasitic draw rather than the battery |
| Good but low charge | Battery is serviceable but was discharged, often by a charging or draw problem | Recharge, retest, and check the alternator and accessory circuits |
| Weak or marginal | Capacity has declined with age or use | Plan replacement on your schedule and record age and duty cycle |
| Bad cell or fails load test | Internal failure that may qualify for a claim if within coverage | Document results, keep the battery, and assemble the claim packet |
| Replace and retest inconclusive | Result is borderline or affected by temperature or surface charge | Retest after proper charging and note conditions of both tests |
| Repeated failures on one unit | Likely a vehicle-side cause such as charging faults or heavy accessory load | Open an electrical diagnosis work order before buying another battery |
Make Every Battery Test Count
Record the evidence before the failure, and a claim becomes a short, factual packet.
Parasitic Draw and Charging System Checks
Charging system verification
- Measure alternator output under load and compare it with the specification for that vehicle.
- Inspect belts, tensioners, and pulleys that drive the alternator.
- Check ground and power cables for corrosion, heat damage, and loose connections.
- Record readings on the work order so the vendor can see that charging was verified.
Parasitic draw investigation
- Measure current draw with the vehicle off and all modules asleep, following the service procedure.
- Look for aftermarket equipment such as telematics, lighting, or radios wired directly to the battery.
- Check for lights, dash modules, and trailer connections that stay powered.
- Fix the source of the draw before replacing the battery again.
Environmental and Duty Cycle Factors
Heat
High under-hood temperatures accelerate internal wear, so vehicles in hot regions may see shorter battery life.
Cold
Low temperatures reduce available starting power and expose weak batteries, which is why failures cluster in winter.
Short trips
Frequent short runs do not let the alternator recharge the battery fully, causing gradual undercharging.
Idle and hotel loads
Extended idling with heaters, inverters, or refrigeration drains batteries not built for deep cycling.
Documenting a Failed Battery on the Spot
1
Photograph the label and case
Capture the date code, model, and any case damage before removal.
2
Record vehicle conditions
Note ambient temperature, recent jump starts, and any reported symptoms.
3
Run and save the test
Print or photograph the tester result with the reading visible.
4
Check the charging system
Record alternator output and parasitic draw findings for that unit.
5
Tag the battery
Label it with the work order number and store it until the claim closes.
6
Log the new battery
Record the replacement serial and install date so the next warranty clock starts correctly.
Supplier Relationships and Warranty Administration
Single contactGive each supplier one point of contact for claims, so credits and replacements are not lost between departments.
Written termsKeep warranty terms for each purchase batch, because coverage can change between product lines and contract periods.
Return processAgree how failed batteries are collected, tested, and credited, including who performs the supplier test.
Lot trackingRecord date codes so a group of early failures from one production period can be raised as a pattern.
Quarterly reviewCompare failure rates and claim outcomes by brand and use them in purchasing decisions.
Common Reasons Fleets Lose Battery Warranty Value
Batteries are discarded
Failed units go into the scrap pile before anyone records the date code or tests them.
Installs are not logged
Technicians swap batteries during other repairs without recording the date or unit.
Claims wait too long
Paperwork is delayed until coverage periods have passed or the battery has been taken apart.
Root cause is ignored
A new battery goes into a vehicle with a charging fault and fails again within months.
Matching Battery Type to the Job
| Application | Main demand on the battery | What to specify and record |
|---|---|---|
| Over-the-road tractors | High cranking power and long idle periods | Cold cranking rating, group size, and idle policy |
| Delivery vans and light trucks | Frequent starts, short trips, and accessory loads | Higher capacity and regular charge checks |
| Buses and shuttles | Heavy electrical load from lighting, doors, and climate systems | Load testing and charging system review |
| Refrigerated and utility units | Deep discharge from auxiliary equipment | Deep-cycle or dual-purpose batteries where specified |
| Standby and seasonal vehicles | Long periods of inactivity | Maintenance charging and storage procedures |
Running a Seasonal Battery Program
Before cold weather: test every battery older than a set age, record the result, and replace marginal units on your schedule rather than at the roadside.
Before hot weather: inspect cooling, belts, and under-hood heat sources, and check electrolyte condition where batteries allow it.
At each PM: record resting voltage, clean terminals, confirm hold-downs, and note any corrosion or case swelling.
After storage: charge and retest vehicles that sat unused before returning them to service.
At year end: review failures by age, brand, and unit type, and update replacement ages for next season.
Involving Drivers in Early Detection
What drivers can report
- Slow or hesitant cranking, especially on cold mornings
- Dim lights or warning indicators when starting
- Repeated need for jump starts
- Accessories left on overnight or between shifts
How to capture it
- Add a battery question to the pre-trip inspection checklist.
- Create a work order automatically when a driver flags starting trouble.
- Test the battery at the next opportunity, before the vehicle is stranded.
- Feed the reports into the unit history for later claim support.
Using Battery History for Replacement Planning
Average life by brand
Compare age at failure across brands and models to see which perform best in your duty cycle.
Life by vehicle type
Batteries in high-idle or short-trip vehicles may need earlier replacement than those on long routes.
Planned versus roadside
Track how many replacements were planned and how many followed a failure. A rising planned share shows the program working.
Warranty window alerts
Flag batteries approaching the end of coverage so weak units are tested while a claim is still possible.
Training Technicians to Document Consistently
Standard formUse one battery failure template with required fields, so every technician captures the same evidence in the same order.
Tester disciplineTeach correct tester use, including surface charge removal and proper connection, so results are accepted by suppliers.
Short feedback loopReview a few completed claims each month with the shop team and show which records helped or hurt.
New hire onboardingInclude the battery documentation routine in training, since installs by new staff are where records usually slip.
How Oxmaint Supports Battery Claim Tracking
Asset managementStore battery details, install dates, and replacement history on each vehicle record.
Preventive maintenanceSchedule recurring battery and charging system checks by season or interval.
InspectionsCapture voltage and test readings through mobile checklists at the vehicle.
Work ordersLink failure notes, tests, and photos to a single claim-ready record.
ReportingSpot repeat failures and compare battery brands and duty cycles.
Frequently Asked Questions
What proof does a battery warranty claim usually need?
Typically the battery identification, purchase or install date, test results, and proof the charging system was healthy. Supplier requirements vary.
Why check the alternator before filing?
A weak charging system can destroy a good battery. Ruling it out strengthens the claim and prevents a repeat failure.
How do I separate a defect from abuse?
Compare test results, service history, and duty cycle. A healthy trend followed by sudden failure points toward a defect.
Can a CMMS track battery age by vehicle?
Yes. You can record battery installs and tests on each asset and schedule checks from that data.
Do EV batteries follow the same process?
Not exactly. Warranty is often capacity-based and manufacturer-led. Book a demo to see how to log diagnostics.
Stop Paying for Batteries You Already Covered
Track installs, tests, and claims on the asset record, and recover value from valid failures.