Brake failures are responsible for nearly 30% of all commercial vehicle roadside out-of-service orders — making them the single most cited mechanical defect category in FMCSA inspections. For fleet operators, a single OOS event on a loaded vehicle triggers breakdown recovery costs, delivery failures, CSA score penalties, and potential liability exposure that can total $10,000 or more before a replacement part is ordered. The data is clear: reactive brake maintenance costs five to eight times more per event than a structured inspection workflow that catches degradation early. Yet most fleets still rely on paper DVIRs, verbal driver reports, and calendar-based shop visits — all of which introduce gaps where serious brake defects go undetected until a roadside inspector finds them. This guide covers the complete brake inspection workflow, federal compliance thresholds, and digital documentation practices that eliminate those gaps. To see how OxMaint automates this workflow for your fleet, sign up free or book a demo.
Fleet Maintenance · Brake Inspection · DOT Compliance 2026
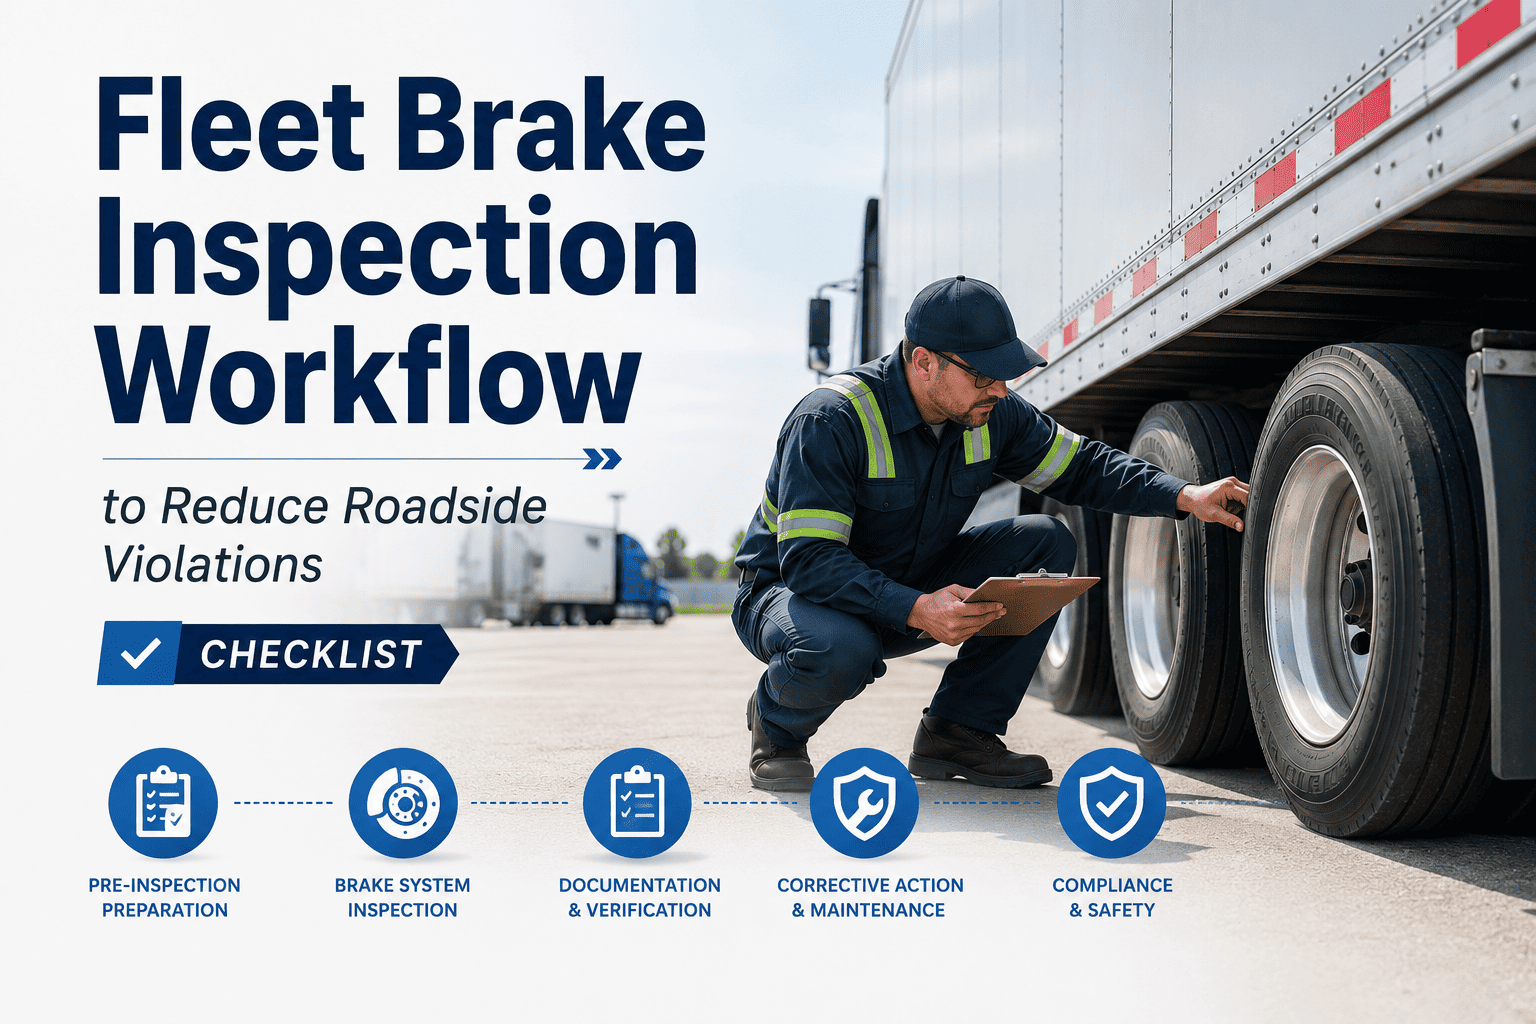
Fleet Brake Inspection Workflow to Reduce Roadside Violations
30% of all OOS orders are brake-related. A structured digital inspection workflow catches defects before inspectors do — protecting your CSA score, your drivers, and your revenue.
30%
of all commercial vehicle OOS orders are brake-related — the #1 cited mechanical defect
5–8x
Higher cost per event for reactive brake repair vs. proactive inspection-driven maintenance
$10K+
True cost of a single brake-related OOS event including recovery, downtime, and CSA impact
48 hrs
Average lag time between brake defect detection on paper DVIRs and technician repair action
Why Brakes Fail Inspection
The 5 Root Causes Behind Brake OOS Orders — And What Inspectors Look For
Understanding what triggers a brake OOS order is the starting point for building an inspection workflow that prevents them. FMCSA inspectors follow CVSA criteria — these are the five failure modes that appear most frequently.
01
Brake Adjustment Out of Spec
Push rods that exceed the adjustment limit for the brake chamber size are the most common brake OOS trigger. Automatic slack adjusters fail or are misadjusted after lining replacement, and go undetected without a measured stroke check during inspection.
02
Worn or Cracked Brake Drums
Drums worn beyond the discard diameter stamped on the drum face generate excessive heat and reduce braking torque. Cracks radiating from drum holes or vent slots are immediate OOS violations — they are invisible in a walk-around but caught in a mounted brake inspection.
03
Brake Lining Below Minimum Thickness
FMCSA requires a minimum of 1/4" lining thickness for steering axle brakes and 1/4" for all other positions (measured at the thinnest point, not including the shoe). Linings contaminated with grease or oil are also an OOS violation regardless of thickness.
04
Air System Defects
Low air pressure warning systems that fail to activate at 60 PSI, excessive air leakage (more than 4 PSI/minute at governed pressure on a combination vehicle), and missing or damaged air lines are all CVSA OOS criteria that a complete air system test during inspection would catch.
05
Missing or Inoperative Brake Components
Spring brakes not releasing fully, missing cotter pins in slack adjusters, broken return springs, and non-functional brake chambers — all are OOS violations that develop over time and are only found with a hands-on under-vehicle inspection, not a visual walk-around.
Turn Every Driver Pre-Trip Into a Timestamped, Auditable Brake Record
OxMaint's mobile inspection checklists guide drivers through DOT-compliant brake checks and auto-generate work orders the moment a defect is flagged — no paper, no lag, no missed repairs.
Complete Inspection Workflow
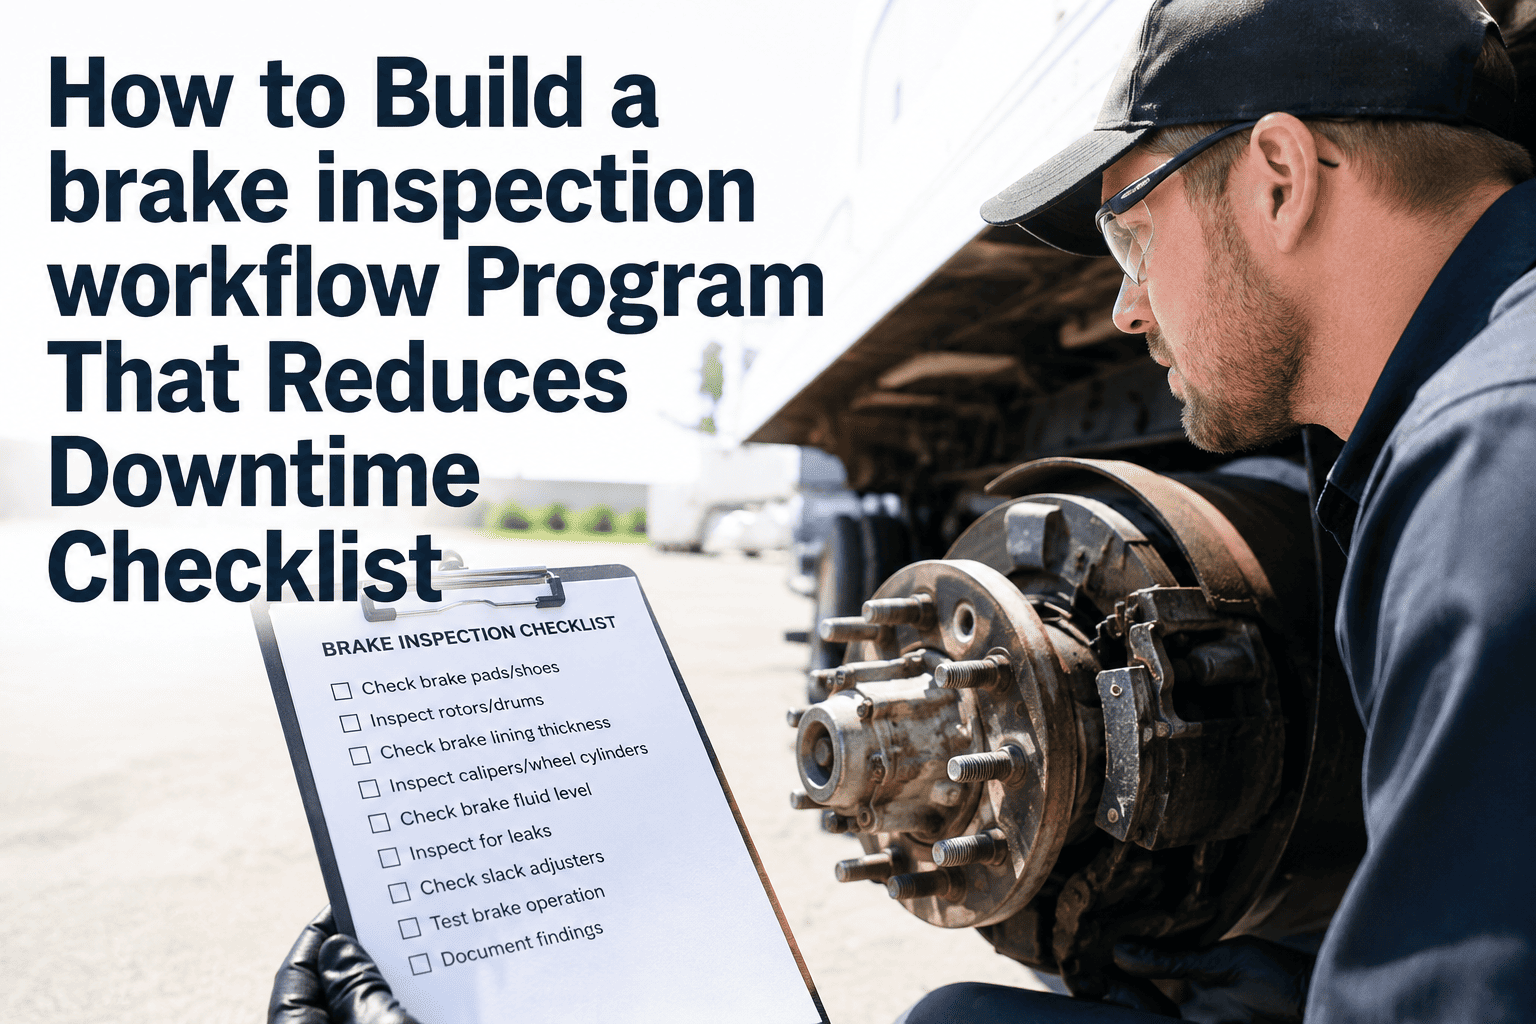
Fleet Brake Inspection Checklist — Pre-Trip, Weekly, and Periodic
A compliant brake inspection workflow has three tiers. The daily pre-trip is FMCSA-mandated and driver-executed. Weekly technician inspections add measured checks. Periodic inspections (every 90 days or at annual PM) cover the full brake system. Each tier must be documented to build the audit trail that protects your fleet.
Pre-Trip Daily — Driver (FMCSA Required)
Check brake pedal travel and firmness — soft or spongy pedal indicates air in hydraulic system or leaking components
Test parking brake — verify vehicle holds on grade with parking brake applied before moving
Listen for air leaks with key on, engine off — excessive hissing from air lines or chambers is reportable
Check air pressure gauge — system must reach and hold governed pressure, low warning light must illuminate at correct threshold
Inspect brake chamber dust covers — missing or damaged covers allow moisture and contamination entry
Visually check brake lines and hoses for visible damage, chafing, or improper routing under vehicle
Document all findings in mobile DVIR before departure — do not rely on memory or verbal reporting
Weekly — Technician Inspection
Measure push rod stroke on all brake chambers — compare against allowable stroke table for chamber size
Check automatic slack adjuster function — push rod should retract fully after brake release, no dragging
Inspect brake lining thickness — record measurement by axle position, flag any approaching minimum
Check lining for oil, grease, or glazing contamination — contaminated linings must be replaced regardless of thickness
Inspect brake drums for scoring, cracks, or heat discoloration — measure drum diameter if wear is visible
Air brake system leak-down test — charge to governed pressure, time pressure drop over 2 minutes
Log all readings with vehicle ID, odometer, and technician ID in CMMS
Periodic — Full System Inspection (90-Day / Annual PM)
Disassemble and inspect all brake chambers — replace diaphragms showing cracks, deformation, or fatigue
Measure all brake drums to manufacturer discard diameter — replace any drum at or beyond discard spec
Replace brake linings at or before minimum thickness — never mix lining types on same axle
Inspect and lubricate all brake anchor pins, camshaft bushings, and slack adjuster splines per OEM spec
Test spring brake release and hold function — verify spring brake will not release below 20 PSI on charge
Inspect ABS module, tone rings, and wheel speed sensors — clean and test function on all equipped axles
Perform full system brake balance test — verify brake force is within 20% side-to-side on each axle
Export complete inspection record from CMMS for DOT compliance file
DOT Compliance Thresholds
Federal Brake Standards Every Fleet Manager Must Know for 2026
These are the FMCSA thresholds that generate OOS orders on the spot. Meeting the minimum is not the goal — staying well above them is what keeps vehicles moving.
Lining Thickness — Steering Axle
1/4"
Minimum brake lining thickness for steering axle positions. Schedule replacement at 5/16" to avoid emergency downtime.
Lining Thickness — All Other Axles
1/4"
Same minimum applies to drive and trailer axles. Contaminated linings are OOS at any thickness.
Air Leak Rate — Combination Vehicle
4 PSI/min
Maximum allowable air pressure drop over one minute with engine off at governed pressure. Single vehicle: 3 PSI/min max.
Low Pressure Warning Activation
60 PSI
Warning device must activate before pressure drops below 60 PSI. Non-functional warning system is an OOS violation.
Push Rod Stroke
By Chamber
Maximum stroke varies by chamber type and size (e.g., Type 30: 2.5"). Exceeding the limit at full brake application is OOS.
Brake Balance Side-to-Side
20% Rule
Brake force imbalance greater than 20% side-to-side on any axle is a safety violation triggering corrective action.
Digital Workflow
How OxMaint Turns Brake Inspection Data Into Roadside Violation Prevention
The gap between finding a brake defect and repairing it is where violations are born. A paper-based workflow stretches that gap to 48+ hours. OxMaint closes it to minutes.
1
Driver Pre-Trip on Mobile
Driver opens mobile checklist, completes guided brake inspection with photo capture. Any flagged item triggers an immediate alert — not a paper form filed in the cab.
2
Auto-Generated Work Order
Defect flag auto-creates a work order assigned to the responsible technician — with vehicle ID, defect type, photo, and priority level pre-populated. No dispatcher relay needed.
3
Technician Measurement & Log
Technician completes the measured inspection — push rod stroke, lining thickness, air leak test — and logs readings directly into OxMaint from the shop floor. Historical trends update in real time.
4
Predictive Scheduling Trigger
OxMaint's AI flags brake components approaching replacement thresholds based on trend data — scheduling PM work before the vehicle reaches an OOS-qualifying condition, not after.
5
DOT Audit Export in 60 Seconds
Complete brake inspection history per vehicle — every driver check, every technician measurement, every work order — exported from OxMaint in under 60 seconds, ready for any DOT audit or CSA review.
Paper vs. Digital
Why Paper Brake Inspection Programs Keep Failing Road Inspections
| Inspection Point |
Paper / Manual |
OxMaint Digital |
| Driver defect reporting |
Handwritten DVIR — often incomplete, filed in the cab |
Mobile form with photo, timestamped and stored to vehicle record |
| Defect-to-work order time |
24–48 hours — paper reaches shop at next check-in |
Under 5 minutes — auto-generated from driver flag |
| Push rod stroke records |
Written on paper — no trend history, no alert at limit |
Digital log by position — trend flags approaching OOS threshold |
| DOT audit preparation |
Hours of manual file assembly — gaps and inconsistencies visible |
60-second export — complete history by vehicle and date range |
| Predictive replacement |
Not possible — no data history for trend analysis |
AI flags components before they reach OOS threshold |
Frequently Asked Questions
Fleet Brake Inspection — What Fleet Managers Ask Most
What are the FMCSA brake regulations that most commonly trigger OOS orders during roadside inspections?
The most common triggers are brake adjustment violations (push rod stroke exceeding allowable limits), brake lining below 1/4" thickness or contaminated with oil or grease, inoperative or defective brake components including broken springs or missing cotter pins, and air system defects such as excessive leak rates or a non-functional low-pressure warning. Knowing these five categories and building your inspection workflow around detecting them is the fastest path to reducing OOS rates.
OxMaint's checklist templates are built around these exact criteria.
How often should a commercial fleet perform a full brake inspection — and who should perform it?
FMCSA requires a driver-executed pre-trip inspection before every trip. A technician-level measured inspection (push rod stroke, lining thickness, air leak test) should occur weekly for high-mileage fleets. A full periodic inspection covering chambers, drums, and system balance is required every 90 days under 49 CFR 396.17. Each tier must be documented with the inspector's name, vehicle ID, date, and findings.
Book a demo to see how OxMaint manages all three tiers.
What is the correct procedure for a push rod stroke check — and what limits apply by chamber size?
A push rod stroke check is performed with a chalk mark or tape flag on the push rod at rest, then measuring extension at full brake application (90 PSI or above). Compare the measured stroke against the CVSA allowable stroke table: Type 30 chambers allow 2.5", Type 24 allow 2.25", and smaller chambers have proportionally lower limits. Any stroke at or beyond the limit is an OOS violation. Automatic slack adjusters that repeatedly require manual adjustment indicate a worn or failed adjuster requiring replacement, not re-adjustment. Log every measurement by position using
OxMaint for trend tracking.
How does OxMaint's AI predictive maintenance feature apply to brake inspections specifically?
OxMaint tracks brake lining thickness, push rod stroke measurements, and air system performance over time by vehicle and axle position. When the trend line shows a component approaching the OOS threshold — based on rate of wear, not just current reading — OxMaint flags it for proactive scheduling before it becomes a violation. This shifts brake maintenance from reactive (replace at failure) to predictive (replace before failure), which is the core of eliminating roadside violations.
See it live in a demo.
What documentation does a fleet need to produce during a DOT brake compliance audit?
DOT auditors require: driver DVIRs showing pre-trip brake checks with defect identification, periodic inspection records per 49 CFR 396.21 (signed, dated, including each inspection item and finding), and evidence of repair for any defects noted. Records must be retained for one year (DVIRs) and at least the next periodic inspection cycle for maintenance records. OxMaint stores and exports all of this in under 60 seconds — vs. hours of manual file assembly from paper binders.
Sign up free to start building your audit-ready record today.
Every Mile Without a Documented Brake Inspection Is a CSA Violation Waiting to Happen.
OxMaint digitizes your entire brake inspection workflow — from driver pre-trip to technician measurement to DOT audit export — in a single mobile platform. Deploy across your fleet in days. No hardware. No IT project. Full DOT compliance from day one.