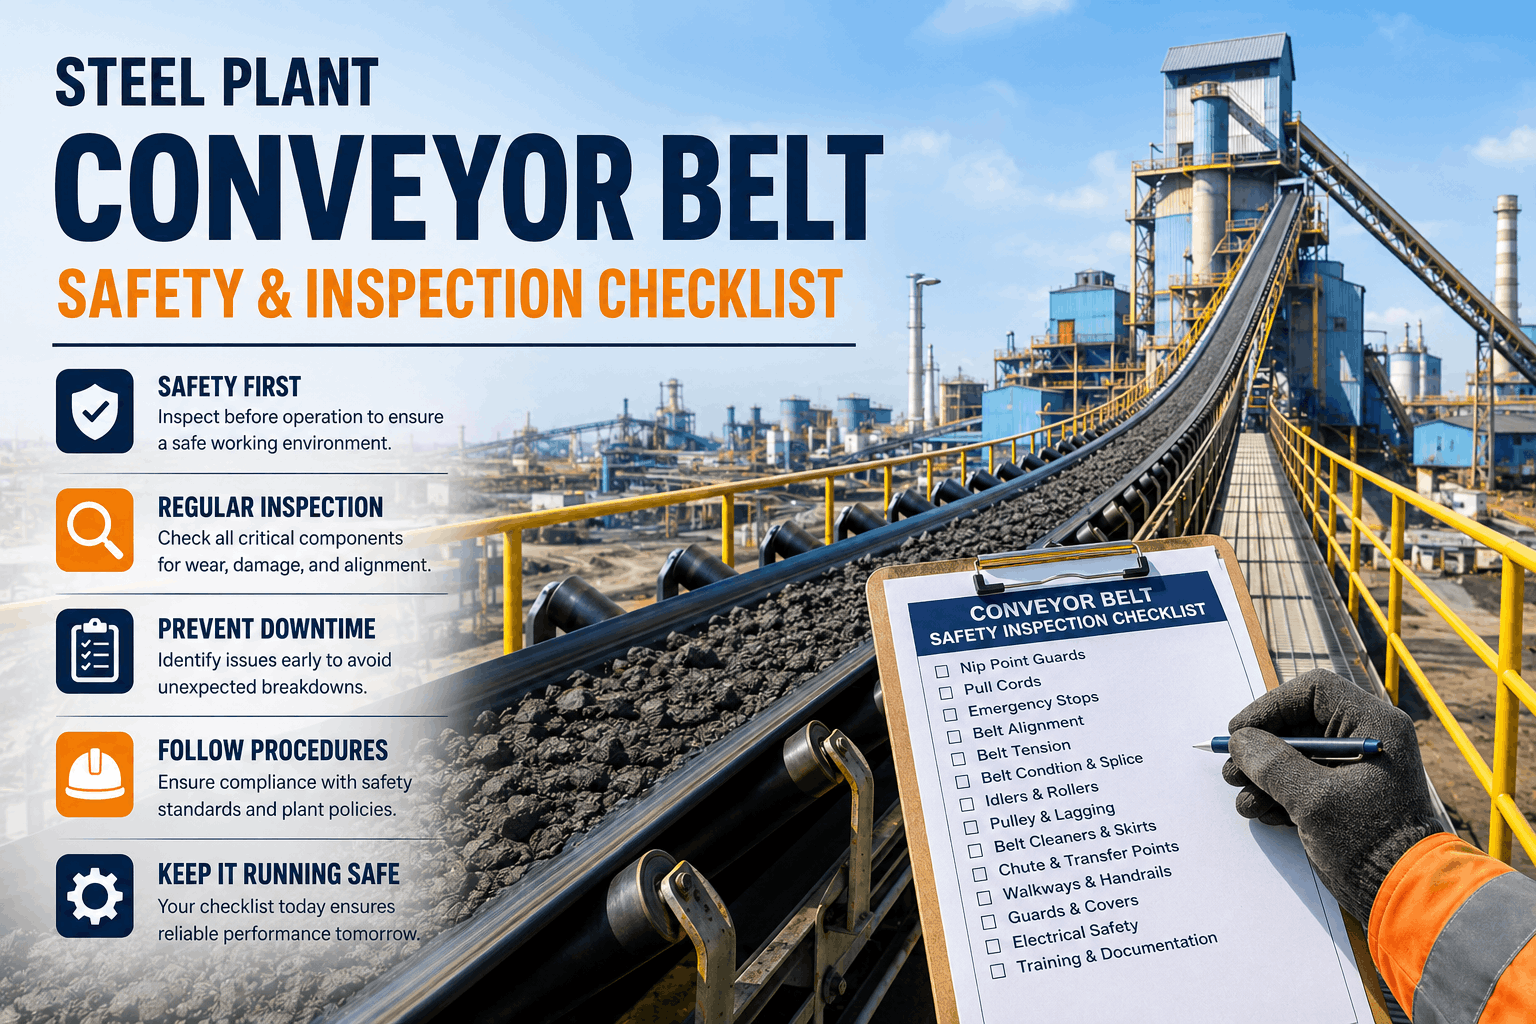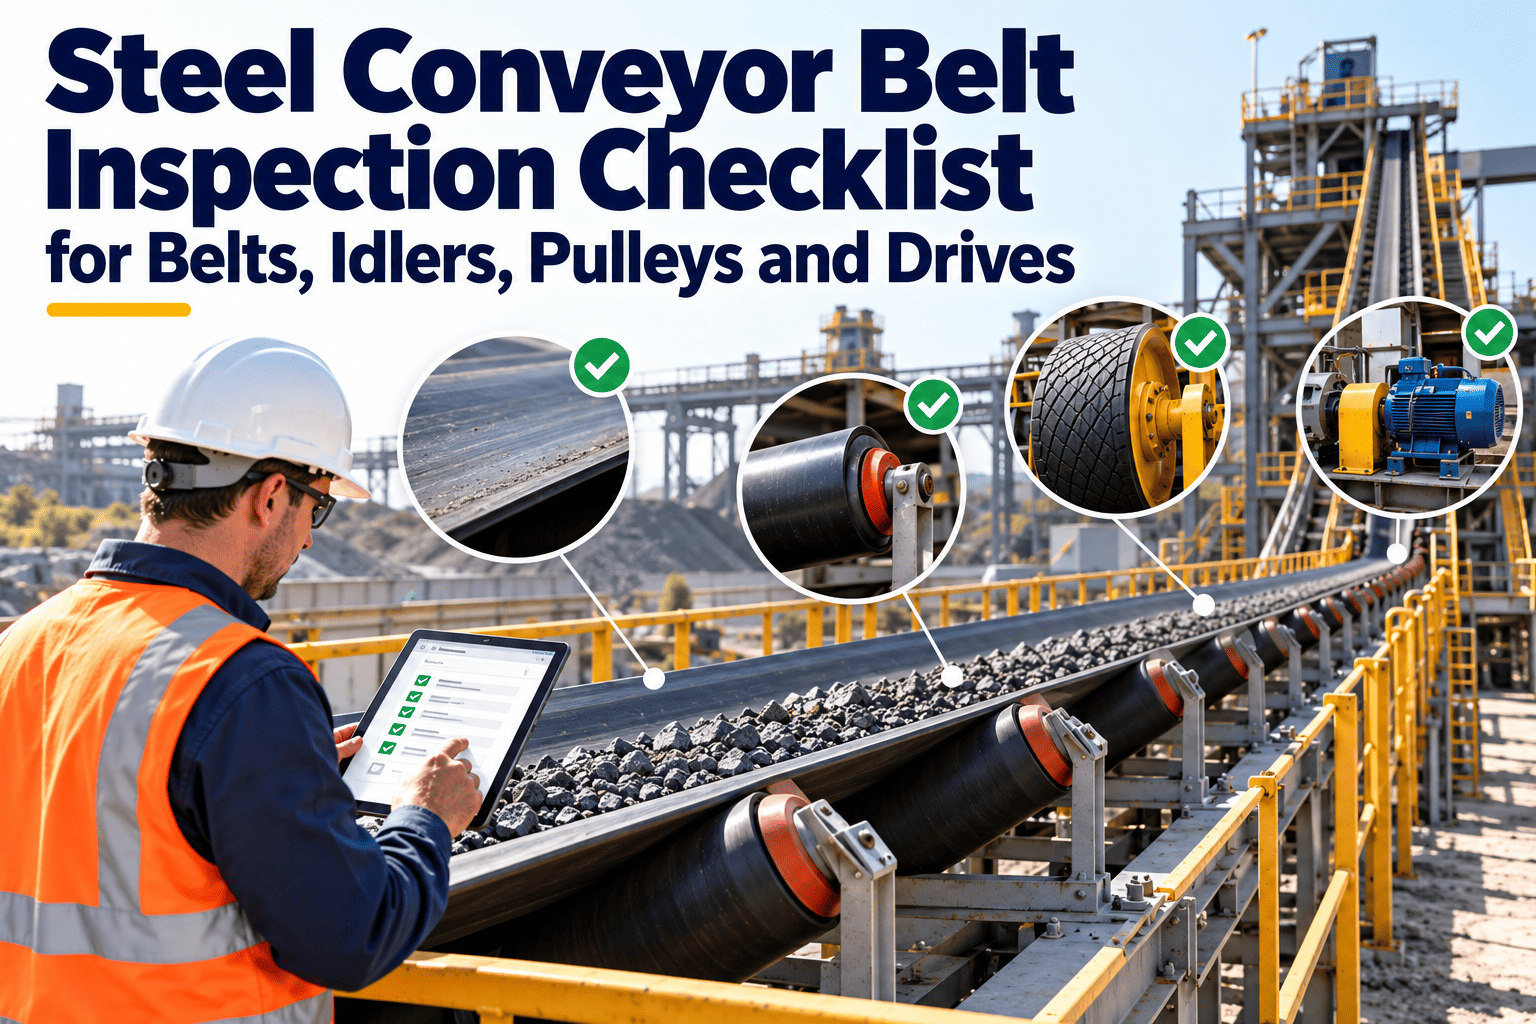
In a steel plant, a conveyor is rarely a stand-alone machine. It feeds coke, sinter, ore, limestone and scrap into the process, and one torn belt or seized idler can starve a blast furnace or sinter line within hours. This steel conveyor belt inspection checklist covers belts, splices, tracking, pulleys, idlers, drives, guards and spillage in one structured routine. Each item is written so inspectors can record findings, raise work orders and keep a trail in maintenance management software built for plant teams.
Steel Conveyor Belt Inspection Checklist for Belts, Idlers, Pulleys and Drives
Catch belt tears, misalignment and wear before they stop raw material flow. Walk the line component by component, log every finding on a mobile device, and turn defects into scheduled work.
Why Steel Plant Conveyors Fail Differently
Harsh Duty
- Hot sinter and coke that heat-age belt covers
- Sharp scrap and ore lumps that gouge and puncture
- Fine dust that packs into idler bearings and pulley faces
High Consequence
- Blast furnace charging depends on steady burden delivery
- Long belts are hard to reach and inspect while running
- Unplanned stops often force rushed, unsafe repairs
Hidden Wear
- Steel cord damage sits inside the rubber
- Seized idlers wear through shells and cut the belt
- Misalignment slowly shreds edges before anyone notices
Failure Mode Risk Matrix
| Failure Mode | Early Sign | If Missed | Check Rhythm |
|---|---|---|---|
| Longitudinal belt tear | Embedded objects, gouges at loading zone | Belt split along its length, long outage | Every shift |
| Belt misalignment | Edge rubbing on structure, one-sided spillage | Torn edges, damaged stringers | Every shift |
| Splice separation | Lifted edges, cracked rubber, cord pull-out | Belt parts under load | Weekly |
| Seized idler | Noise, heat, shiny worn shell | Belt cut, possible fire | Weekly |
| Pulley lagging wear | Smooth or missing lagging, slip marks | Slippage, tracking drift | Weekly |
| Drive or gearbox fault | Rising temperature, vibration, oil leaks | Drive trip or gear damage | Daily trend review |
| Carryback and spillage | Material under return run and at scrapers | Roller buildup, housekeeping hazard | Every shift |
How a Small Defect Becomes a Belt Stoppage
Trigger
A worn skirt seal or a misaligned chute lets material land off-centre or drop from height.
Drift
The belt wanders, spillage builds up and idlers on the return side start to seize.
Damage
Edges fray, covers gouge, and a stuck roller wears a flat spot into the belt.
Stoppage
A tear, splice failure or fire forces an emergency shutdown and a long repair.
Stop Finding Belt Damage After It Stops the Line
The Inspection Checklist
A. Belt Cover, Cords and Splices
- SInspect the carry side for cuts, gouges, embedded objects and burn marks, especially at the loading zone.
- SCheck both edges for fraying, cracking or rubbing damage and note where it occurs along the belt length.
- WExamine every splice for lifted edges, cracked rubber, exposed cords and signs of movement between splice marks.
- WLook at the return side for buildup, scoring and material stuck to the bottom cover.
- MMeasure top cover thickness at set points and record it so wear rate can be trended and replacement planned.
- QFor steel cord belts, review cord condition using the plant's scanning or magnetic inspection method and log results against the belt ID.
B. Tracking and Alignment
- SConfirm the belt runs centred on the head pulley, tail pulley and through the transfer points.
- SCheck that tracking switches and belt-drift sensors are clean, undamaged and not bypassed.
- WInspect training idlers for free rotation and correct angle, and correct their position only under lockout.
- MVerify pulley and idler alignment against reference lines, since a square frame is the base of stable tracking.
C. Pulleys and Lagging
- WInspect head and drive pulley lagging for wear, debonding, missing sections and smooth patches that allow slip.
- WLook for buildup on tail, bend and snub pulleys that can dent the belt and push it off centre.
- MCheck pulley bearings for temperature, noise and grease condition, and note any seal leakage.
- QInspect shells, welds and shaft ends for cracks or fretting at the next planned outage.
D. Idlers and Rollers
- SWalk the line listening for squealing, rumbling or dry-running rollers, and tag suspect idlers with position numbers.
- WIdentify seized or missing rollers, and treat any stuck idler under a running belt as a fire and cut risk.
- MCheck impact idlers at loading zones for damaged rubber rings and misaligned frames.
- MScan roller temperatures with a handheld thermal camera and compare against neighbouring idlers.
E. Drive, Gearbox and Couplings
- SRecord motor and gearbox temperature, unusual noise and vibration, and compare to the last reading.
- WCheck gearbox oil level, breather condition and leaks around seals and inspection covers.
- MInspect couplings, guards, holding-back devices and brake components for wear or looseness.
- QTake oil samples and confirm motor current draw is within its normal band for the load.
F. Tension and Take-Up
- WCheck gravity take-up carriage travel, counterweight position and free movement of guide rails.
- MInspect screw or hydraulic take-ups for correct setting, leaks and seized threads.
- MNote belt sag between idlers and any slip at start-up, which can point to low tension or worn lagging.
G. Guards, Emergency Stops and Safety
- SConfirm guards are in place at pulleys, drives and nip points, and that none have been removed or damaged.
- WTest pull-cord emergency stops and zero-speed switches along the belt and record the result.
- MVerify lockout points are labelled, accessible and matched to the written isolation procedure.
- MCheck fire detection and suppression near drives, and inspect for dust accumulation on beams and ledges.
H. Transfer Points, Skirts and Spillage
- SCheck skirt seals and chutes for gaps, wear and blockage, and note where material escapes.
- WInspect belt cleaners and scrapers for blade wear and tension, and look for carryback under the return run.
- WReview magnets and metal detectors ahead of crushers or screens to protect the belt from tramp metal.
Paper Rounds Versus Digital Inspections
Before
- Paper sheets get lost or filled in at the end of a shift
- Idler noise is reported by word of mouth
- Repeat tracking issues never show up as a pattern
- Splice history lives in one planner's notebook
After
- Route-based rounds with photo evidence at the point of defect
- Each idler, pulley and splice tied to its own asset record
- Findings become work orders with an owner and due date
- Trends by belt section highlight repeat failure locations
Condition Monitoring Worth Adding
How Oxmaint Supports Conveyor Maintenance
Build the Asset Tree
Schedule Preventive Maintenance
Inspect on Mobile
Convert Findings to Work Orders
Review and Improve
Conveyor Maintenance KPIs
| KPI | What It Shows | Use It To |
|---|---|---|
| Inspection completion rate | Share of scheduled rounds done on time | Find gaps in coverage by shift or area |
| Unplanned conveyor downtime | Hours lost to unscheduled stops | Rank the worst conveyors for reliability work |
| Idler replacement rate | Idlers changed per period by section | Spot dust, misalignment or overload zones |
| Belt cover wear rate | Thickness loss over time | Plan belt replacement before failure |
| Defect closure time | Days from finding to completed work | Check whether crews and spares keep up |
| Preventive to corrective ratio | Planned versus reactive work hours | Measure the move from firefighting to planning |
Safety and Compliance Notes
Inspect Safely
- Apply lockout and tagout before touching a stopped belt, in line with your site procedure and local regulation.
- Keep guarding in place around pulleys and drives, since nip points cause severe injuries.
- Record every emergency stop test, guard check and isolation review as compliance evidence.
- Treat dust buildup near hot drives as a fire risk and add it to housekeeping routes.